Bridge 2019.5: All-new UE plugin with 4.24 & Mac support
2019 has seen a wide range of tutorials, inspirational videos and articles aimed at giving everyone the knowledge required to create photo-realistic worlds. We’ve also put a lot of effort into providing you world-class integrations that help you automatically send content to your preferred app.
Today we’re excited to take a big step forward with a brand new Unreal Engine integration, with full support for UE 4.24. Let’s get a quick look at what’s new, and what this all means for you.
Revamped Master Materials
This new integration comes with completely new and optimized master materials that are fully customizable and have added support for a specular workflow and improved normal map opacity setup.
We’ve also revamped channel packing support, making it a fully-functional experience that we’ll keep improving based on your feedback.
And finally, this integration now has a robust LOD support system, which will come in handy for all your optimization tasks.
Rewritten from scratch with AAA pipelines in mind, and now available on macOS and Linux
This integration was written from the ground up in C++, giving you a native experience and full support for macOS and Linux. For studios, this means we no longer install yet another python environment in your Unreal Engine setup, and you can install this integration on your custom Unreal Engine build effortlessly.
Installing the new UE integration
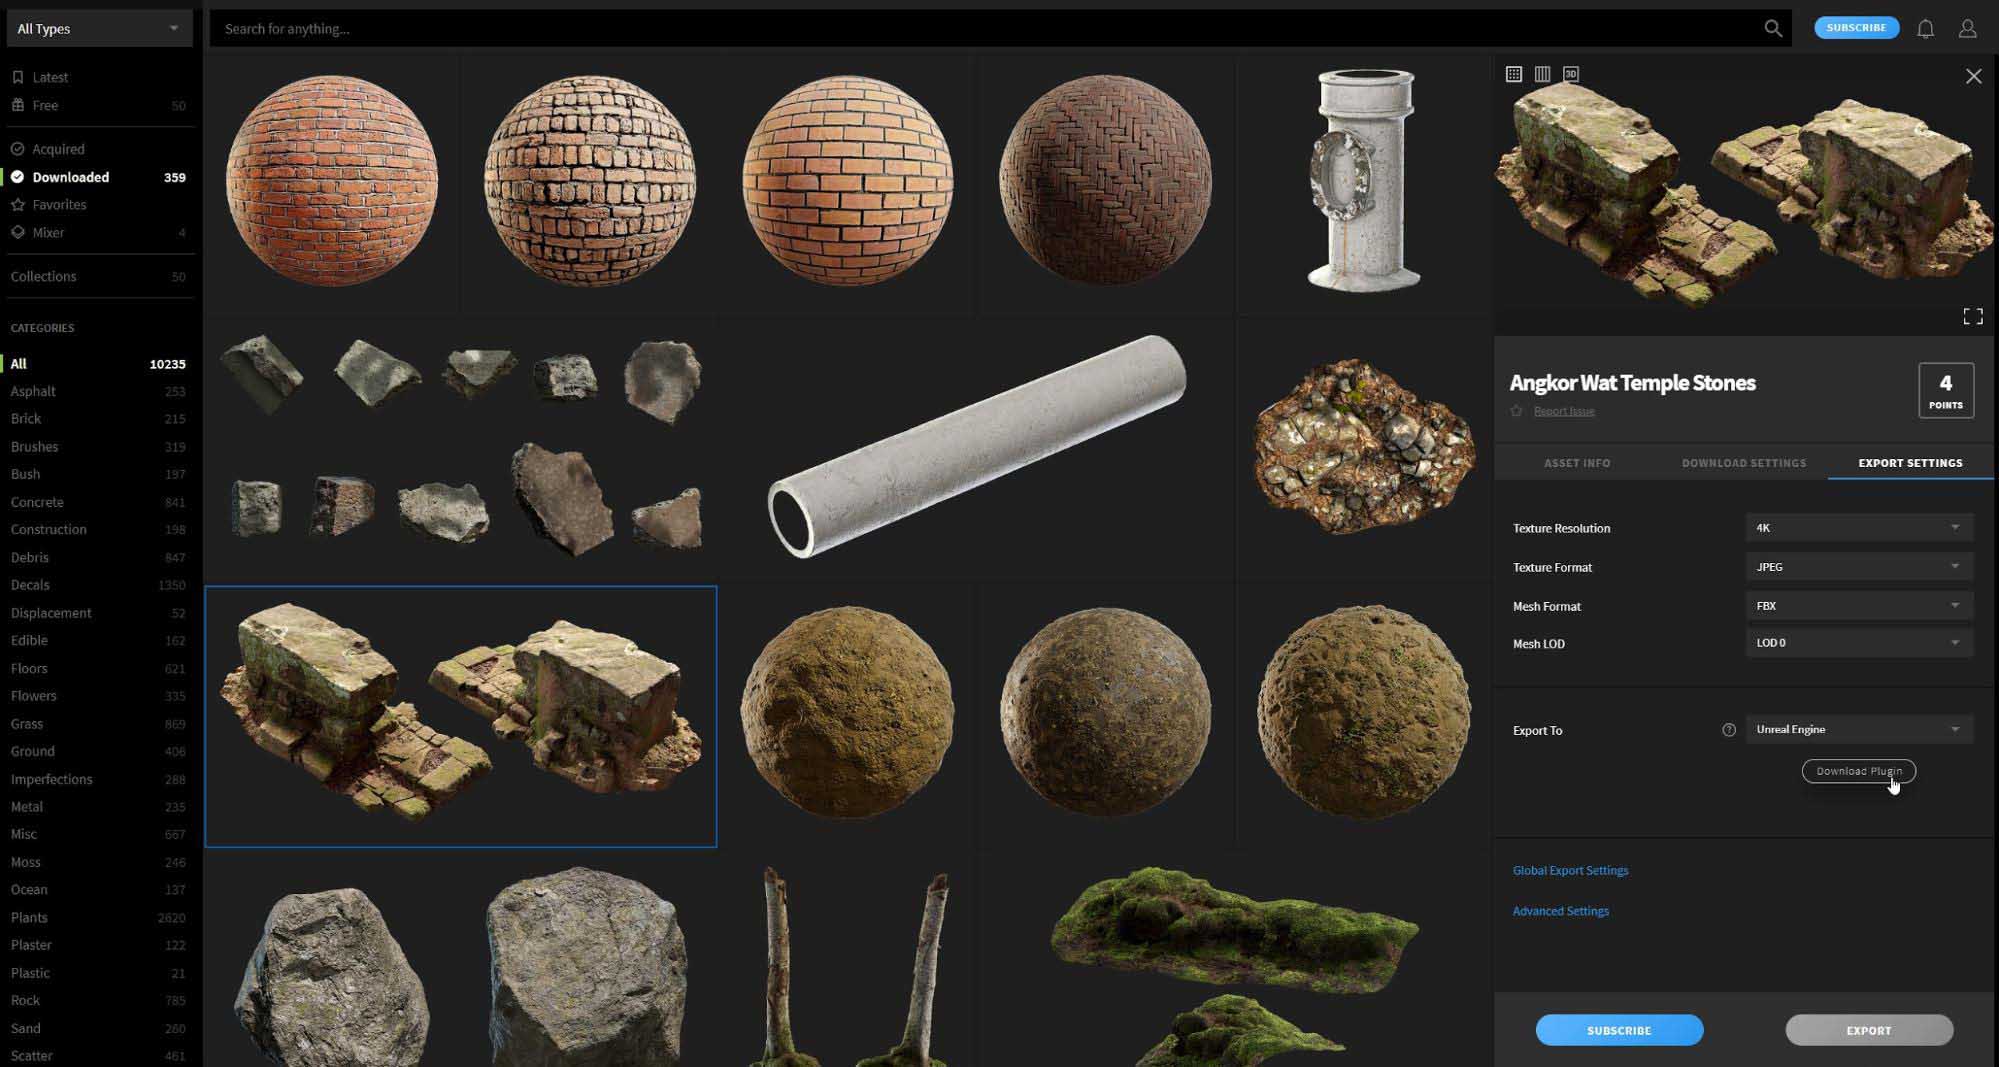
The installation process is quite similar to the previous one but is now much more reliable. To start off, download the latest version of Bridge (you’ll get a notification if you already have it installed, or you can go to quixel.com/bridge and click download Bridge), and click on any asset you want to export. Within the side-panel, go to ‘Export Settings’ and set the ‘Export To’ dropdown to Unreal Engine, then download the latest version of the integration.
Next, set the ‘Engine Version’ to the current version of Unreal Engine that you’re using, then hit the ‘Select Folder’ text right below it. This will open up a path browsing dialog where you need to select the plugins folder of your current Unreal Engine installation.
Typically, Unreal Engine versions are installed in C:/program files/Epic Games/UE_4.XX
So you just need to go there, then into ‘Engine’, and then ‘Plugins’. If you were to install the integration plugin on UE4.24 for instance, this is what the path would look like:
C:/program files/Epic Games/UE_4.24/Engine/Plugins

And that’s it! The plugin should be installed automatically, and if you go back into Unreal Engine you should notice the Megascans icon in the toolbar. Clicking on it will show you the new integration window:
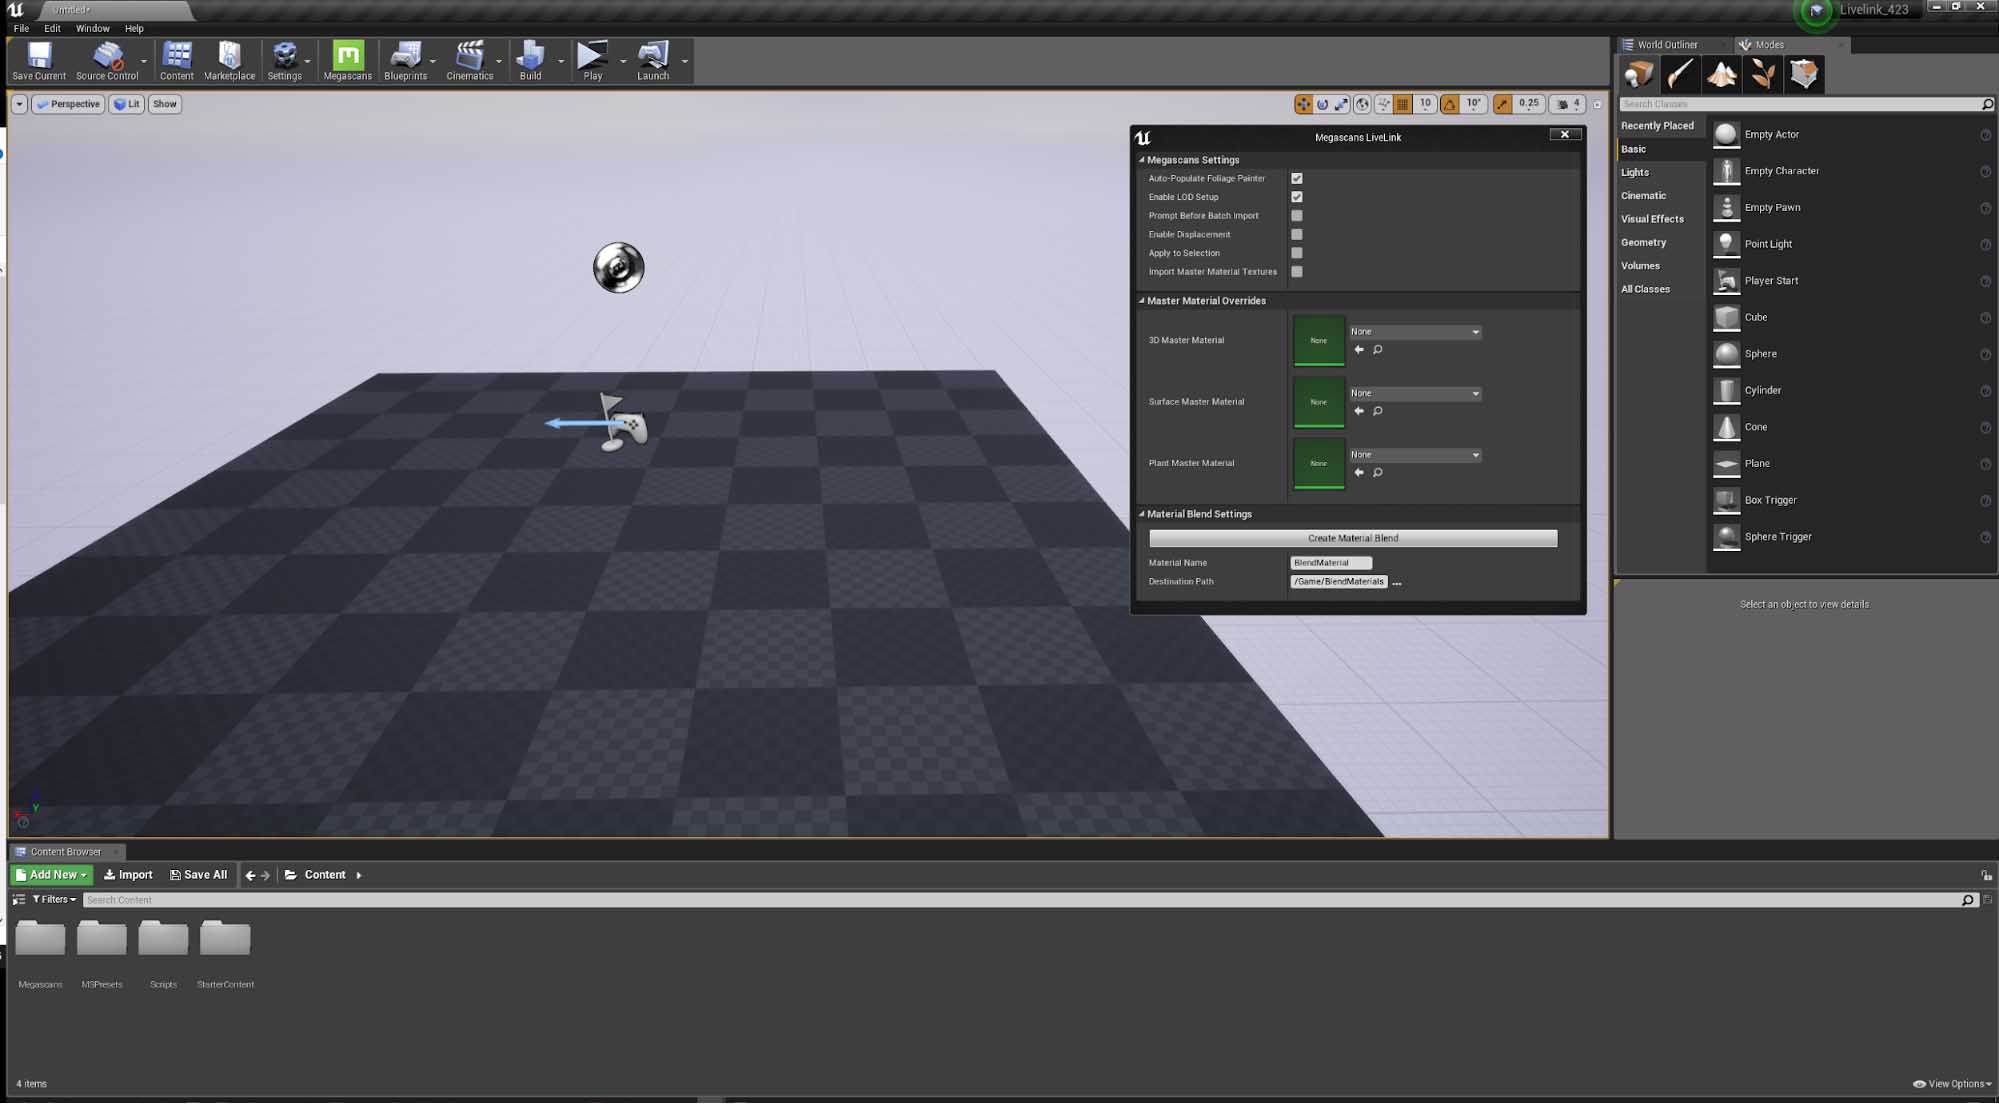
Now if we go back to Bridge and hit ‘Export’, our asset will appear in the Content Browser, and from there we just drag and drop it in the viewport and voilà:
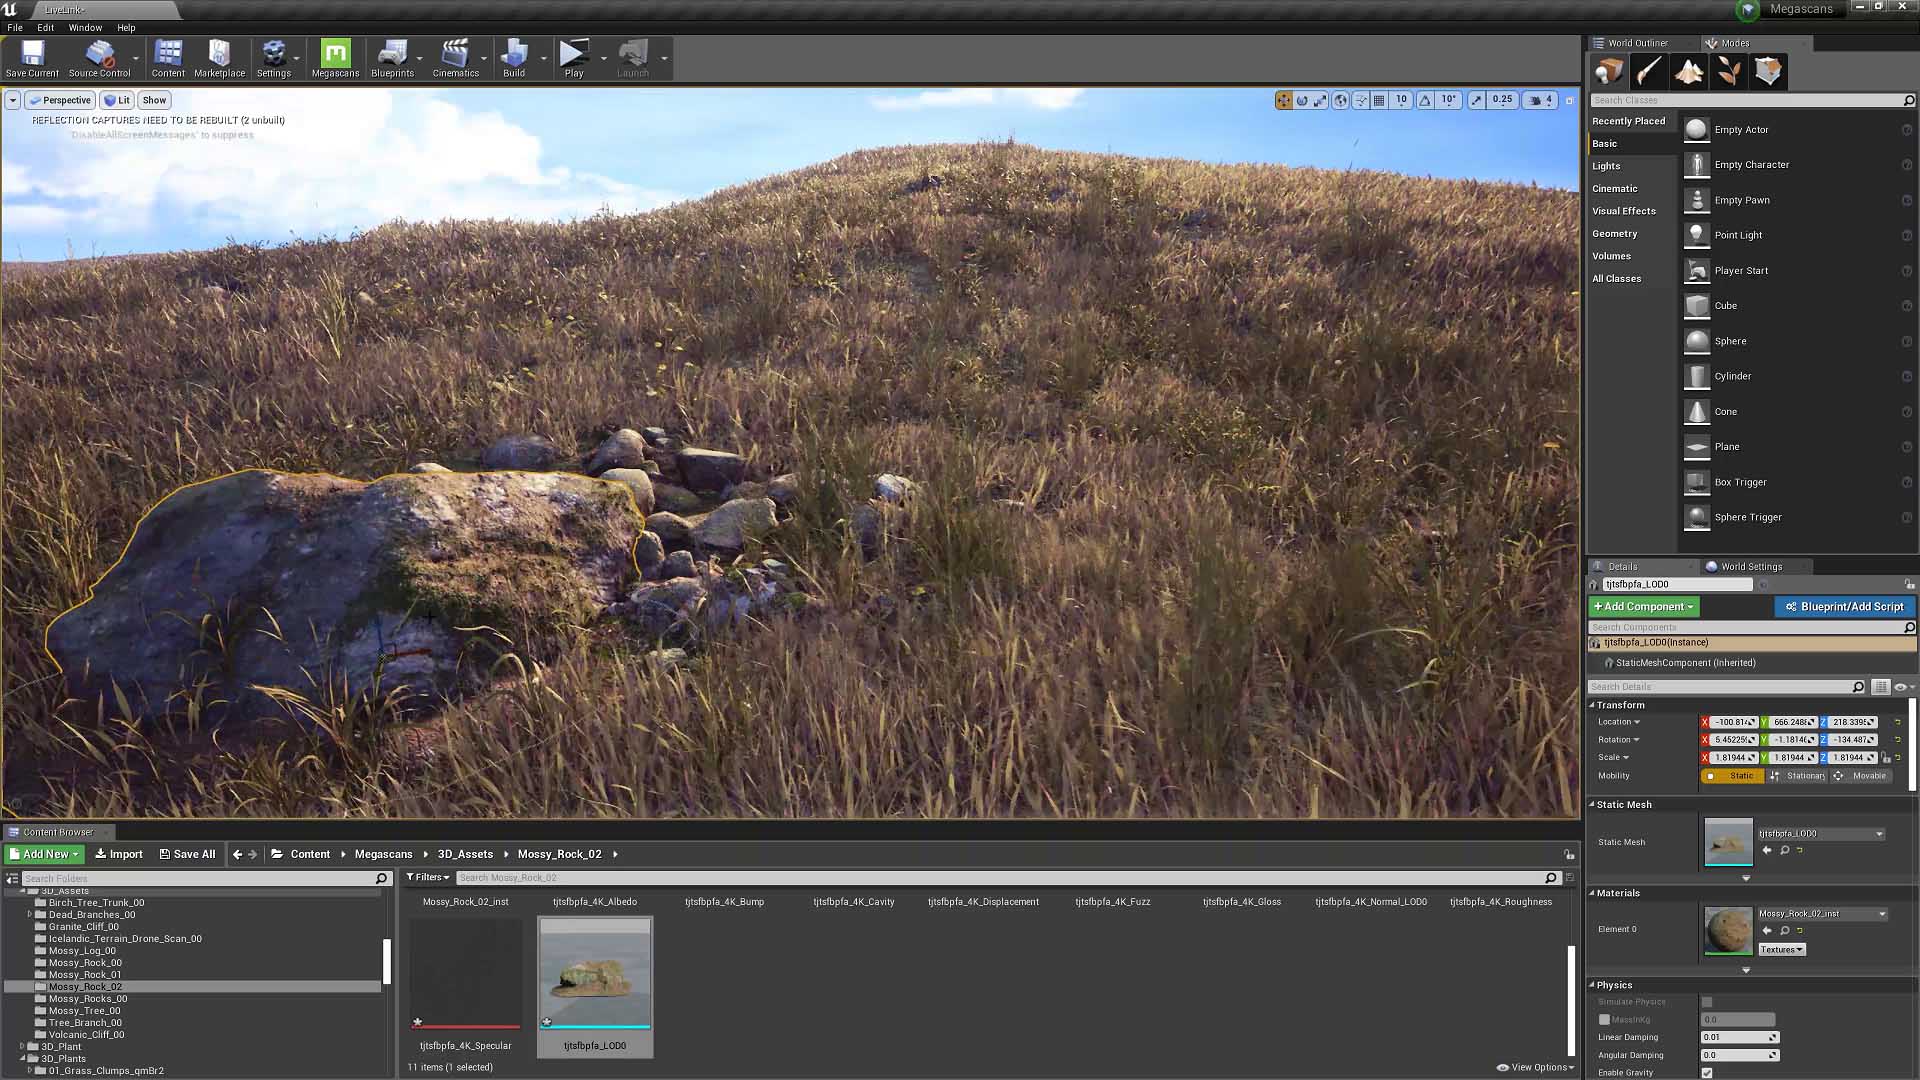
You should be all sorted. You can also follow along in our set up guide on YouTube:
Get to know the new integration UI
The new integration UI in Unreal Engine gives you a wide range of options to customize your export process, and the default values are fantastic for most cases, so you don’t need to tweak anything here unless you really know what you’re after.
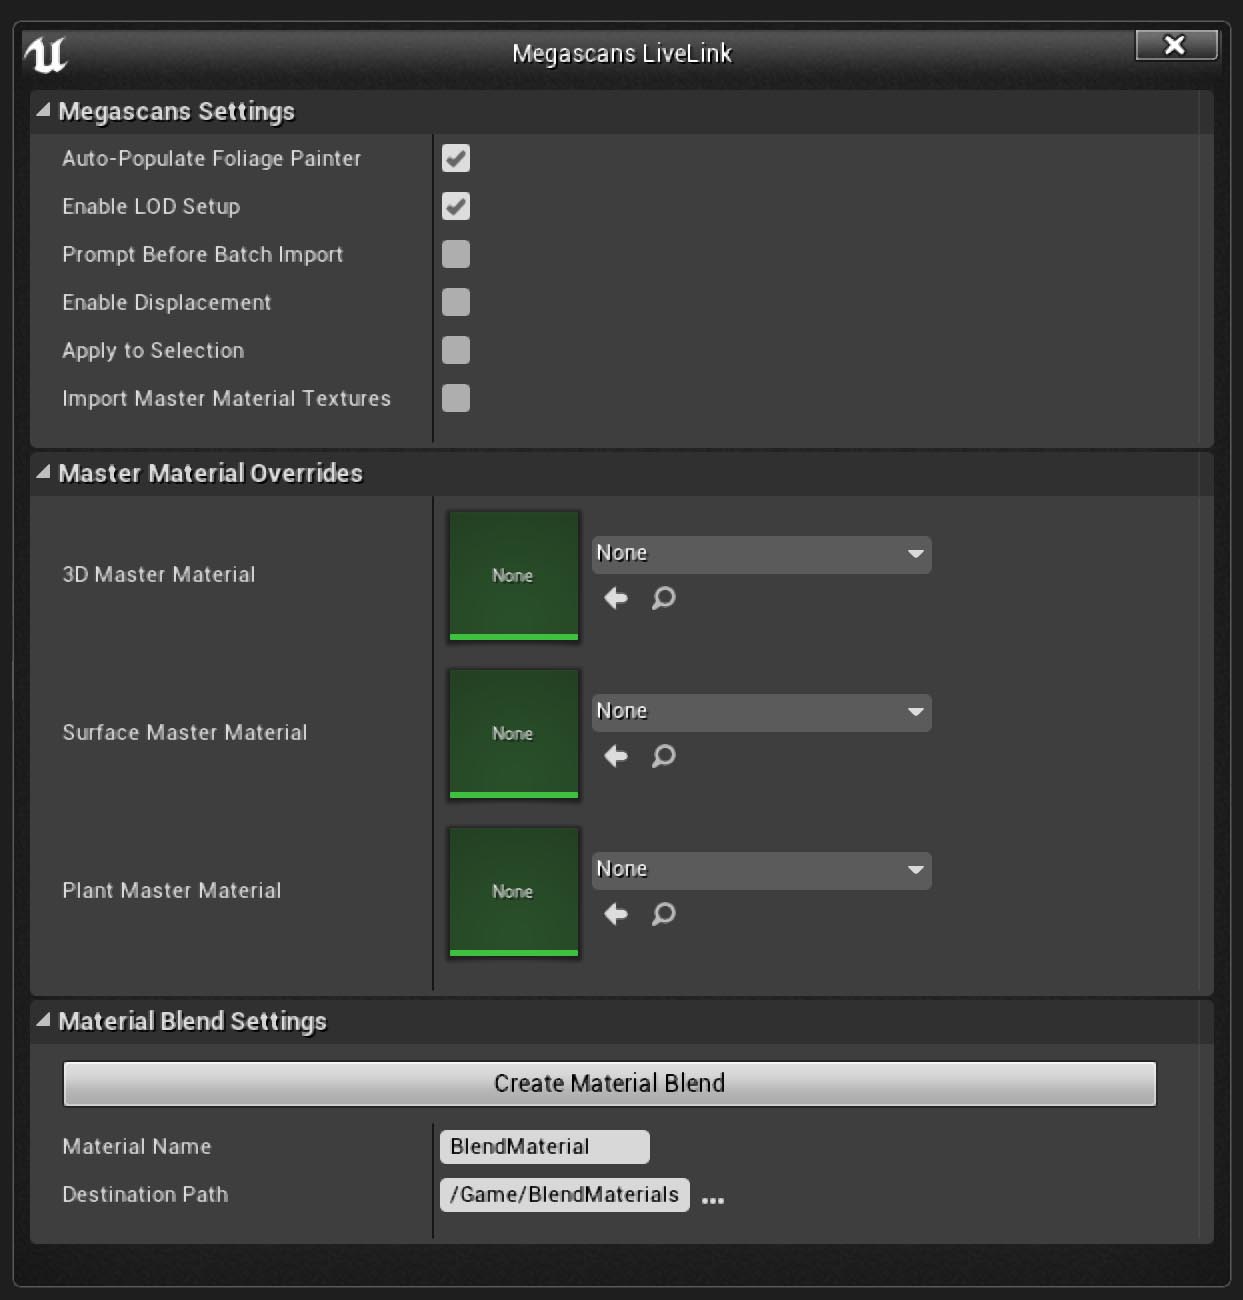
The ‘Megascans Settings’ section can be used to customize how you want the assets to be imported. For instance, you could automatically populate the Unreal foliage tab whenever you import a 3D Plant from Megascans, and checking the ‘Auto-Populate Foliage Painter’ checkbox is all you need to do for that.
One of the new additions in this section is the ‘Prompt Before Batch Import’ option, which gives you a warning whenever you’re about to import over 10 assets; a process that can take a bit of time depending on your configuration.
The ‘Master Material Overrides’ section helps you override the default master materials that this integration creates for you. Let’s suppose that you have your own master material that has specific needs, and you want to use that instead of the default one. Just select your custom material in the Content Browser, and depending on the asset type (you’ll notice that the list in this section displays the material of each asset type in the Megascans library) you can hit the back arrow icon in order to set the material currently selected in the Content Browser as the default material for future imports. We’ll be covering this process in more depth in future videos and livestreams, so stay tuned for that!
And finally, the ‘Material Blend Settings’ help you create custom material instances with blending features, which can be of great use for blending multiple Megascans surfaces (like two grass materials and a soil material) or modifying 3D assets (like snow on top of a rock).
Free and unlimited access for Unreal Engine users
We’re actively working to increase access to quality content and to redefine the way games are made.
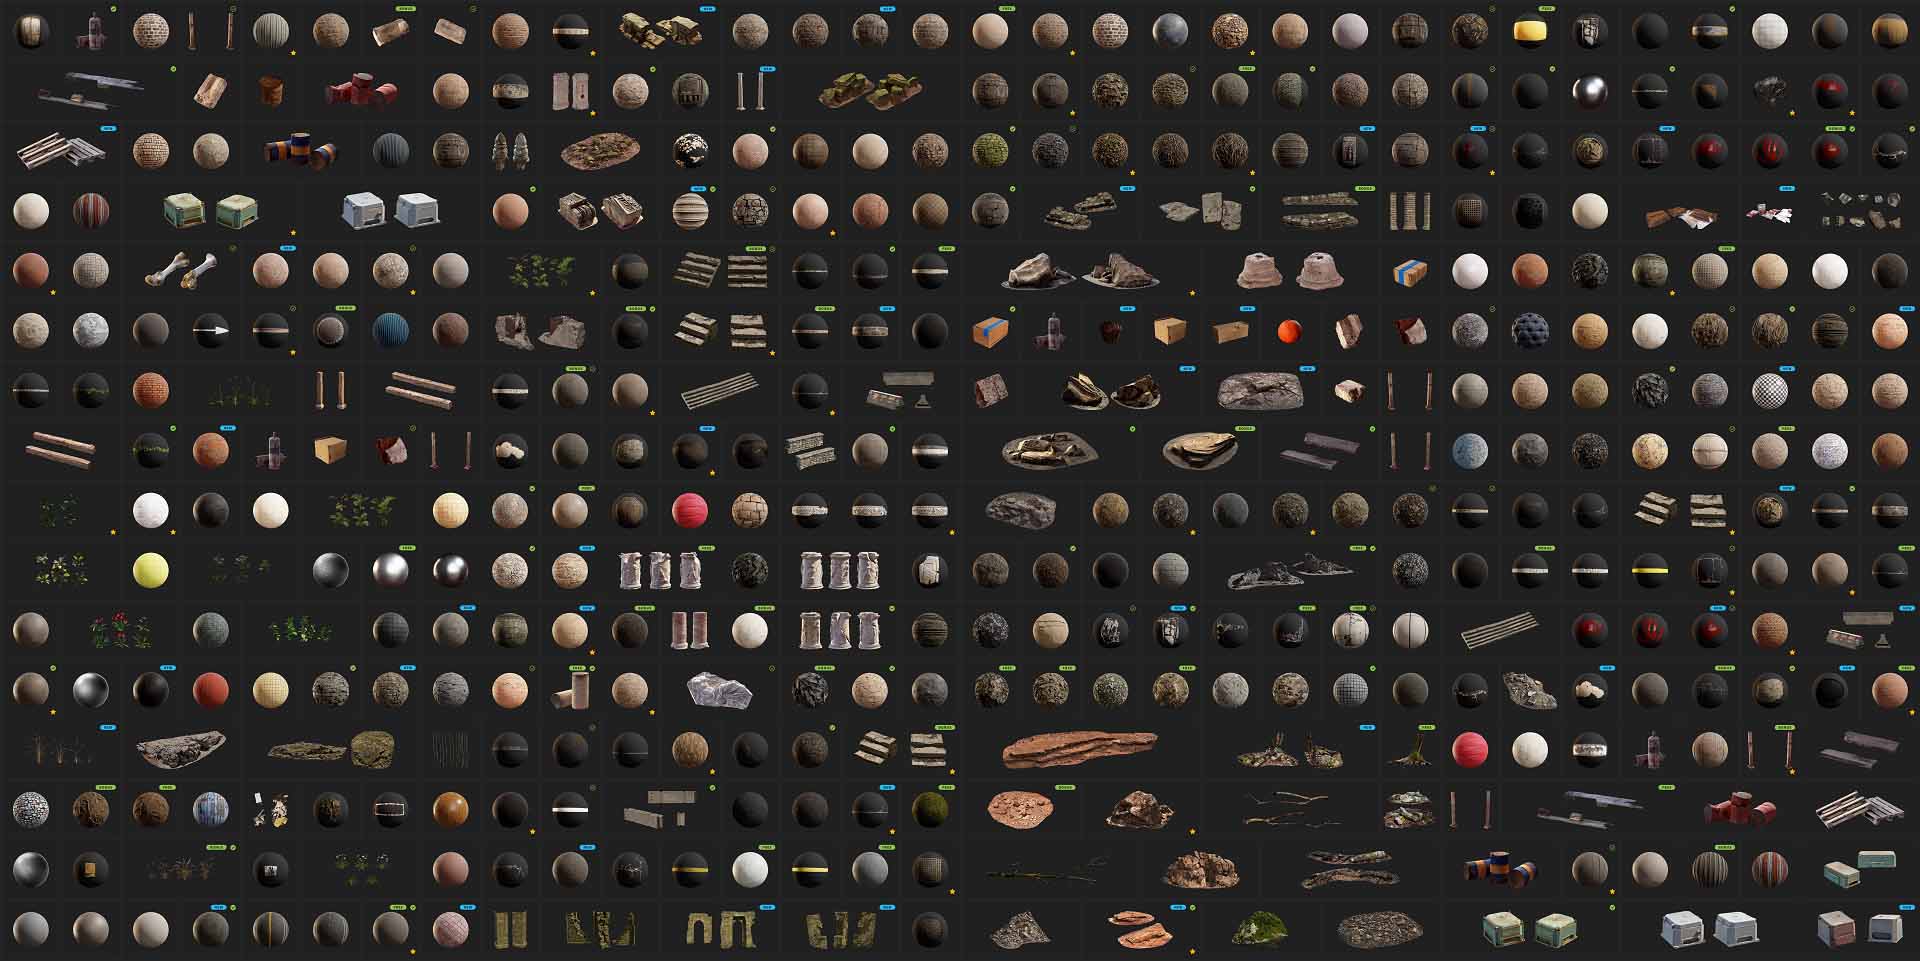
Bridge now gives you access to the entirety of the Megascans library for use with Unreal Engine, making it the ultimate hub for both Unreal Engine and Megascans users.
You can get Bridge for free right here.
In addition, we are offering refunds for all purchases made in 2019. This offer ends on January 31st, 2020. If you use Megascans with Unreal Engine, there has never been a better time to switch!
As always, don’t forget to check the forum post for all the release notes. We can’t wait to see what you create with the power of this massive ecosystem, its integration, and Unreal Engine!
Reach out to our support team here if you have any questions.