Creating a thatched roof
A few weeks ago one of our Facebook group members asked us what the best approach is to create a thatched roof; a material that’s quite complex due to its layered nature, making it hard to author and expensive to render. In this tutorial we’ll look at a semi-automated workflow that leverages the Megascans library and Mixer to create the two textures we’ll use, and Autodesk Maya for the geometry we’ll create. As always, the techniques that we’ll be showing here apply to any 3D software, so feel free to fire up your favorite app and give it a shot!
We’ve used the Thatch Roof 2x2M asset from the library for this tutorial, so get it before starting, and don’t forget to grab Mixer as well!
Modeling all the layers
The modeling of the thatched roof was split into three tasks: creating the base layer, then the major overlays and finally the minor overlays. You can think of this as your typical primary/secondary/tertiary shapes, but for thatch.
Modeling the first layer was a fairly generic process: create a plane, add an edge in the middle, move that edge up to have a triangular shape, bevel the edge to make it smoother, and give some volume to the whole structure by extruding the borders of your roof down, then beveling them as well.

The next layer was major overlays, and the idea behind this was to create a first volume pass on top of our base layer. Something worth noting about this layer is that at the end for the GIF we used noise to displace the vertices upwards, each by a random intensity. This created some chaos in an otherwise well defined structure.

Alternatively, you could get the same effect by simply selecting the vertices, then moving them by hand manually. It’s a bit time-consuming, but it’s there as an alternative if needed.
Finally came the third and most complicated layer: recreating the damping edge of our roof. Instead of doing it from scratch, we simply duplicated our base layer, deleted all faces except for the ones from which our volume would start, then did a bunch of extrude/add edge operations.
The final step was to add a noise, then smooth it a tad to give it those random oscillations you’d expect from a thatched roof.
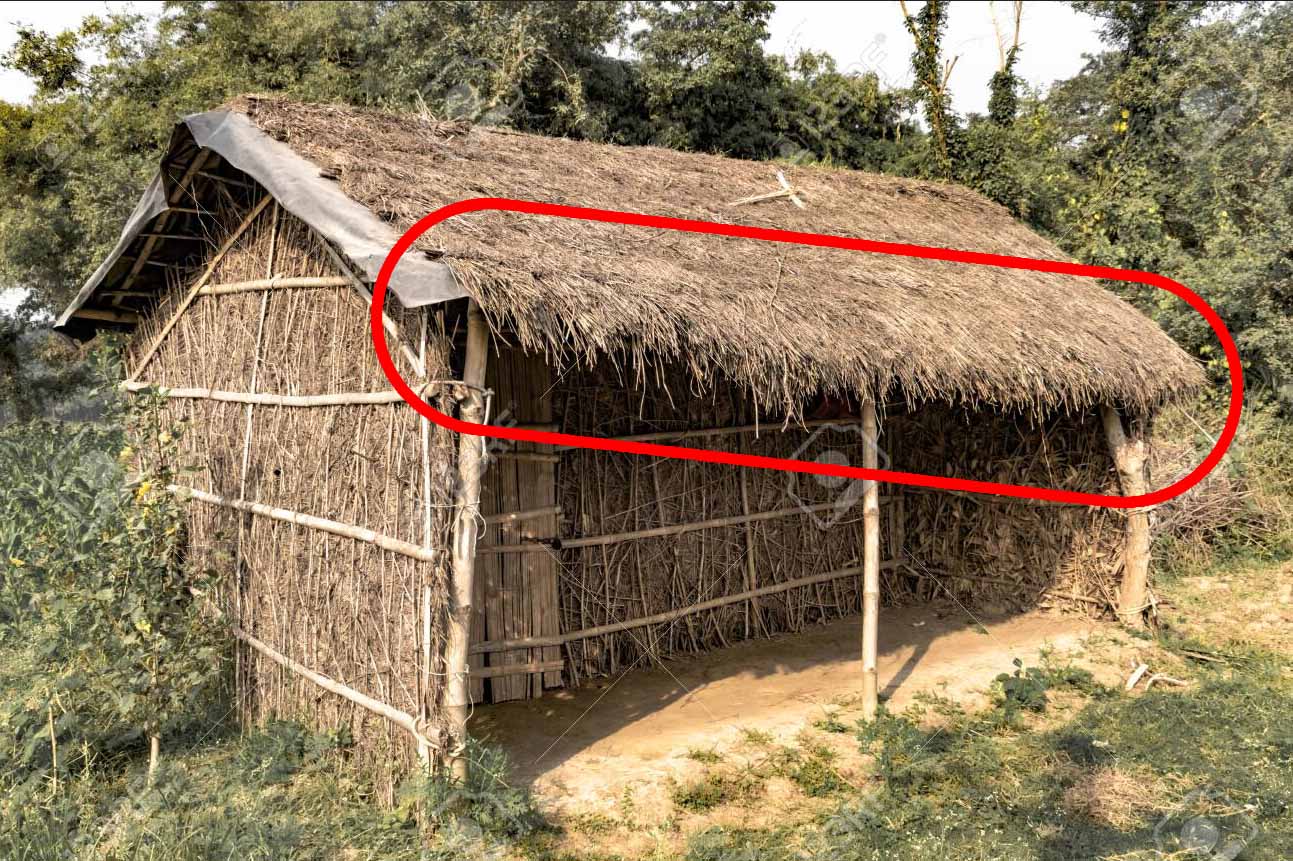
Here’s a ref of what this area looks like in real life.
At this point it was just a game of duplicating and moving vertices around to create more volume.

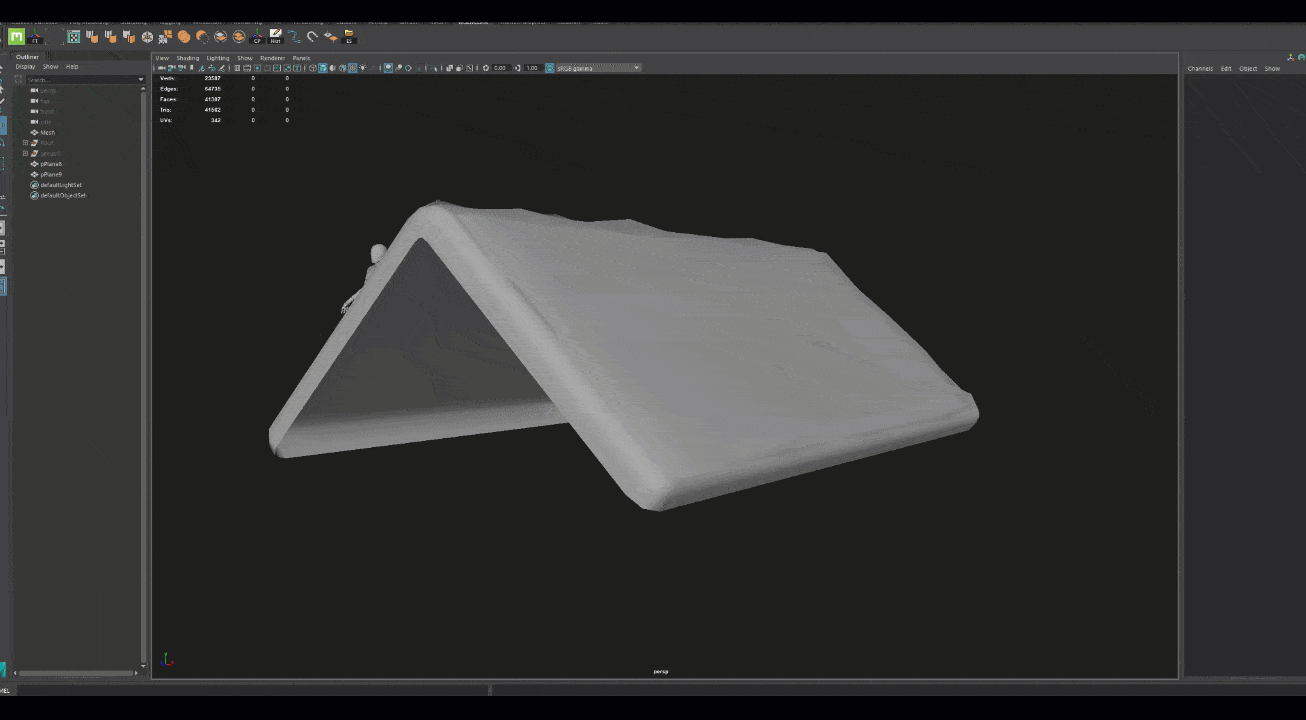
In this image, we duplicated our border thrice, then randomly moved the vertices at the bottom to create some variation. As a result, we ended up with not one simple mesh but multiple meshes overlayed on top of each other; exactly what we needed. The process in this last step was quite time-consuming, but mostly involved creating planes and moving them around our structure.
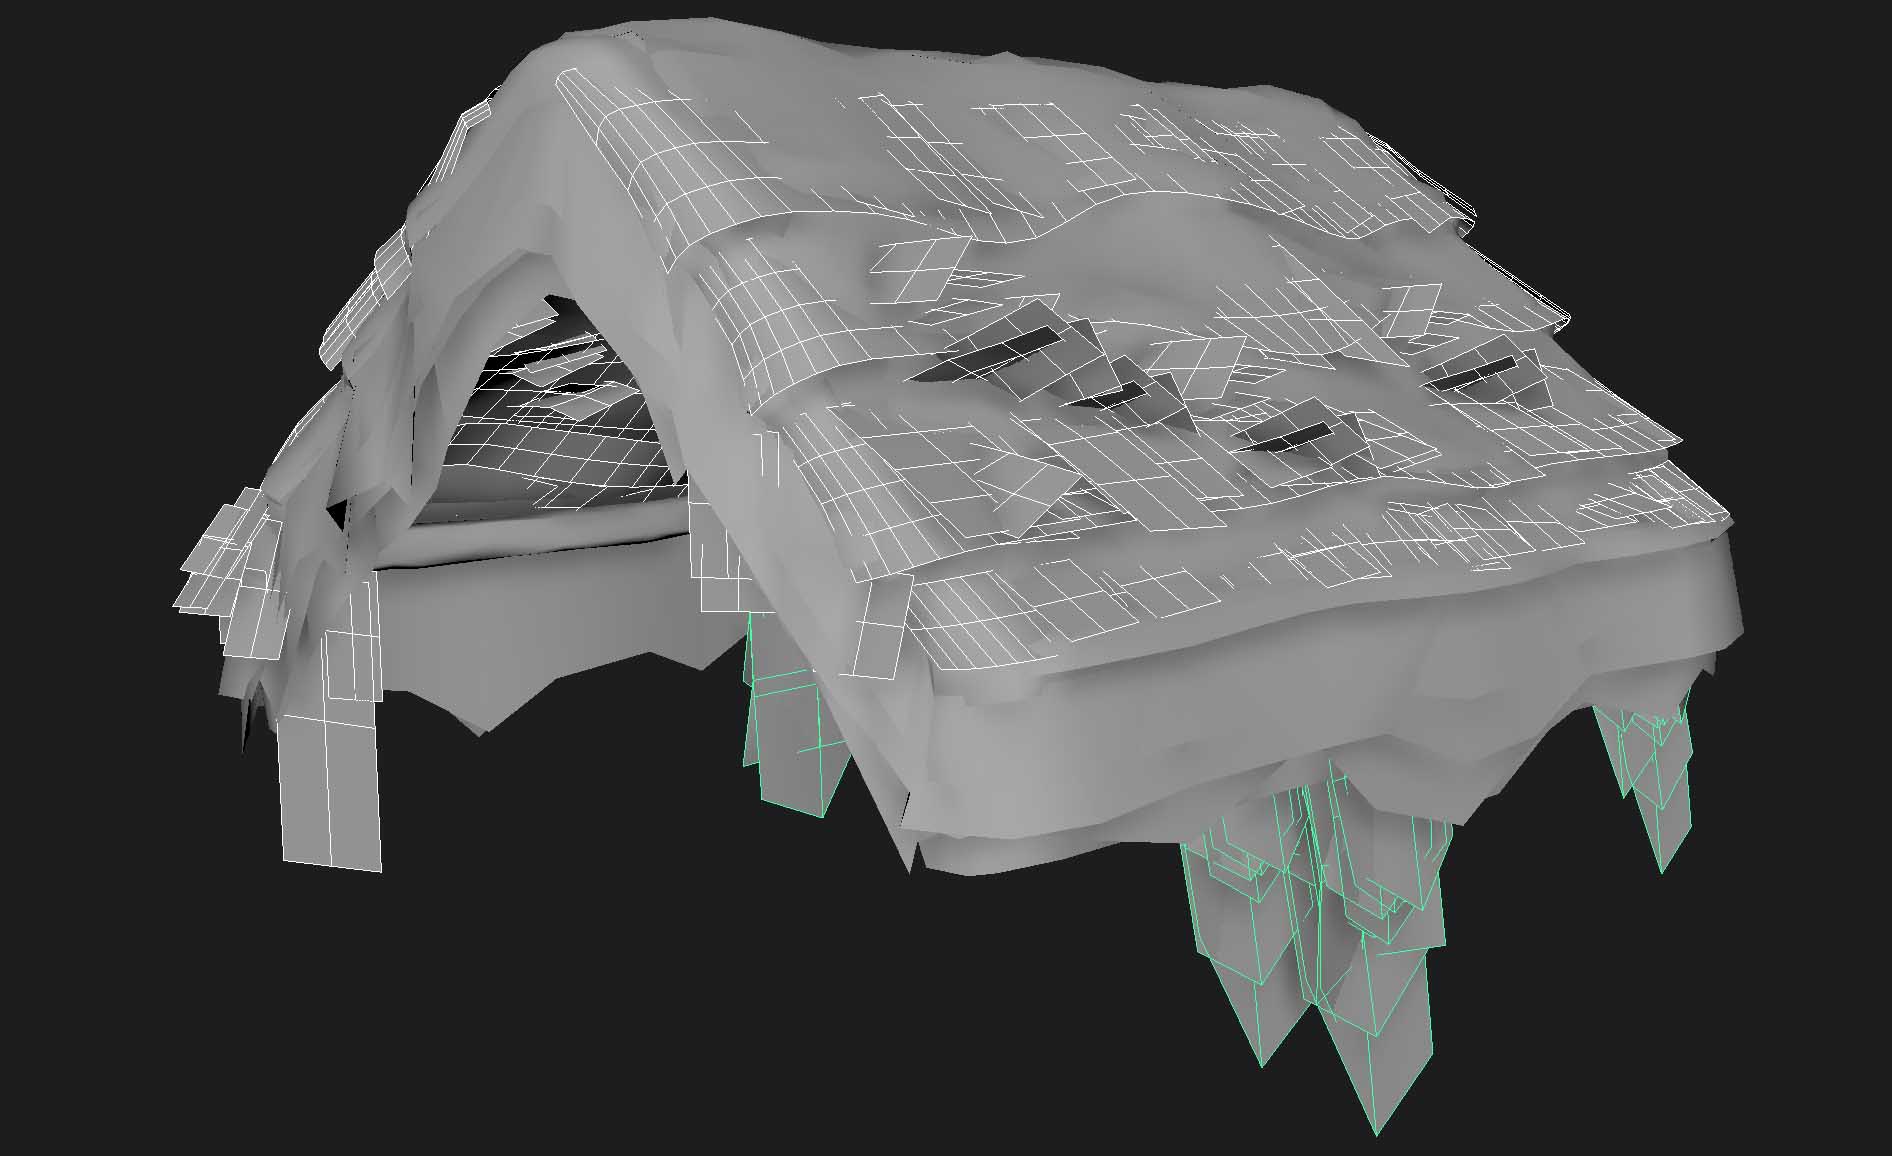
This is what we ended up with. The meshes that you see here were all placed manually. You could probably leverage MASH (which we briefly talked about in our scattering tutorial) in Maya or any equivalent tool to scatter some of these planes, but at the end of the day you’d have to do some manual inspections and make sure that everything fits perfectly on the volume.
You can download this mesh right here if you are keen to give it a closer look.
Unwrapping and texturing
With our modeling phase done, the next step was, naturally, the unwrapping!
For this project we would generally start by projecting the UVs from the top view with planar mapping, then unfold them to create clean planar UVs. From this point we’d just edit them to make them fit the texture properly.
In this case we cut the UVs in half, then flipped them to make the tip of the roof cross the same point in the texture, instead of having it all just flow in one direction.
And that was it for the base! The advantage of a project like this was that the unwrapping phase was fairly simple and mostly required an unfold, then moving/cutting the UVs to make them fit the appropriate area of our texture.
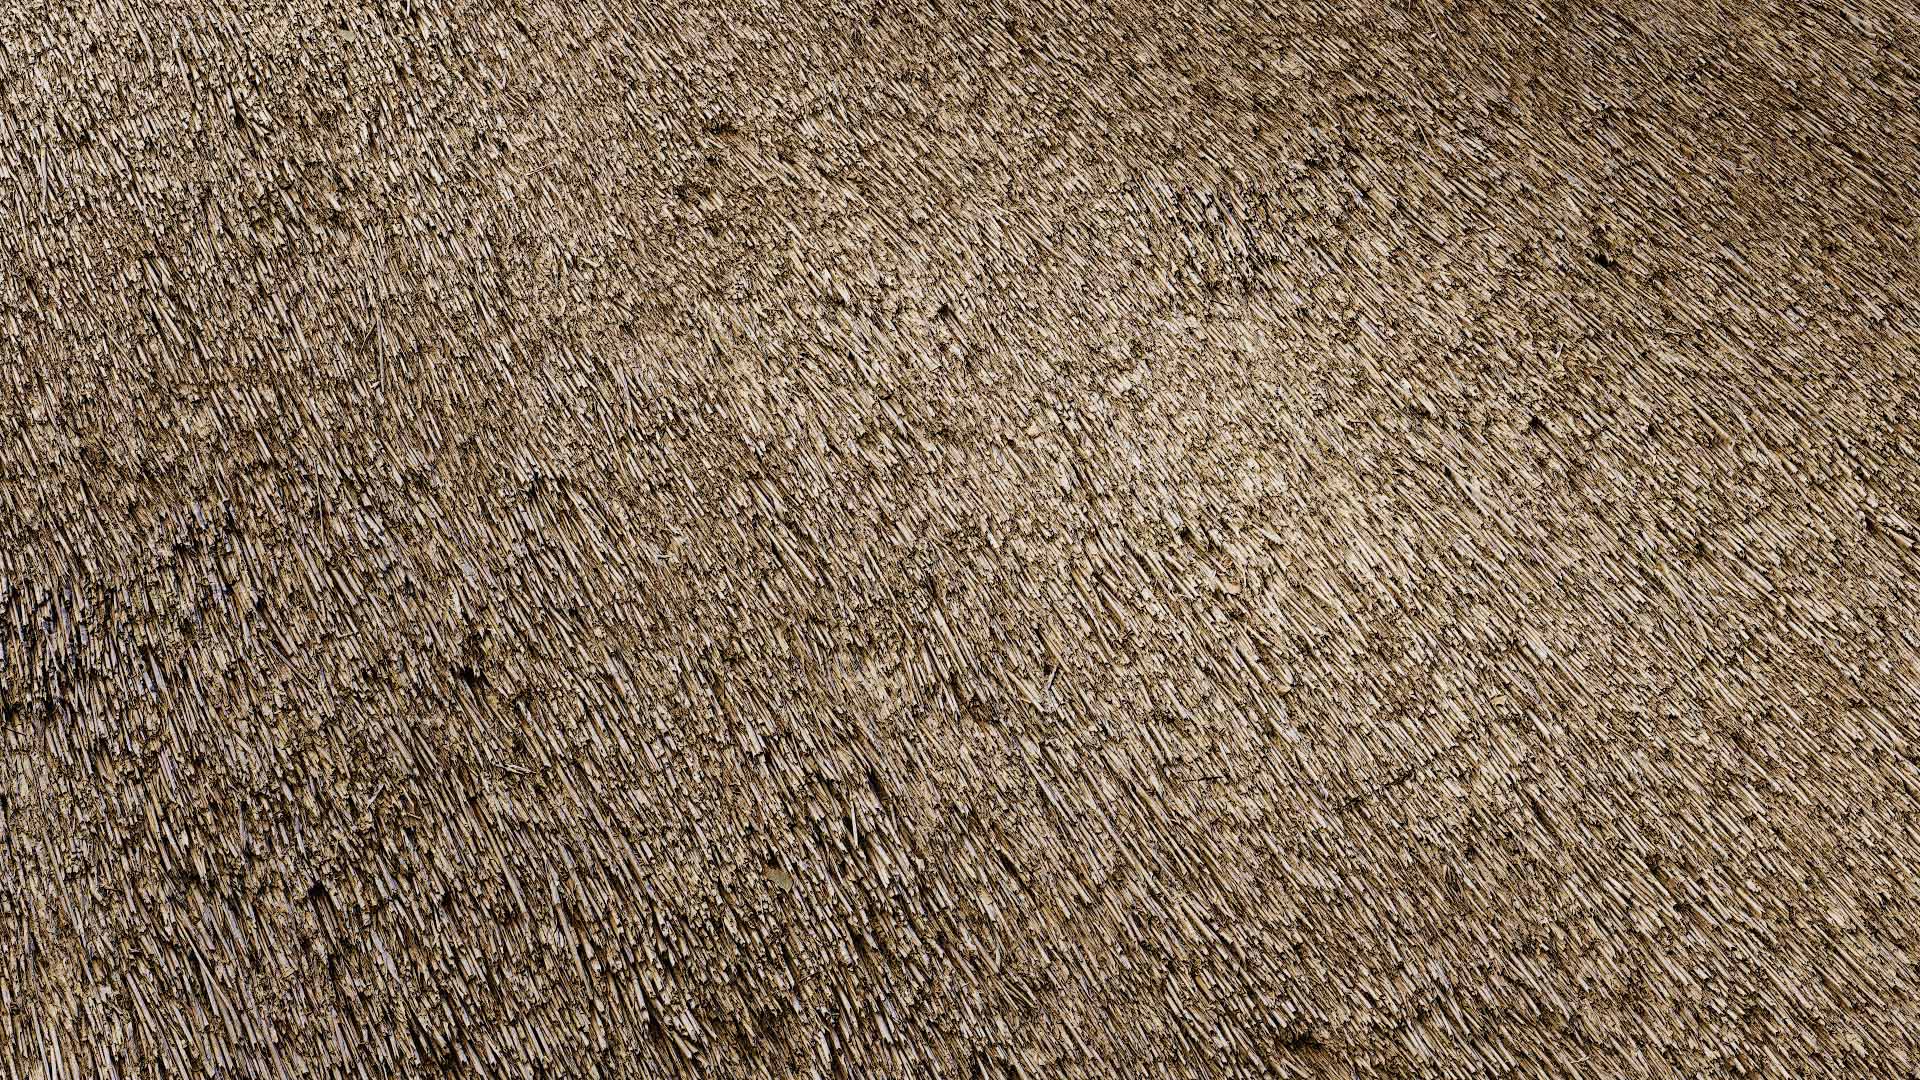
Before we touch on unwrapping the border and overlay meshes, let’s have a quick look at its texture mask.
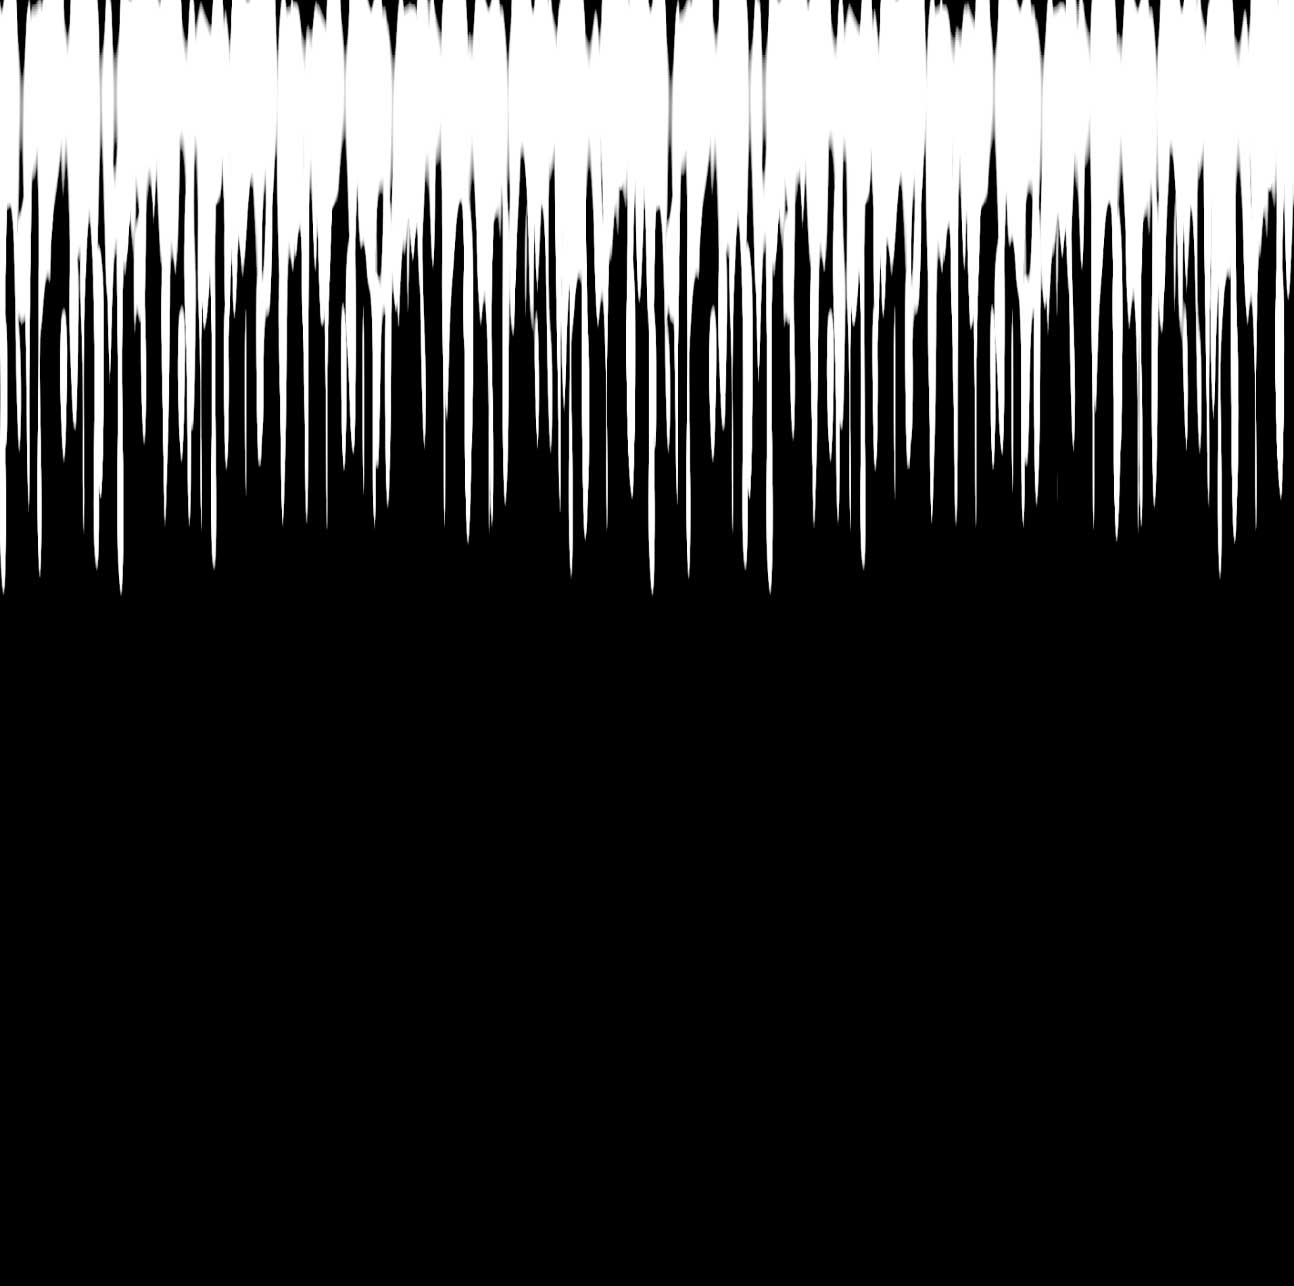
This was created procedurally in Mixer, and the goal here was to use the same thatched roof that we’ve previously used on the base layer, but have a custom opacity mask for all the other layers to help with the thickness of our roof. Here’s how the mask was made in Mixer.

We then exported it as our albedo, and that was it! As for the unwrapping, we just imported our texture with the opacity mask, did the same typical unwrapping steps, then used the ‘Straighten UVs’ function to… straighten the UVs.
Applying the same process to the other UVs and we ended up with a really nice result!

Something to keep in mind here is that we only used 4 textures thus far for everything:
- Albedo
- Normal
- Roughness
- Opacity (which was on a separate material for the non-base layer meshes, but still used the same textures as the base layer)
This made the material extremely compact, and if we wanted to, we could even channel pack the Roughness and Opacity into one map, and maybe export a noise texture from Mixer to drive some color variation.
Putting it all together
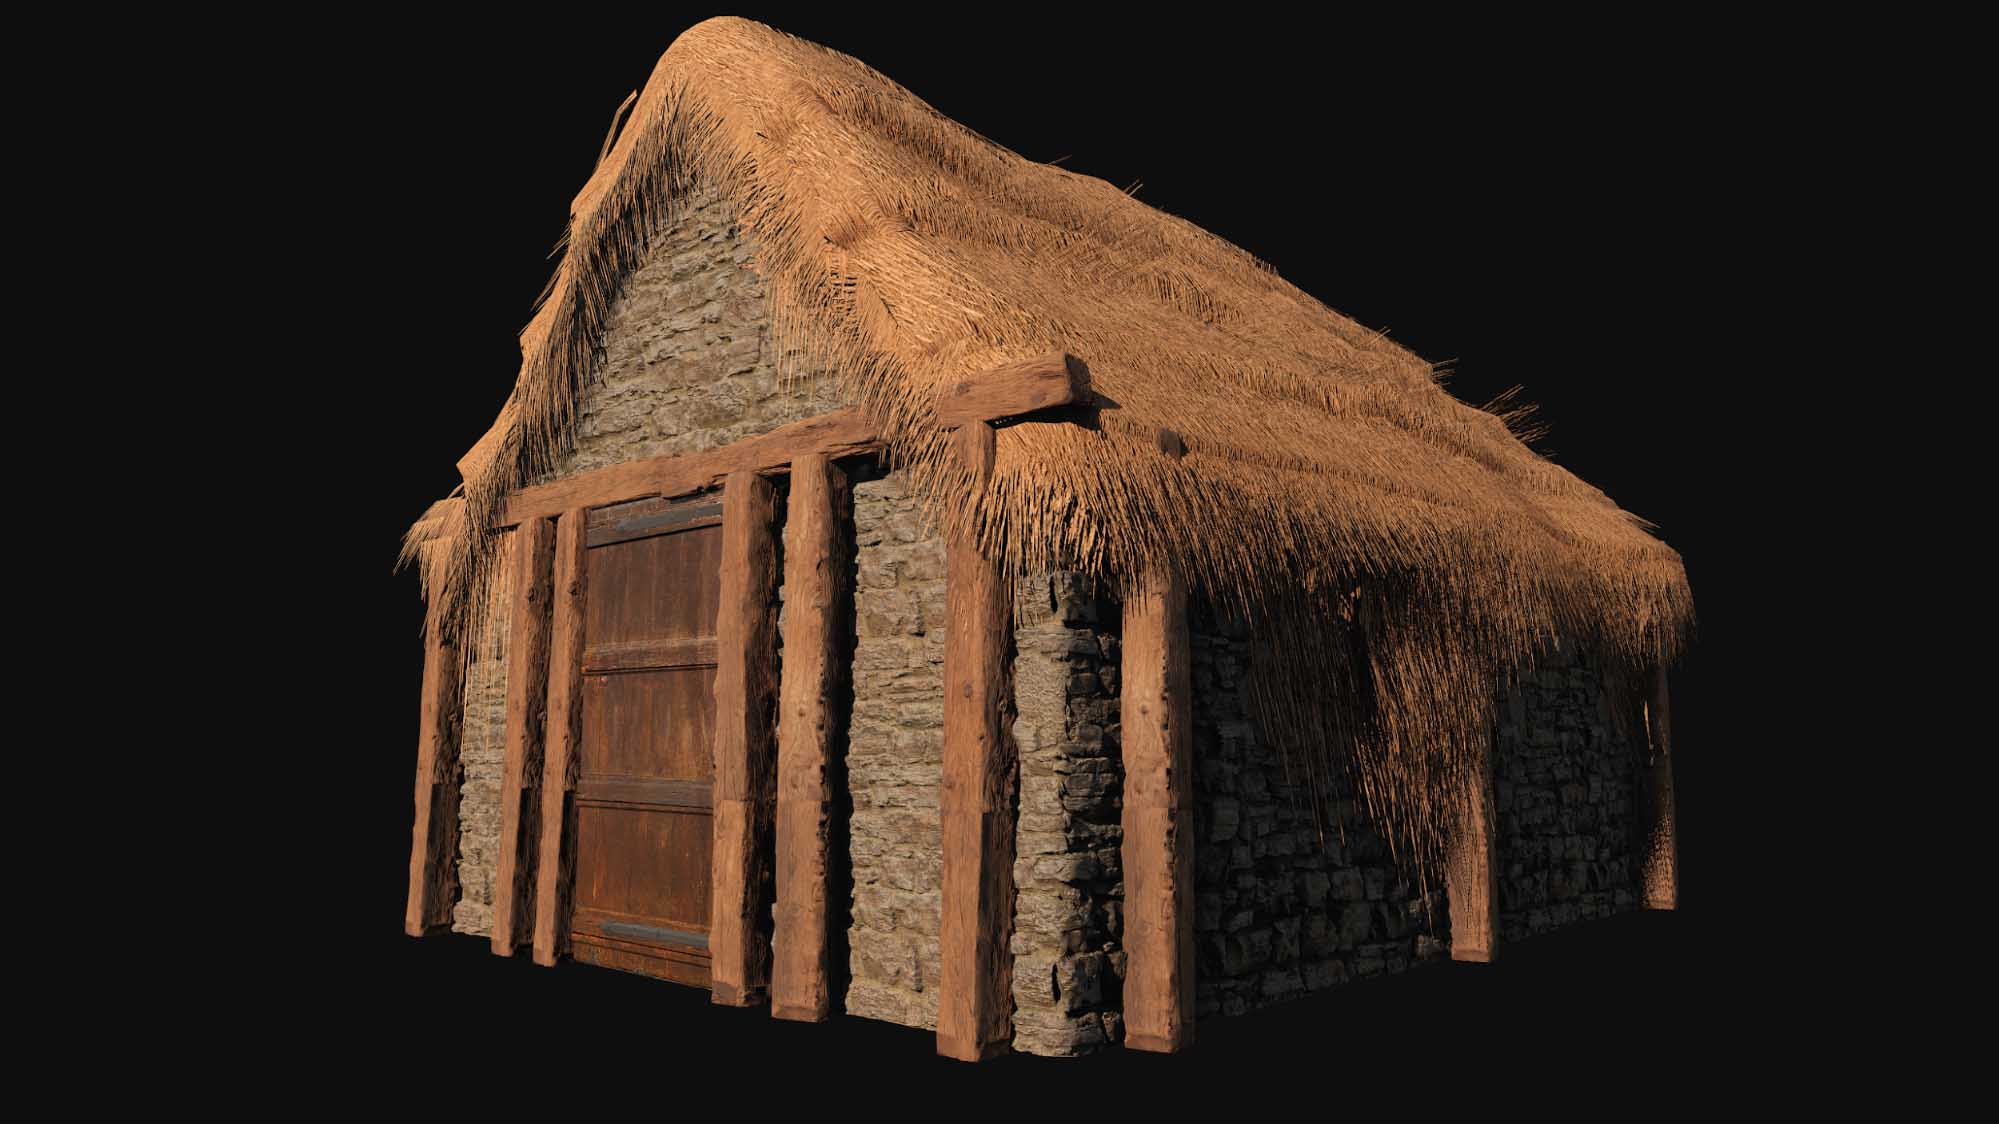
For the rendering, we followed the same workflow as described in our texture rendering article, which is highly recommended for anyone looking into rendering their assets.
We also created a basic wall around the roof, and imported some Megascans assets to give this project a bit more life. The end result was rendered in Marmoset Toolbag 3, and for the thatch we had exactly two materials, four textures and around 7-8K triangles, which is a fairly good number if you’re looking into making a portfolio piece of this without overblowing your polygon optimization budget.
Making LODs for this structure should be fairly easy as well: just progressively remove any layer that doesn’t affect the silhouette of your thatch, and you could end up with some really low polygon counts for your lowest LODs.
And that’s it for this tutorial! We hope you’ve enjoyed reading it and learned some new stuff.
Don’t forget to join us on the Quixel Art Community on Facebook, where our talented community and Quixel’s own art team are there to help you get to the next level.