Creating and Scattering Atlases
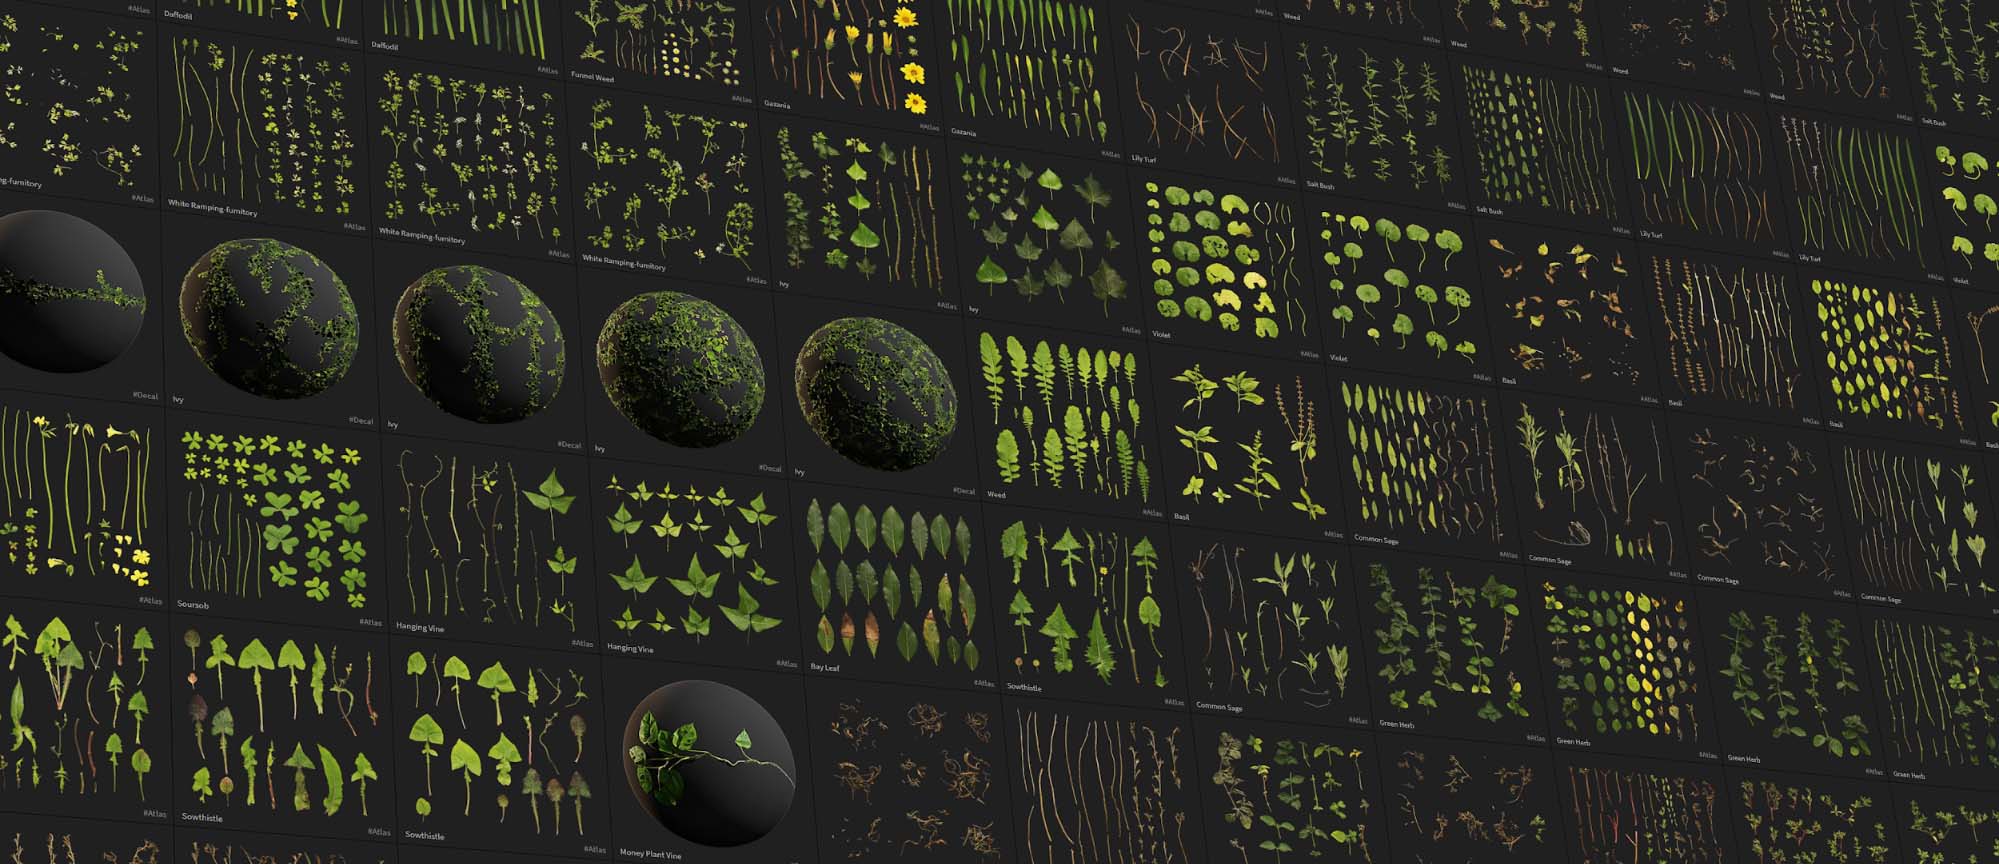
When browsing the Megascans library, you’ve probably come across these images of leaves or debris scattered together. These assets are called atlases and are used to pack a lot of smaller assets into one texture. But how exactly do you use them?
In today’s article, we’ll be exploring atlas reconstruction in Autodesk Maya, and show you how to scatter them with MASH. Keep in mind that the principles we’ll be using here can be reproduced fairly easily within Blender (make sure you have the Object Scatter add-on enabled) or 3DS Max with the help of iToo Software’s Forest Pack plugin.
Depending on your use case (ArchViz, games, cinematic renders, etc.) there are a lot of ways to approach atlas scattering and cutting. This article will be focusing on a more generic workflow to give you some general guidance from which you can extrapolate its teachings to your specific needs.
Cutting polygons like a ninja
The first thing that you’ll need to do is create a plane and apply your atlas on top of it. For this tutorial, you can use the following settings to get the proper texture maps:
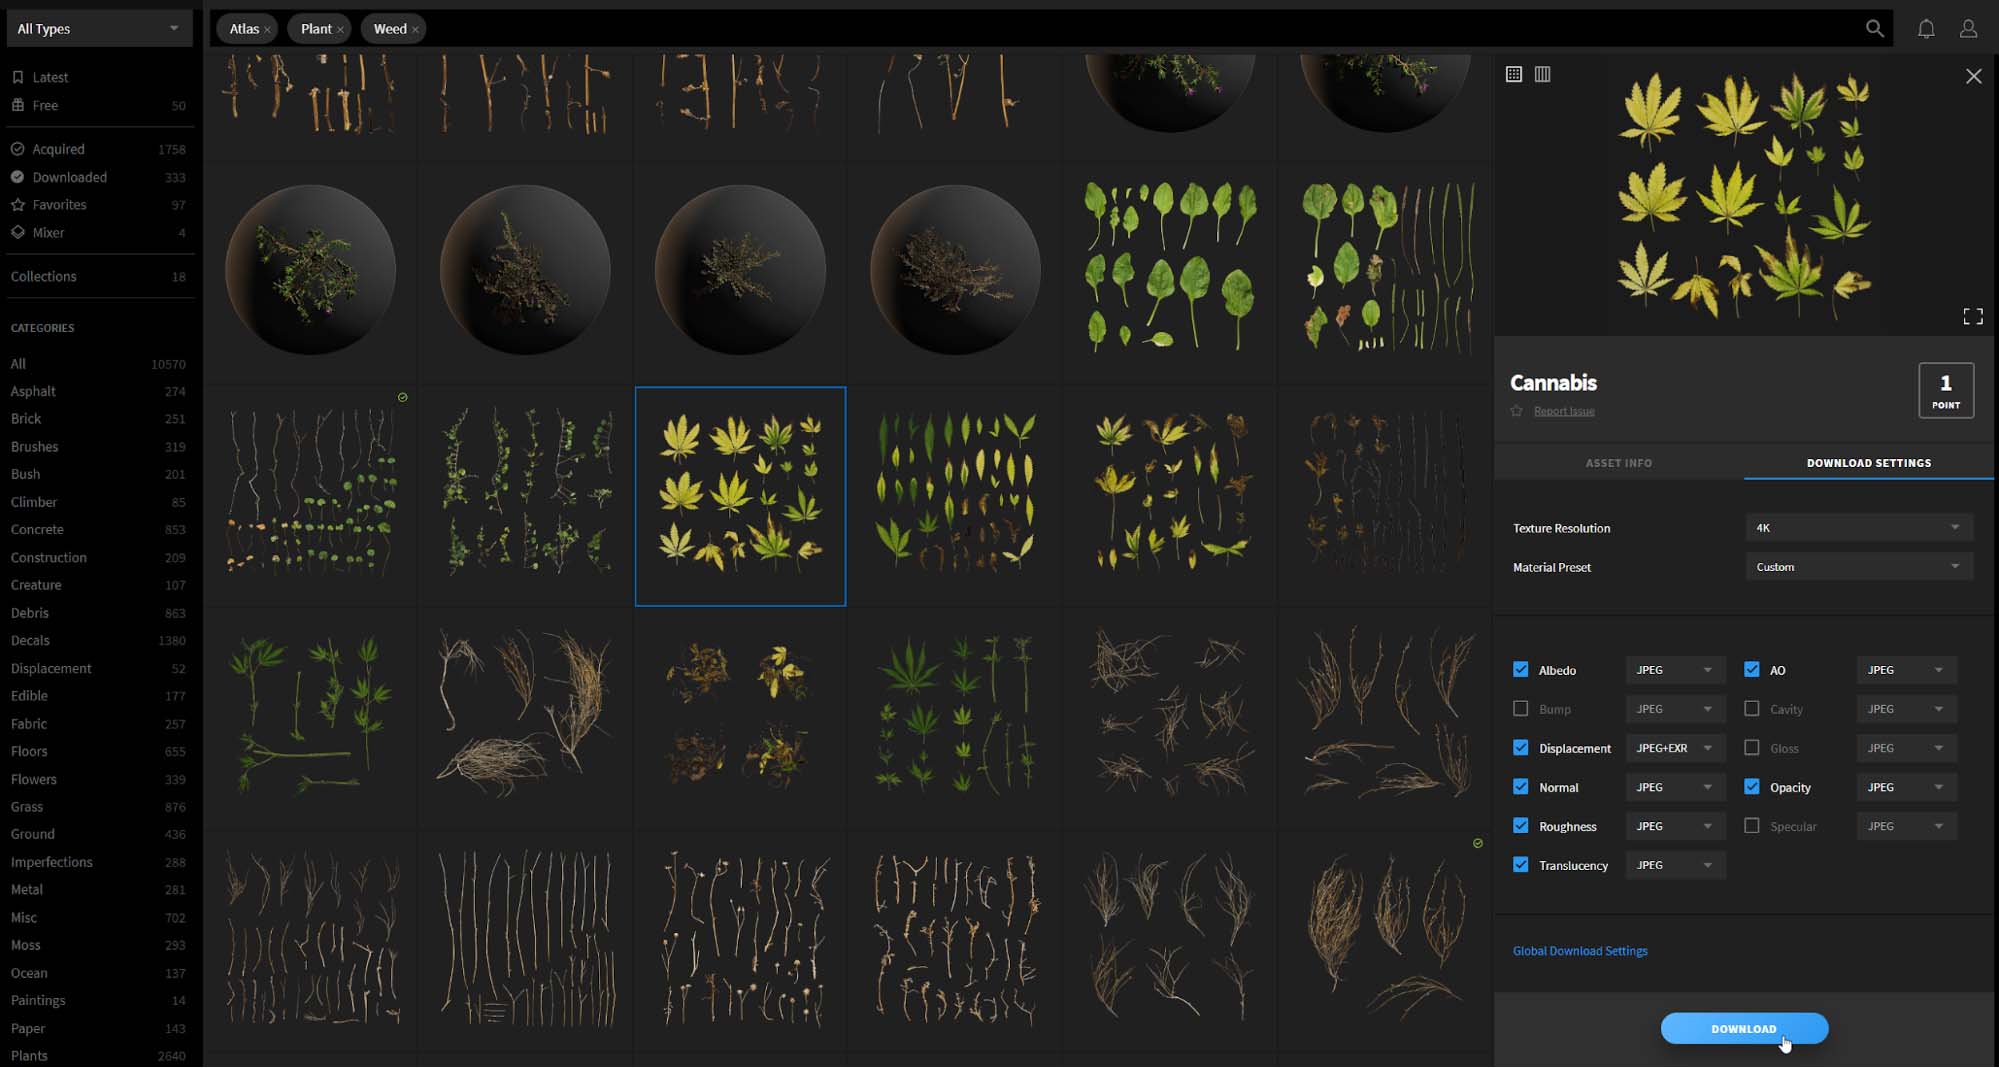
Plenty of interesting vegetation atlases in the library!
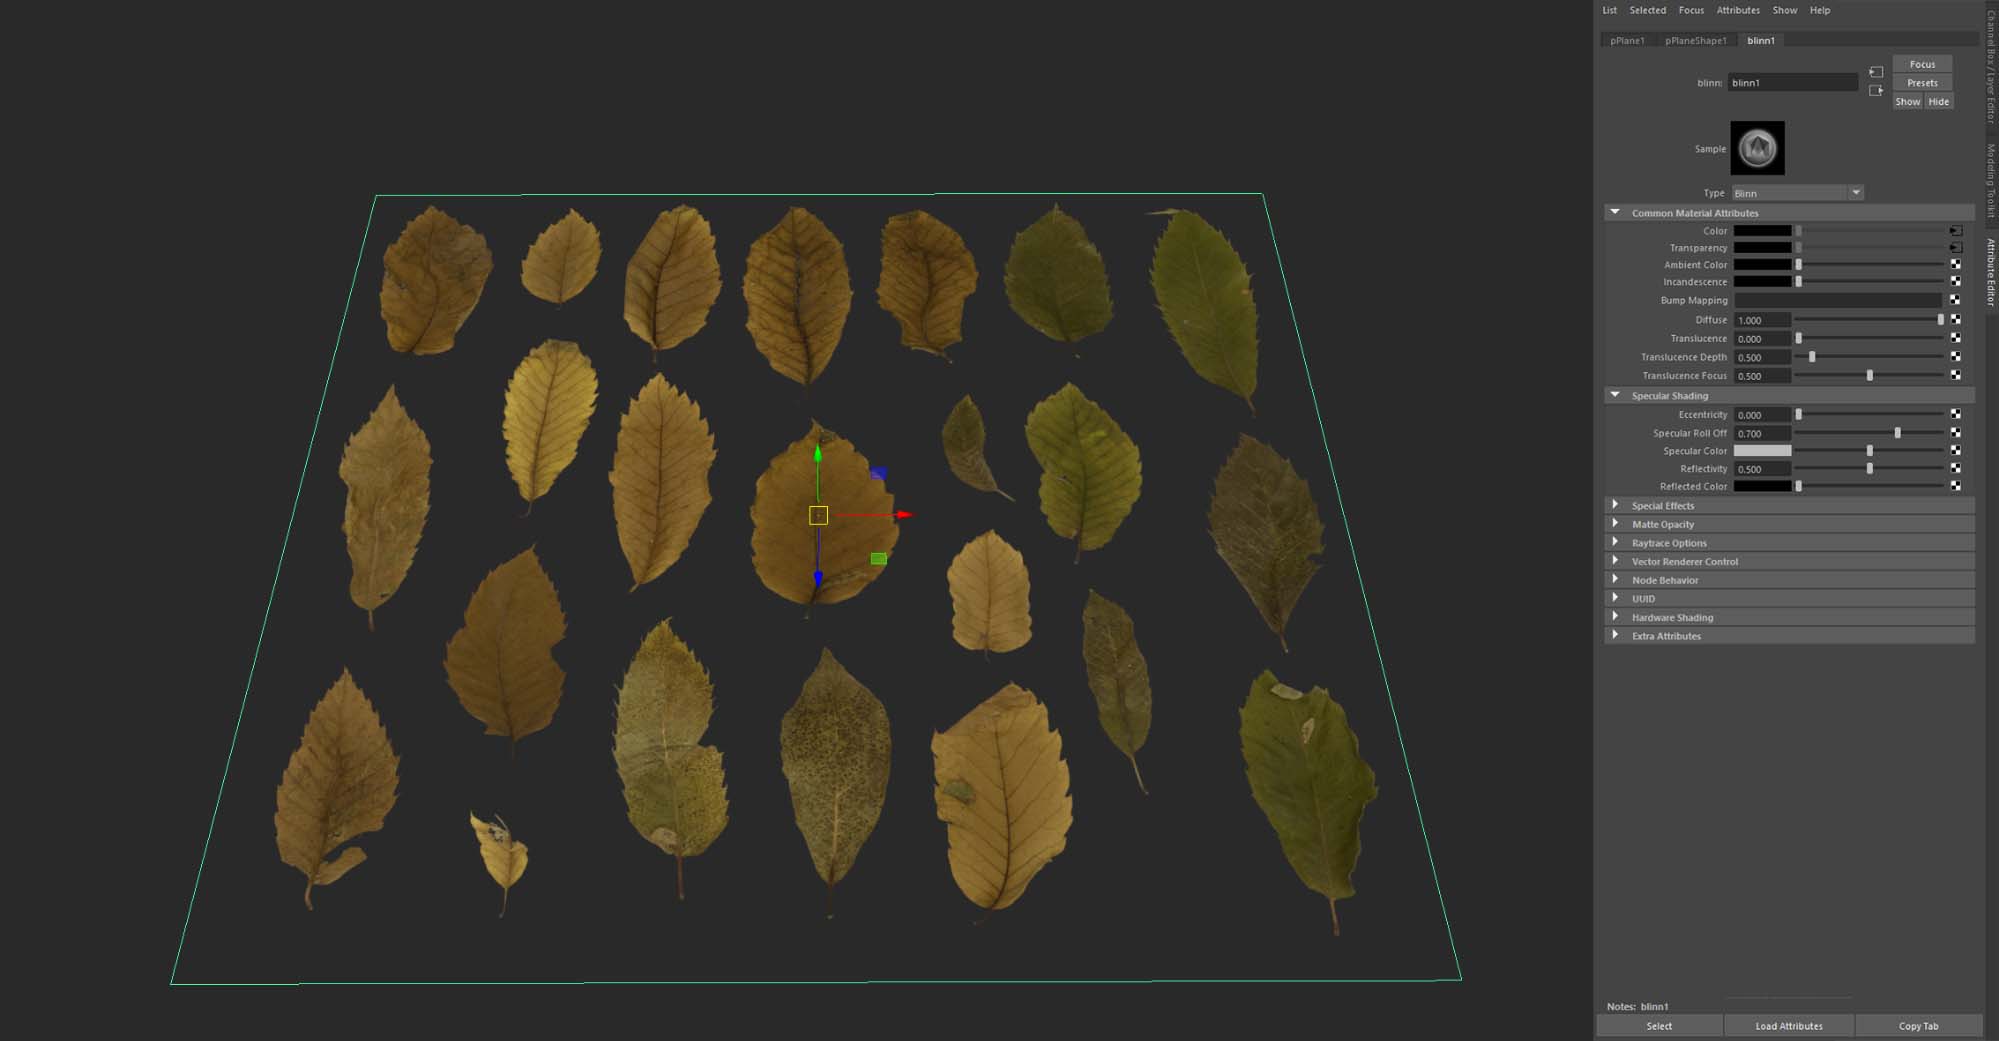
Then apply the albedo of your material to the color slot of a ‘Blinn material’, and the opacity to the ‘Transparency’ slot of the same material. Set the eccentricity under the specular parameters to 0, just to cancel any reflections at this stage.
Now comes the fun part: polygon cutting!
All major software these days have some really handy polygon knife/ cutting/ painting tools that help you create new geometry.
In Maya, you can either use ‘Multi-Cut’ to cut the geometry of each leaf or use ‘Quad-Draw’ to create new polygons. We’re going to be using the Multi-Cut tool, which should work like this:
Shift-right click to open the Multi-Cut tool, then start placing points
In this GIF, you can see how to take the plane from the previous image, duplicate it and invoke the Multi-Cut tool to start cutting the shape of the leaf. The process is fairly simple but can be quite time consuming depending on how many assets you may need.
We’re currently working on an automated solution to provide you these meshes by default, but knowing how to make your own atlases will still come in handy in your journey as a 3D artist.
Creating a leaf
As you can see, quite a few polygons have been added here, and the reasoning is that you don’t want to just cut leaves then scatter them all over. Ideally, you’d want to create a few variants by deforming, bending or folding some leaves.
In this example, we will be using a bend modifier to do some cool stuff:
I beleaf I can fly…
The bend modifier can be found in the ‘Deform’ menu:
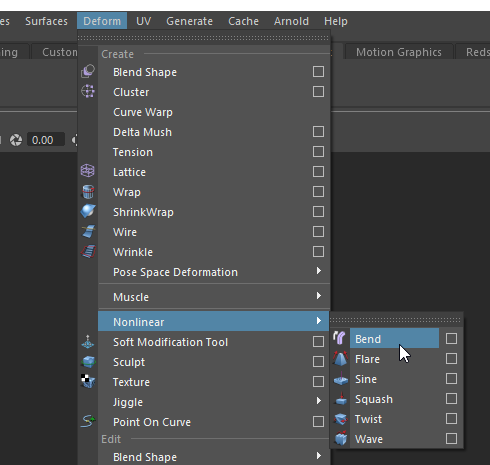
See that dotted bar right above it? If you click on it, that small window with ‘Bend’ and other deformers will detach from the main menu and float around the viewport. We highly recommend that you play with all these different deformers as they’re quite powerful for all sorts of operations related to the subject at hand.
Next, cut 2-3 other leaves from the same atlas, then add another atlas and pick some leaves out of it. Don’t feel constrained by using only what one atlas has to offer, as they all have a lot of use when combined together (and only cost 1 point each!).
You should end up with something like this (4 of these leaves have been bent/twisted):

If you wish to animate them later on, this would be the stage where you’d set that up. Animating vegetation is often done through vertex colors. Every vertex on a 3D model has specific information encoded into it, like its position, for example. There are multiple things that you can encode in a vertex, and color is one of them.
If you import a 3D plant from the Megascans library, you can display the vertex colors by selecting the object. Then in the attribute editor, you need to go to the shape node of the mesh. Finally, under ‘Mesh Component Display’ check ‘Display Colors’. This is what it should look like:
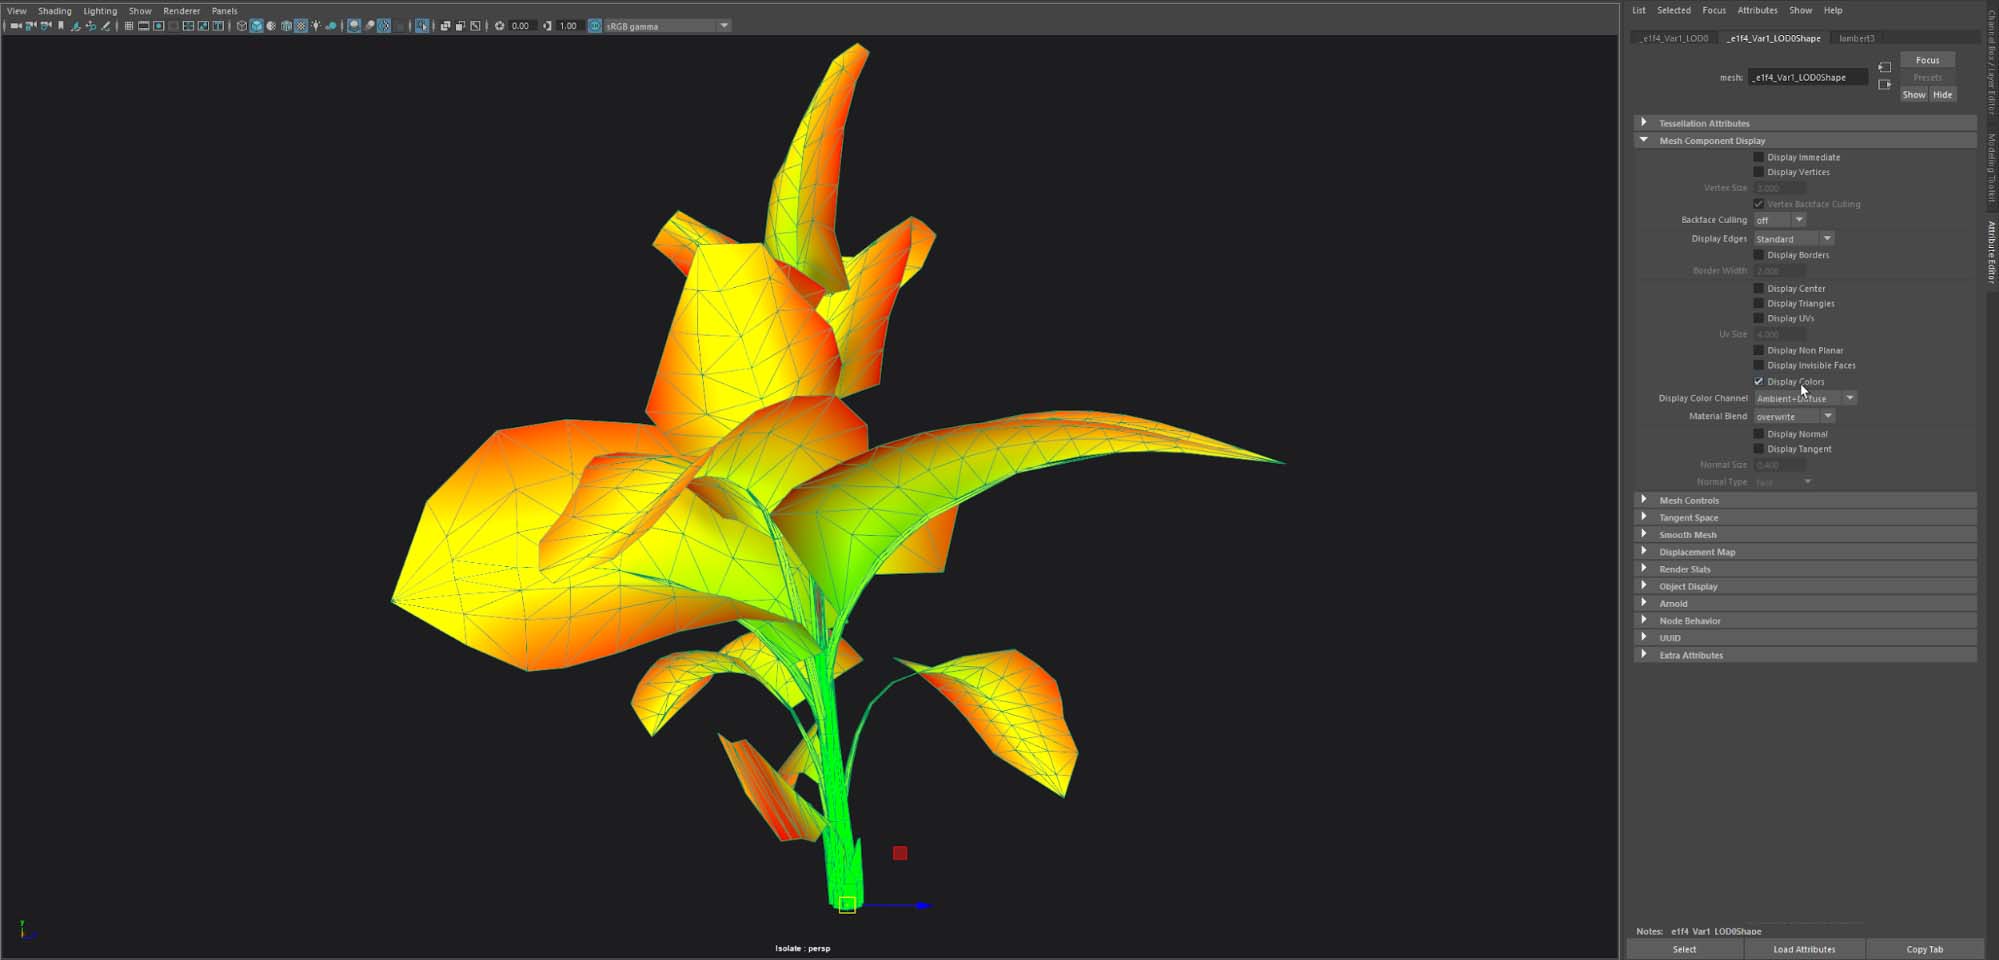
The color here is used to simulate wind in a software like Unreal Engine, for instance. In this case, you have a green to red gradient, where green is located on the stems and red on the tips of the leaves. These colors are then used to control the intensity of the movement/ swaying of the plant.
Here’s a quick demo of the vertex painting process:
First thing to do would be to apply a green color on the whole mesh. To do that, go to Mesh Display > Apply Color and click on the small square at the right of the ‘apply color’ text. This should open a settings panel where you can choose which color you want to apply as a fill color.
To paint on the mesh, select the square button at the right of ‘Paint Vertex Color’ tool. That’ll open the vertex painting panel where you can paint colors with multiple brushes, smooth out your brush strokes, replace, blend, and so forth.
Many stylized games don’t even ship with textures, instead they just rely on vertex colors, which are just numbers stuck to a vertex, so they cost little to nothing compared to a group of texture maps.
Alright, that should be it for this leafy chapter! Now we need to scatter our leaves so all our hard work can bear fruit!
Using Maya’s procedural plugin: MASH
Since 2017, Maya has shipped with an incredibly powerful plugin named MASH. This tool was originally made for motion graphics but can be used for a variety of procedural scattering patterns.
MASH is an extensive ecosystem and explaining how it works would be beyond the scope of this tutorial. We recommend you to check out this basic tutorial on using MASH to scatter assets by Ian Waters, and given how useful this plugin is, we’ll be revisiting it in more depth in the future. With that said, here is a recorded MASH setup process just for you:
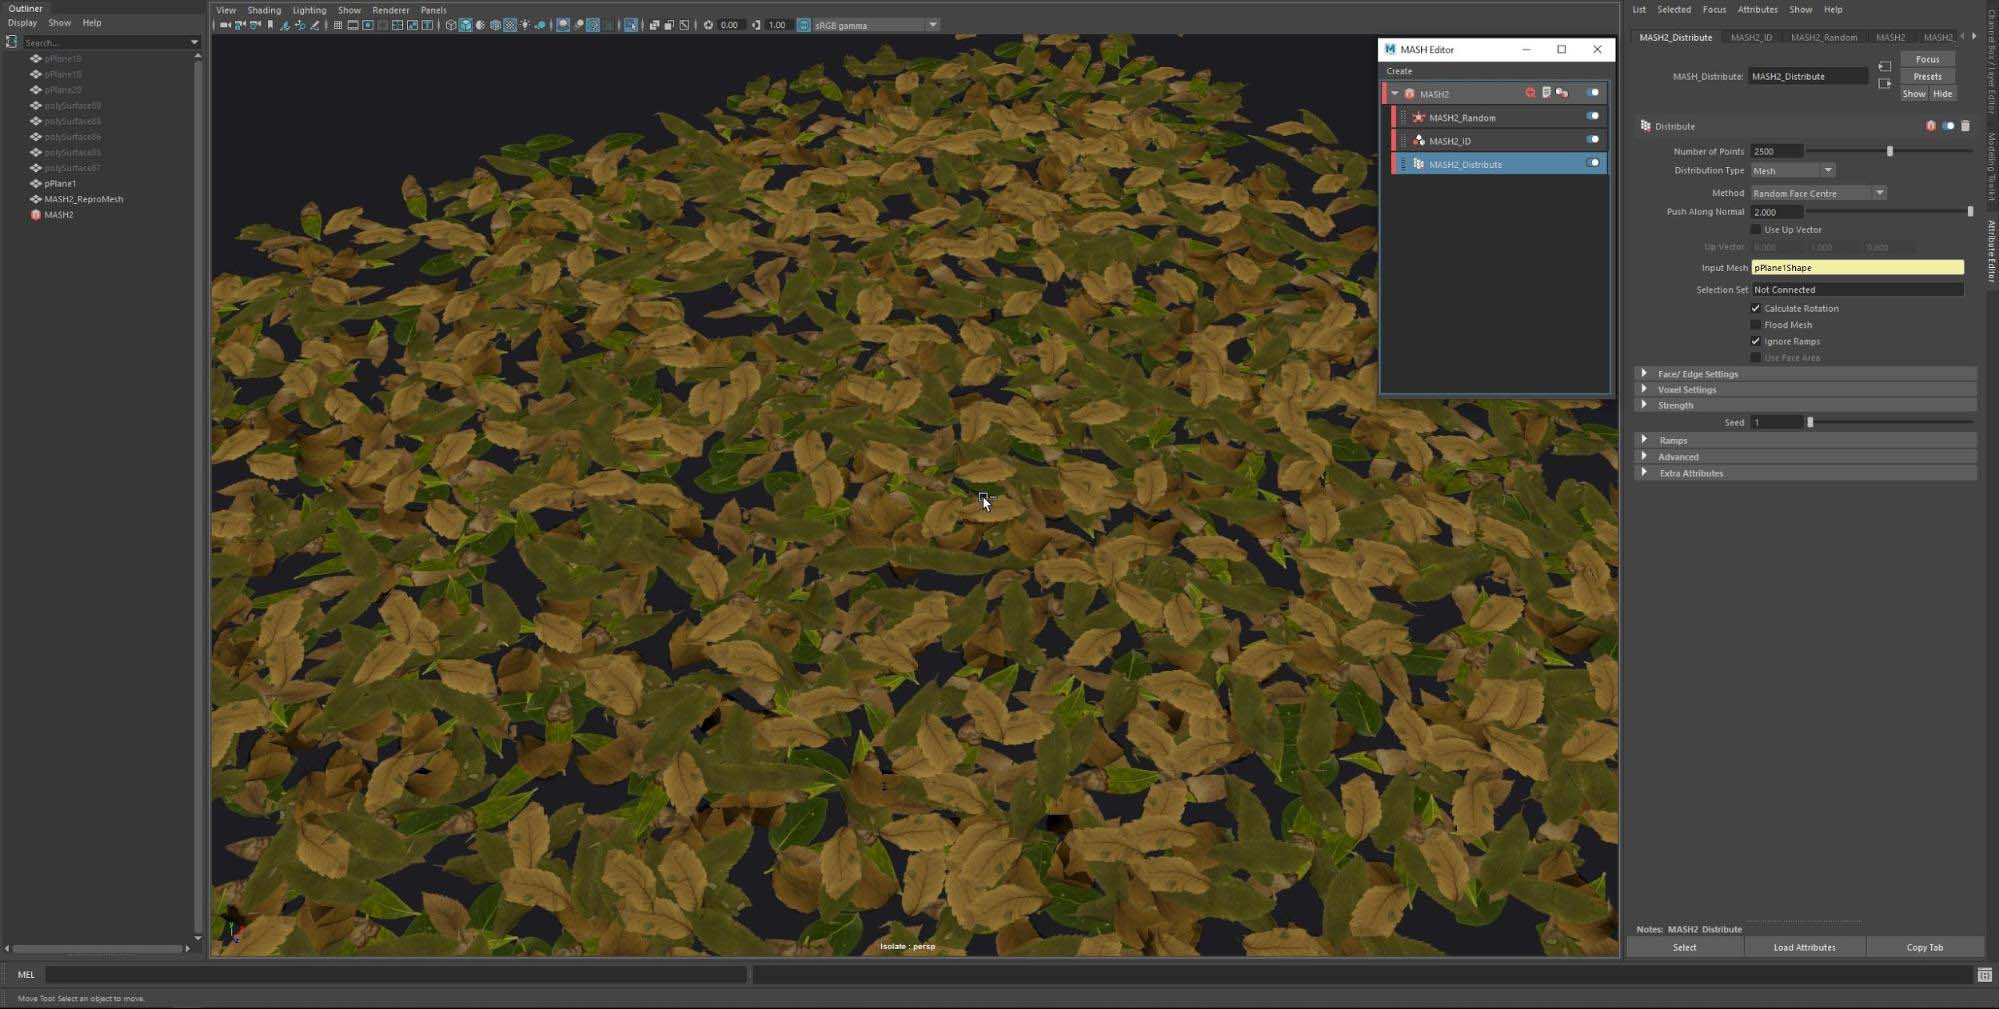
And here’s a screenshot that shows the MASH layer stack and the scatter parameters that have been used:
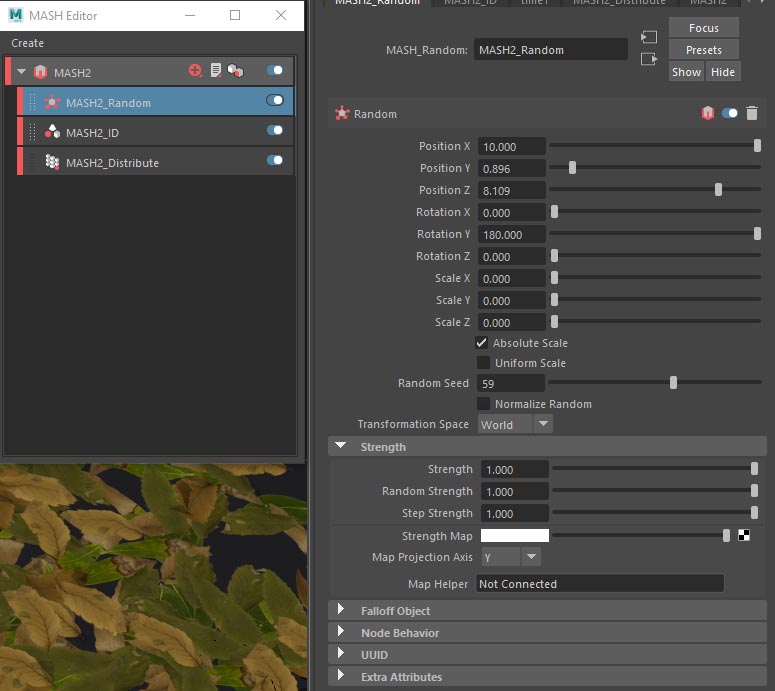
The random layer had some fairly basic parameters as well:
And finally, you have the ID layer, which just allows us to indicate the number of assets we want to use out of all the leaves we gave it as an input originally. Even though we gave MASH 8 different leaves in the beginning, the default settings only work with one leaf, which can be confusing sometimes. Using the ID layer is one way of controlling what you want scattered:
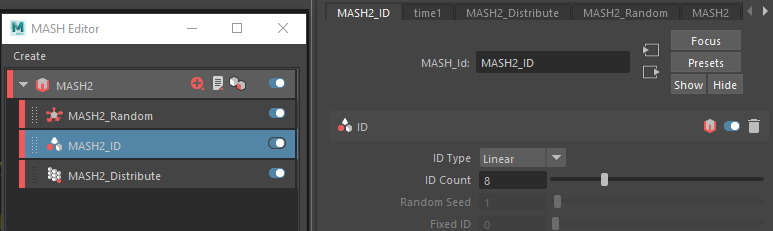
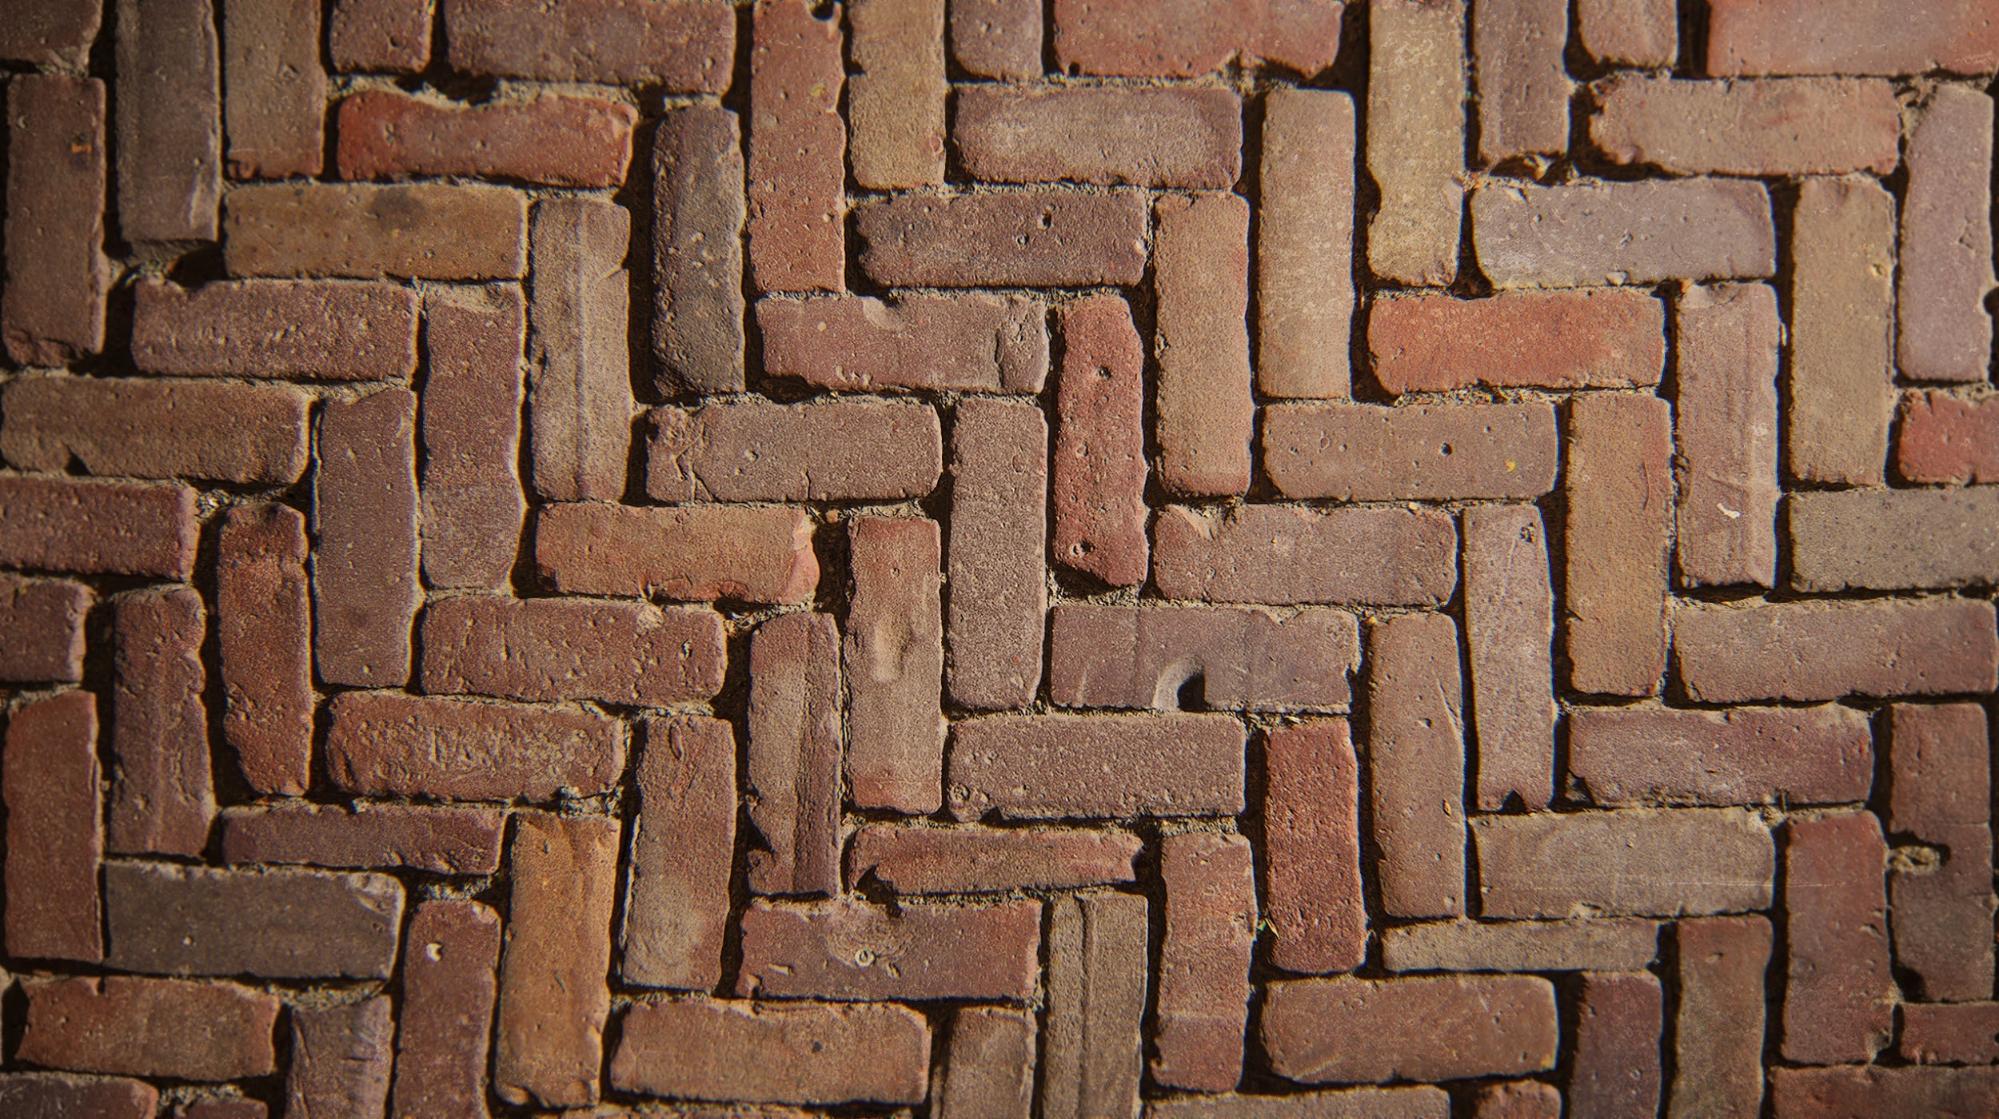
You can barely see it, but a simple concrete floor has been used as the base here. The bricks themselves have no height data (like displacement), which is why you will notice some intersecting/ overlapping objects in the final render.
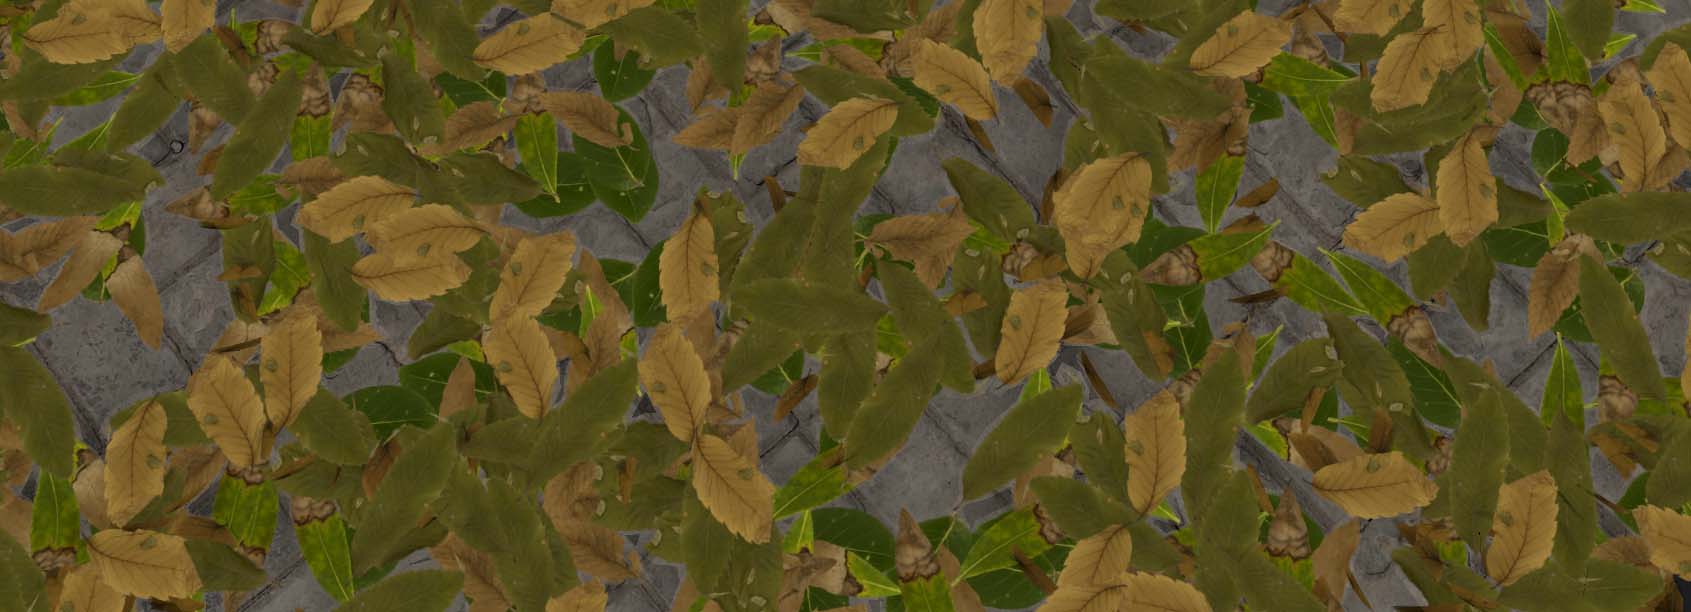
If you want your leaves to actually ‘rest’ on the geometry, you can do that either through the ‘Dynamics’ node of MASH, or by just adding a displacement to your concrete floor, converting the displacement to geometry (go to Modify > Convert > Displacement to Geometry) then doing the MASH scatter pass.
Something to keep in mind is that MASH keeps a lot of garbage nodes in your scene unless you delete them by deleting your history.
If you’ve watched the video, you’ll notice that we go to Mash > Utilities > Switch MASH Geometry Type, which basically converts our scatter objects to instances that are much more efficient to compute when you want to scatter thousands of assets.
Once you’re done with your scattering, you’ll need to click on that button again to switch back to polygons, then delete history to remove any MASH node dependency.
Then your geometry should be ready for you to export or render! You’ll end up with two materials if you’ve used two atlas assets, or more if you’ve used more assets, so do keep that in mind. Combining your newly scattered atlases is definitely feasible, but a bit out of the scope of this article as it entails some intro to texture baking, something that we’ll be covering more extensively in the coming months.
Putting it all together
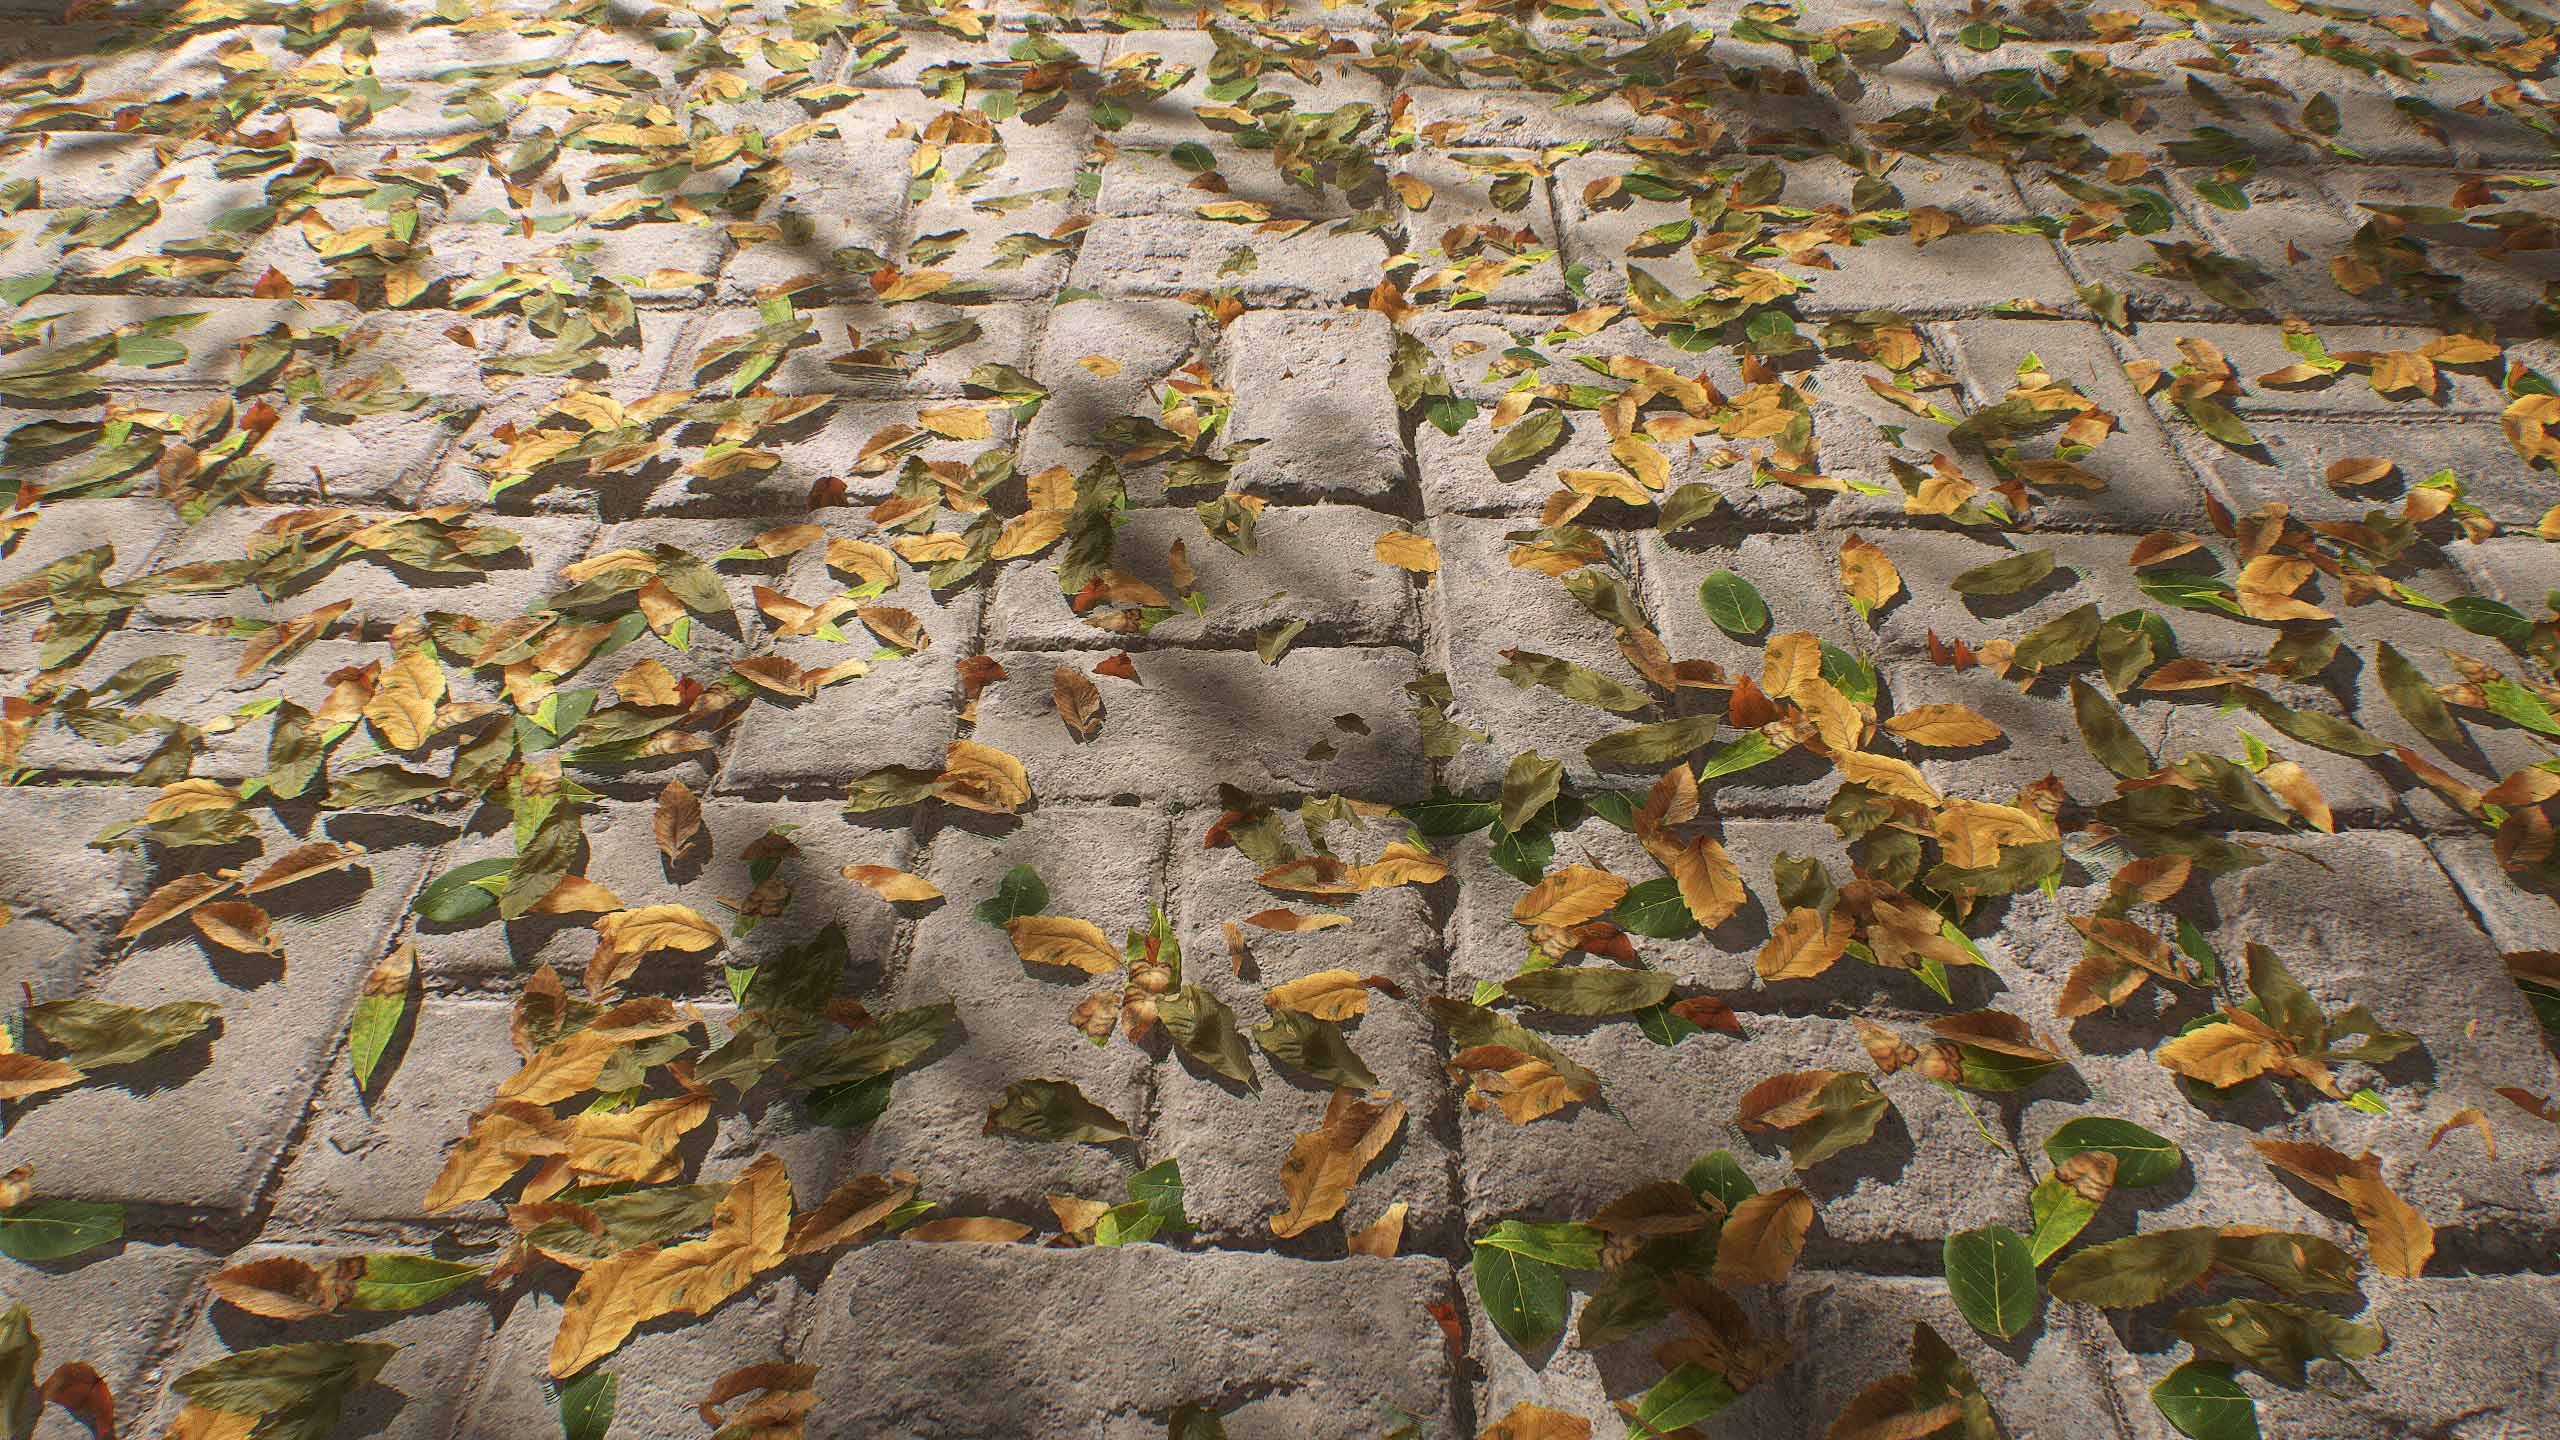
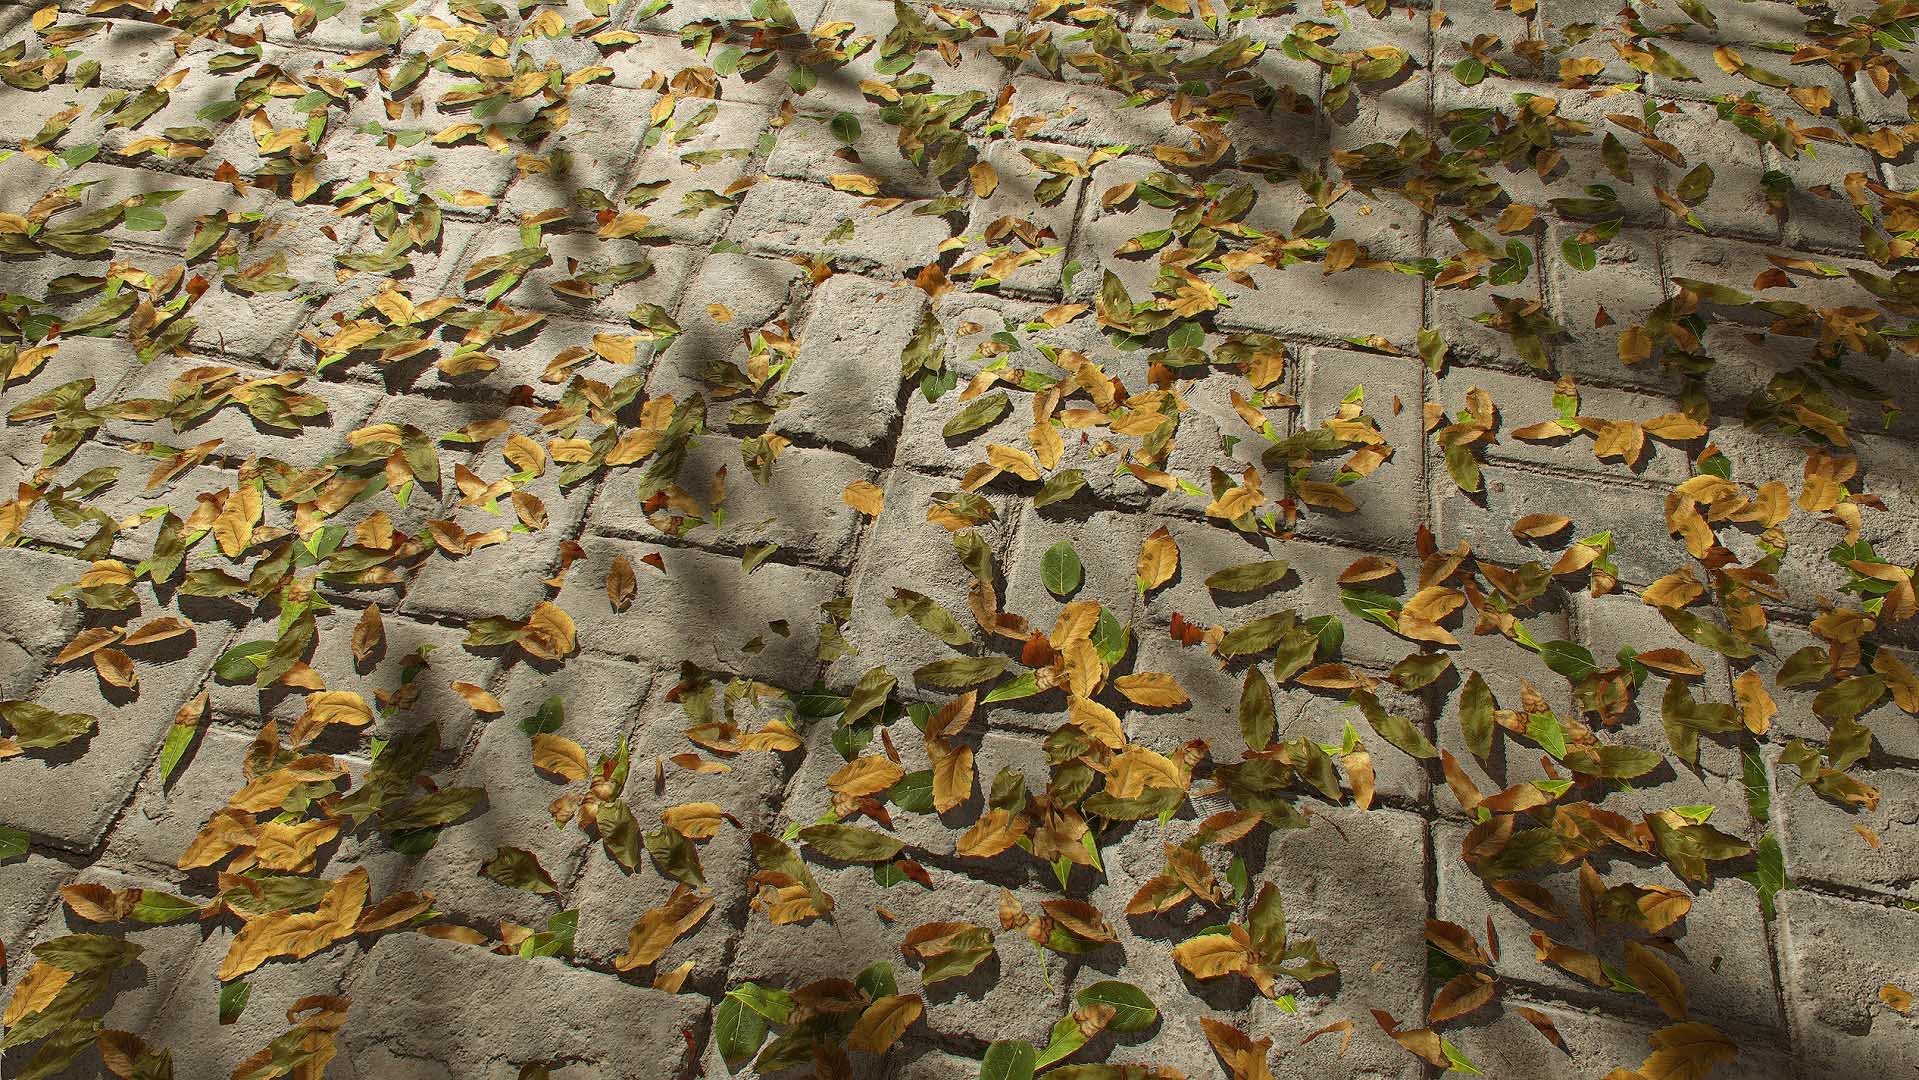
For the rendering, we followed the same workflow as described in our texture rendering article, which is highly recommended for anyone looking into rendering their assets.
The scatter assets and the plane were exported in Marmoset Toolbag. We then set up a basic camera and did a post-processing pass, then started rendering out a video and a few screenshots.
And that’s it for this tutorial! We hope you’ve enjoyed reading it and learned some new stuff.
Don’t forget to join us on the Quixel Art Community on Facebook, where our talented community and Quixel’s own art team are there to help you get to the next level.