Mixer 2019: Hybrid Workflow with Scan Data and Proceduralism
It’s here folks. Mixer 2019—the biggest ever update for Mixer, packed with powerful new core features. And it’s just the beginning.
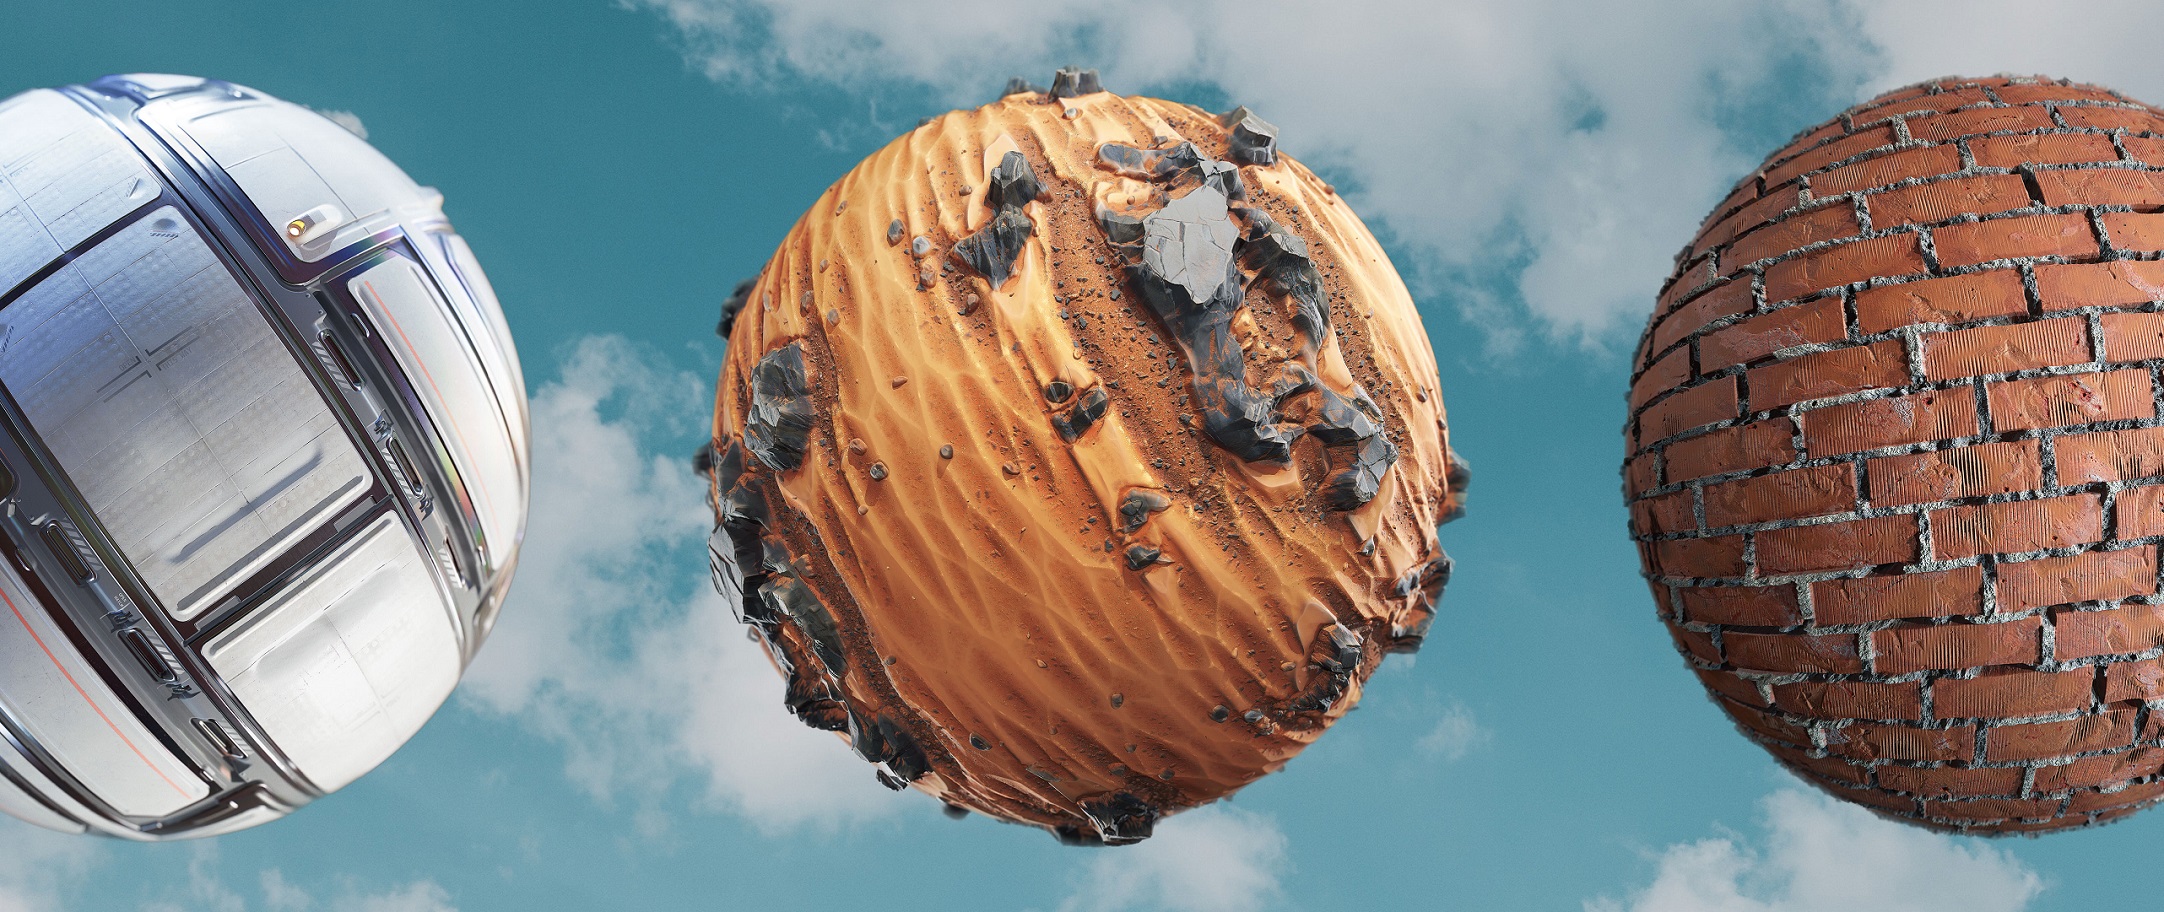
With the democratization of content through Megascans, we wanted to empower artists to leverage this vast library of scans in the easiest texturing workflow to date, while having total control. That idea became Mixer: a material authoring software with unparalleled speed and a focus on hybrid workflows: scan data, procedurals, hand painting and sculpting.
Mixer 2019 completely marries the power of scan-based mixing, sculpting and painting, with easy-to-use yet powerful procedural layers, all in one app. Create completely unique materials your way — photorealistic or stylized, with infinite variation.
Before we break down the details, we wanted to remind you that we’ve made Mixer totally free for the duration of the beta. This means that until the end of the year, you can try out all these new features even if you don’t have a subscription.
Introducing the Mask Stack
The biggest new feature in Mixer 2019 is the Mask Stack.
It unlocks a whole new level of creativity through a total synergy between scans and procedurals, completely controllable with custom sculpting and hand-painting. This potent combination gives you the best of all worlds, enabling a slew of material authoring workflows, like procedural material creation, stylized textures, scan-based PBR materials from photos, terrain creation and much more.
With the new Mask Stack you can procedurally author, modify, and define your materials completely non-destructively, responsively and instantly. With zero loading and rendering time, you get instant feedback on your actions and adjustments.
We have big plans for Mixer and intend to rapidly expand its abilities with new features and tools together with feedback and learning from you, our amazing community.
Mask Stack Layer Types
The Mask Stack contains two categories of layers – Components and Modifiers. Components generate all kinds of cool displacements, while modifiers alter and modify it. Check out some of the highlights below!
Normal Mask Component
The Normal Mask component directionally masks areas using normals interactively with an easy to use, 2-axis radial control. For this mask, you can select the normal information from either the current layer or the combined underlying layers.
Noise Mask Component
Procedurally generated noise is key to creating natural-looking effects and break-up in your materials. The Noise component allows you to choose from a number of noise generators, with many more to come!
Curvature Mask Component
The Curvature component enables you to derive edge information from your mix in real-time. It uses the underlying layers to accentuate edges, cavities, or even generate Ambient Occlusion. It can be used to quickly create effects like edge wear and grime accumulation.
Patterns Mask Component
The Pattern component contains a range of different patterns, such as squares, circles, checker, gradient and more. These are a great base to work with surfaces such as bricks, floors, sci-fi surfaces and much, much more!
Additional Mask components
The stack features more component types that help you customize your masks further:
Image Mask:
Load custom mask images into the stack to have finer control over the masking.
Position Gradient:
Create a mask gradient based on the vertical, horizontal, and height of the mix. This is a quick way to highlight or add effects to parts of the mix based on positional information. You can select the positional information for either the current layer or the combined underlying layers
Solid Component:
Add a solid component to fill your mask with a specific greyscale value. This is useful when trying to quickly create a starting point with a uniform value for your mask stack.
Blur Modifier
Soften anything with the Blur modifier. We have added two different, responsive blur types – Gaussian and Directional.
Bevel Modifier
Bevel creates a slope for hard edges, giving them a beveled or angled appearance.
This component is extremely useful for hard-surface texturing, but can also be used in very creative ways, like as an erosion filter when dealing with terrains for example.
Gradient Remap Modifier
Gradient Remap raises and lowers values in the mask to limits that you control. This operation can then be repeated in itself. Combining the Gradient remap with other layers helps create smooth repetition of complex patterns and shapes.
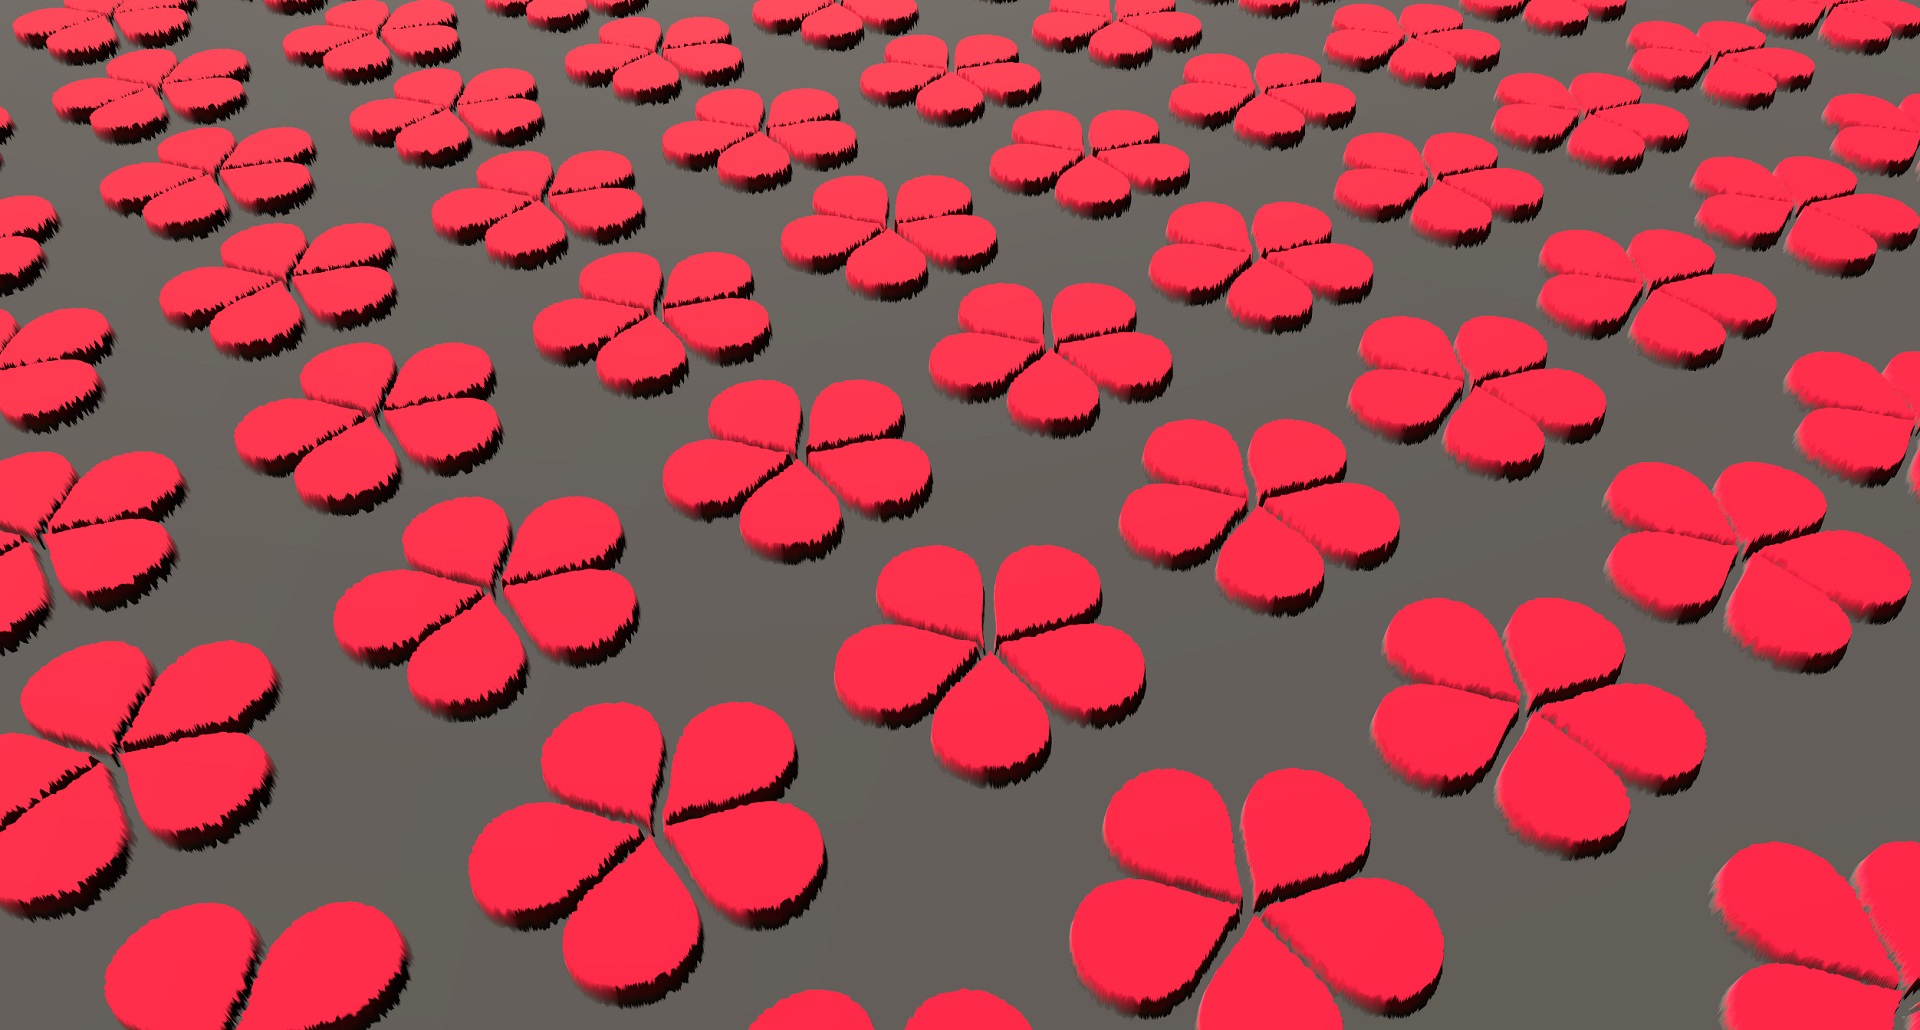
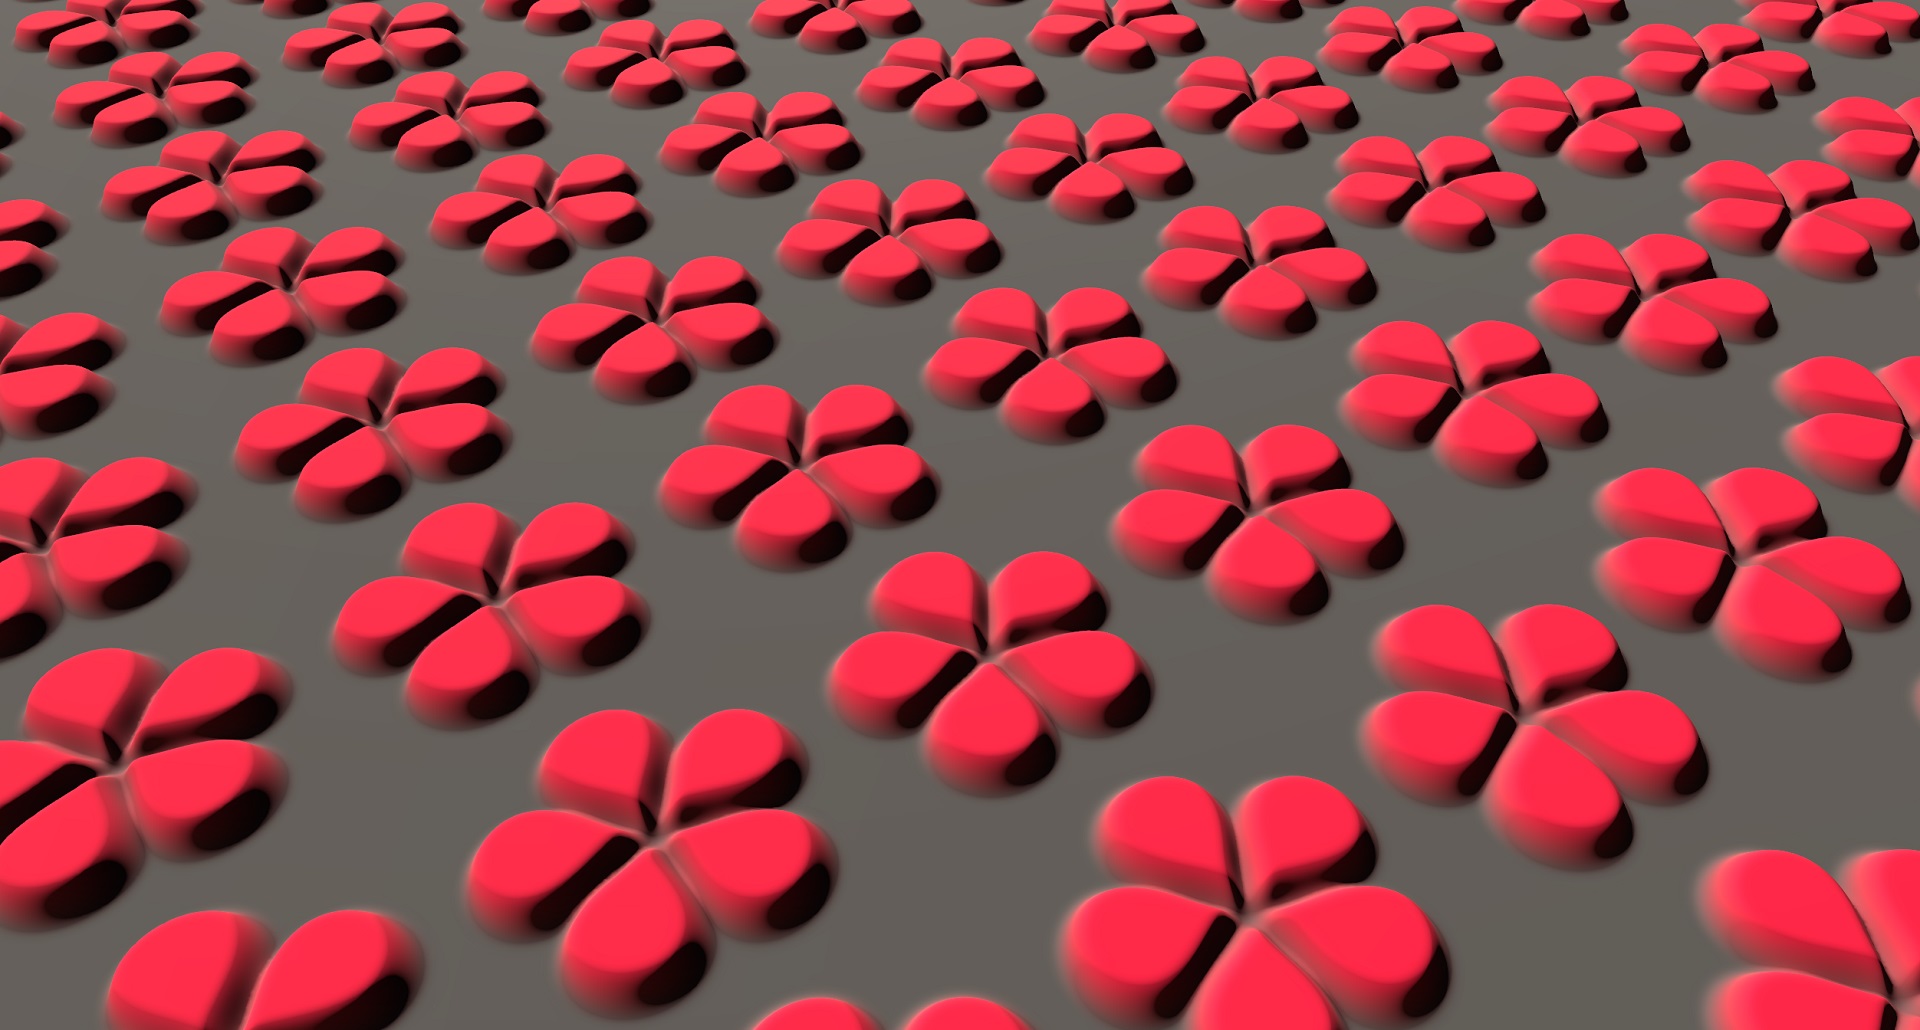
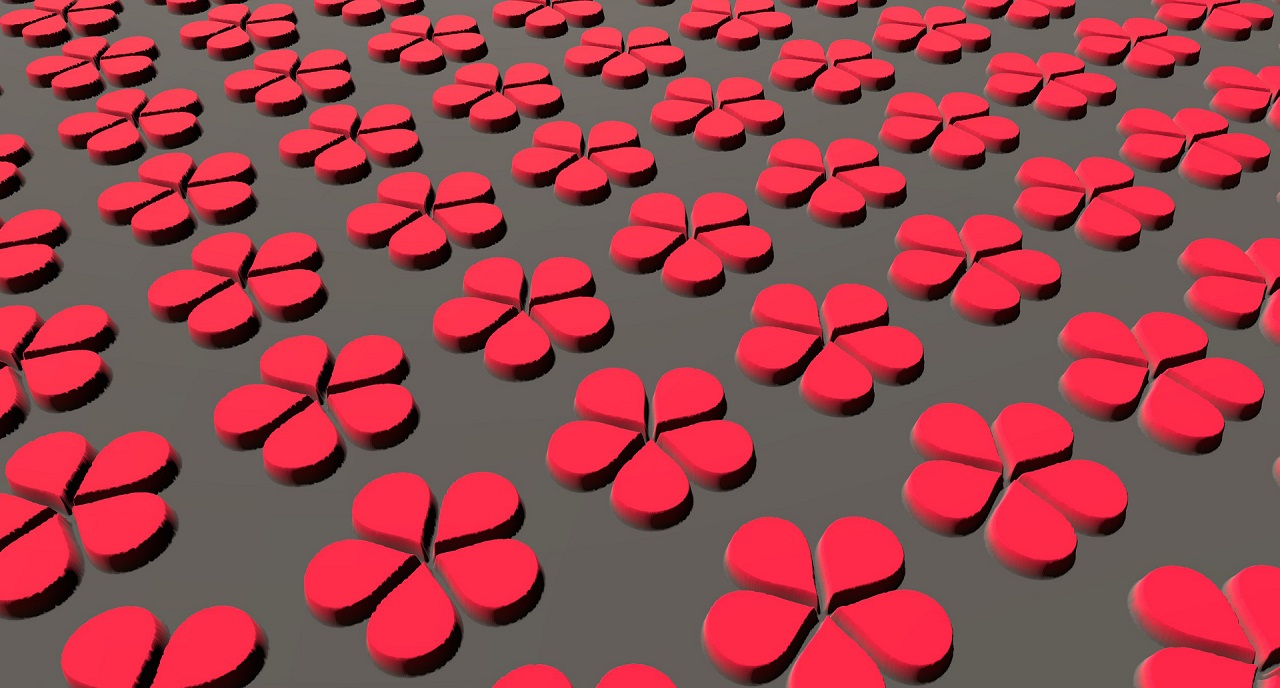
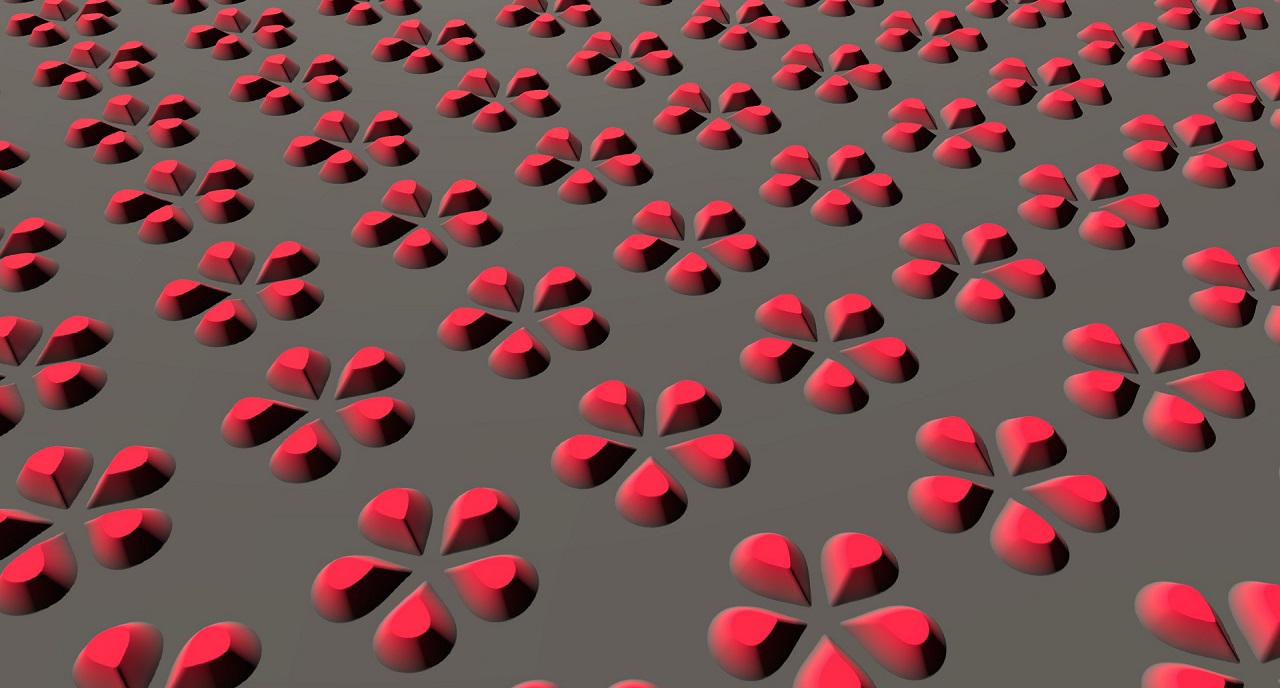
Circular Transform Modifier
Circular Transform allows you to make circular patterns out of any existing layer. Loop, repeat, and swirl are super fun to experiment with.
![]()
Blending of Mask Stack Layers
Mixing of Mask Stack layers can be done in many ways. You can change opacity, clip any layer to any layer, and change the blend mode (normal, add, multiply and overlay, with more on the way).
New Sample Mixes and Mask Stack Presets
This update to Quixel Mixer comes packed with exciting new Sample Mixes and Mask Stack Presets that present a glimpse of what is possible with the new Mask Stack features. We hope that they will inspire you to create your own unique mixes.
Paving the way for the future
The introduction of the Mask Stack opens up a huge and vast platform for us to expand upon. This the first step towards adding Smart Materials to the Mixer and bringing over highly requested and familiar features from Quixel Suite. We will be extending this in the coming months and would love to hear your feedback and input on how you think it can be improved.
Check out our introduction to the all-new workflow.
Read more about Mixer’s 2019 roadmap.
We will be extending this in the coming months and would love to hear your feedback and input on how you think it can be improved. Let us know what you think!