Artist Spotlight: Guilherme Rabello builds true to life beauty in real time
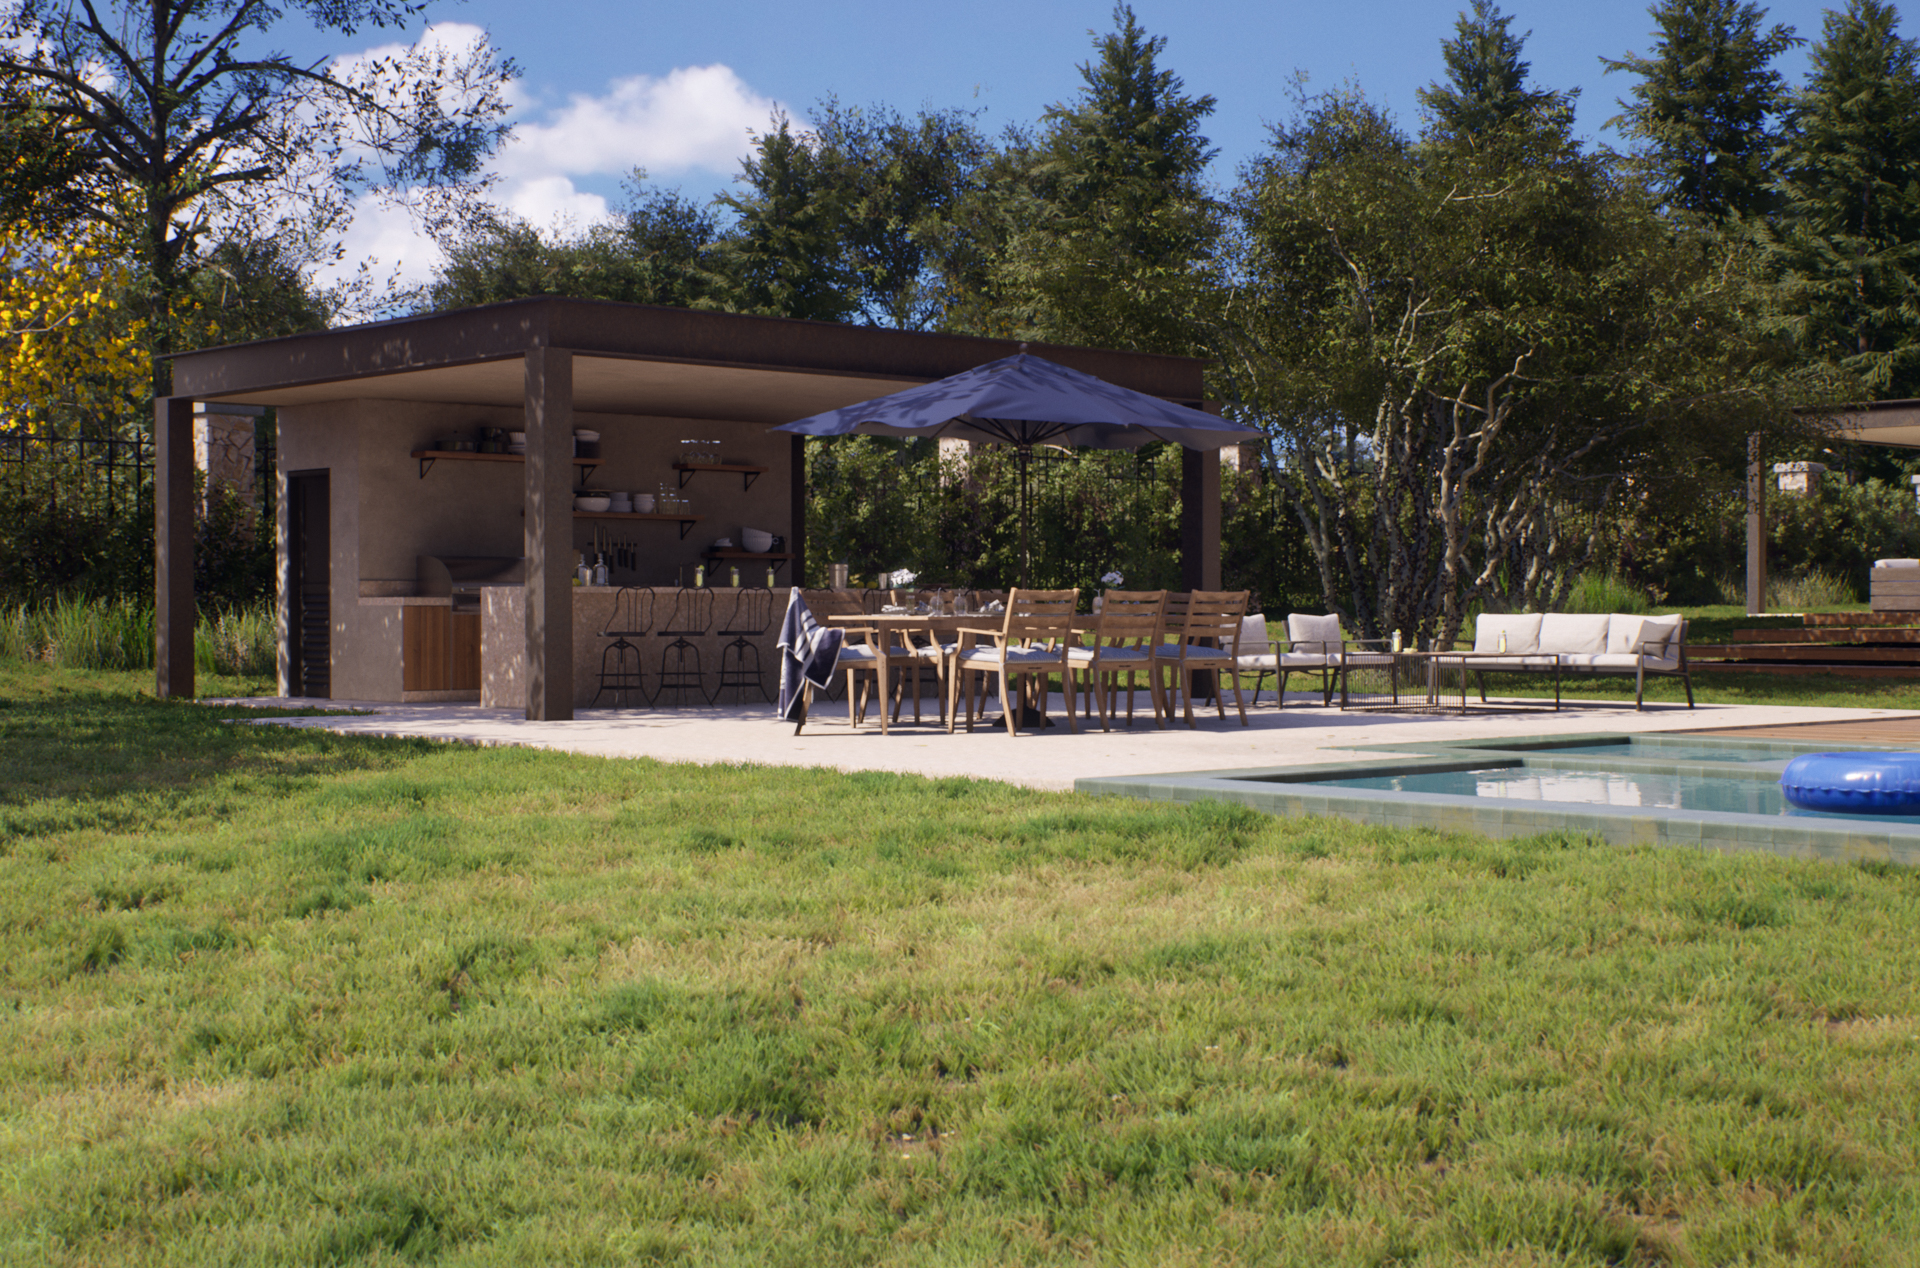
We’ve been following this project’s development for a while — and so have you. Today, the talented Guilherme Rabello walks us through his gorgeous “Modern Barn”, an Arch Viz project made with the help of Quixel Megascans assets, decals, and atlases, in real time inside of Unreal Engine.
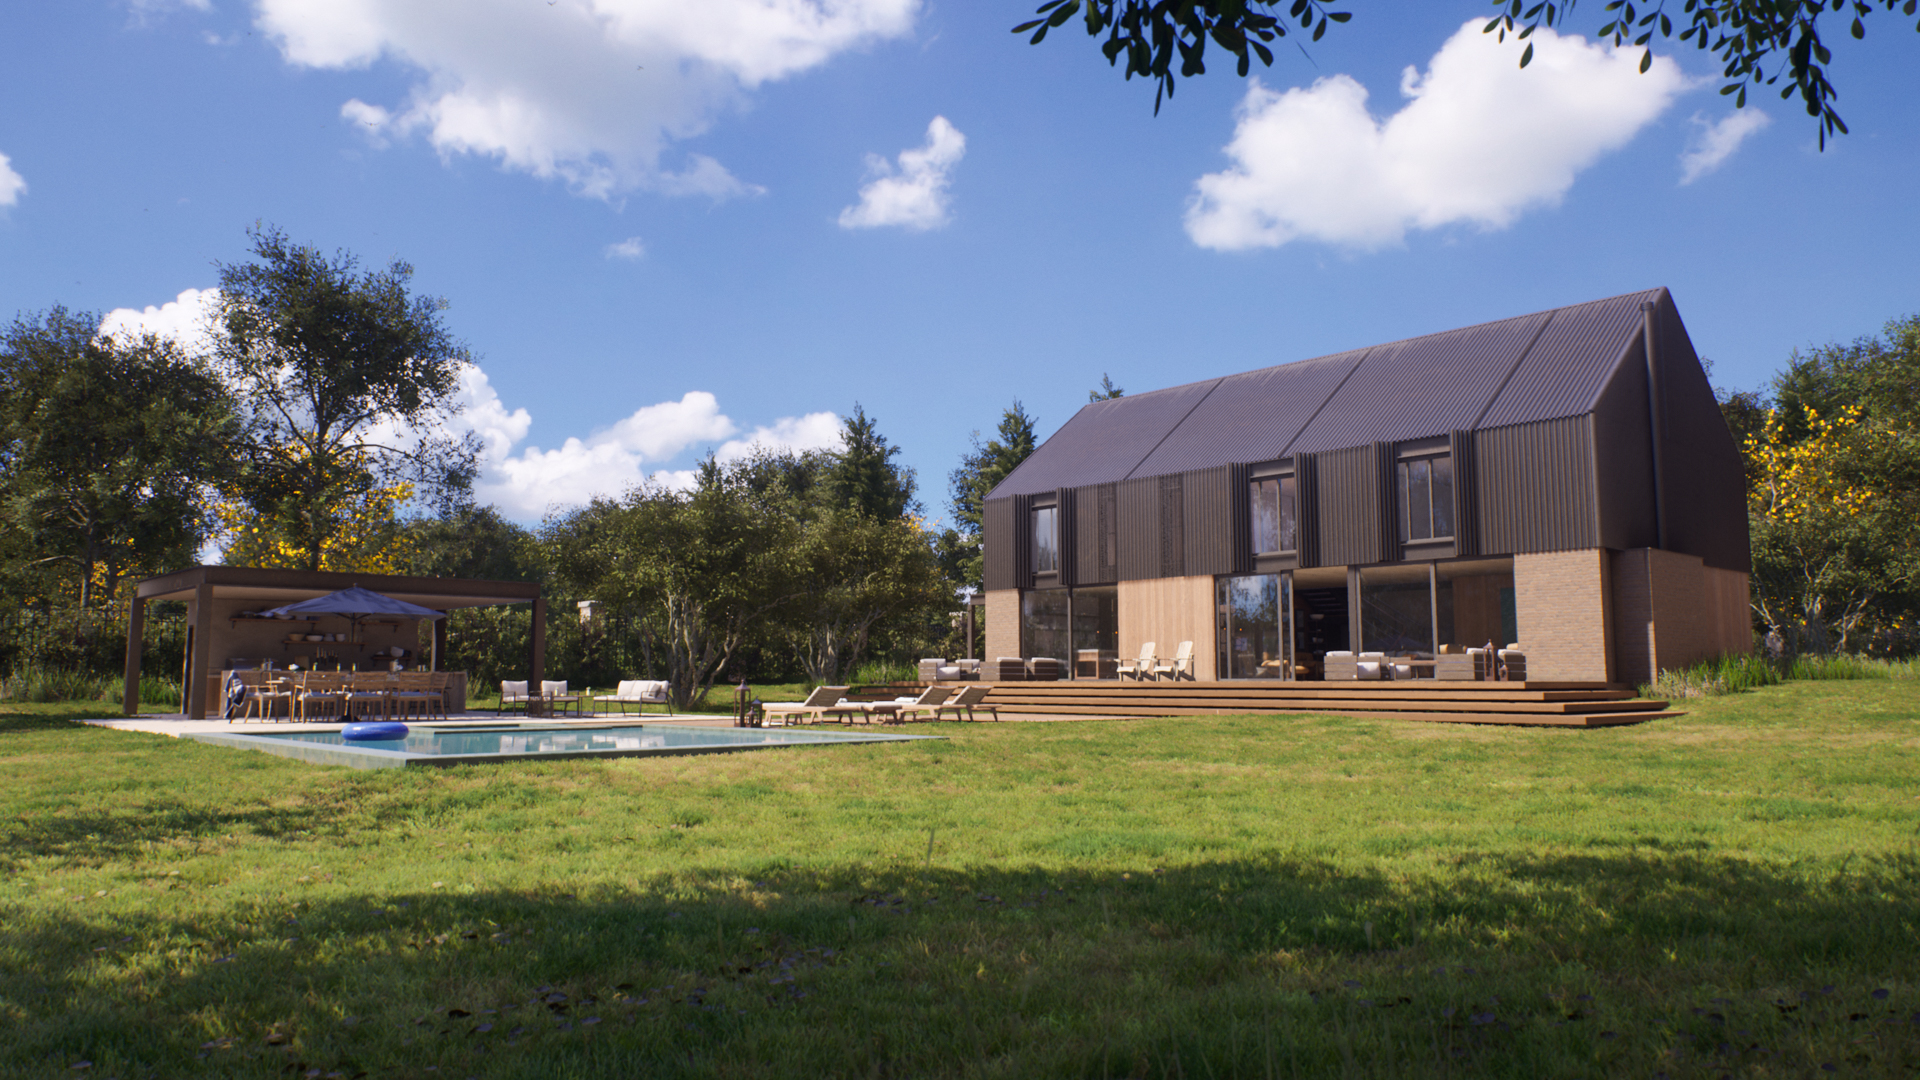
As a project, Modern Barn sets the bar for what is possible in real time for the world of Arch Viz. We were fortunate enough to have Guilherme share with us his process and approach to building this near-lifelike environment.
In Guilherme’s words:
Hello. I’m Guilherme Rabello. I hold a masters degree in Computer Science and I’m also a 3D artist who has been working with architectural visualization for 15 years. I’m currently trying to bring those two areas together as a researcher in real-time Arch Viz at my startup, Sureale.com, in partnership with the Federal University of São Carlos in Brazil.

I do some freelance Arch Viz jobs every now and then and after delivering them to the client, I usually keep improving them during my spare time. It’s a way I’ve found to keep practicing and improving my skills.
I’m going to talk a little bit about my latest project — Modern Barn — that started as an ordinary Arch Viz and ended up being the most complex project I’ve ever worked on in Unreal Engine.
Architectural concept
This project started with a freelance job for an architect friend of mine. The project was not for her customer, but for her portfolio, so it had a slightly more malleable deadline than a traditional Arch Viz job. So I saw it as a good opportunity to practice my skills in Unreal and explore new techniques. In addition, it was a country house with lots of vegetation, which is my favorite scenario.
I had as a starting point: the house blueprint in AutoCAD. I didn’t know the exact lot address, but I knew the approximate region. This allowed me to analyze satellite images from Google Earth to get a better sense of the vegetation and the elevation of the surroundings.
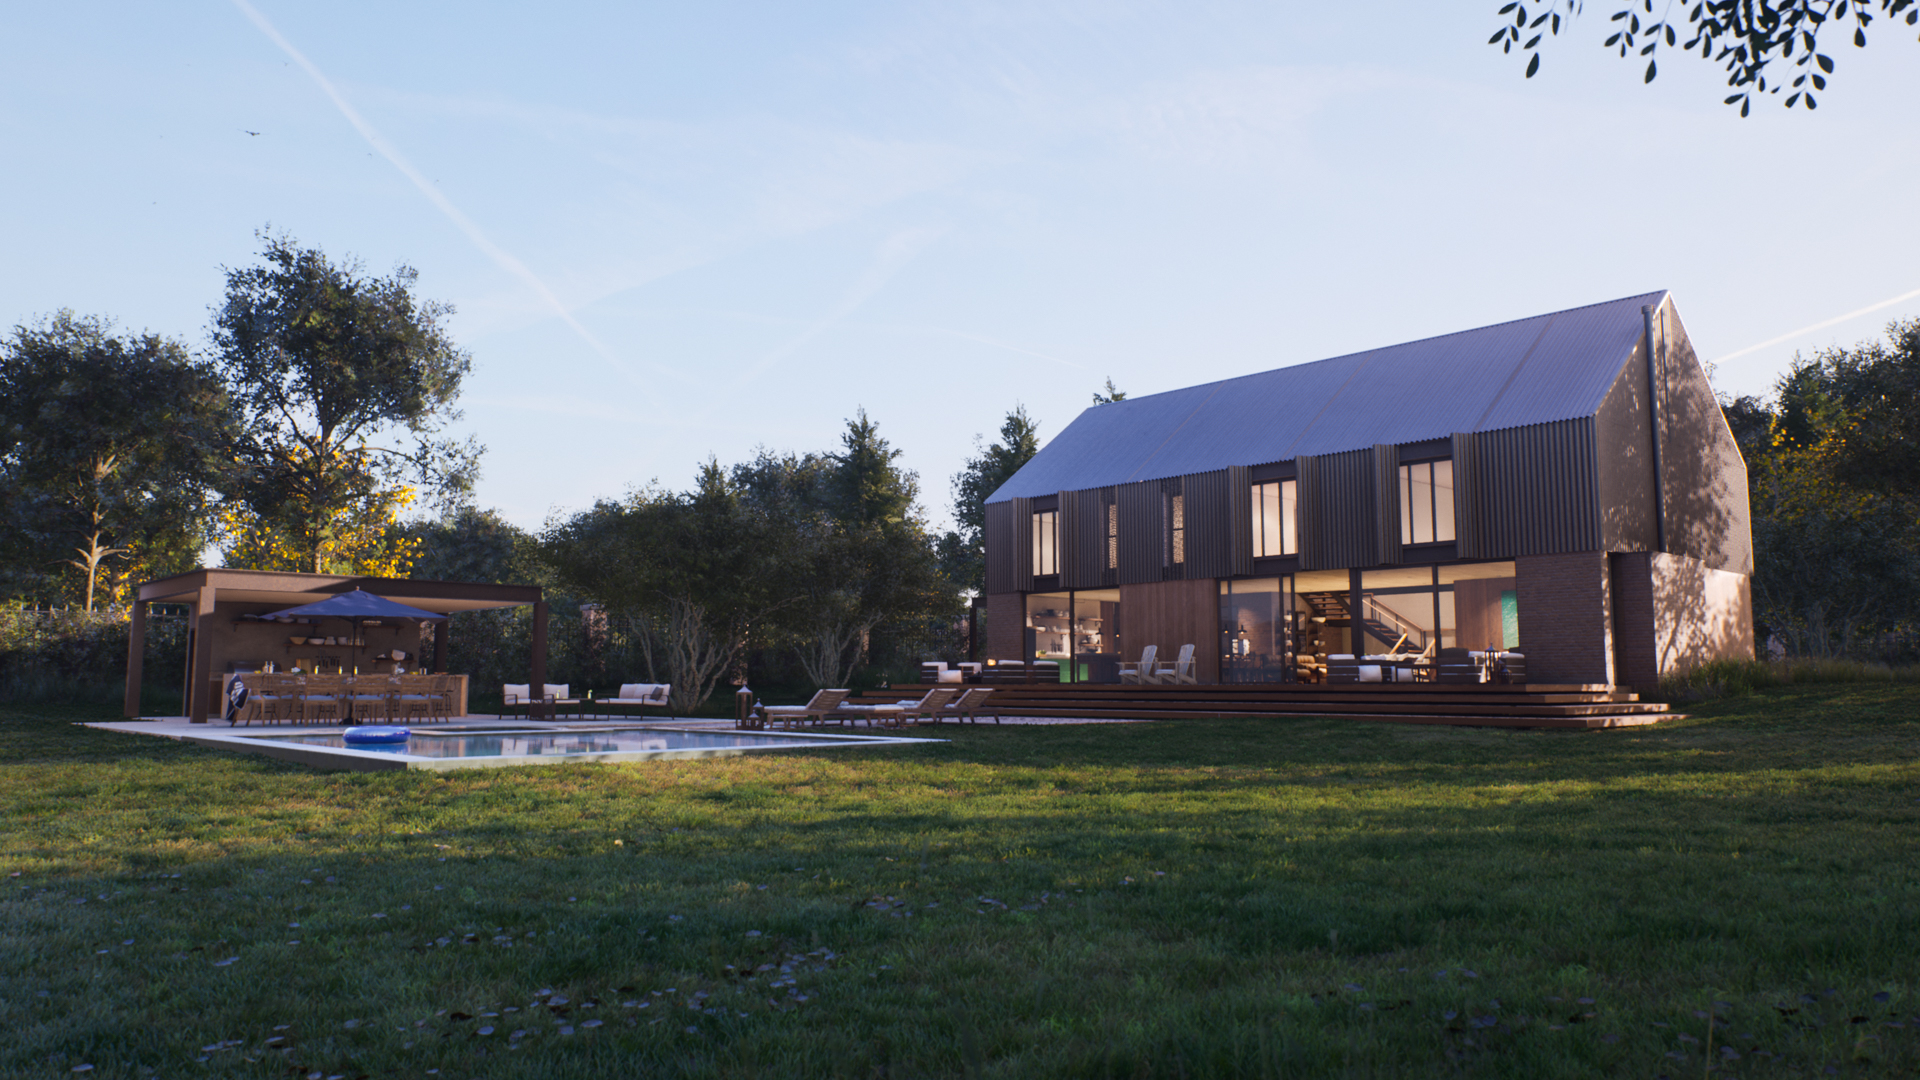
The architectural style of the house is of a modern barn. The architects, Luciana Bernasconi and Mila Ricetti, wanted to merge elements of Brazilian and American design.

Architectural concept references
Arch Viz inspiration
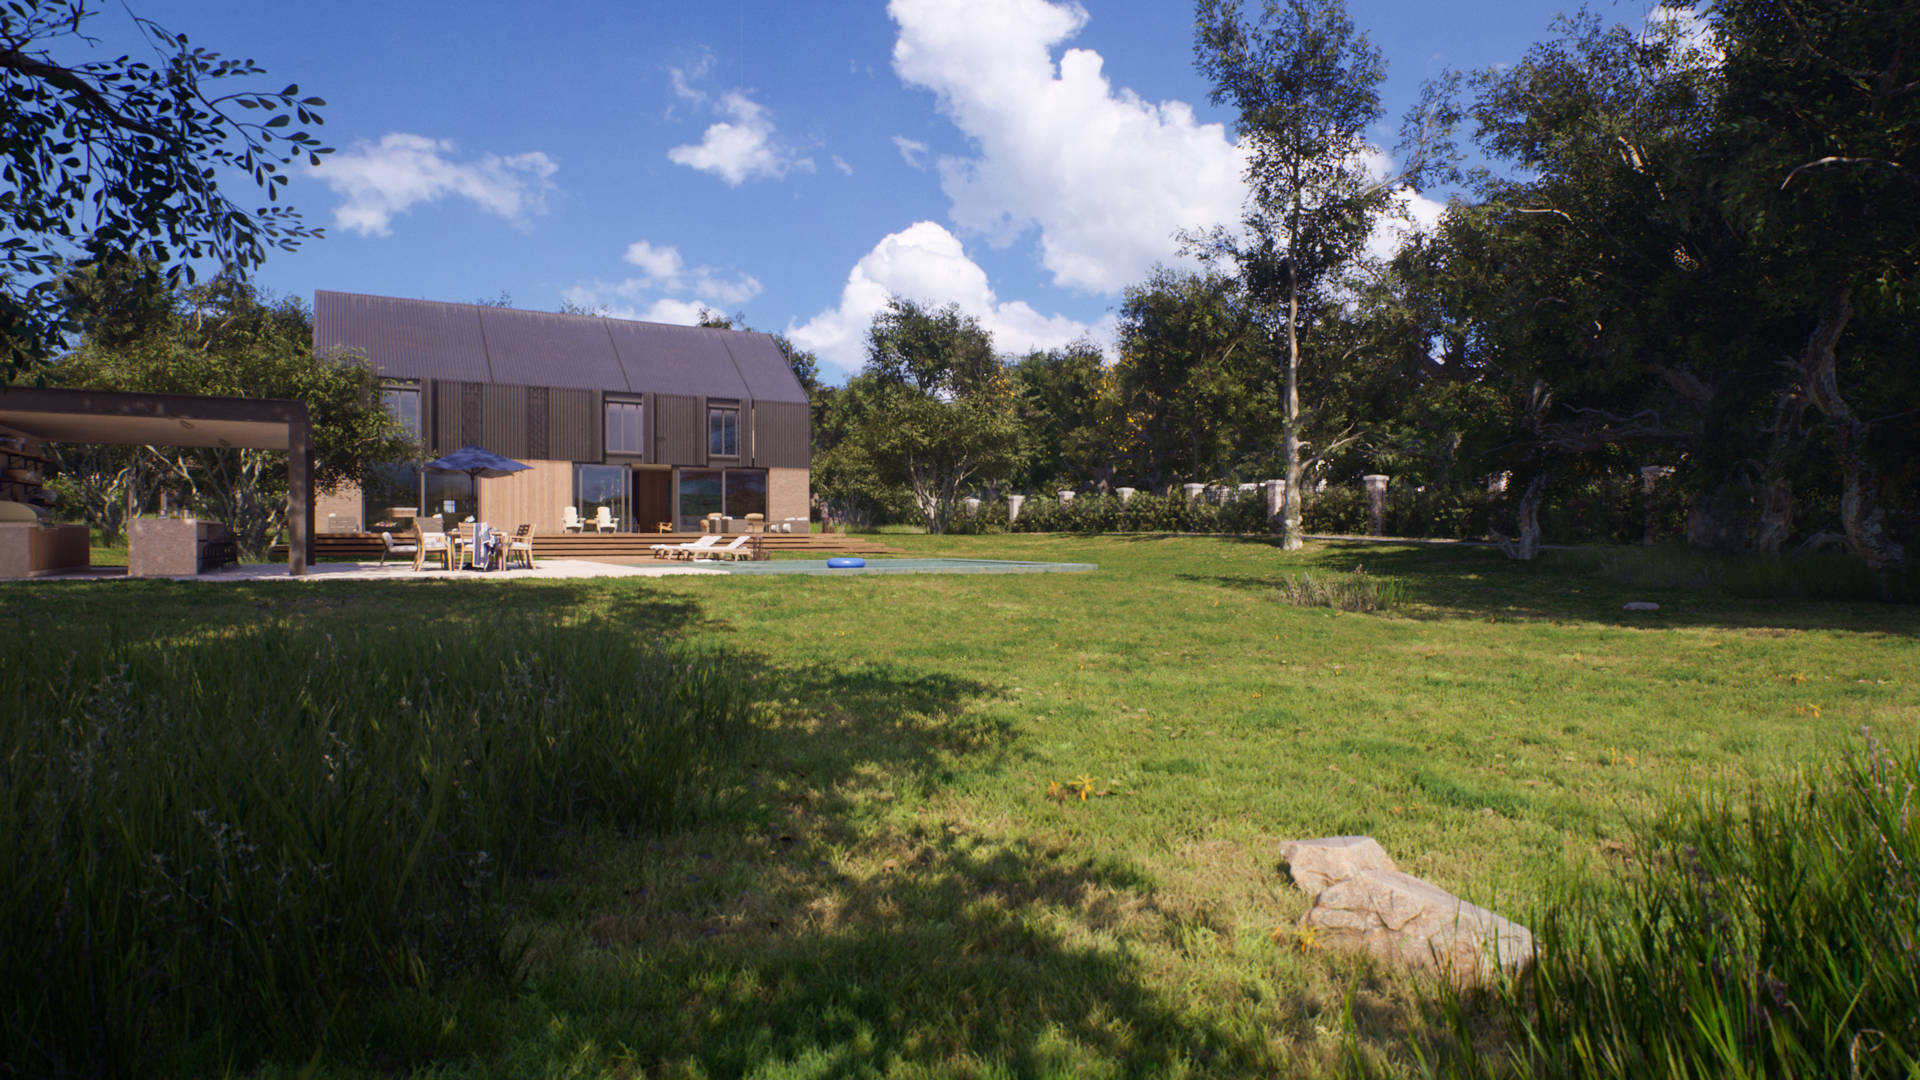
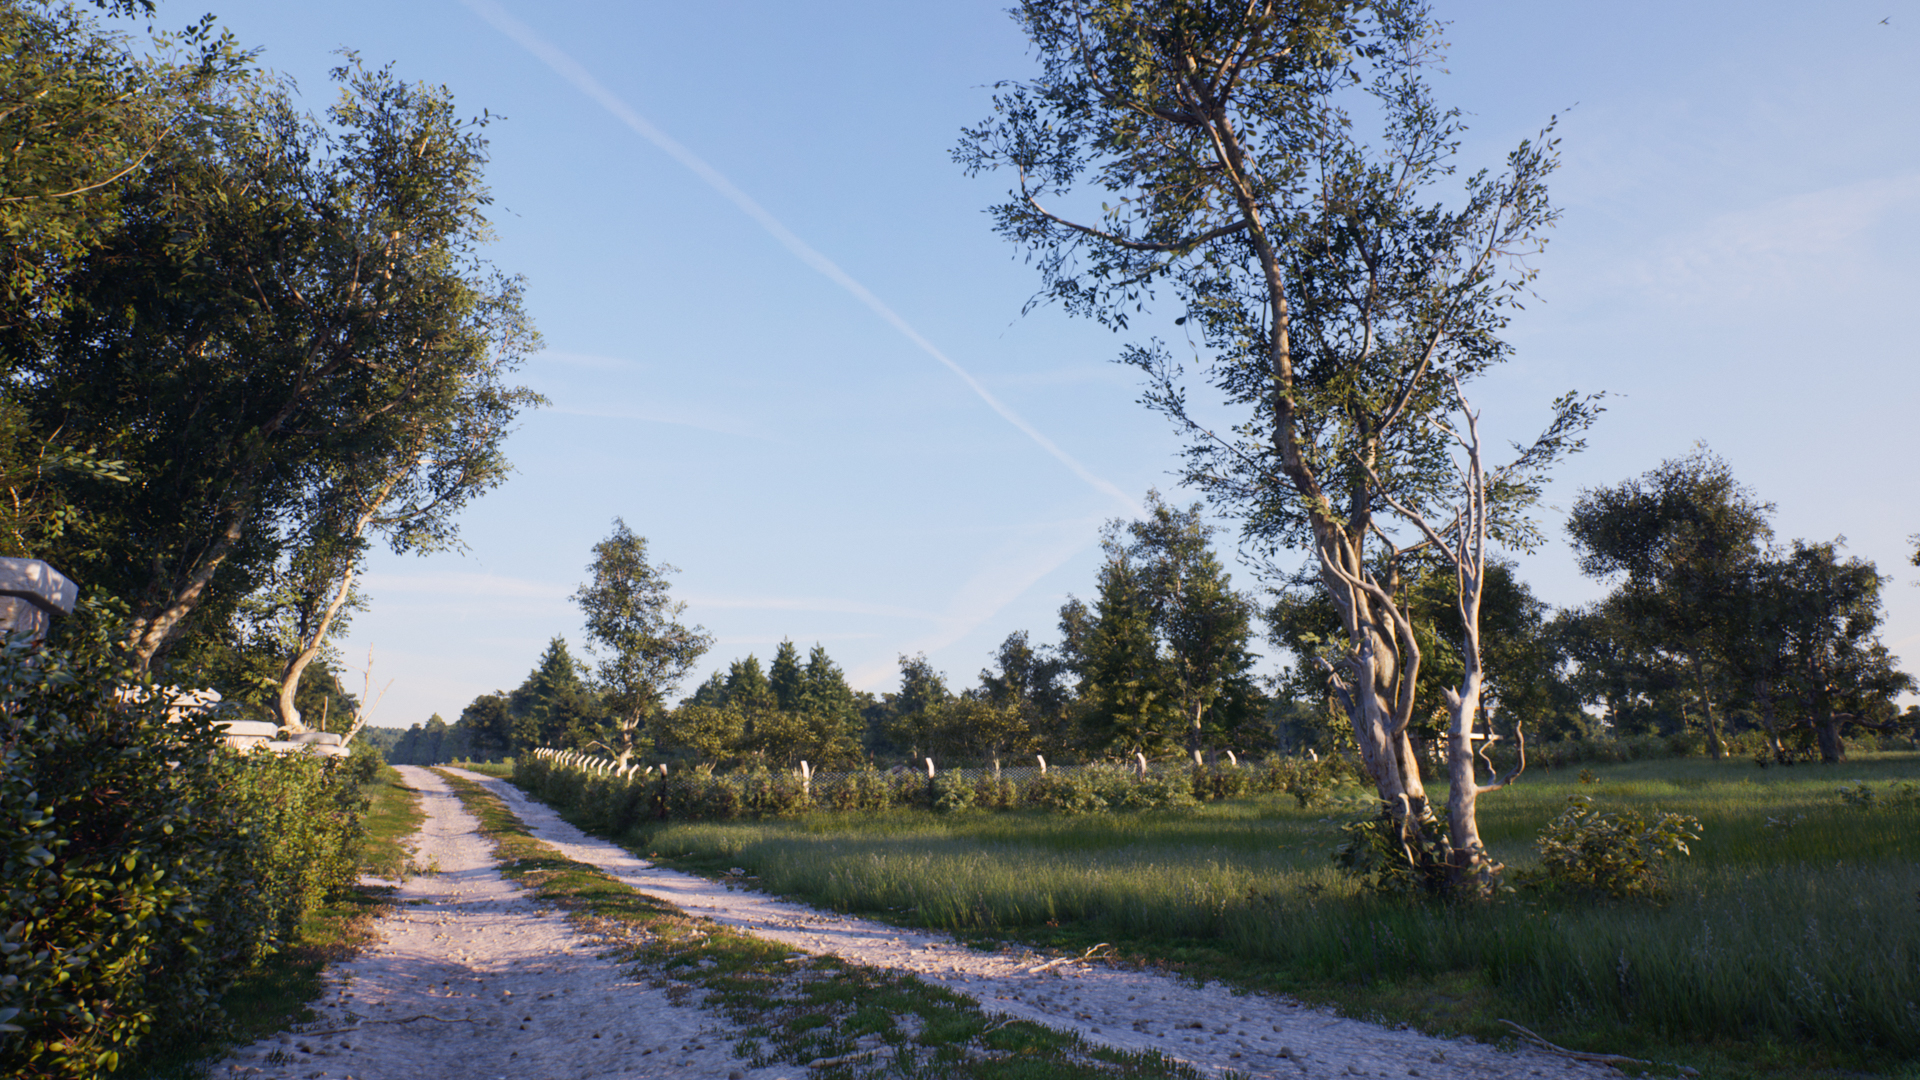
In my Arch Viz works, I try to tell a story or transmit a feeling that contains the architectural project’s message, and also goes beyond it. For this project, I brought a whole environment around the house that replicates some of the sensations I’ve experienced in similar places that I’ve been to.
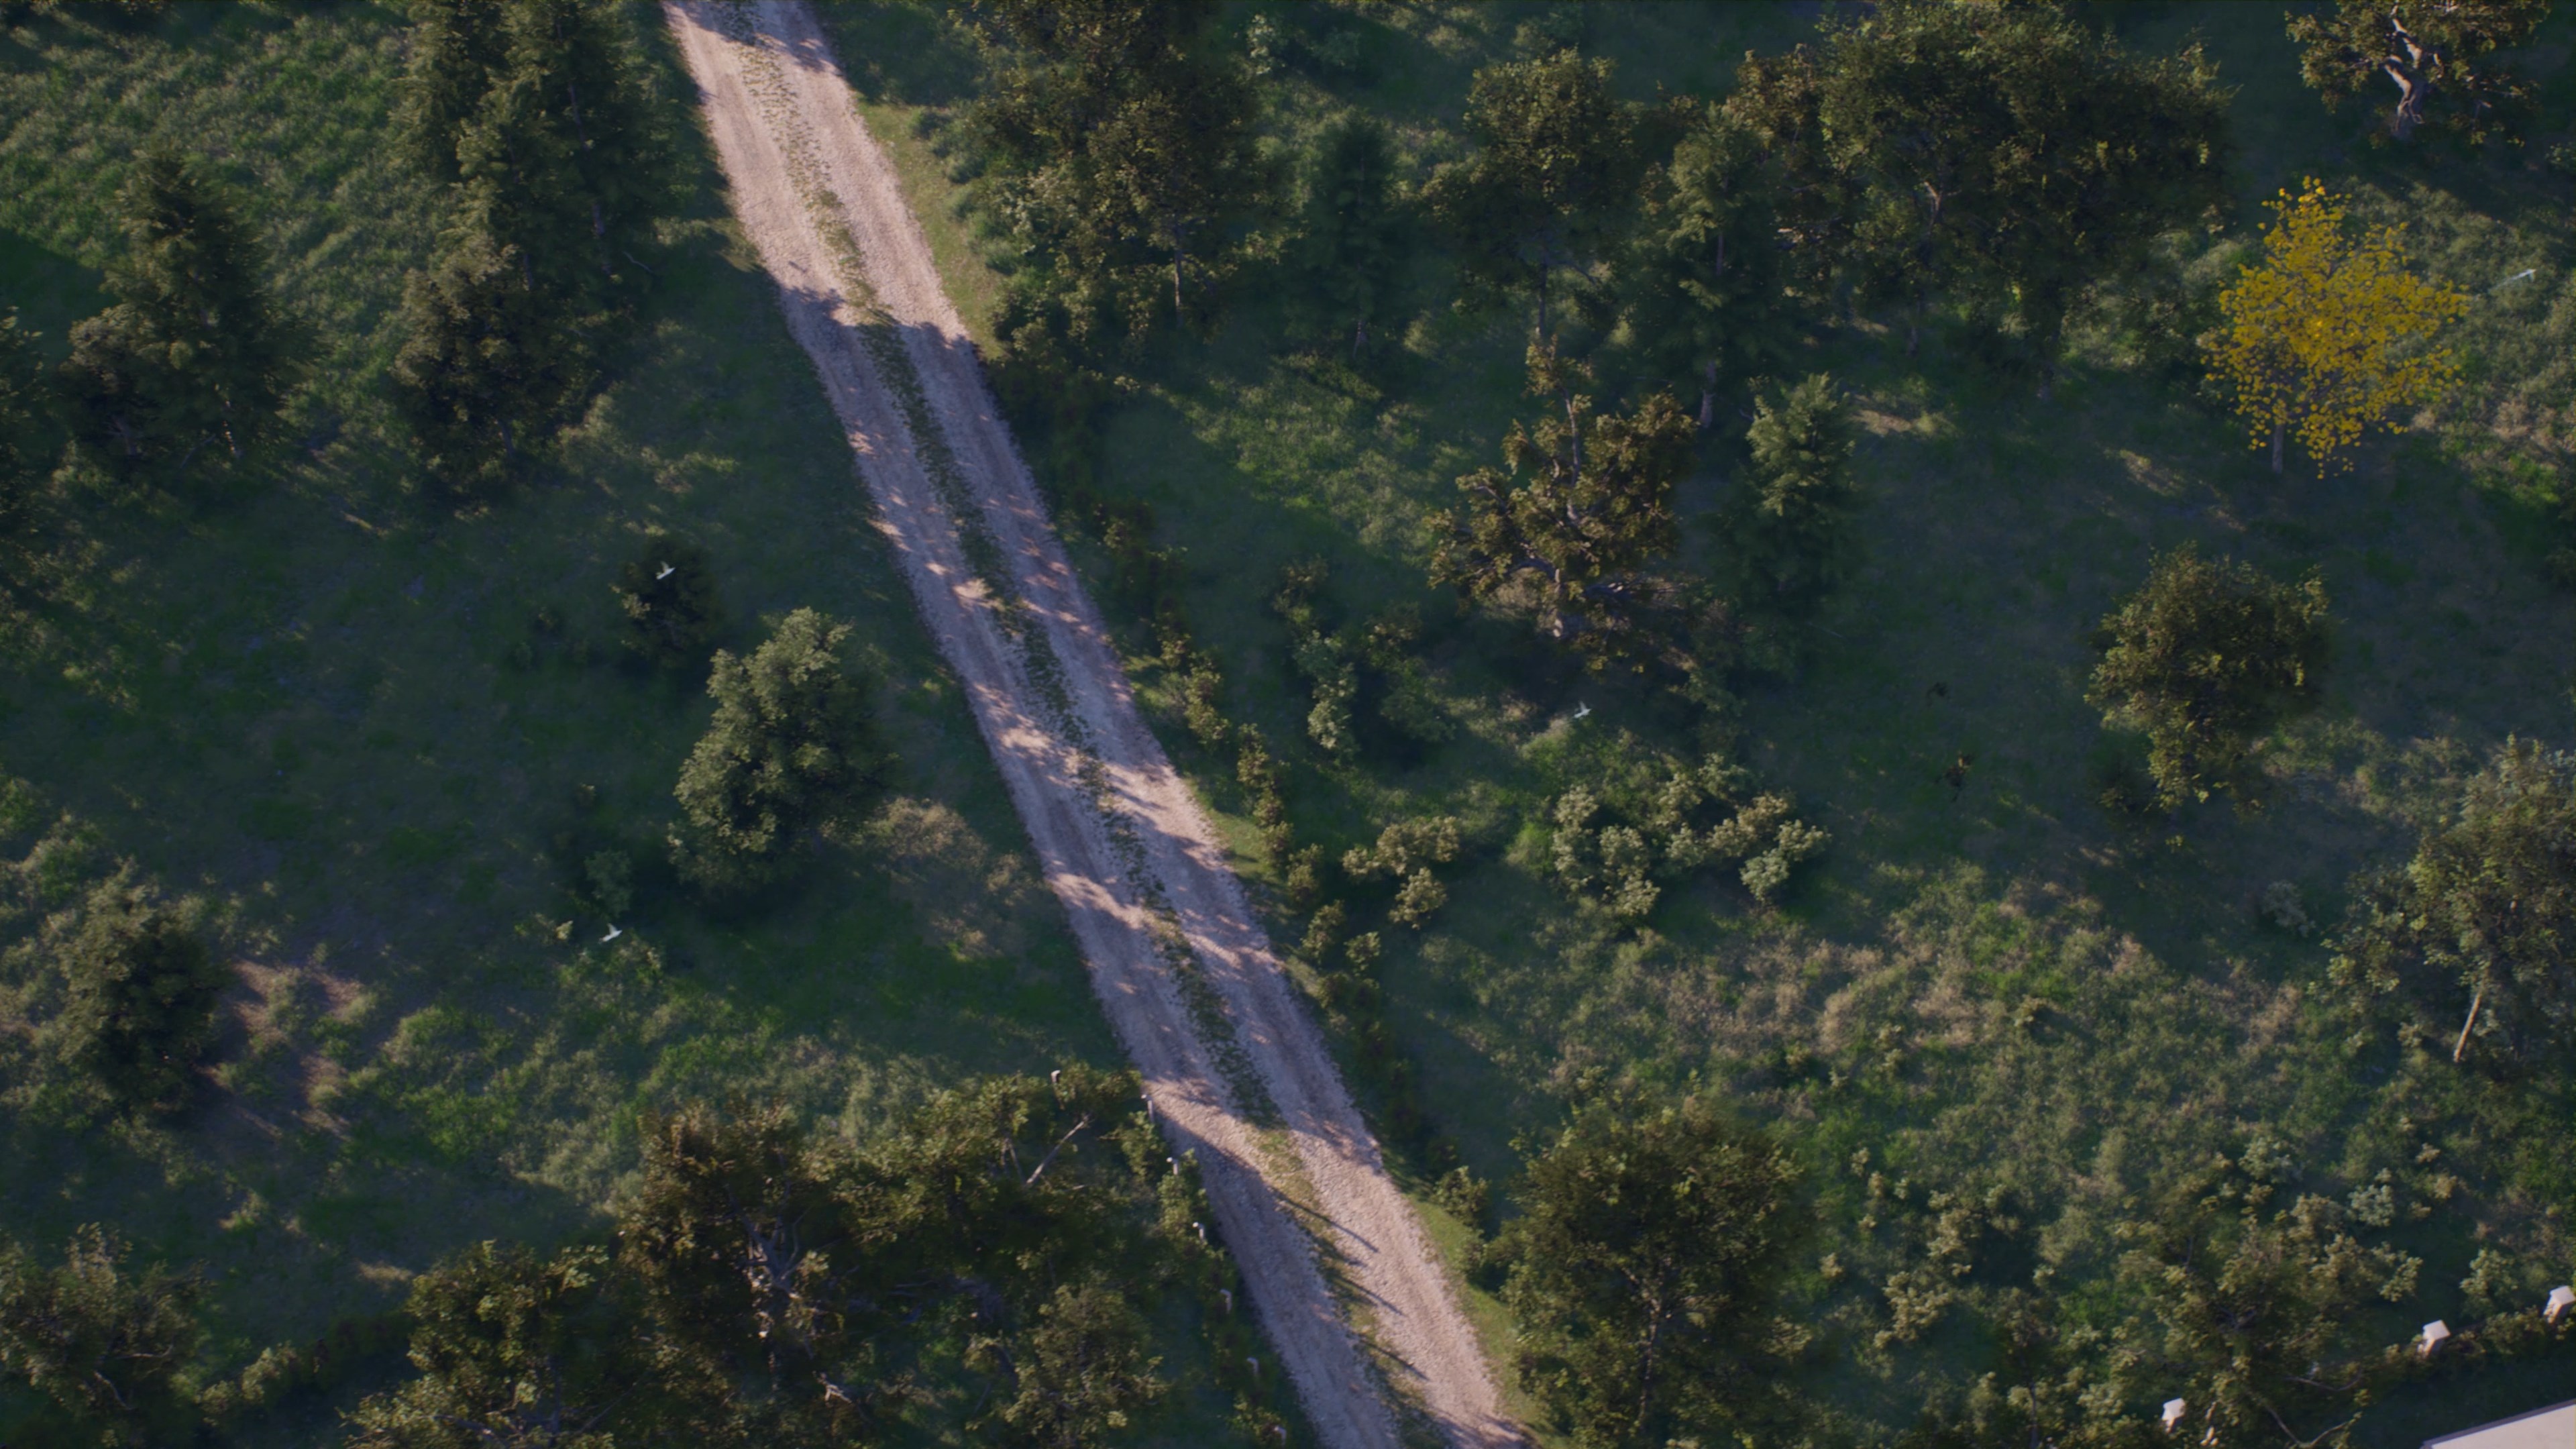
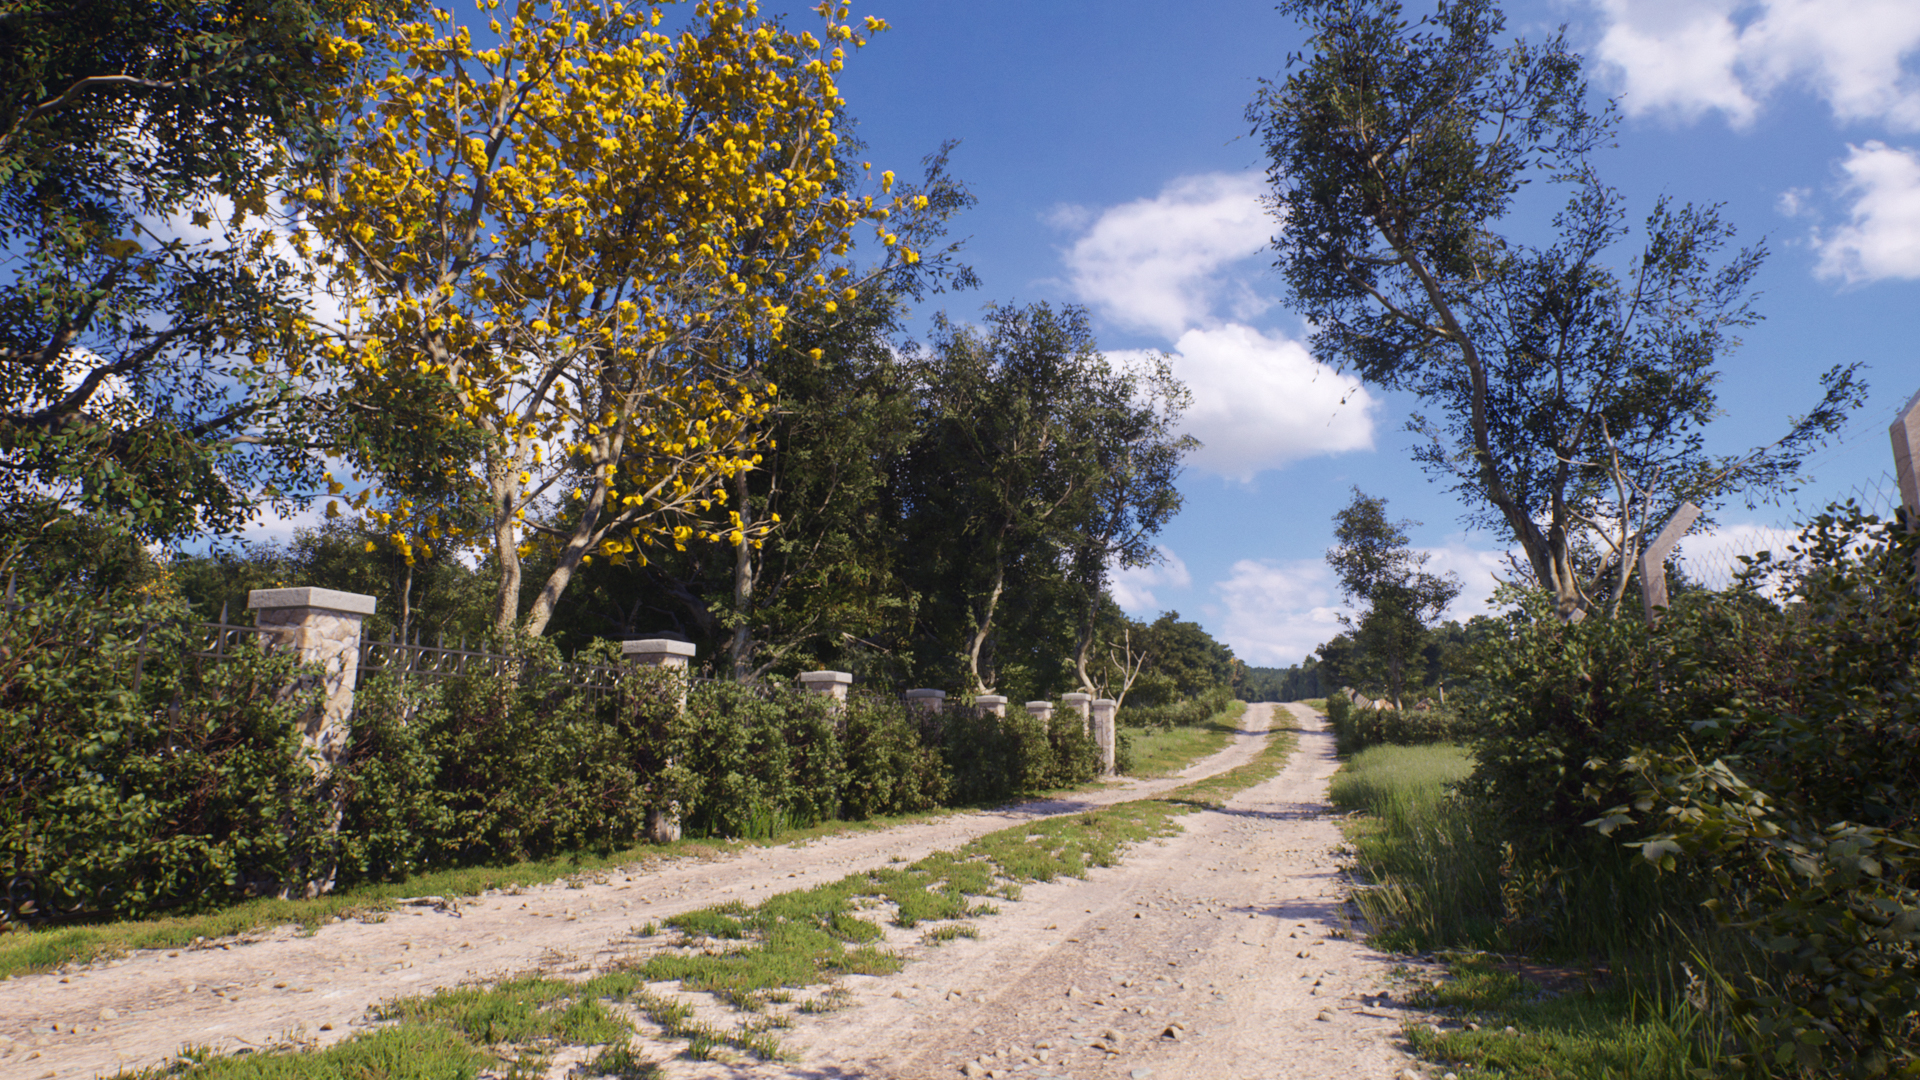
Many country house condominiums in Brazil have dirt roads. I used to go biking a lot in these places and I wanted to recreate that feeling in this project. Not only did I start building the environment from the road regions themselves, I also spent a lot of time on them.
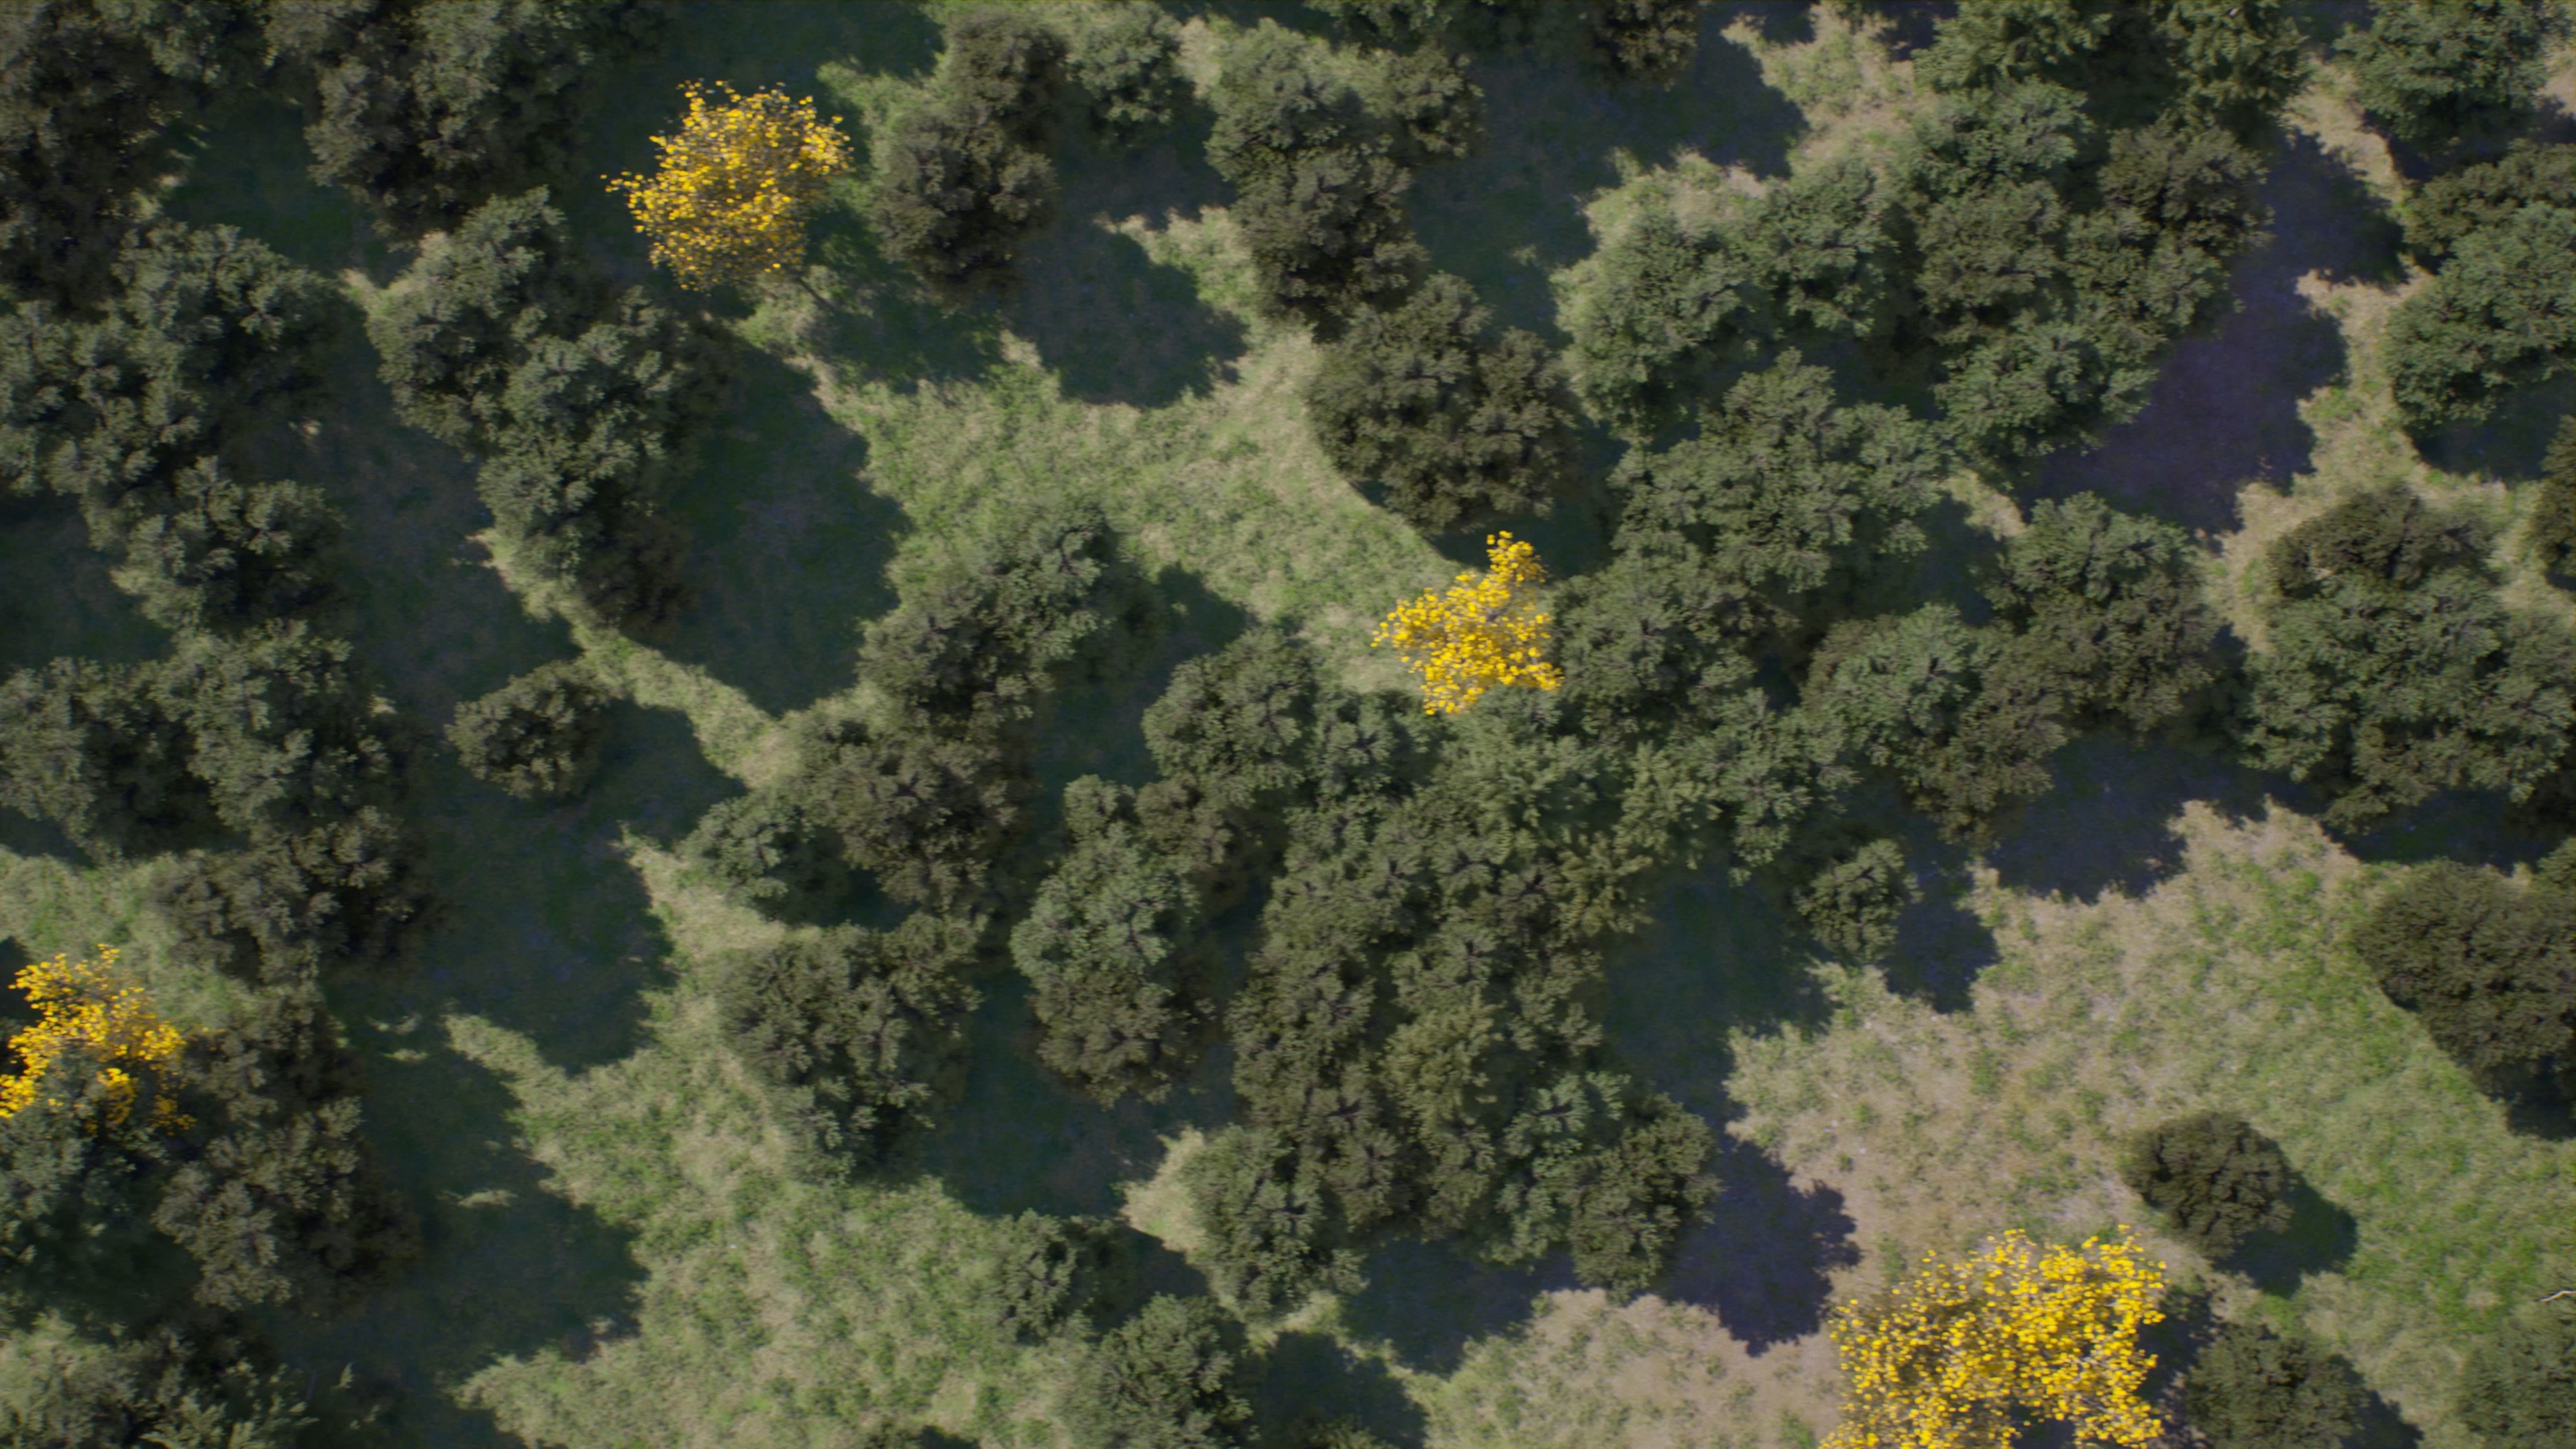
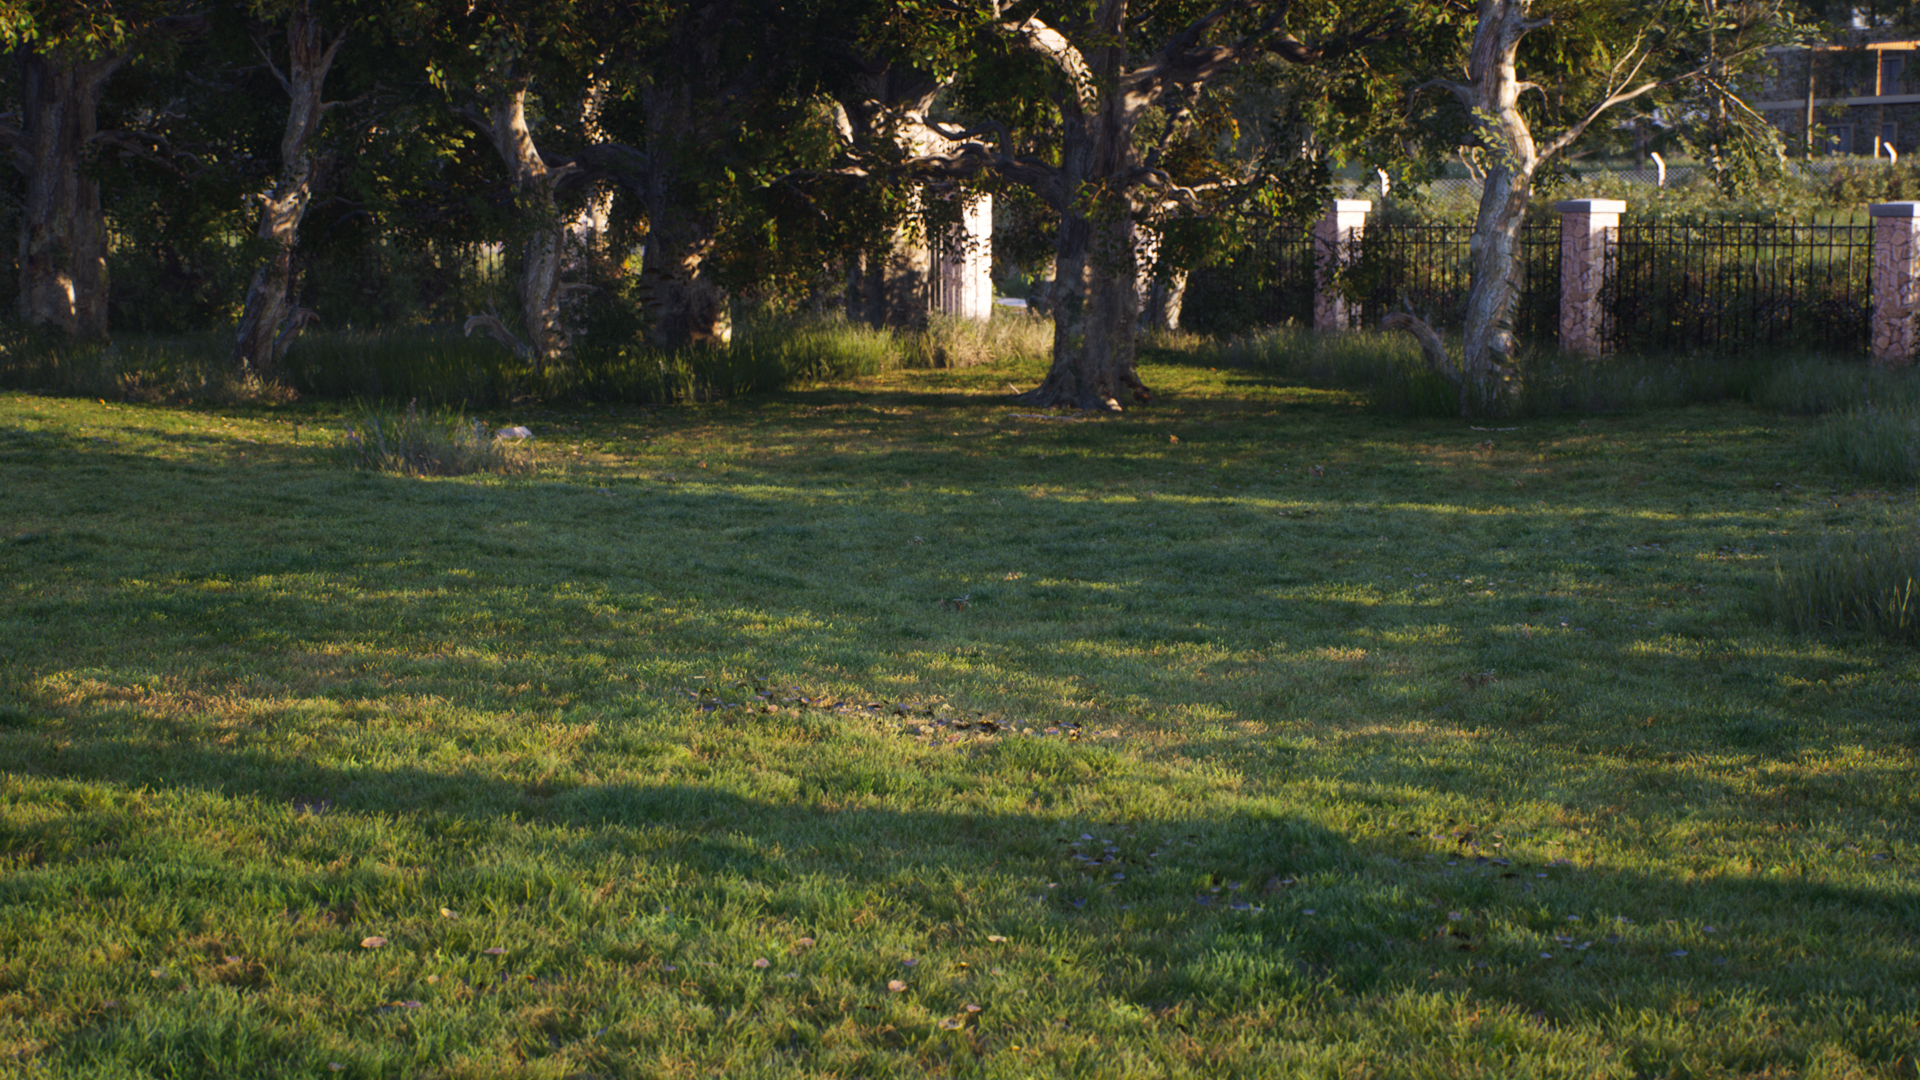
The original lot has some original trees that would be kept in place as part of the house’s front yard. I chose to leave most of the remaining lot area with clean lawns to create the feeling of ample space and play with the contrast of the shadows of the trees on the green lawn.
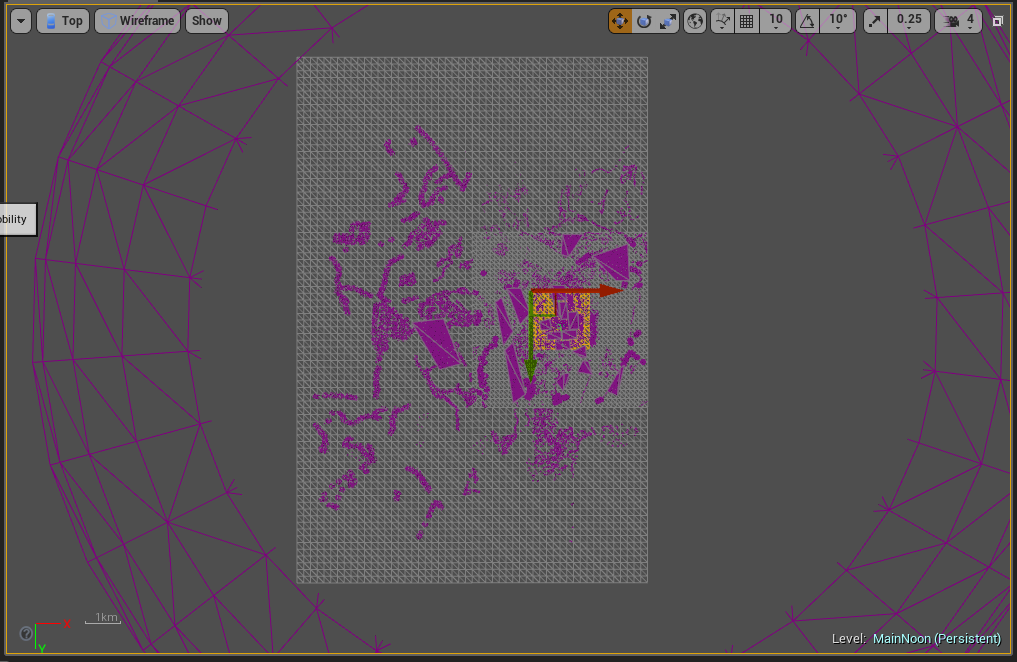
Landscape
When I need to recreate an environment for Arch Viz, I search for the real terrain elevation data of the area. Also, I usually reproduce a large area around it to get a realistic horizon line. I use the website http://terrain.party/ to get the heightmaps. In this project, I reproduced 10 square kilometers around the house. I then used Google Earth satellite imagery as the basis for positioning streets and distant vegetation. After that, I looked for photographic references of the real locations (or similar places) that will help me to set ground and foliage coloration and density.
I used Landscape Layers with the Grass Tool to paint different types of foliage cover on different parts of the terrain. The layers are basically Dirt, Short Grass, and Long Grass.
Dirt and Short Grass help with the transition between wilder areas and the house lot, or the roads.
The lot terrain around the house was modeled in 3ds Max in accordance with the contour lines and imported into Unreal as a Static Mesh. Then, with Sculpt Tool, I modeled the landscape around the lot so that the transition was smooth.
For the road, I used the Spline Tool with simple ground meshes modeled in 3ds Max. I spread out several Megascans 3D assets on the terrain and roads: rocks, twigs, leaves, and other debris. Also some debris decals. This kind of detail ensures a more organic and natural look to the environment.

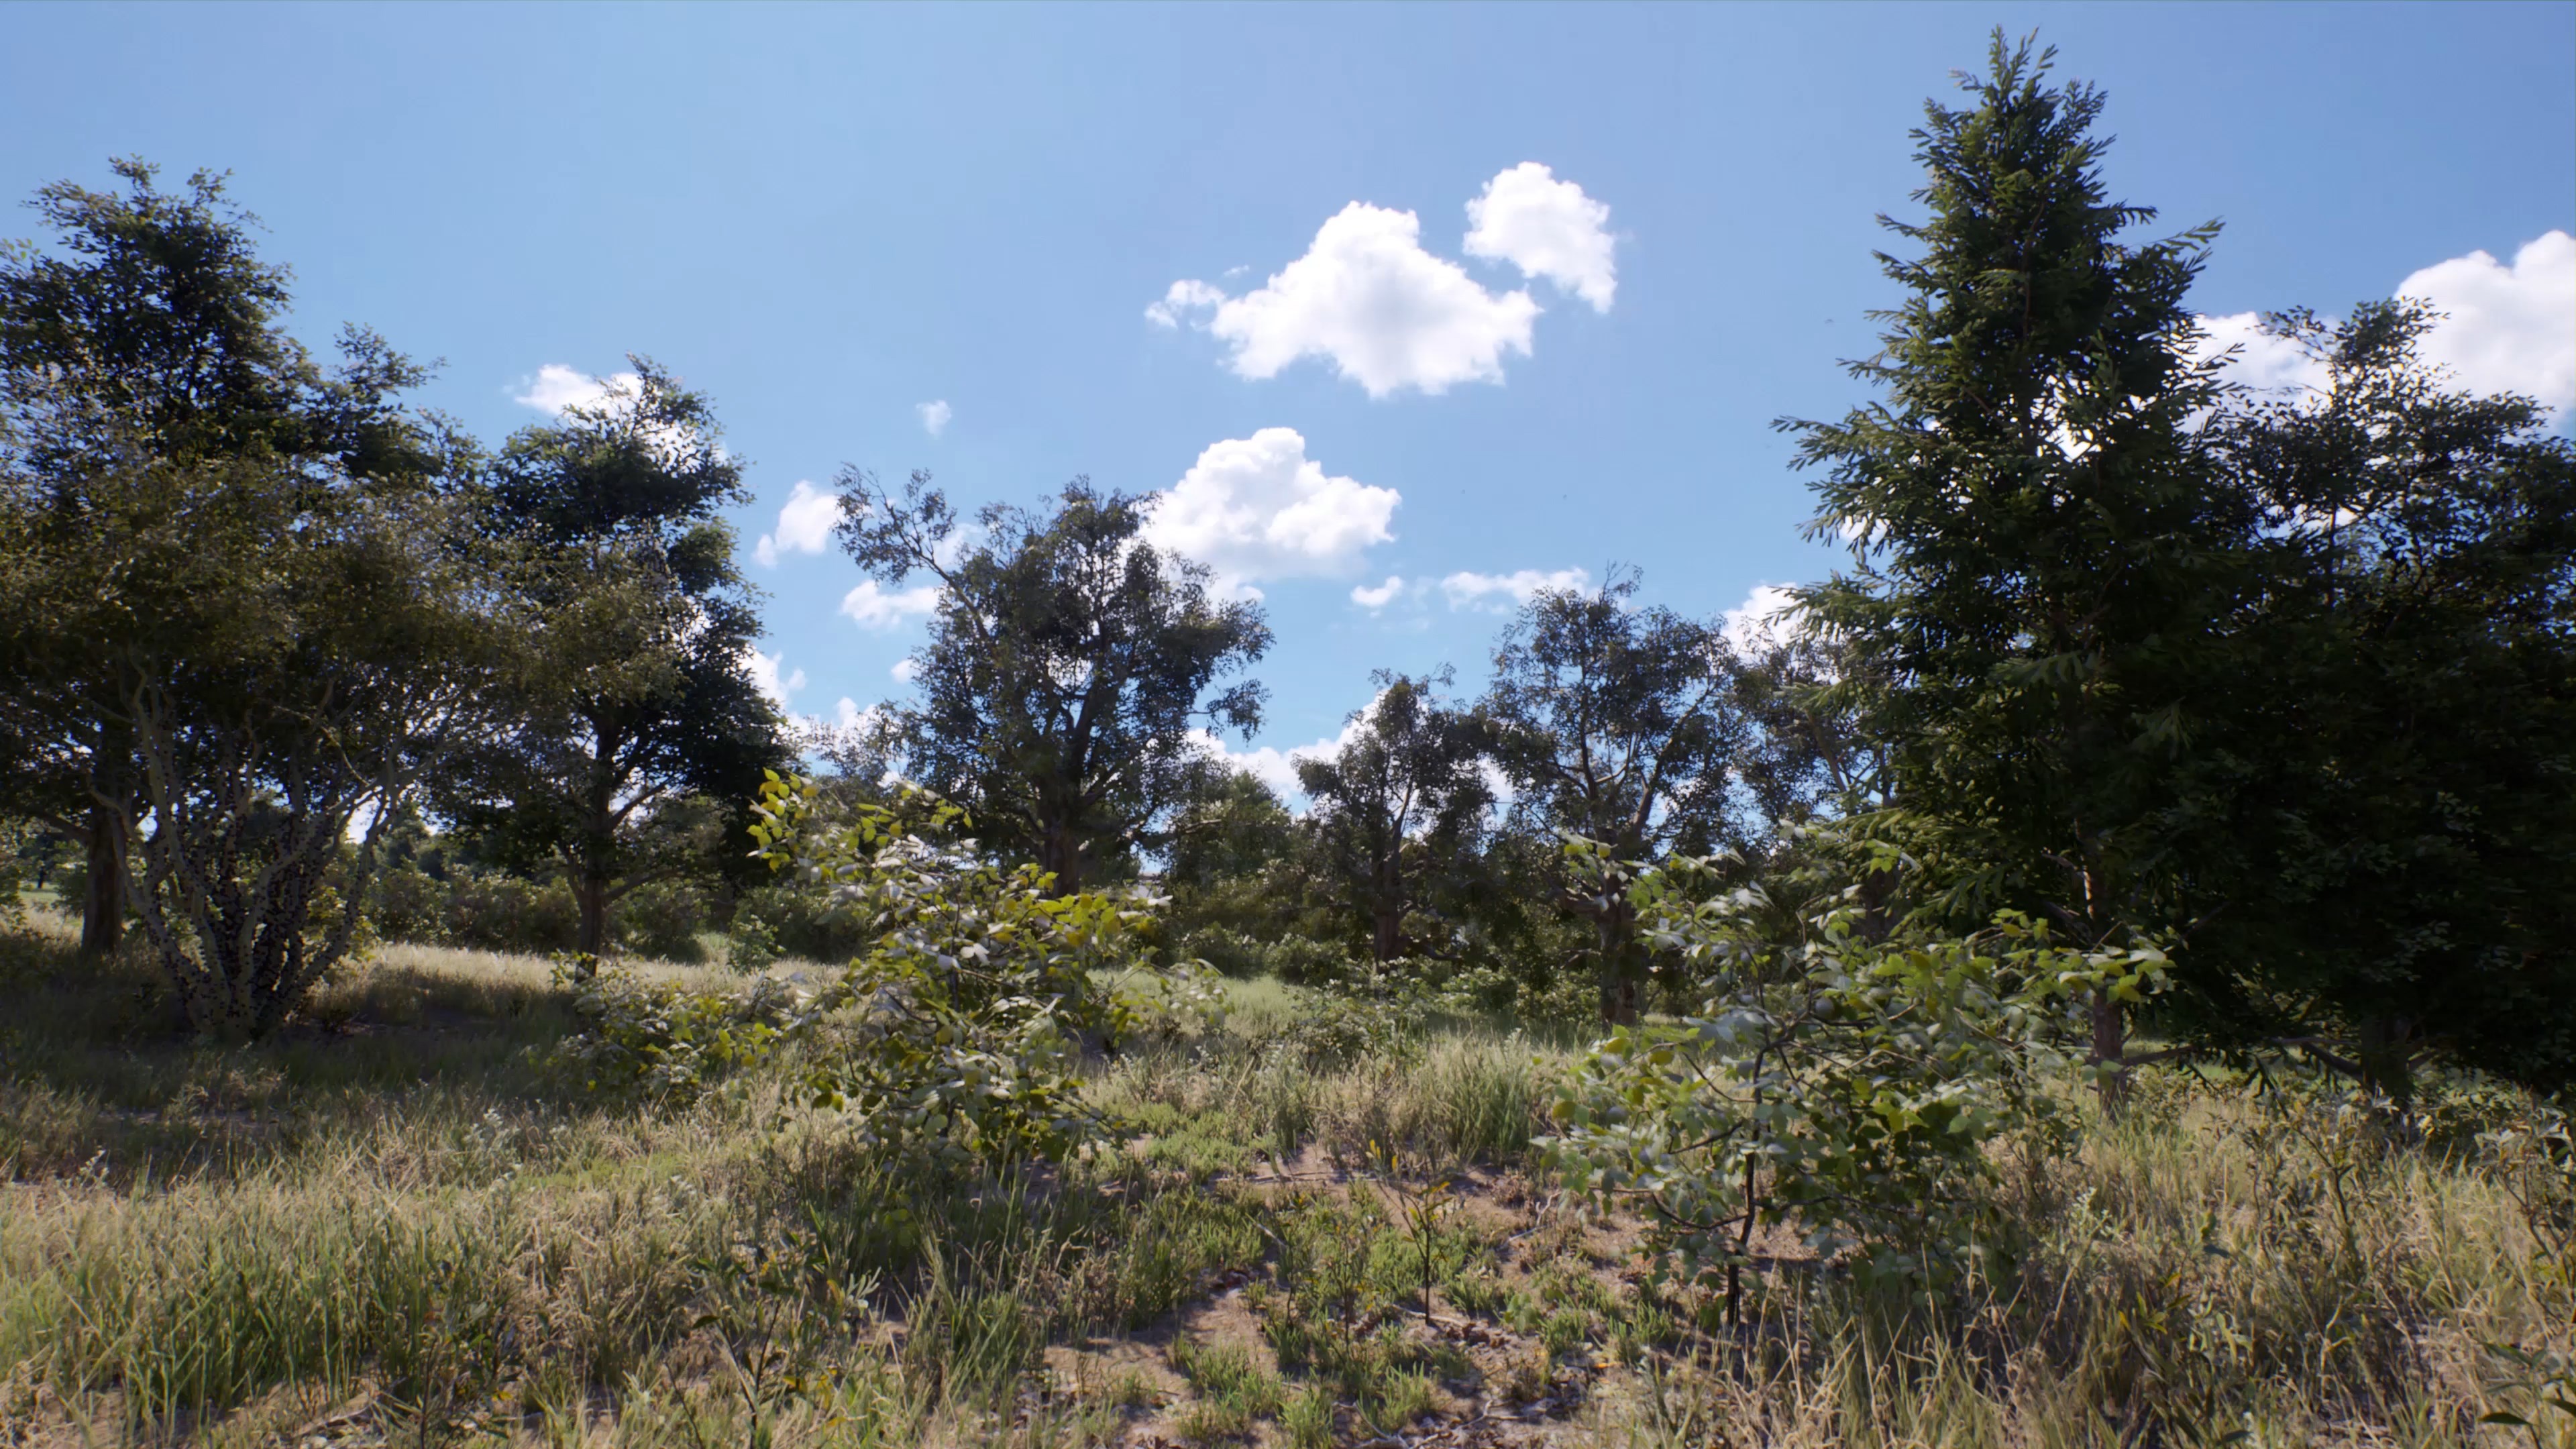
Approach to Foliage
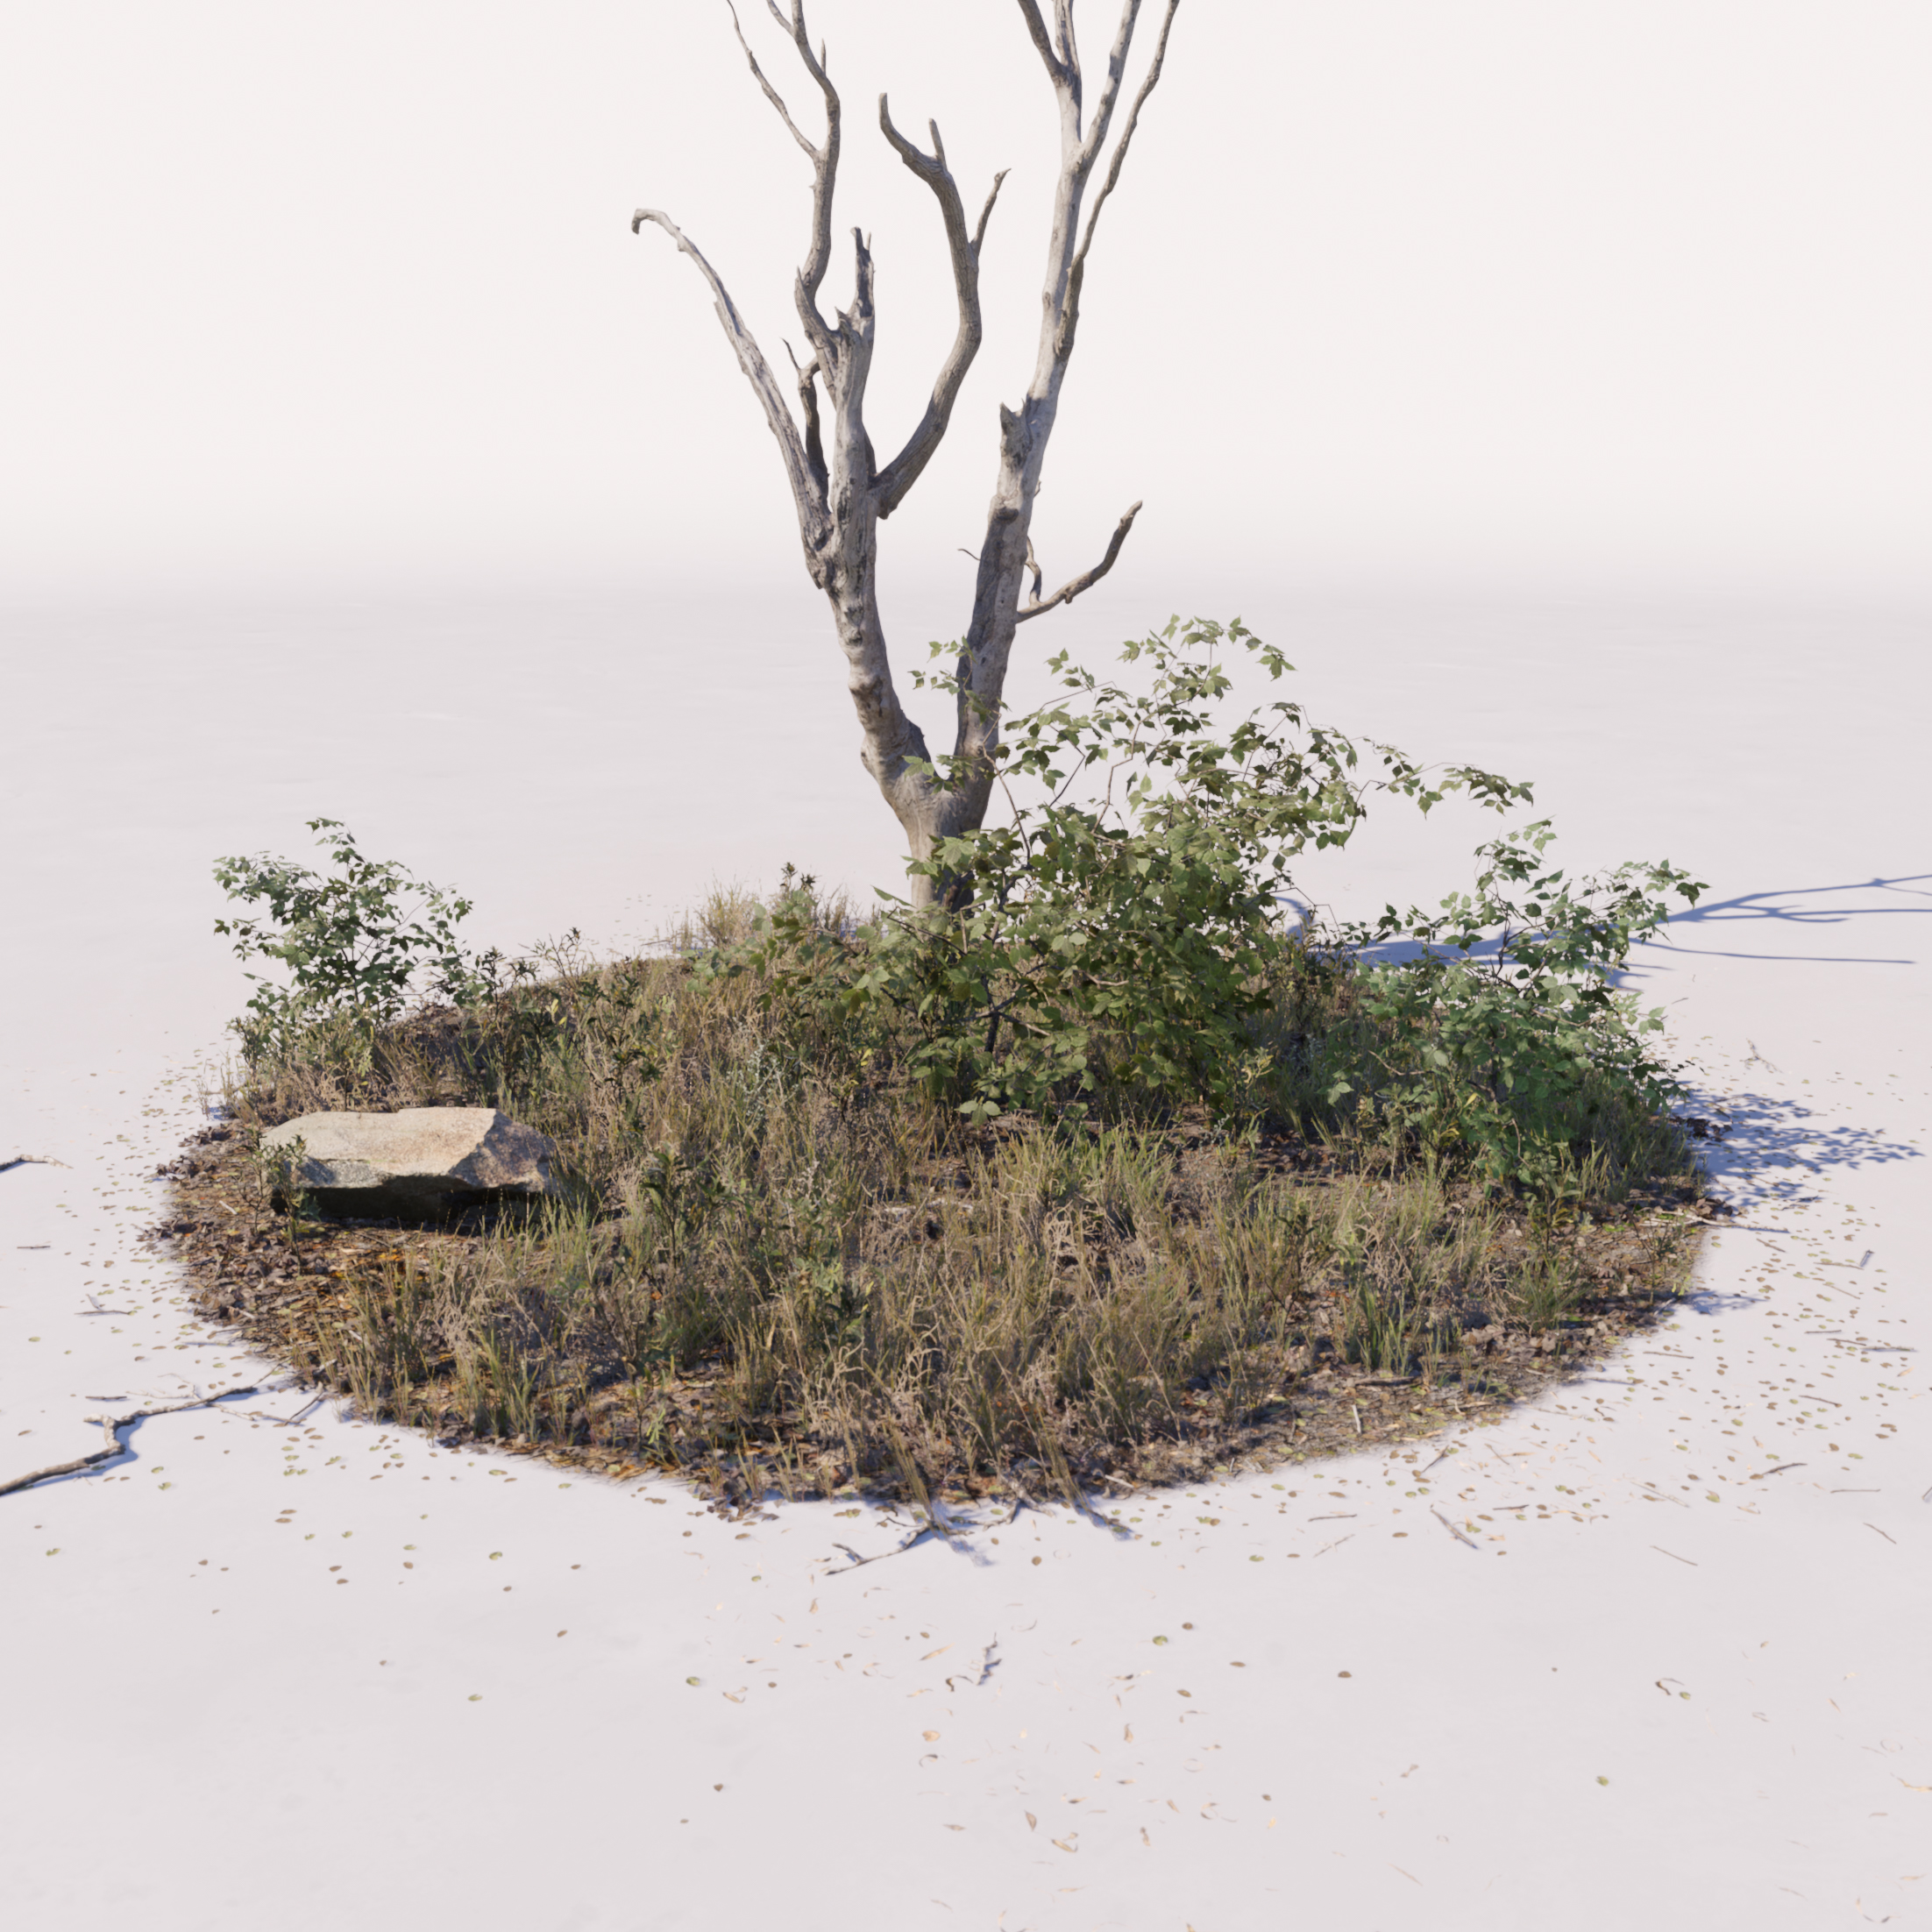
I see vegetation as one of the most important aspects of any Arch Viz project. Vegetation will break the photorealism of your scene with the slightest defect (right behind animals and humans in the list). I use SpeedTree to model all of my vegetation. It’s a very complete tool that dispenses any auxiliary modeling software in most cases.
When I want to model some specific kind of plant, I try to find the physical one and capture as many references and material as possible. But when the logistics are too complicated I search for the textures in online libraries. Most of the time you won’t need textures of the specific species you’re trying to recreate. Similar ones will do just fine.
Trees
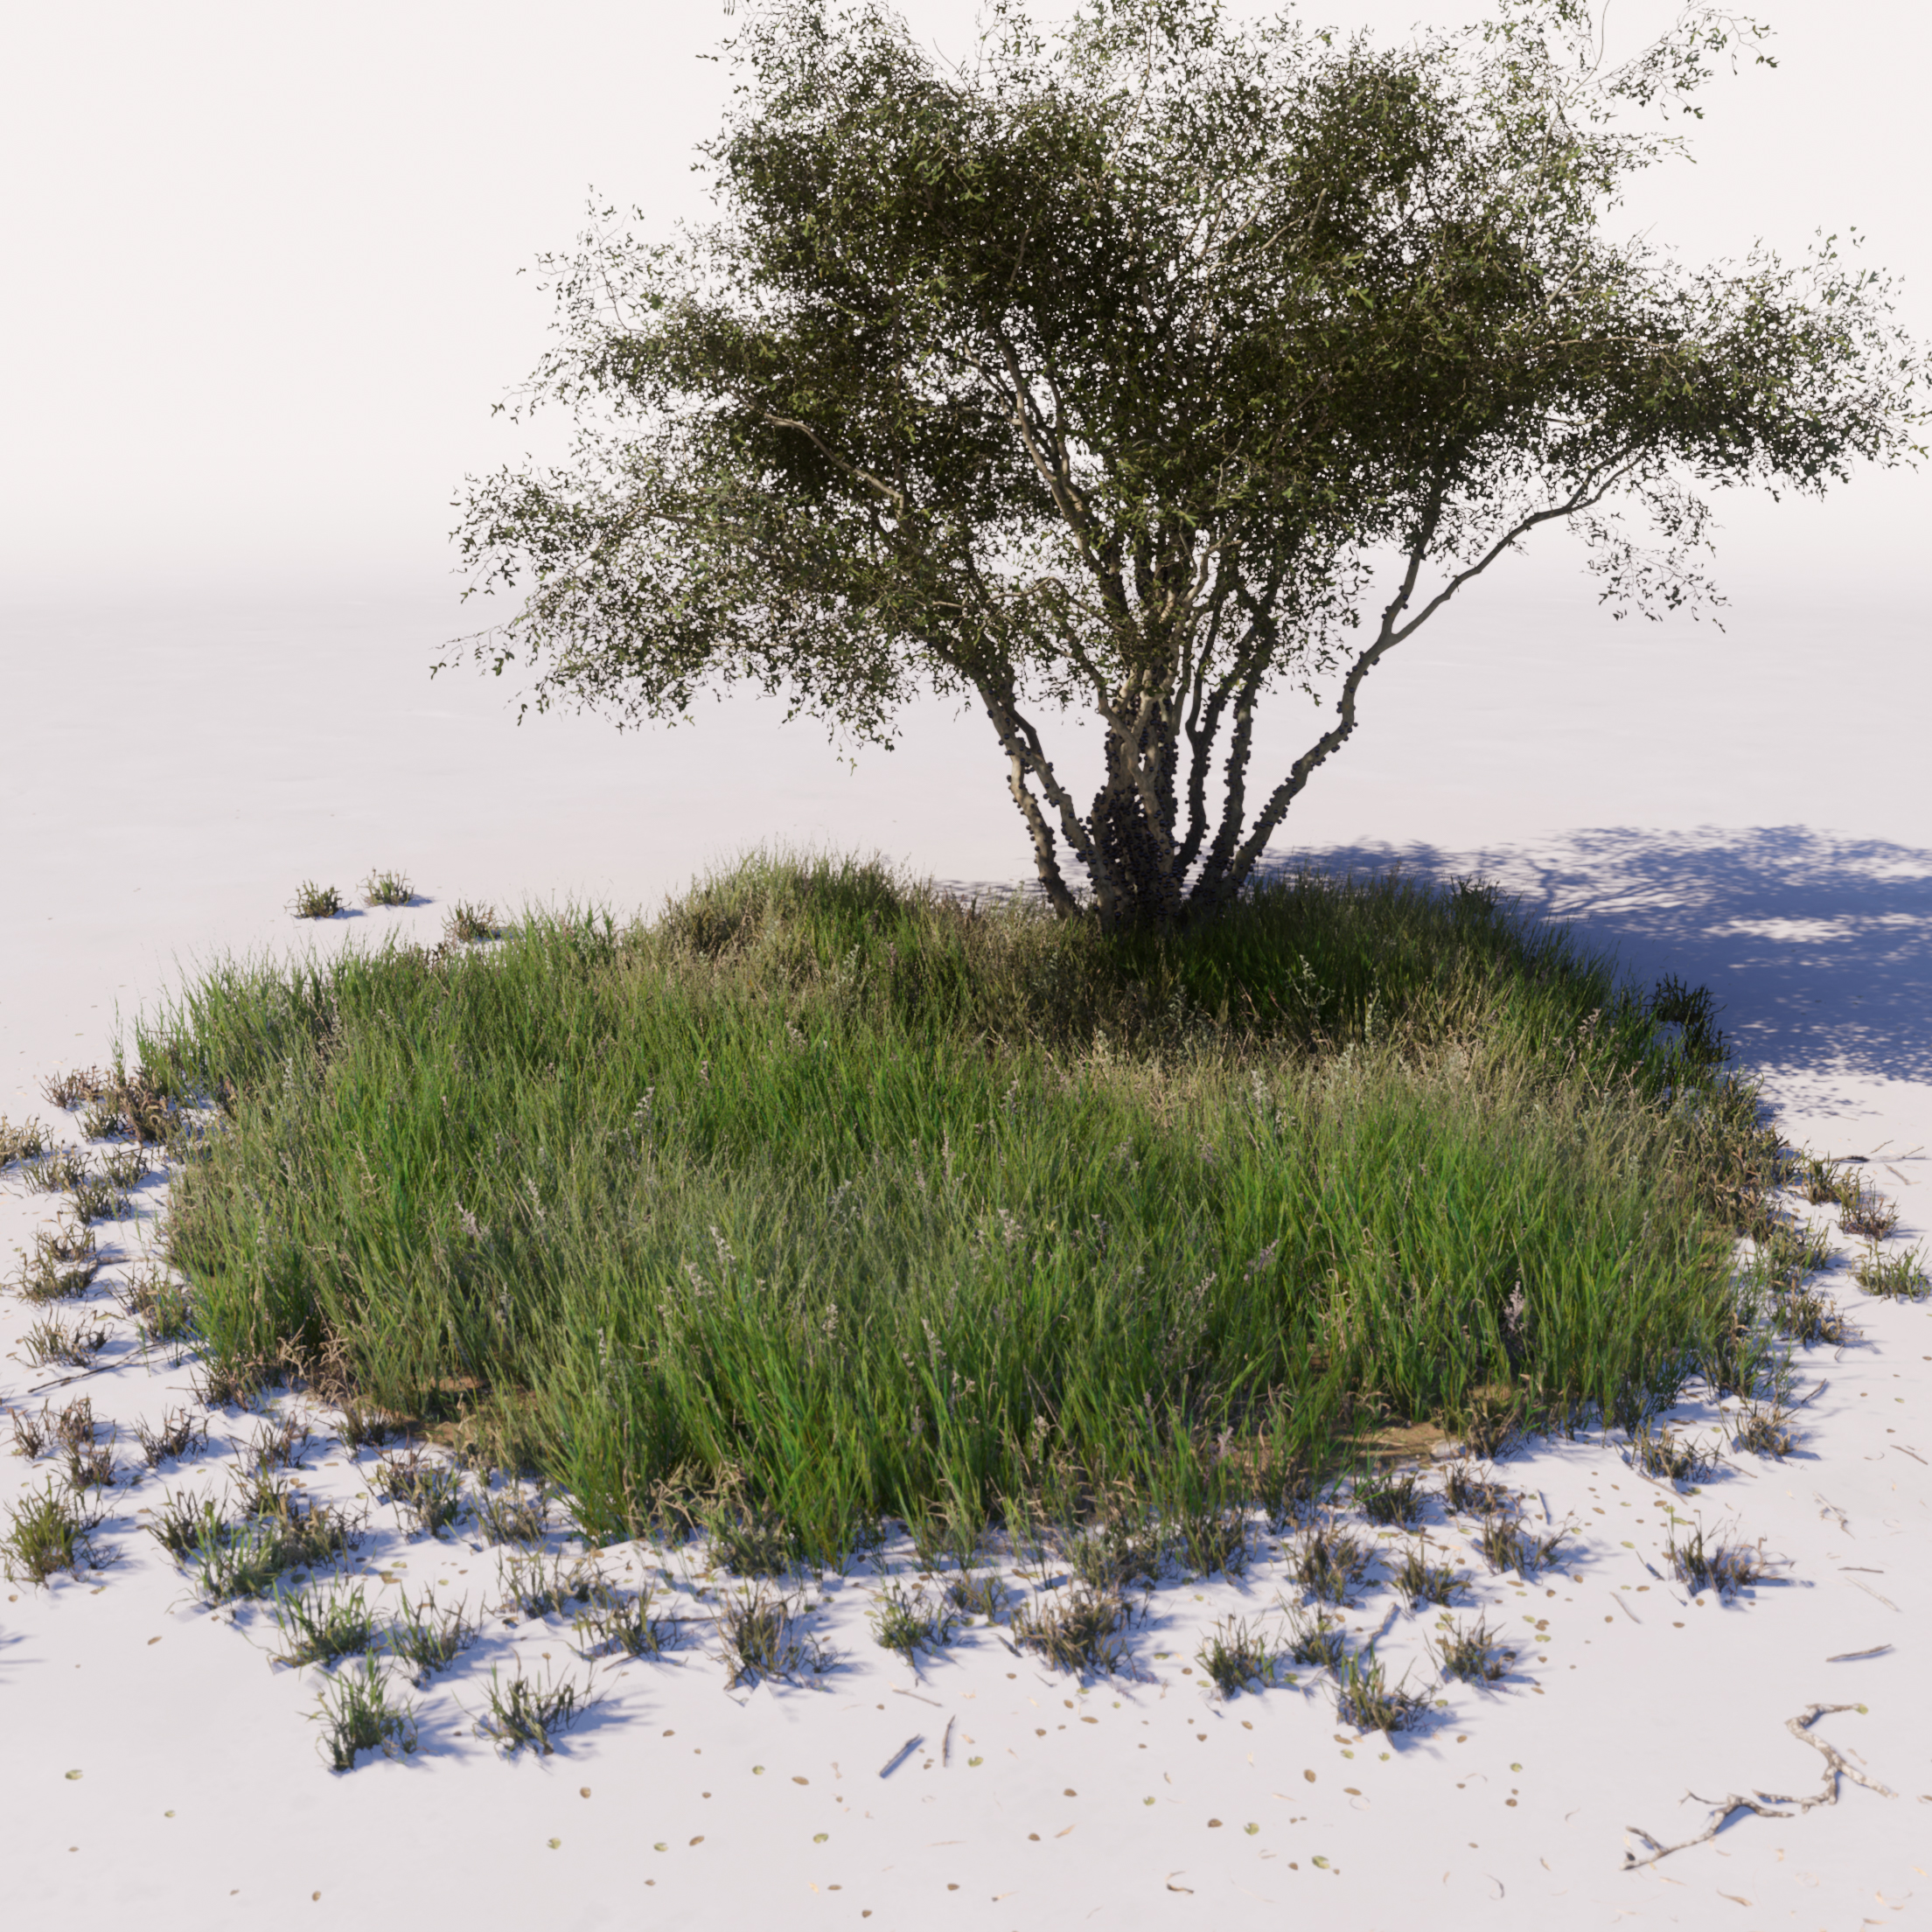
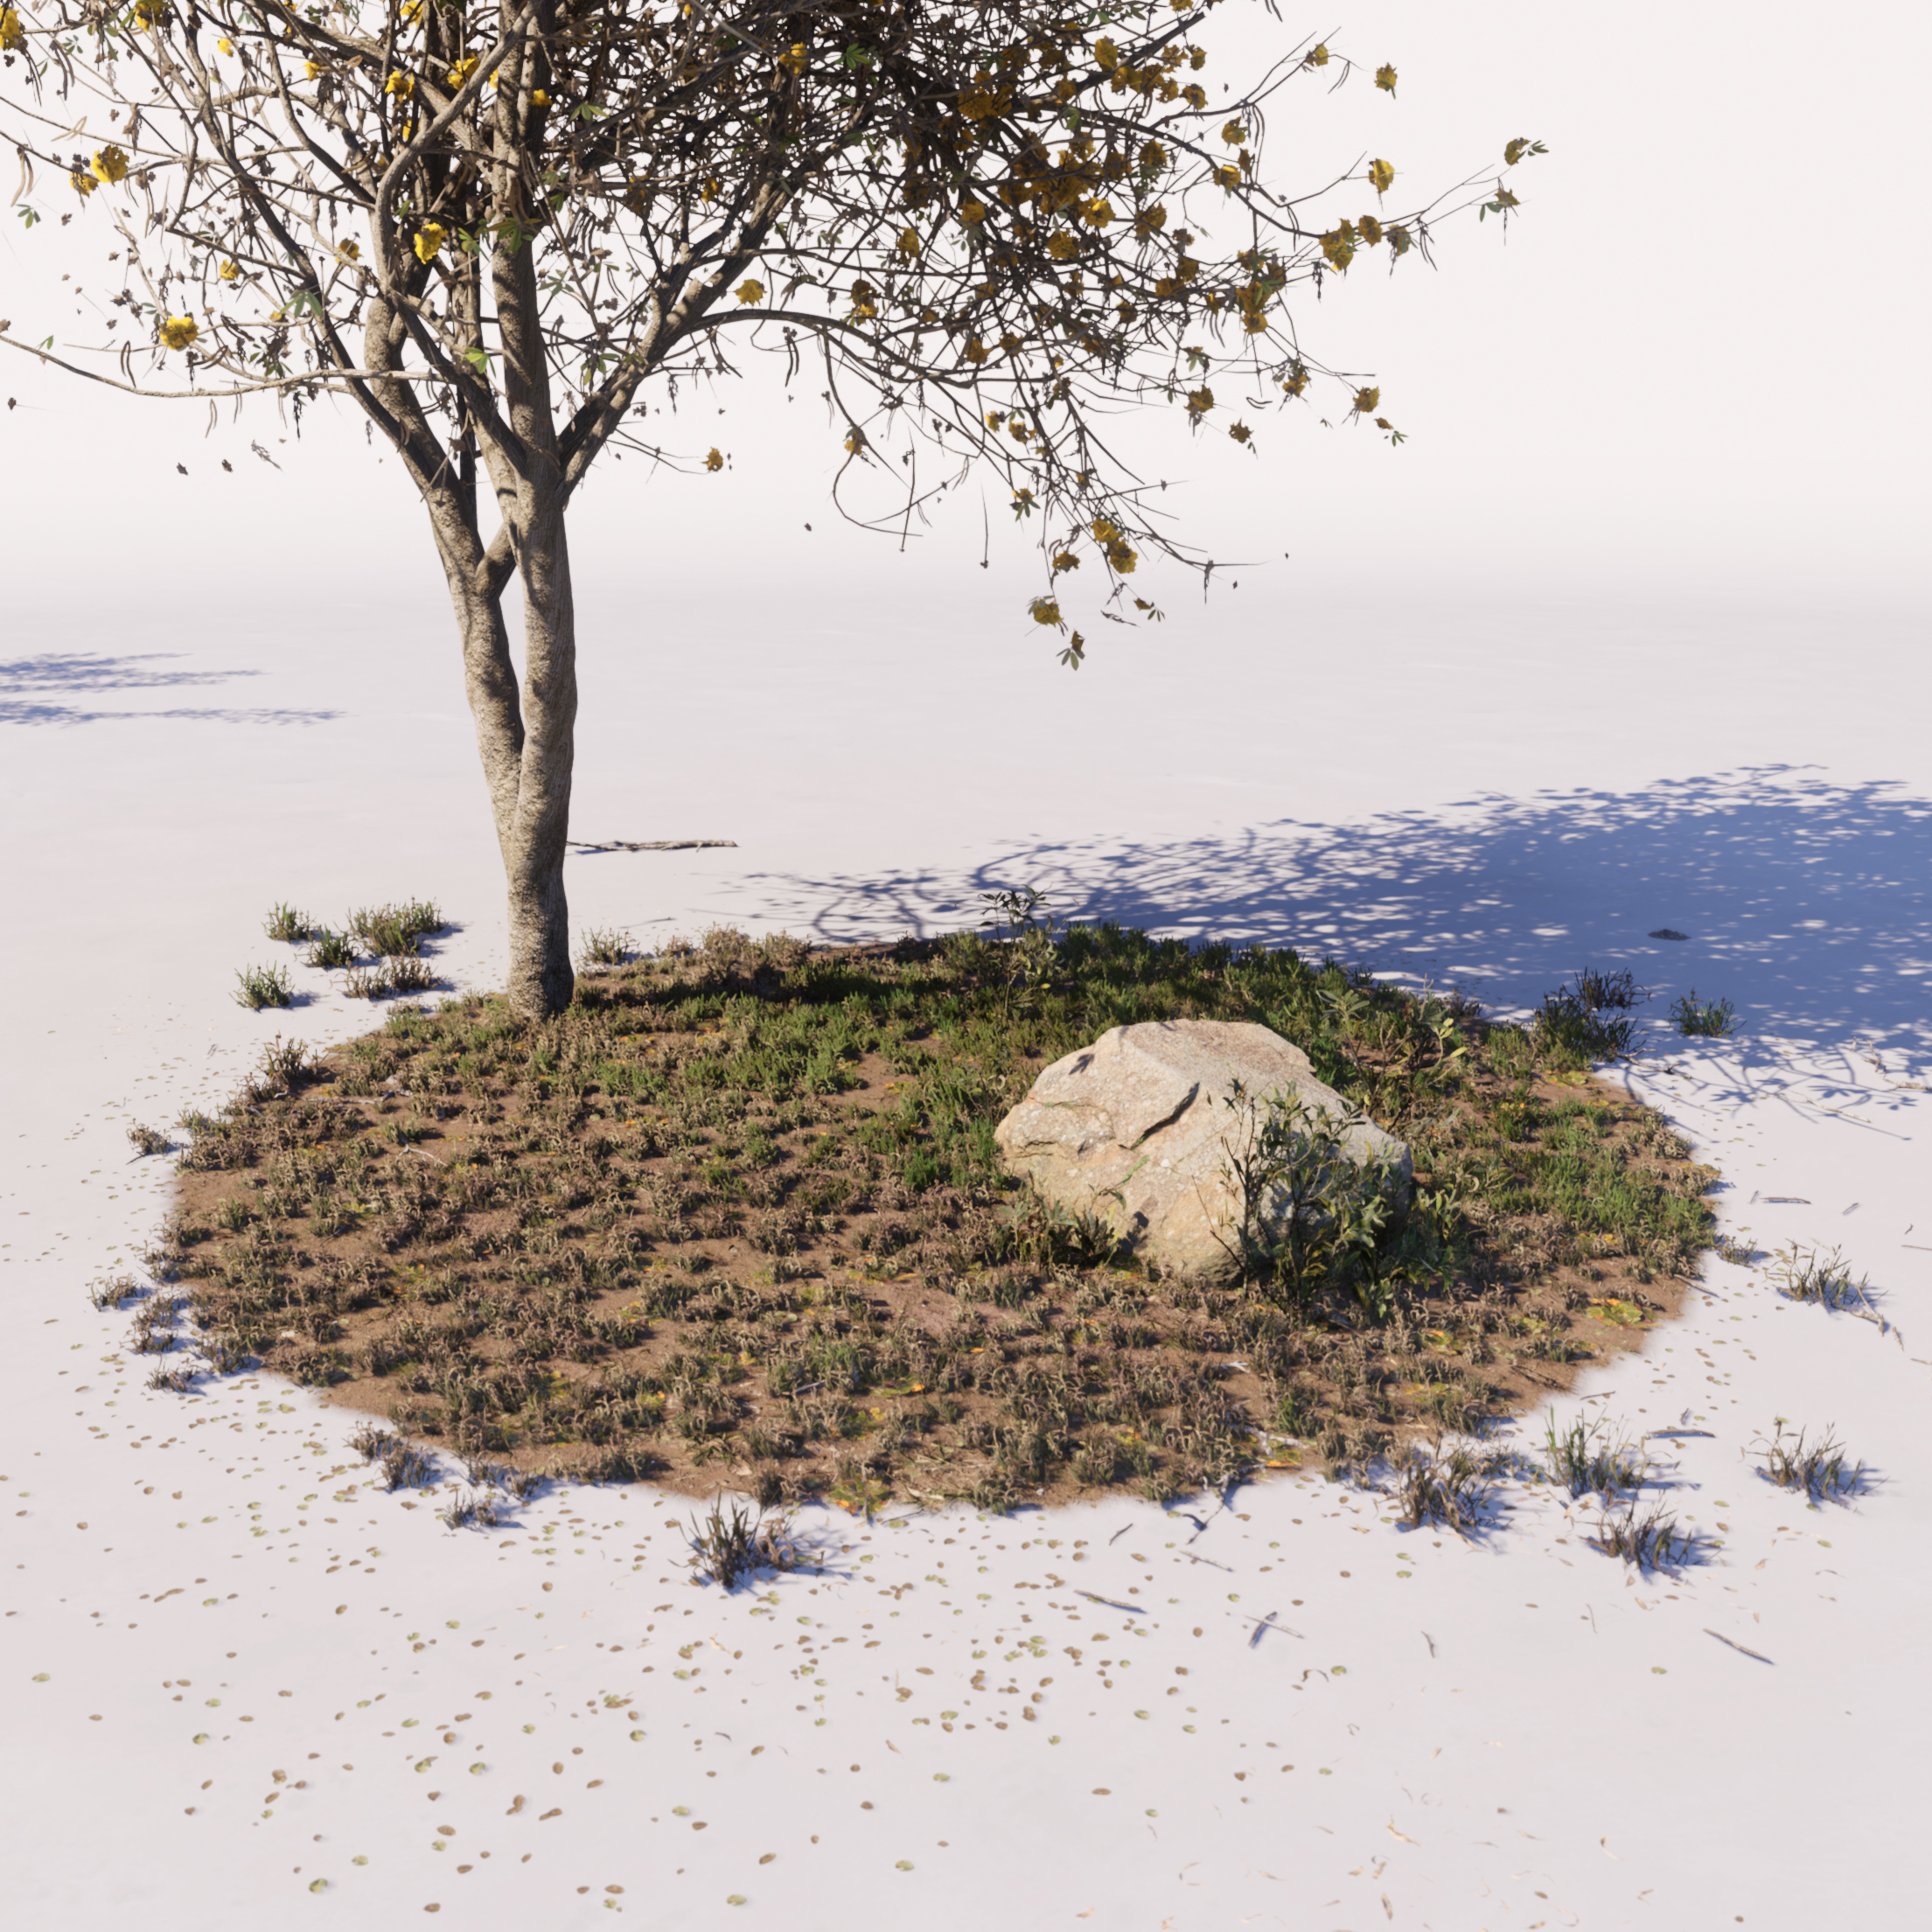
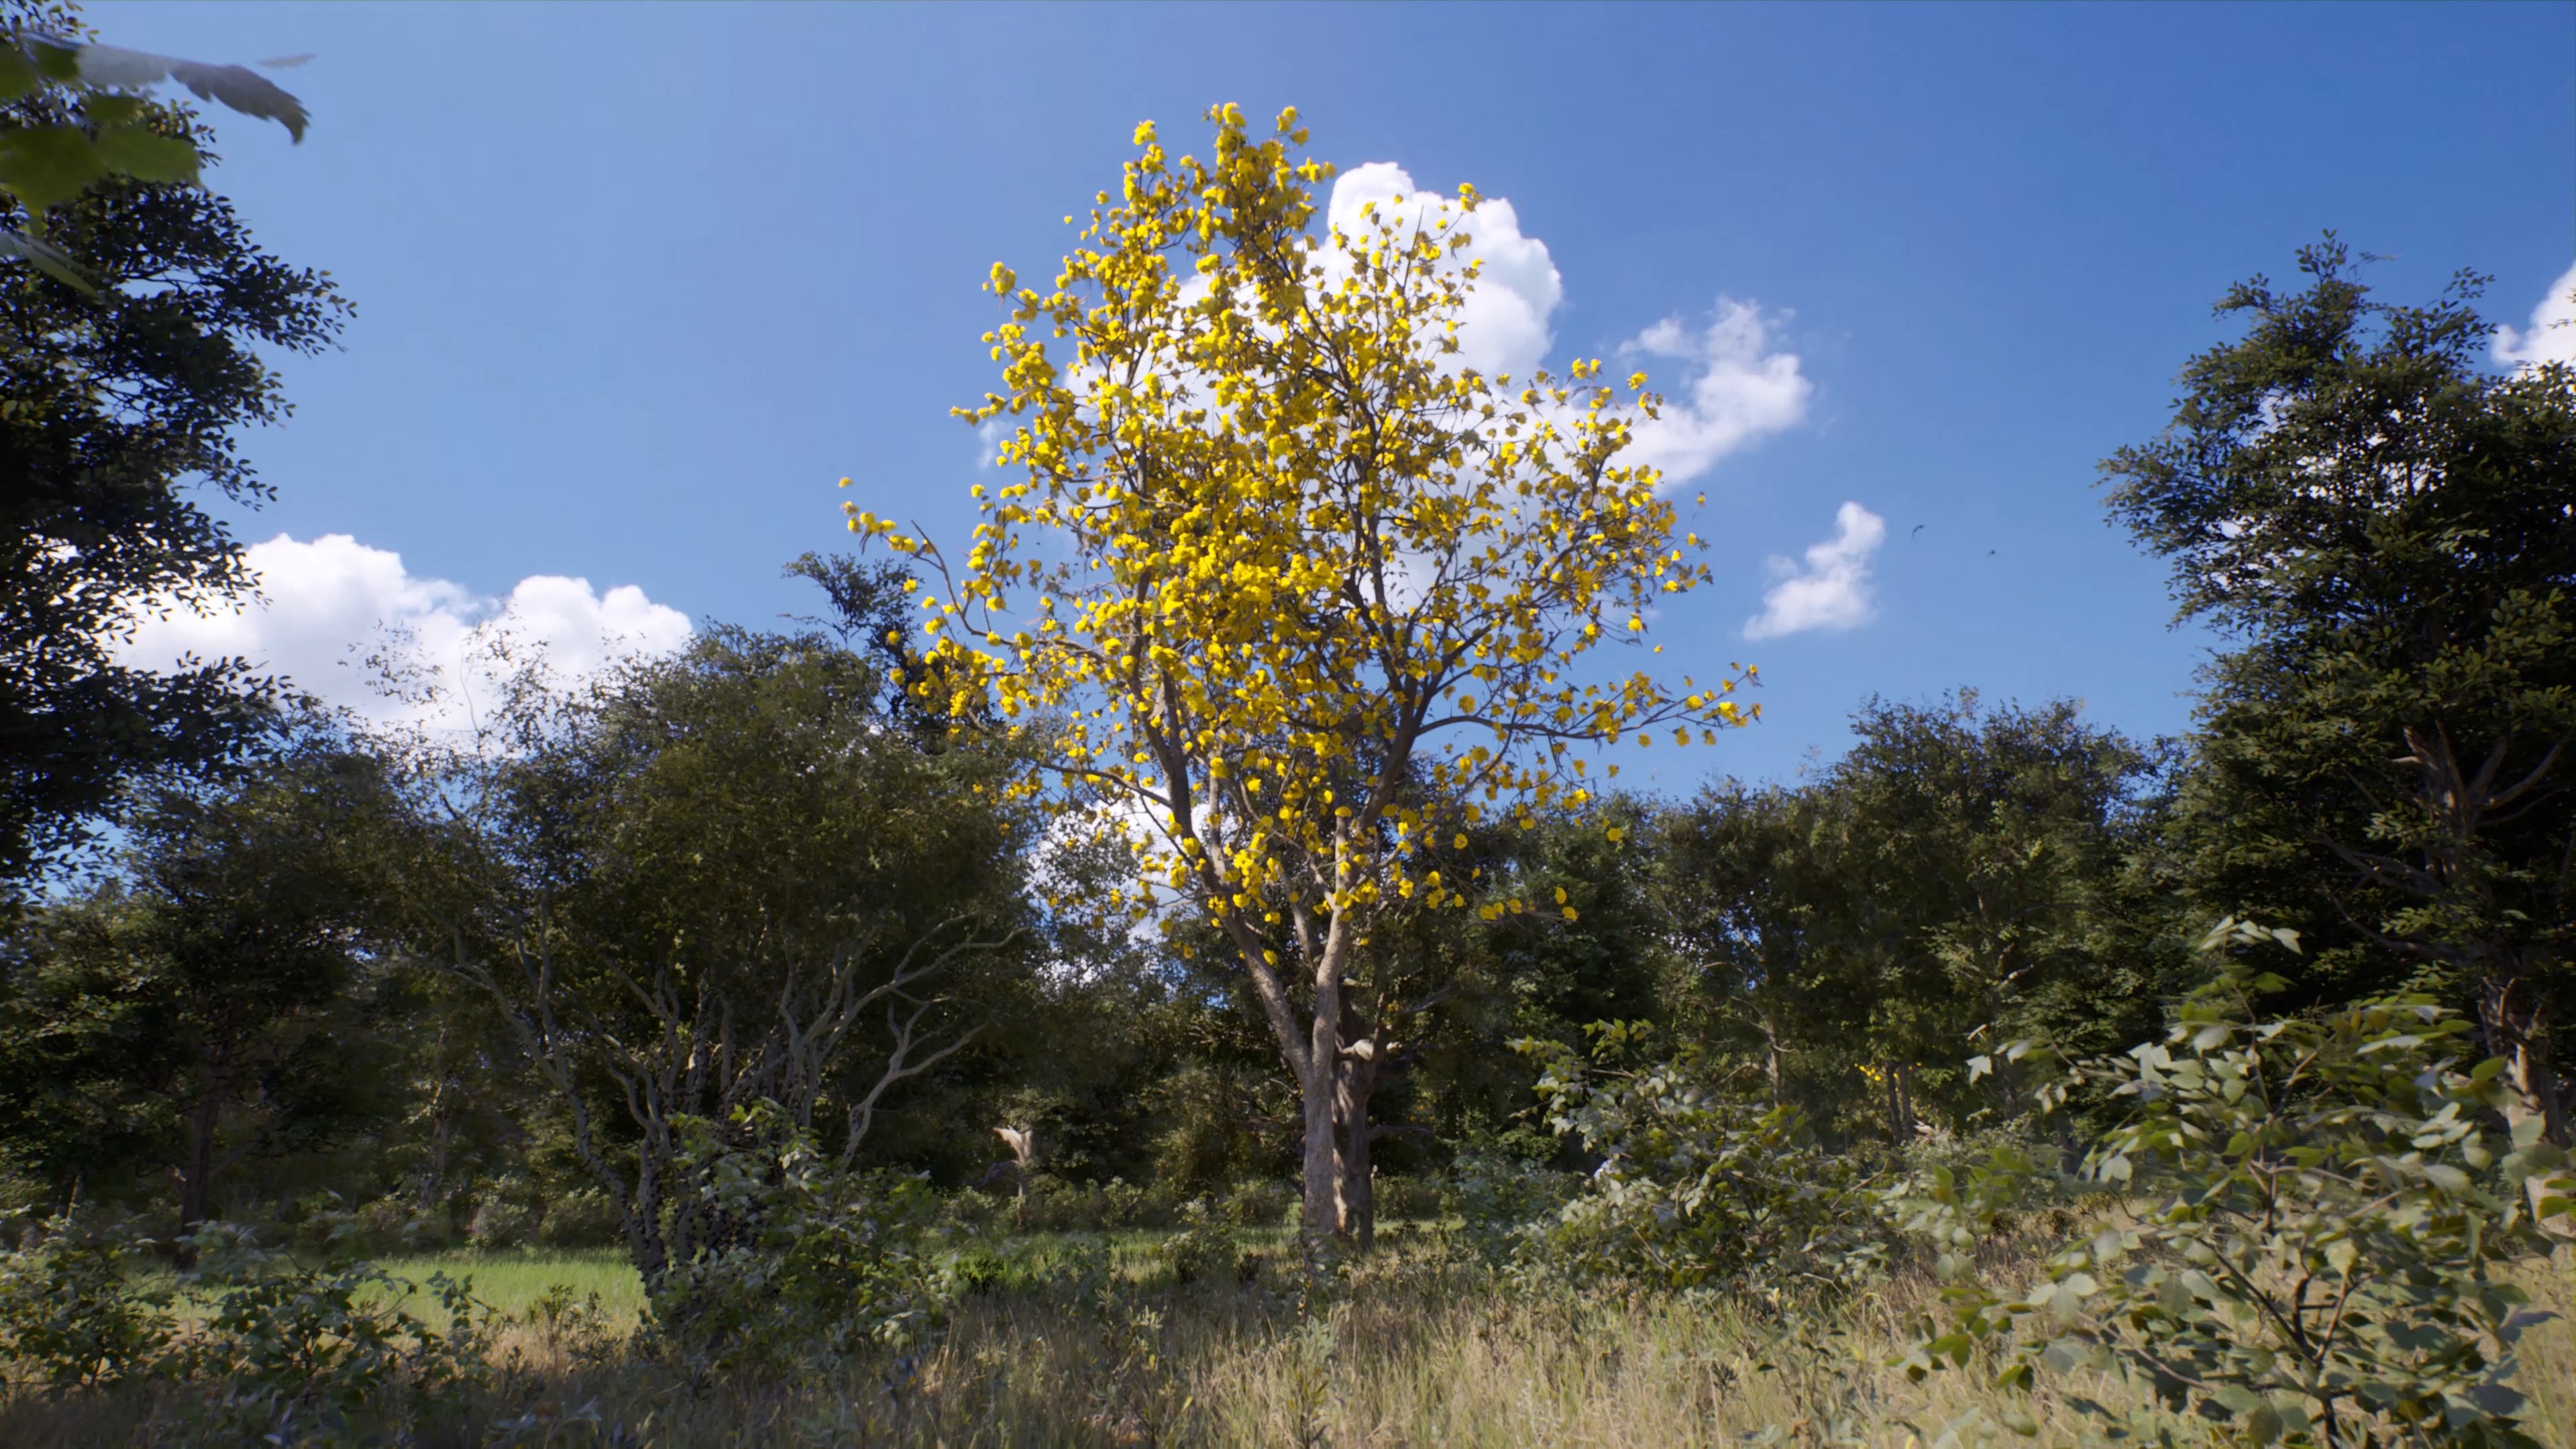
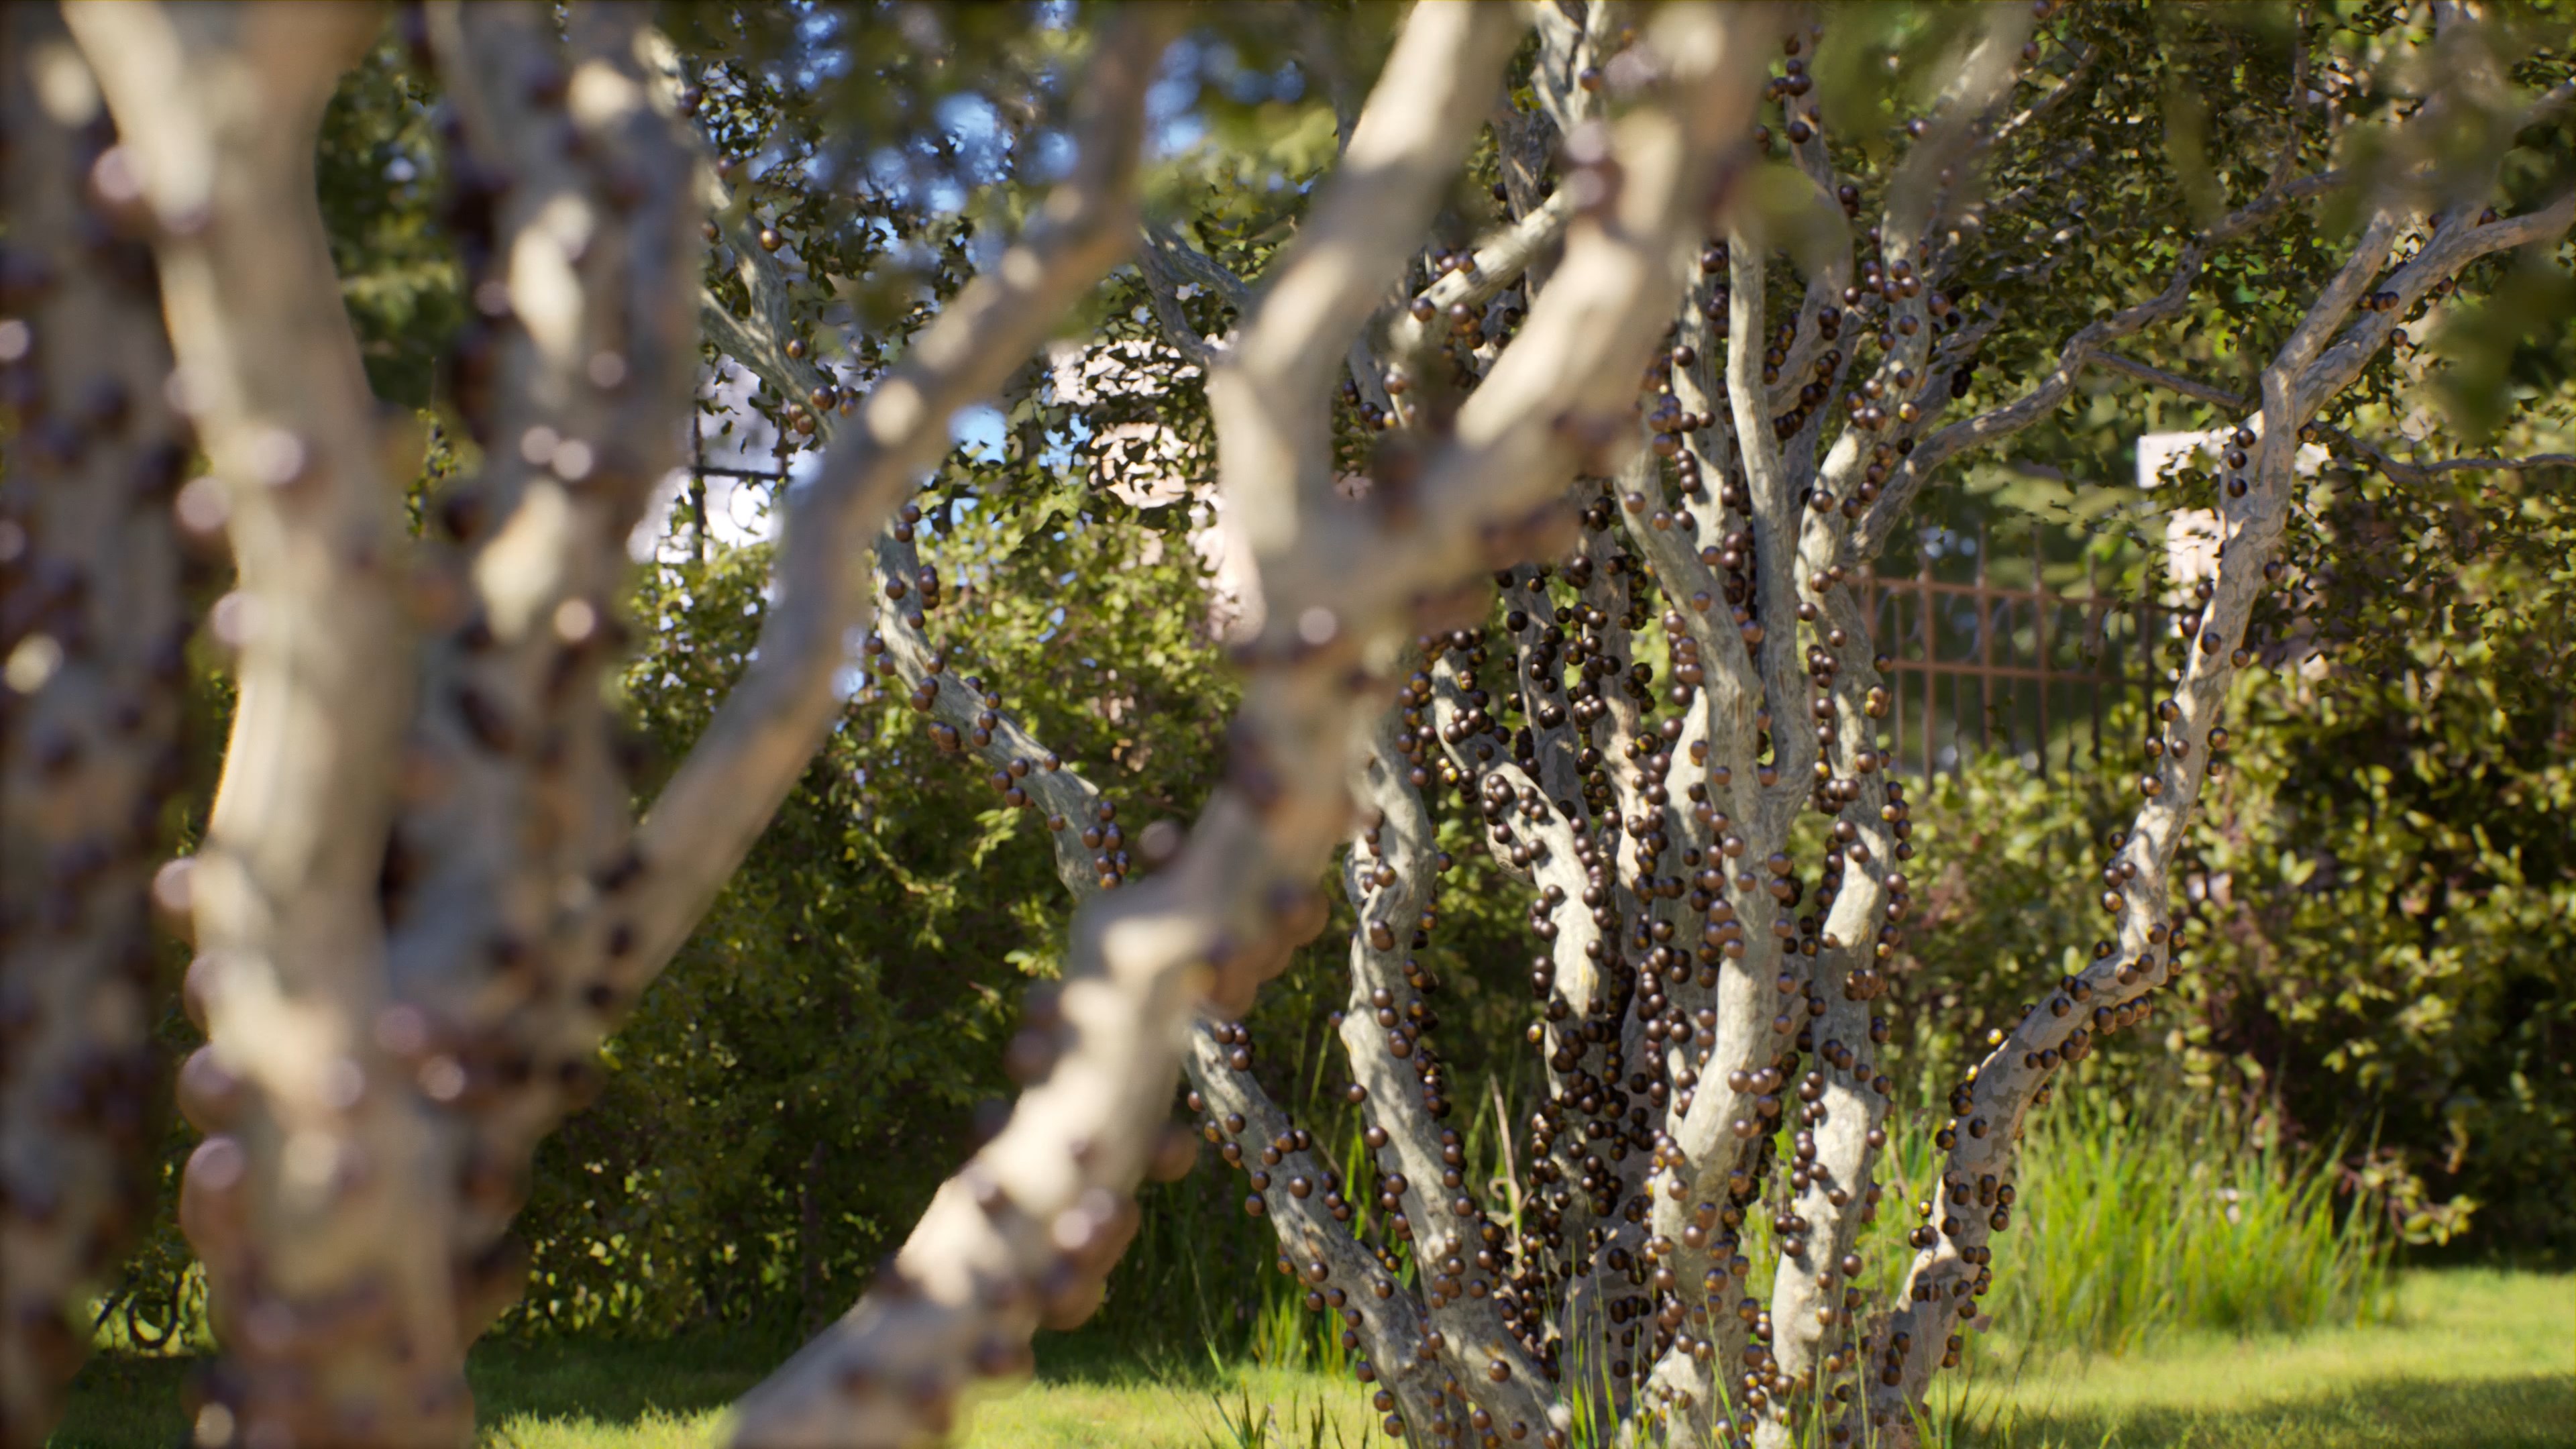
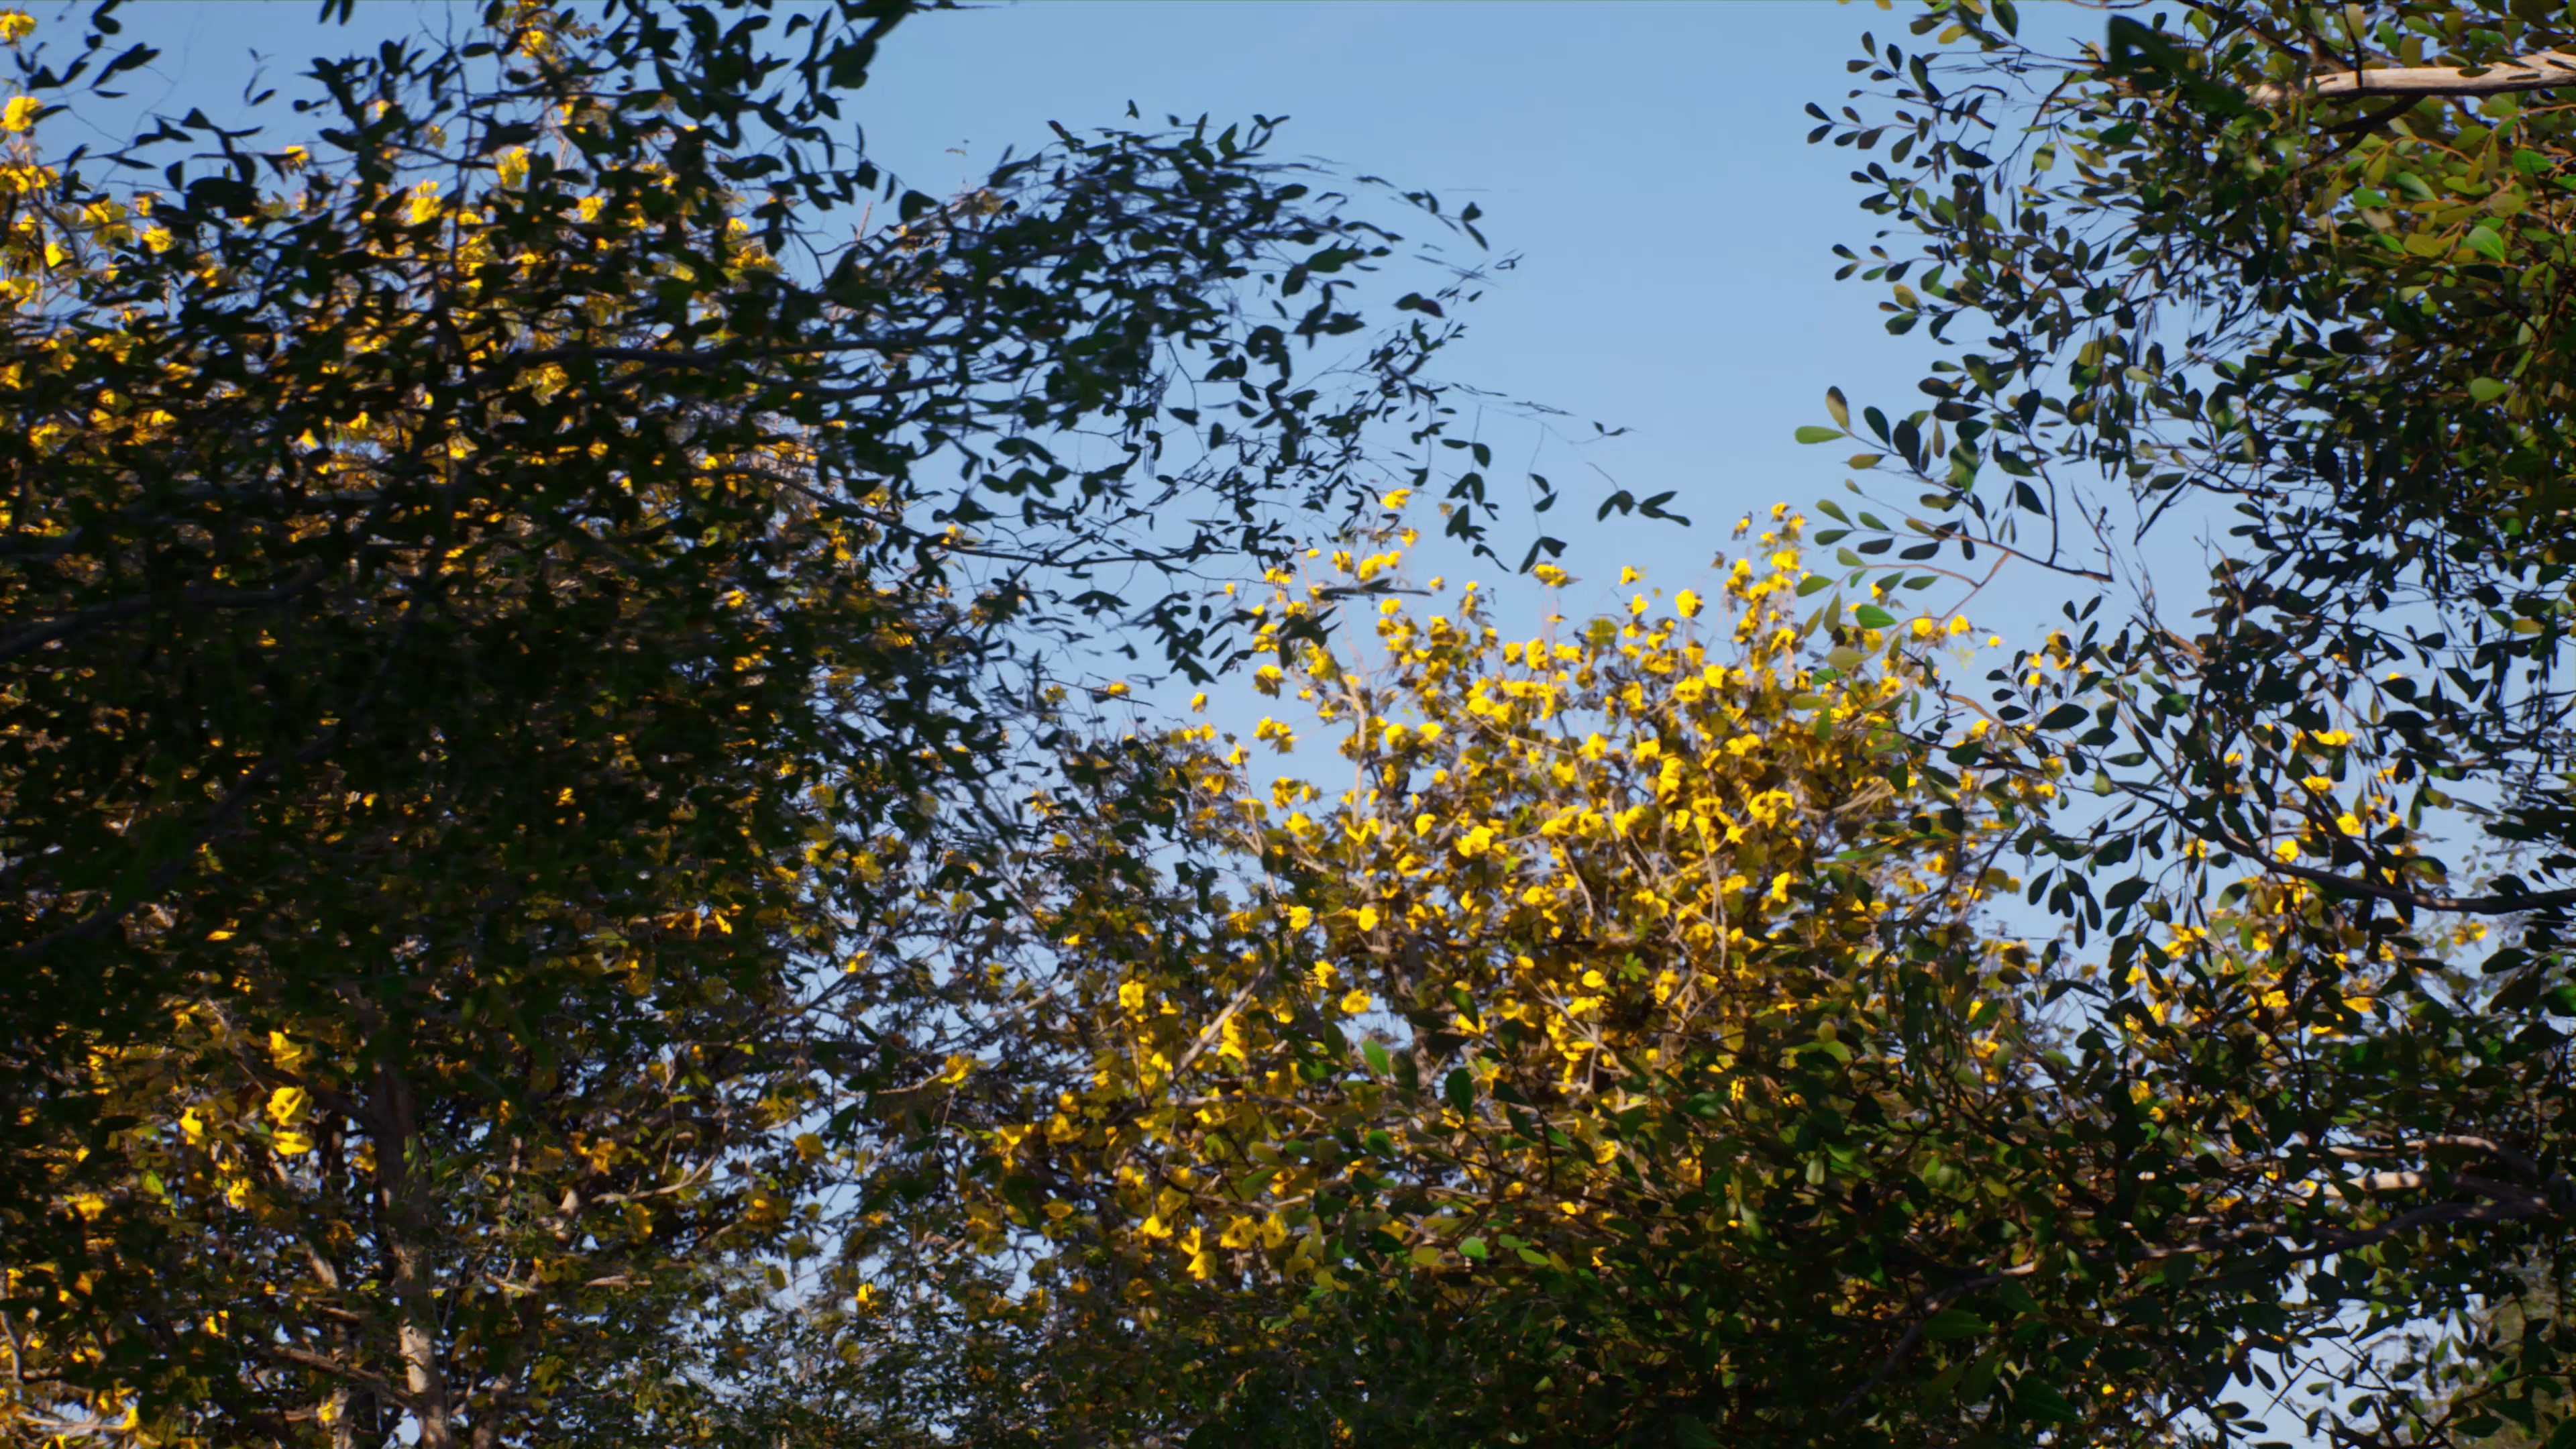
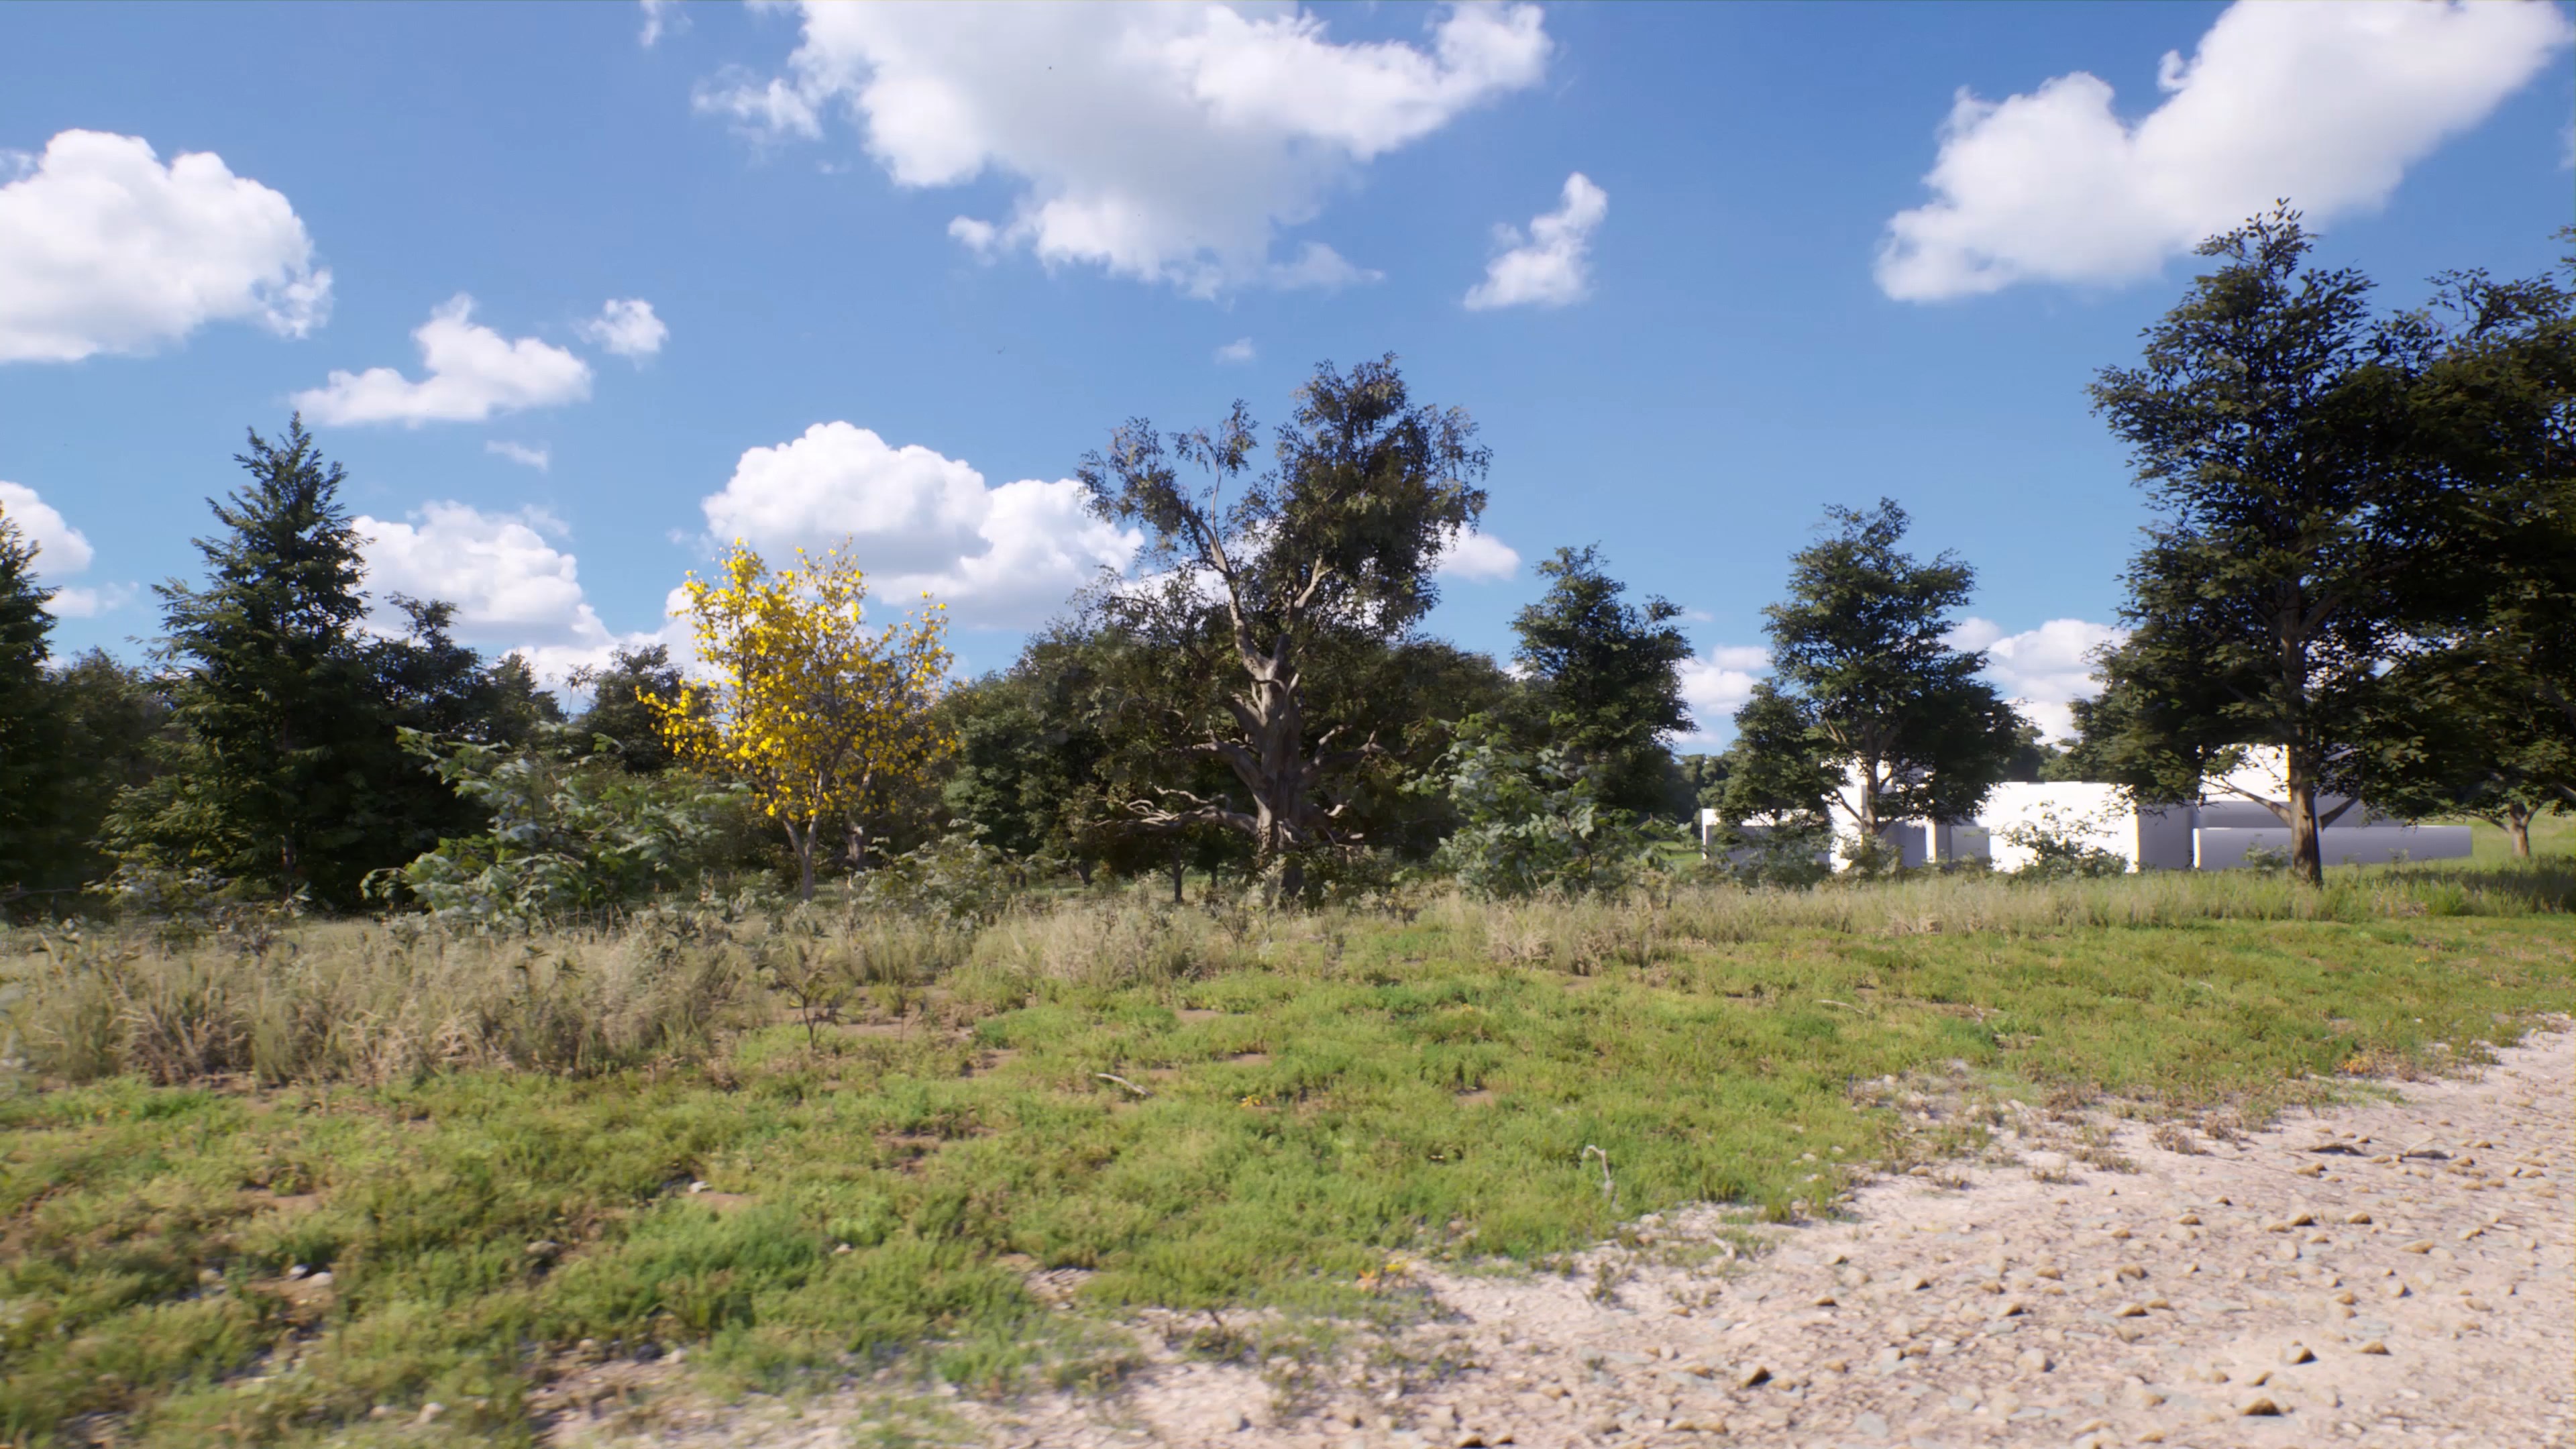
The main tree of this project was the Eugenia cauliflora, or “jabuticaba”, a native Brazilian species with little black fruits growing on the trunk. I used Megascans ficus leaves textures to simulate the leaves of the jabuticaba as they’re very similar in shape. I’ve also used some yellow Tabebuia that I’ve created in the past to contrast with the overall green foliage.
Wind is also important for immersion. I’ve set up a constant wind in SpeedTree for all the trees and interpolated the SpeedTree wind node with some custom masks to simulate local wind. Add a Panner Node to that mask and you have local wind moving across the environment.


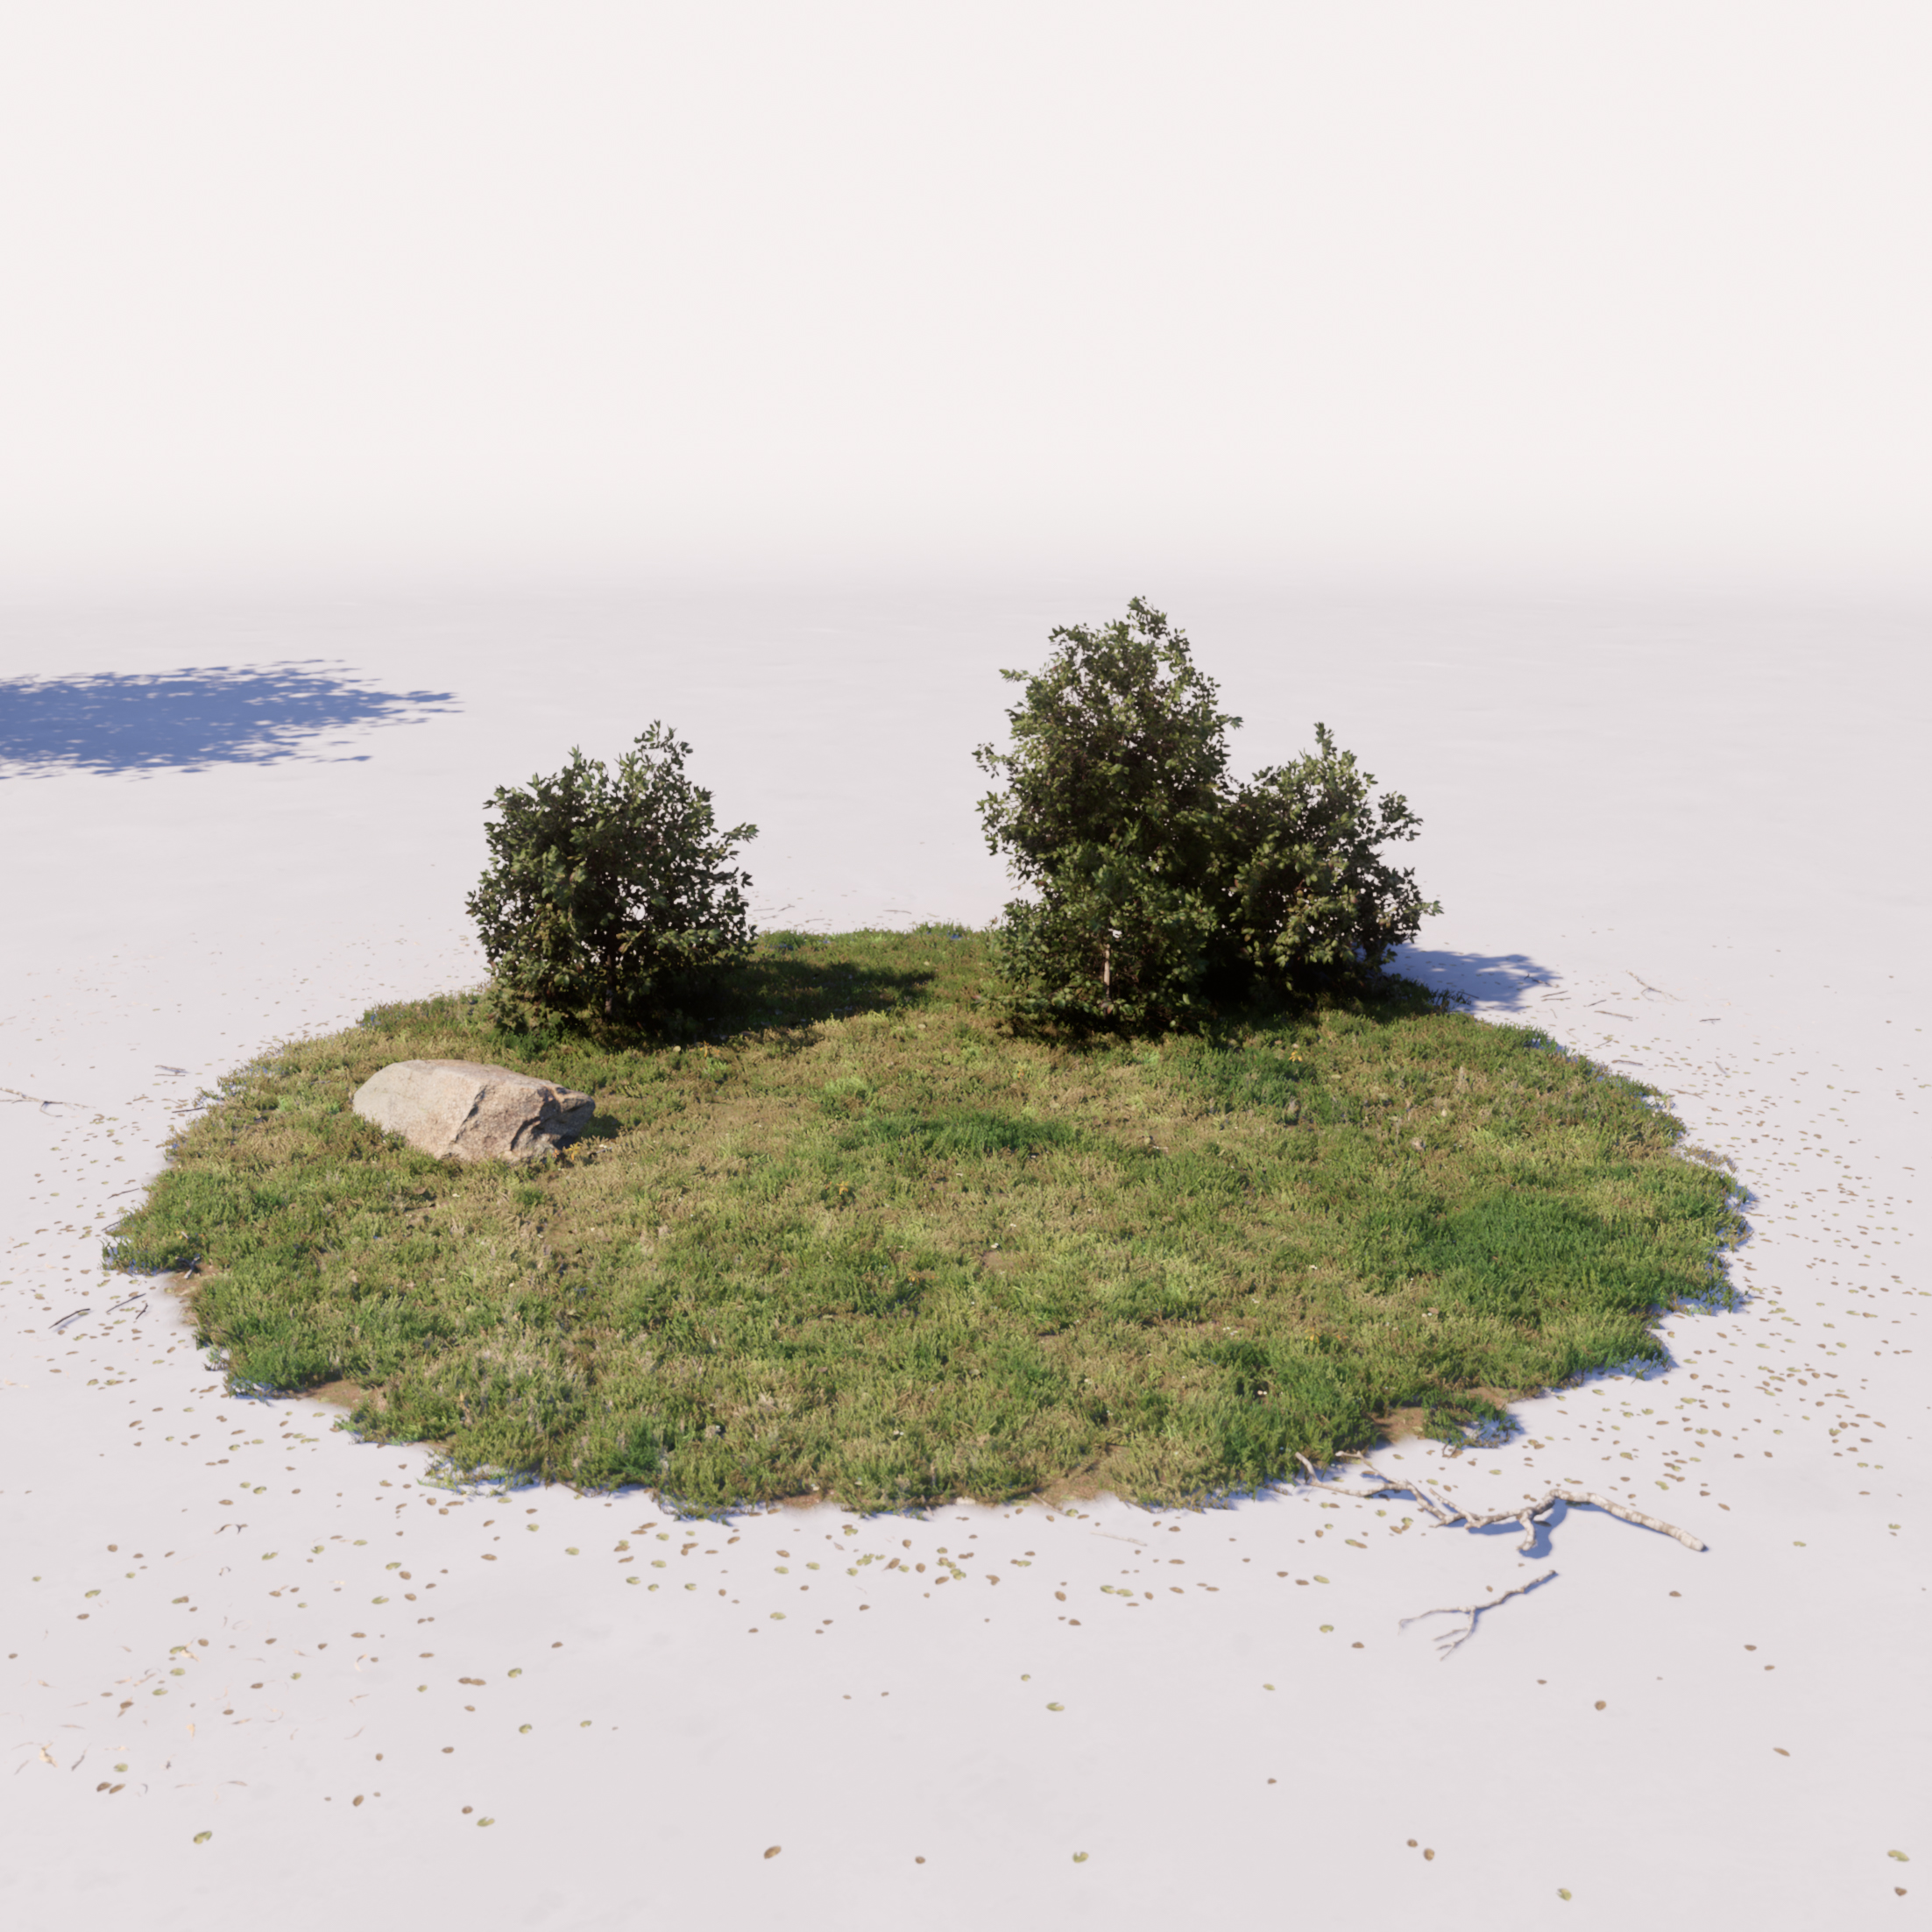
Grass
Four years ago, when I decided to migrate my Arch Viz workflow from offline renders to game engines, my biggest concern was reproducing realistic lawns. In offline rendering, you can simply reproduce each leaf of grass in 3D and scatter them all around. But in real time it is obviously more complicated.
I started experimenting with a lot of techniques and found out that the good old cluster of planes with grass blades atlases could get the job done with some tweaking. It was possible to obtain a good result for both long-range shots, and close-ups, with well-oriented planes and well-adjusted normals to hide them.
Materials play a central role. I’ve added parameters that allow me to adjust the height (with pixel offset) and color variations of the grass. That way I get lawns that meet my needs in every case. For this specific project, I opted for a more patched and sloppy lawn because I thought it added a more natural and realistic look to the scene.
I use two types of assets for the short grass. A 1m diameter cluster used to cover large areas, and a small 15cm diameter cluster to fill up small spaces and help in the transitions between different types of floor. For the grass leaf textures, I used Megascans Plant Grass atlases.
The house
The process of creating the house was simple. I’ve modeled each wall in 3ds Max based on the imported AutoCAD floor plan. I try to avoid large surface meshes to get optimized lightmap resolution. Though extensive surfaces will demand high-res lightmaps to produce sharp indirect shadows. They also consume a lot of RAM and take a long time to compute during light building.
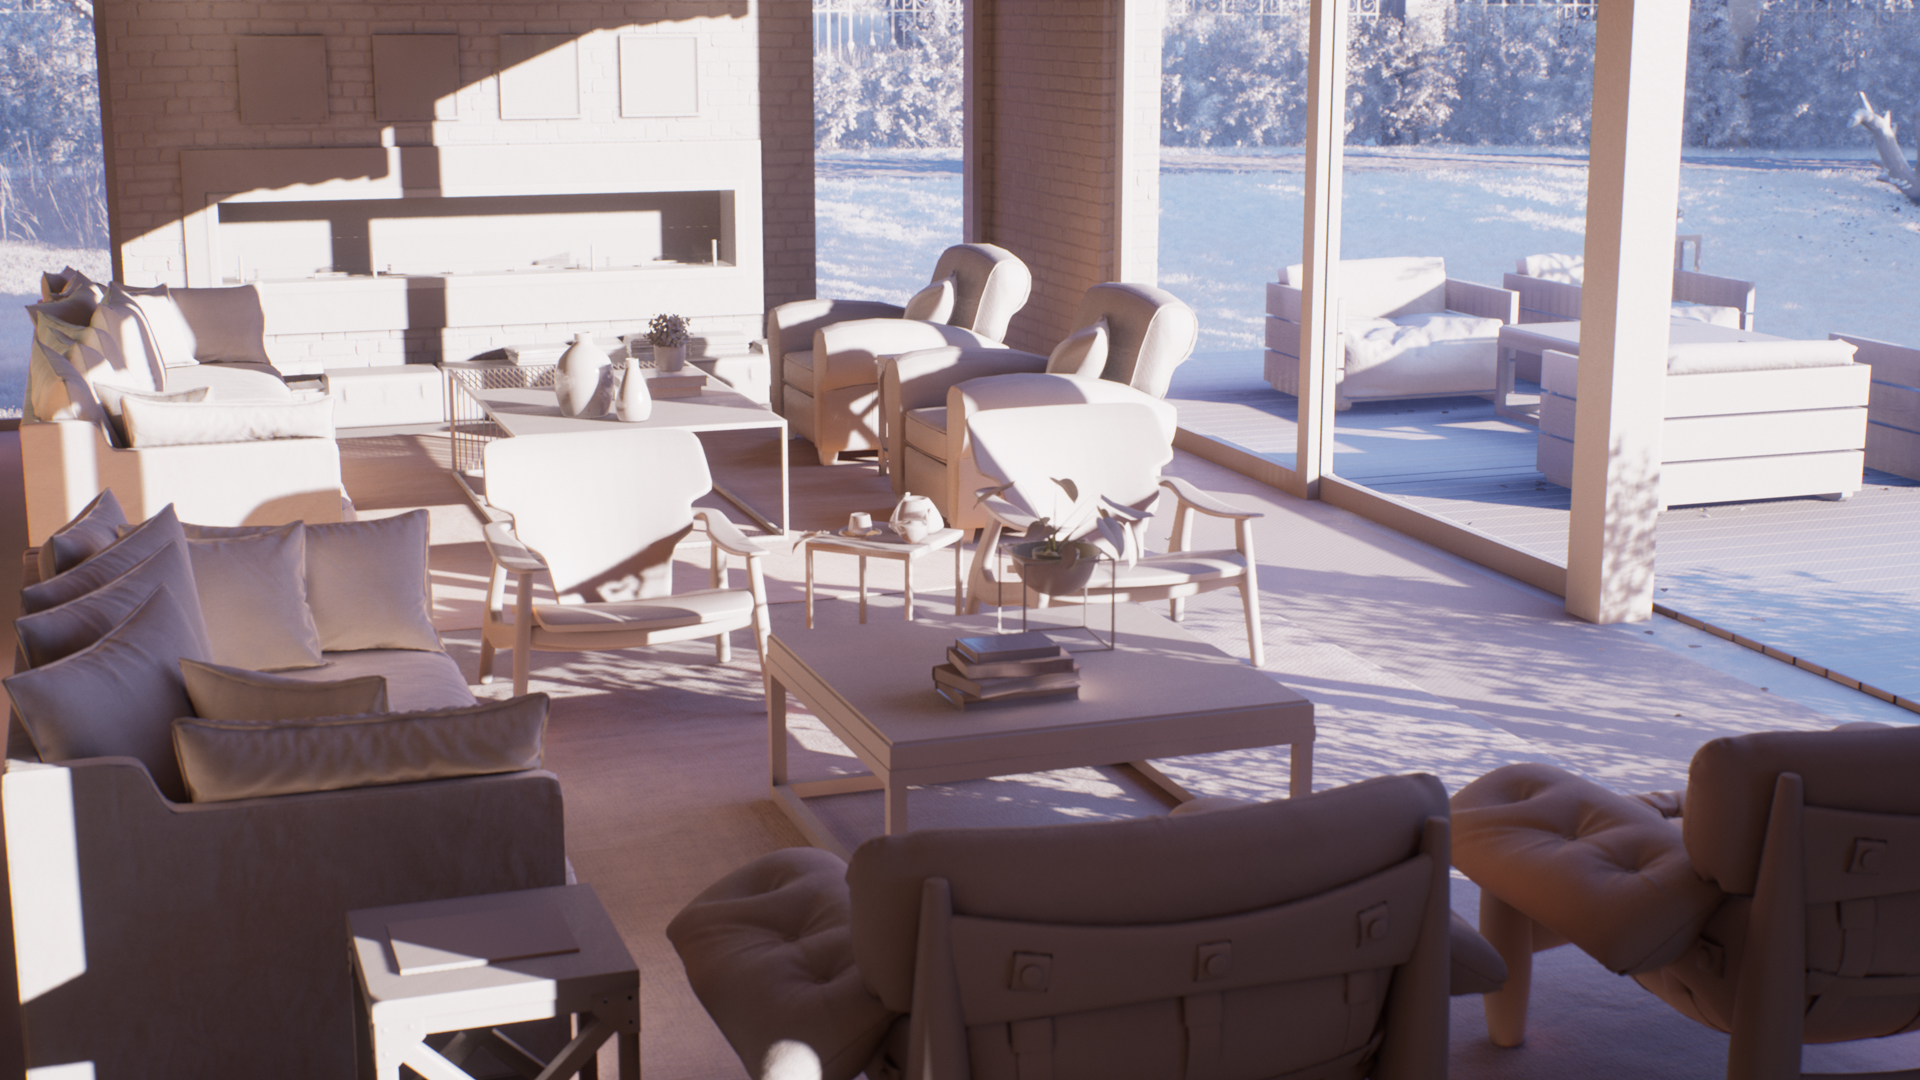
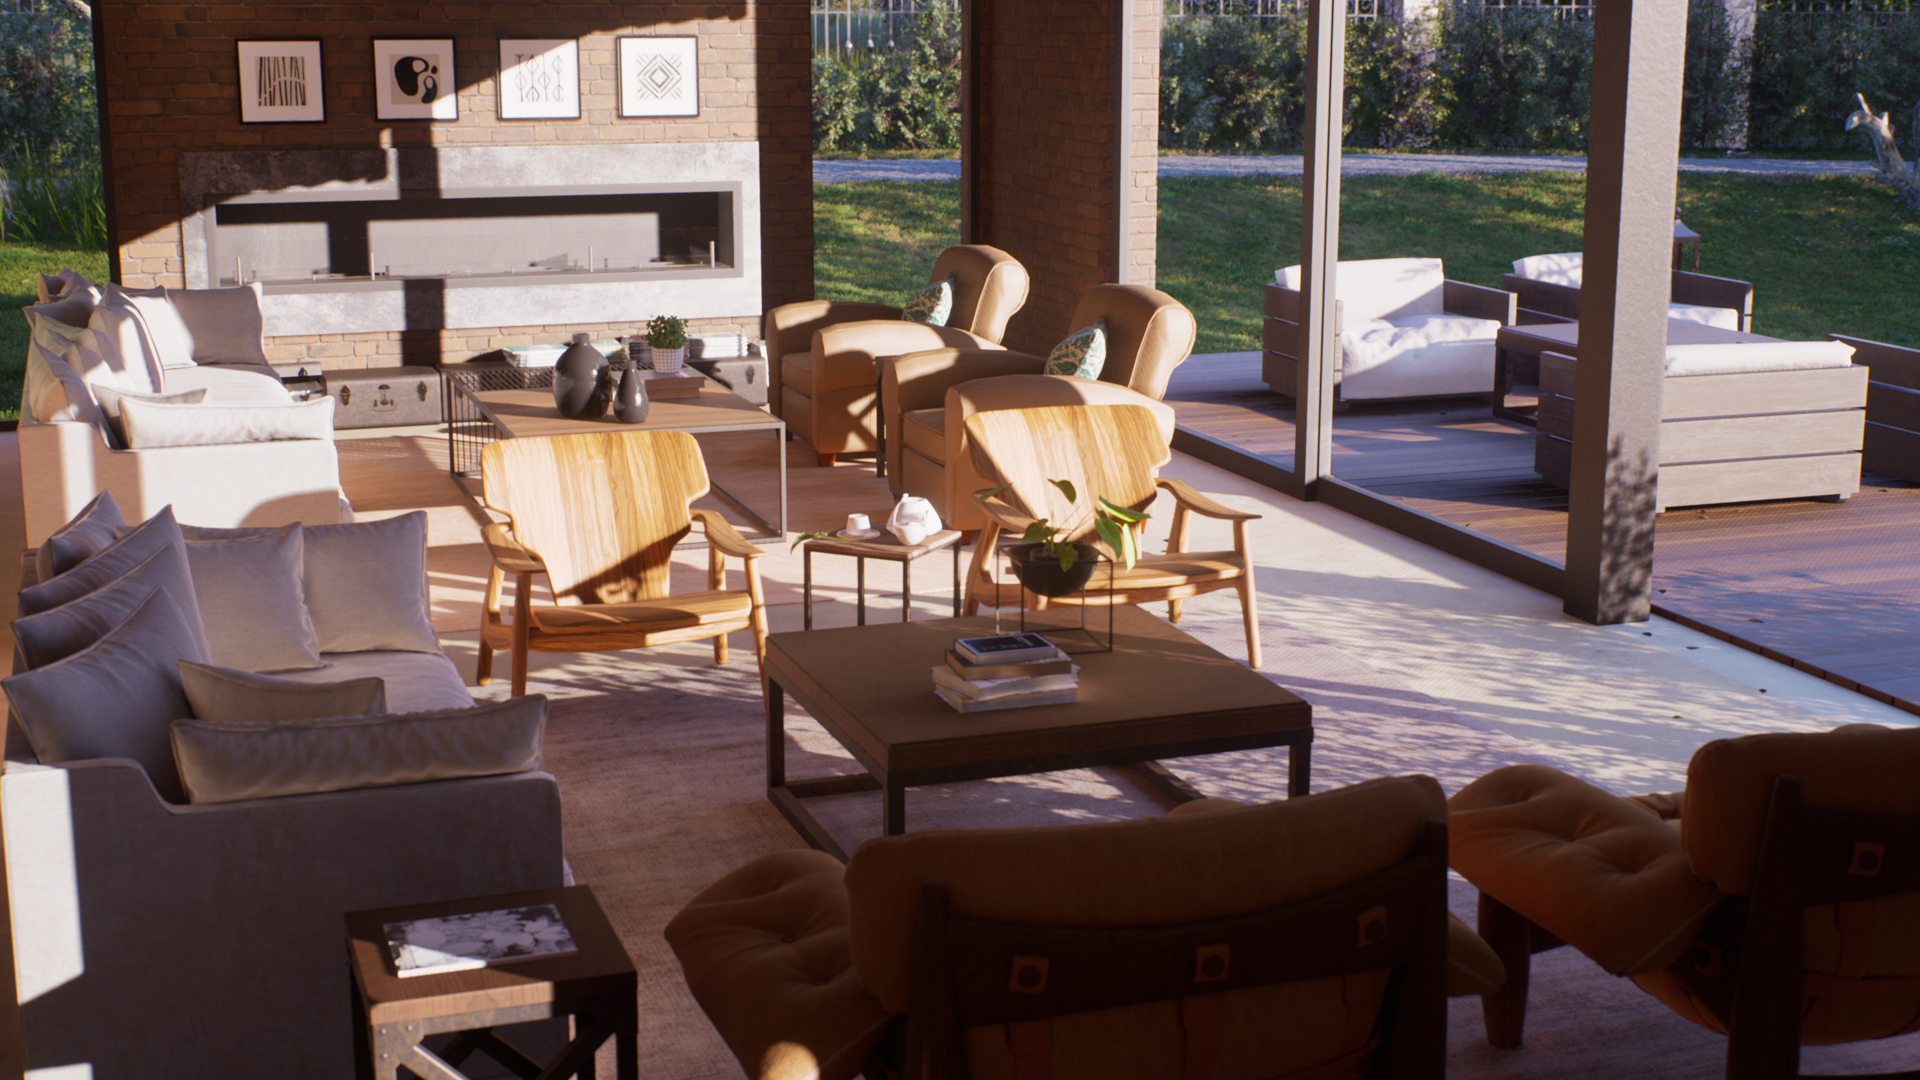
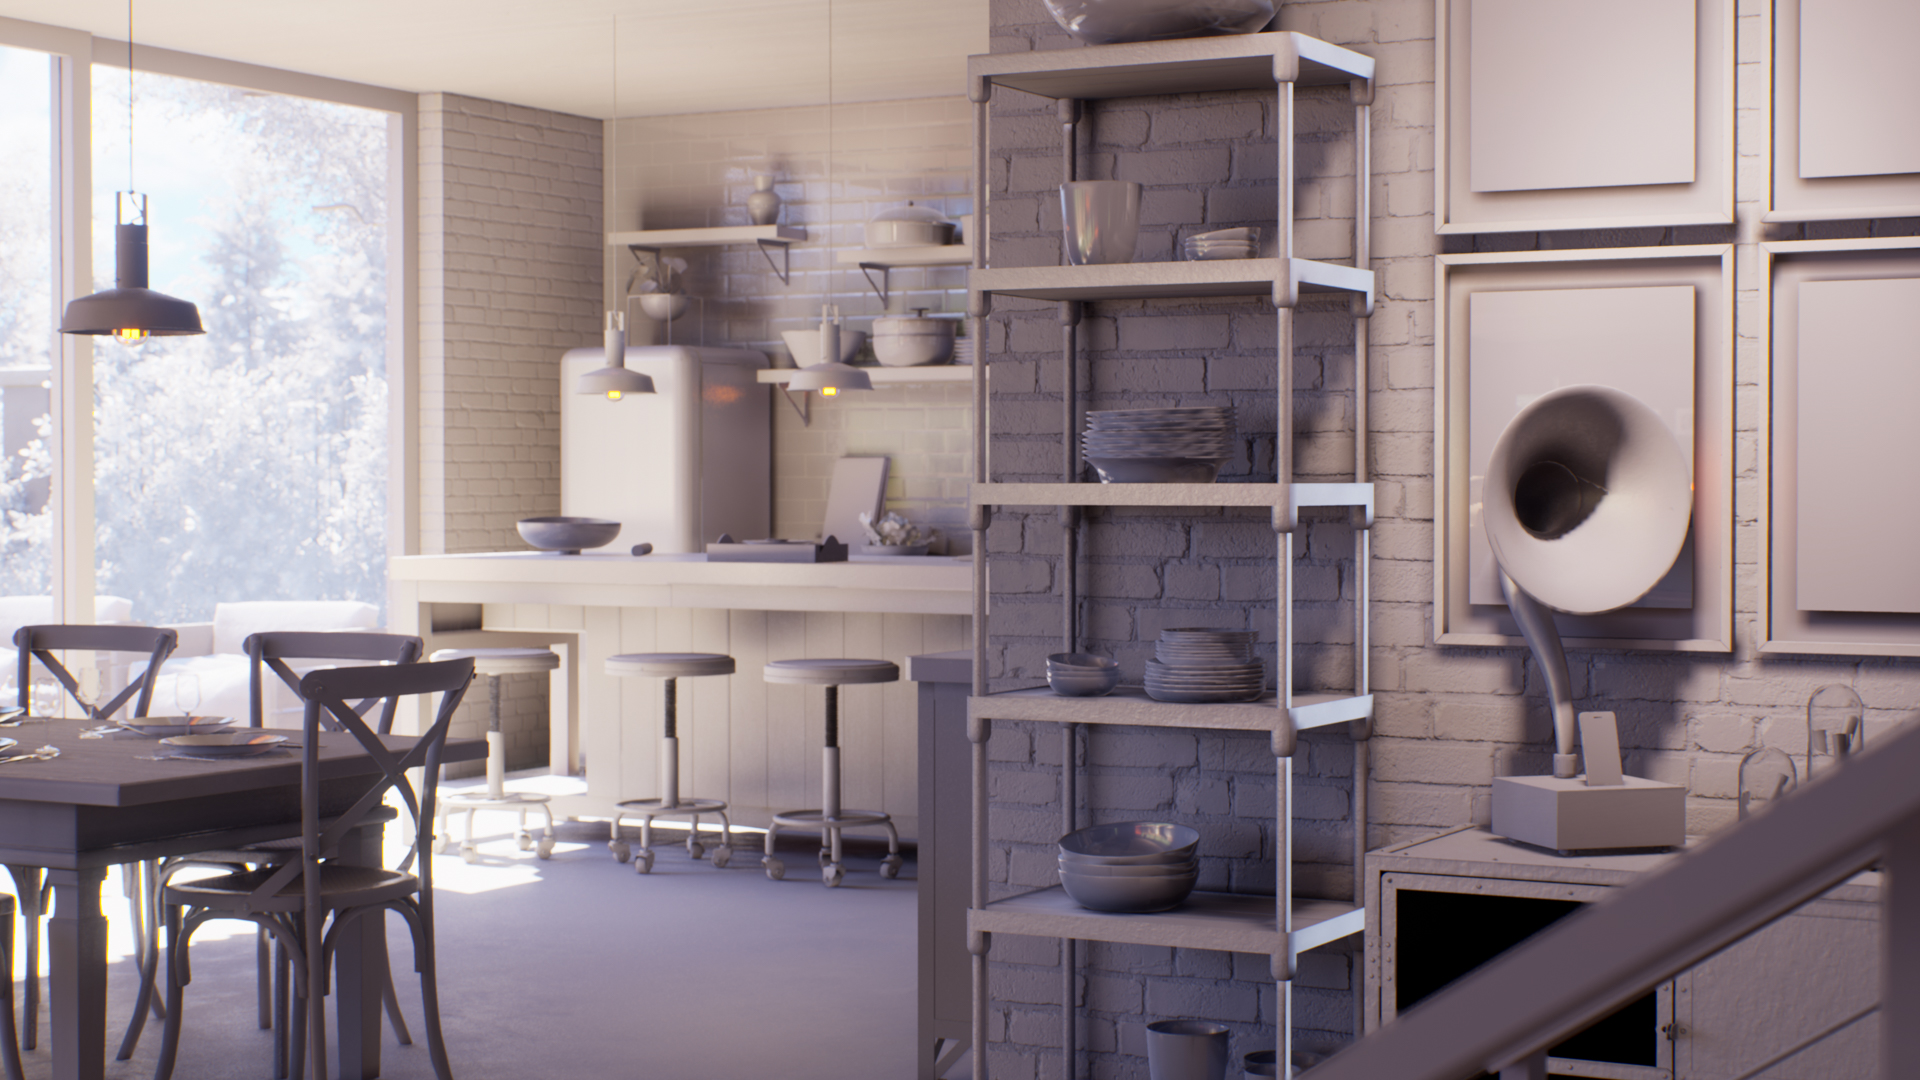
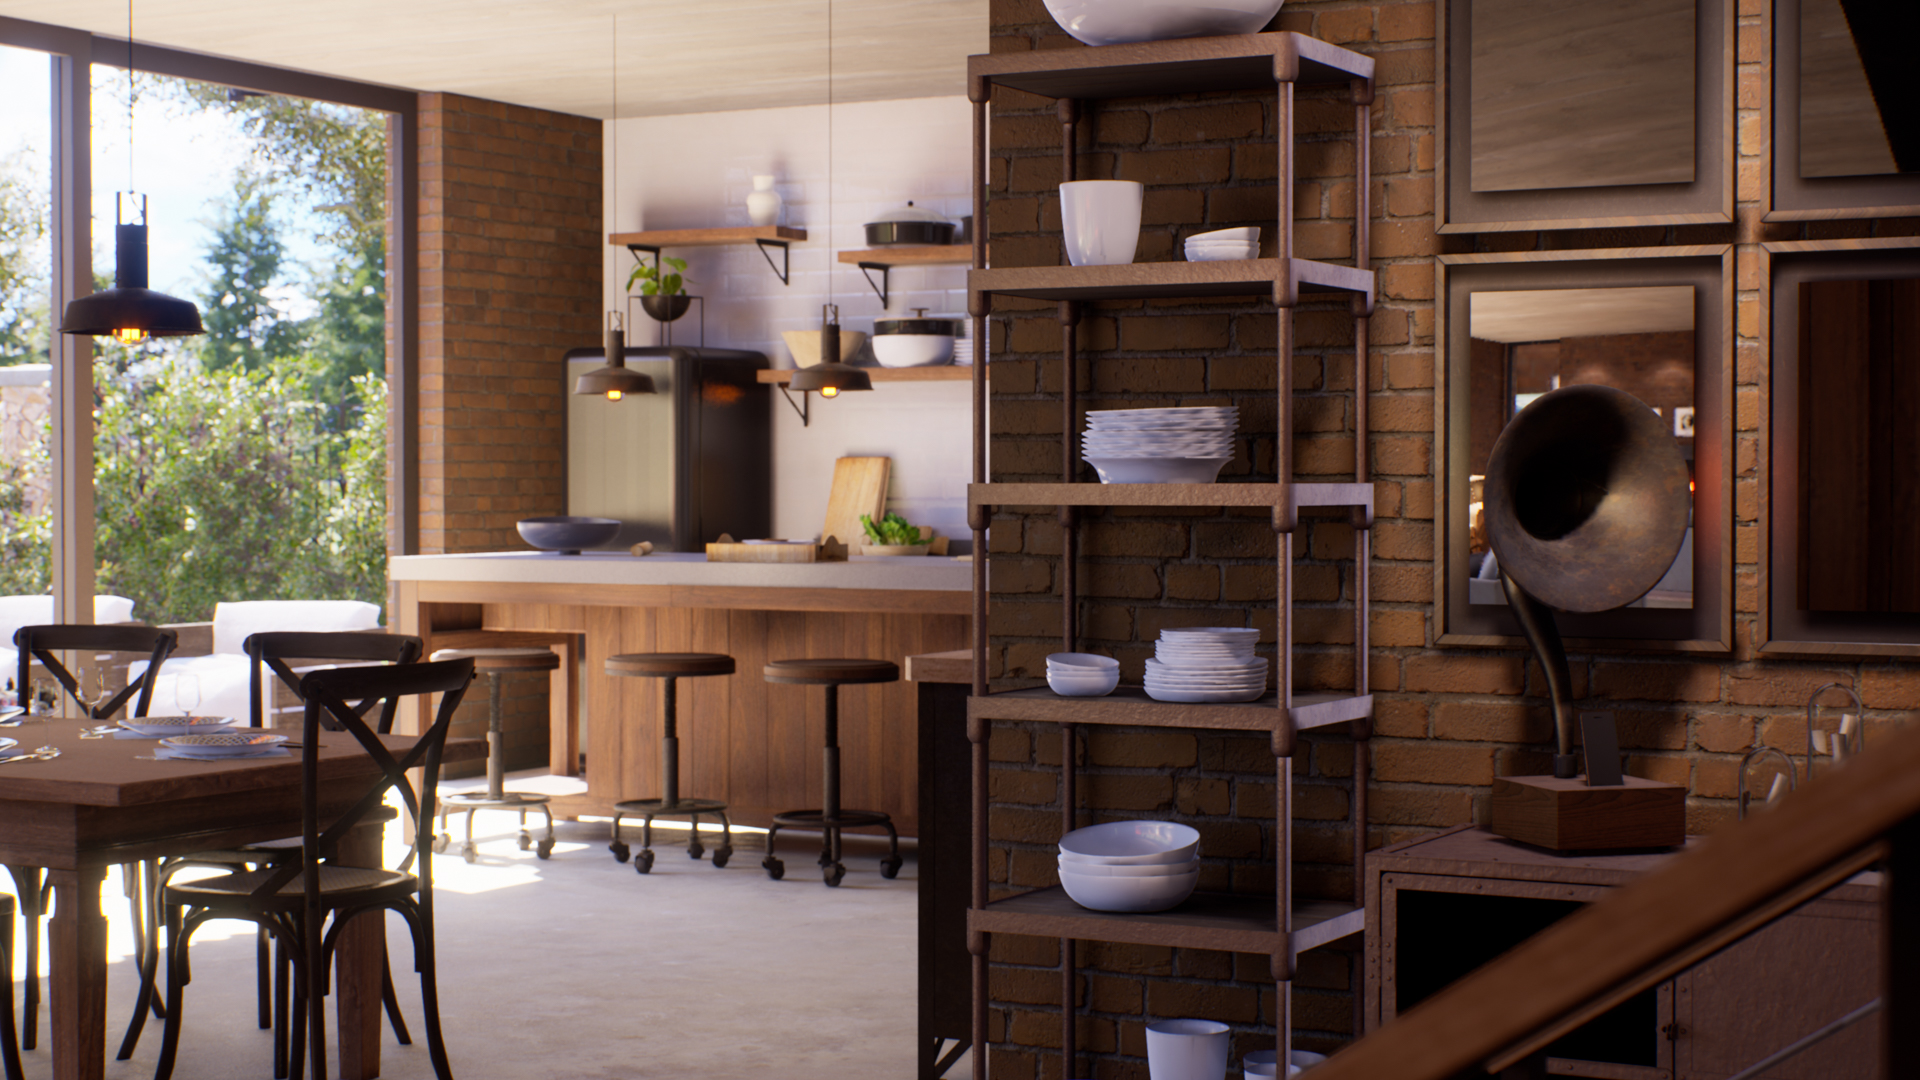
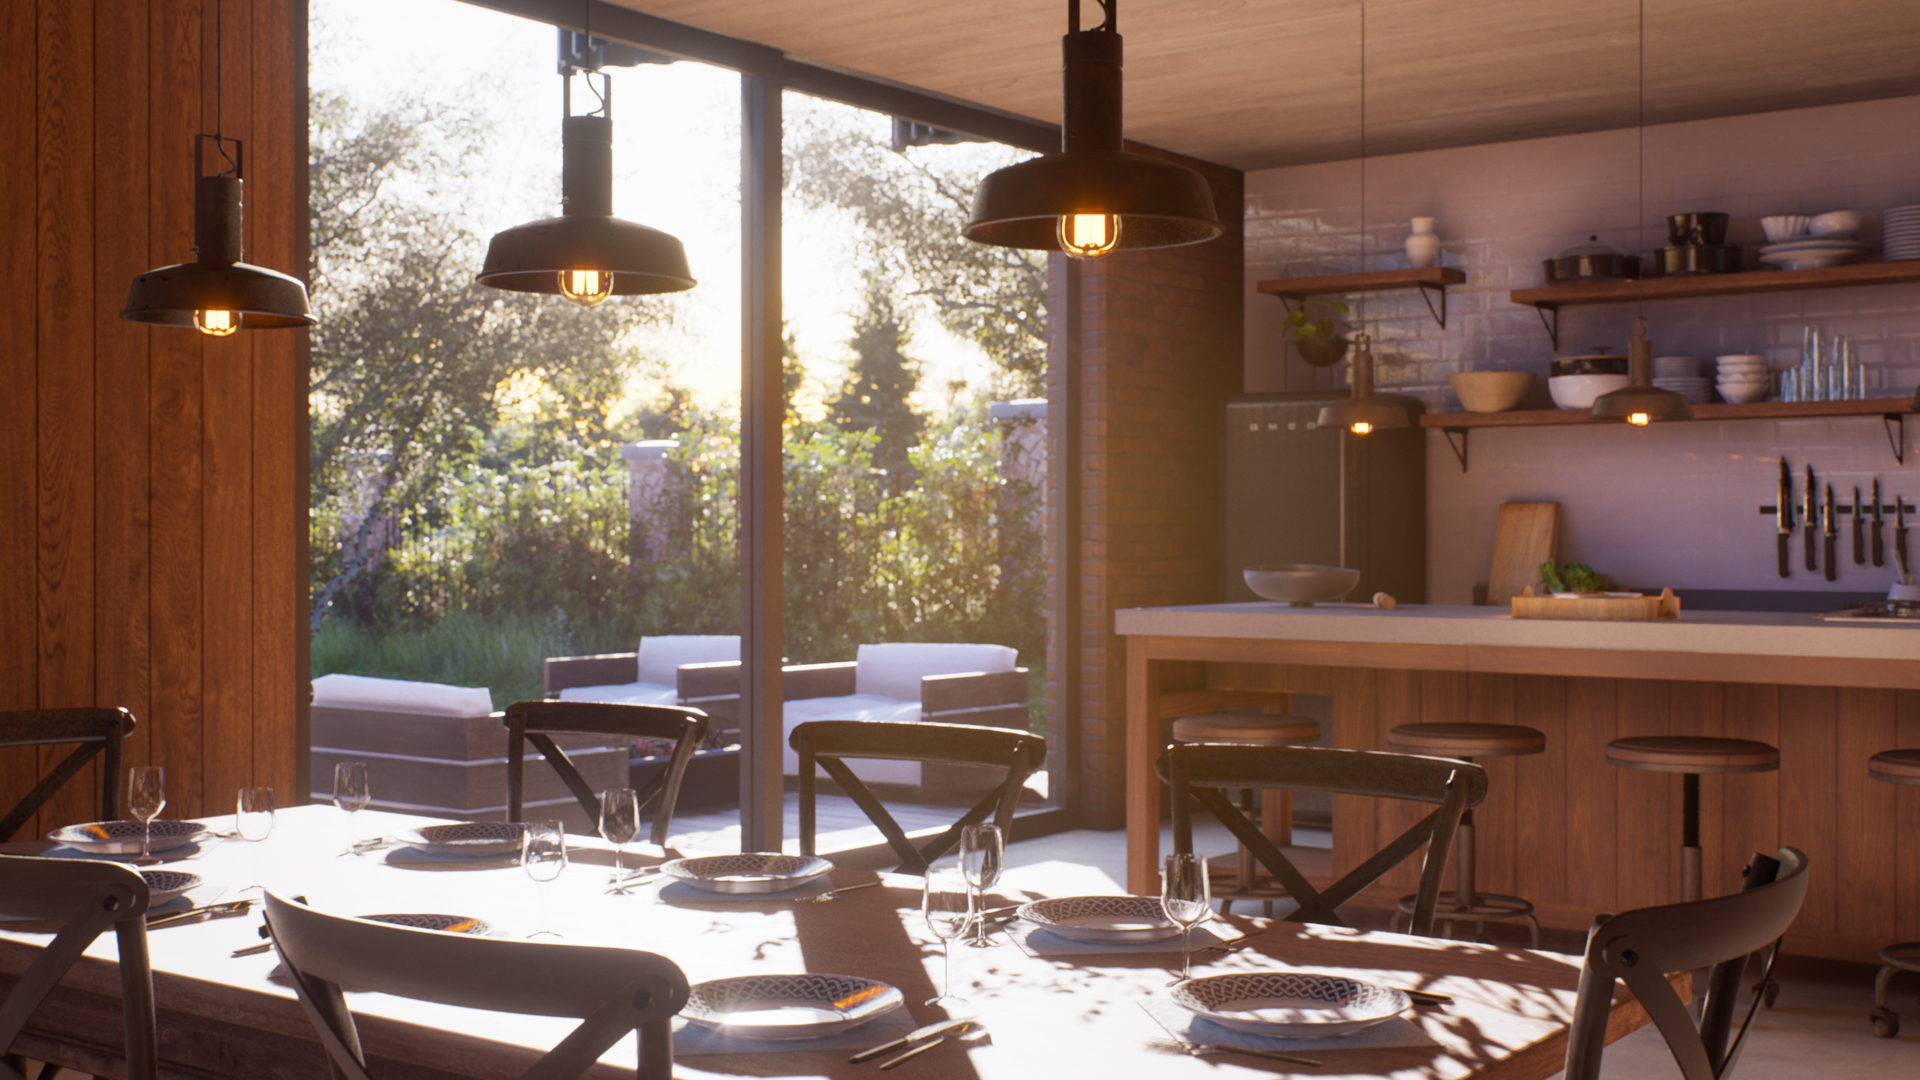
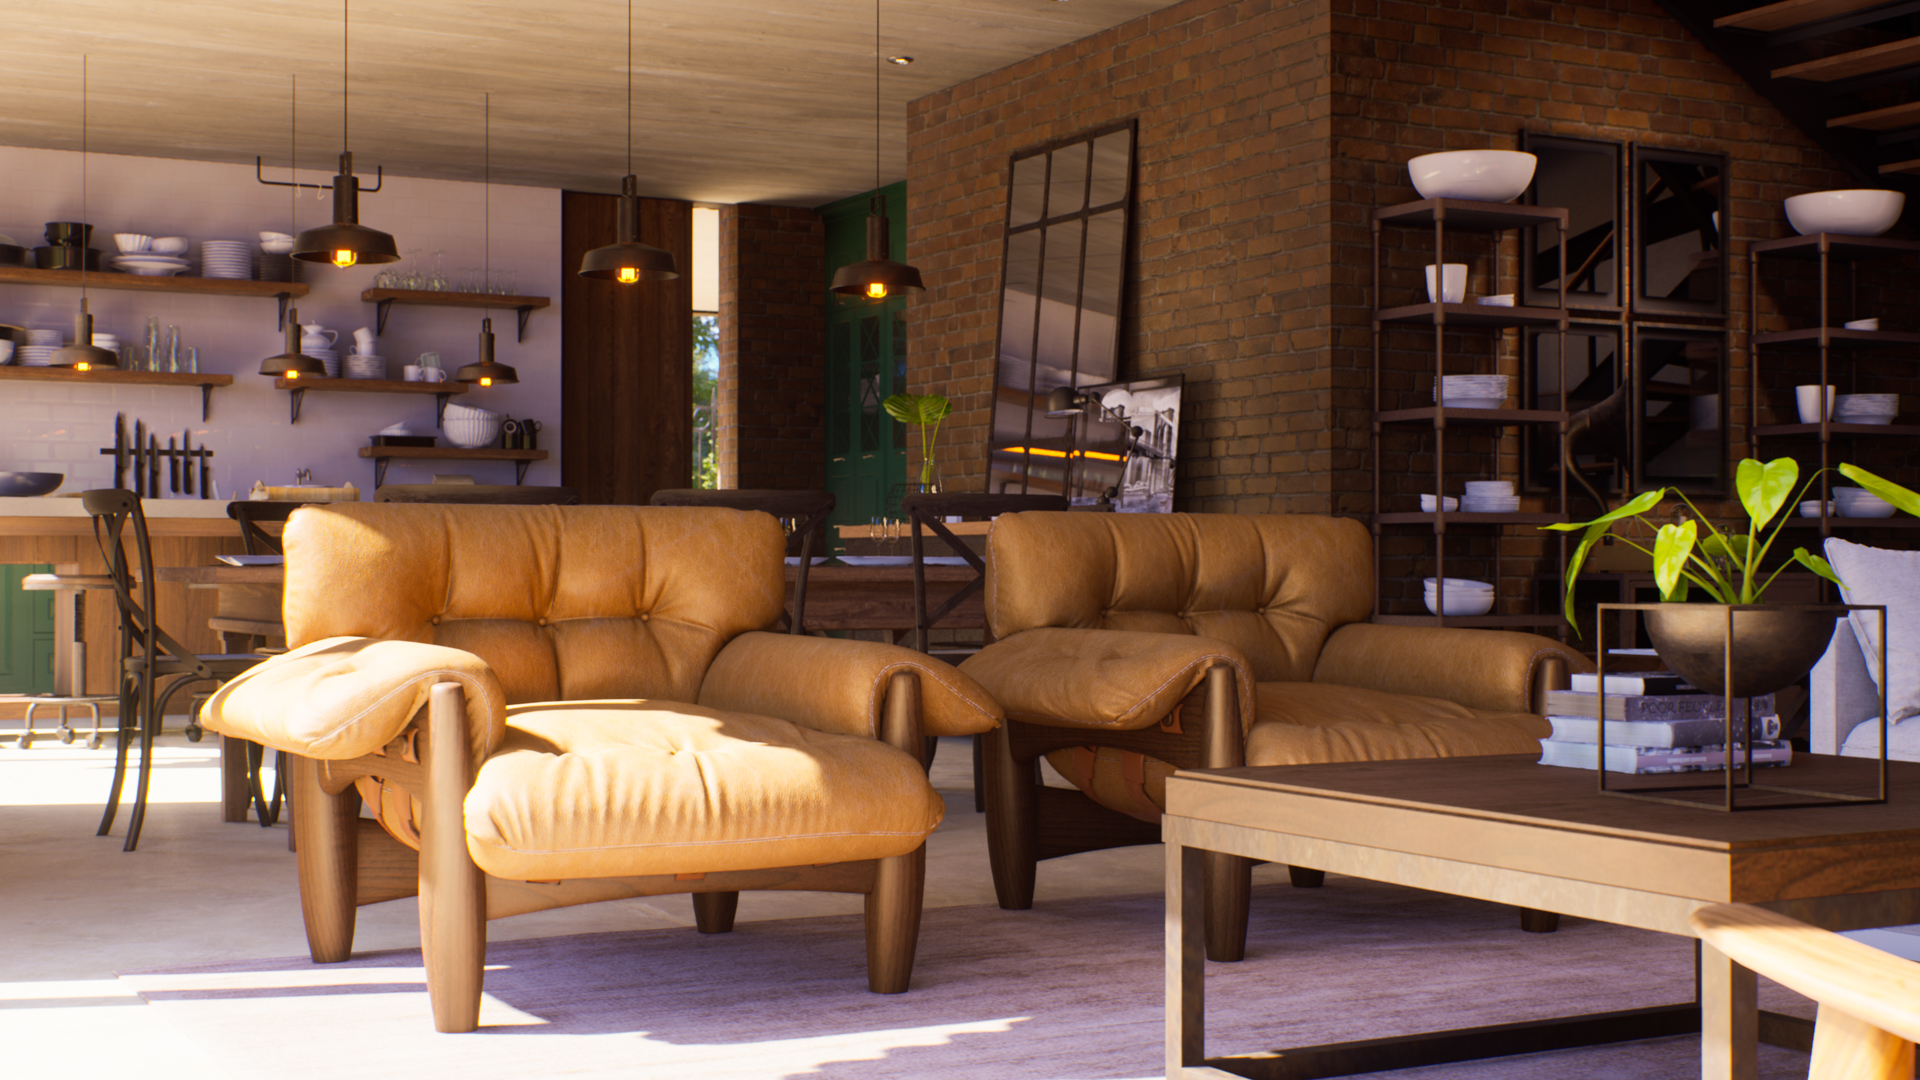
The furniture was chosen by the architects. The predominant materials in the project are concrete, bricks, and dark metal sheets. At this stage, I used Megascans textures with slight modifications in roughness and some variation maps.
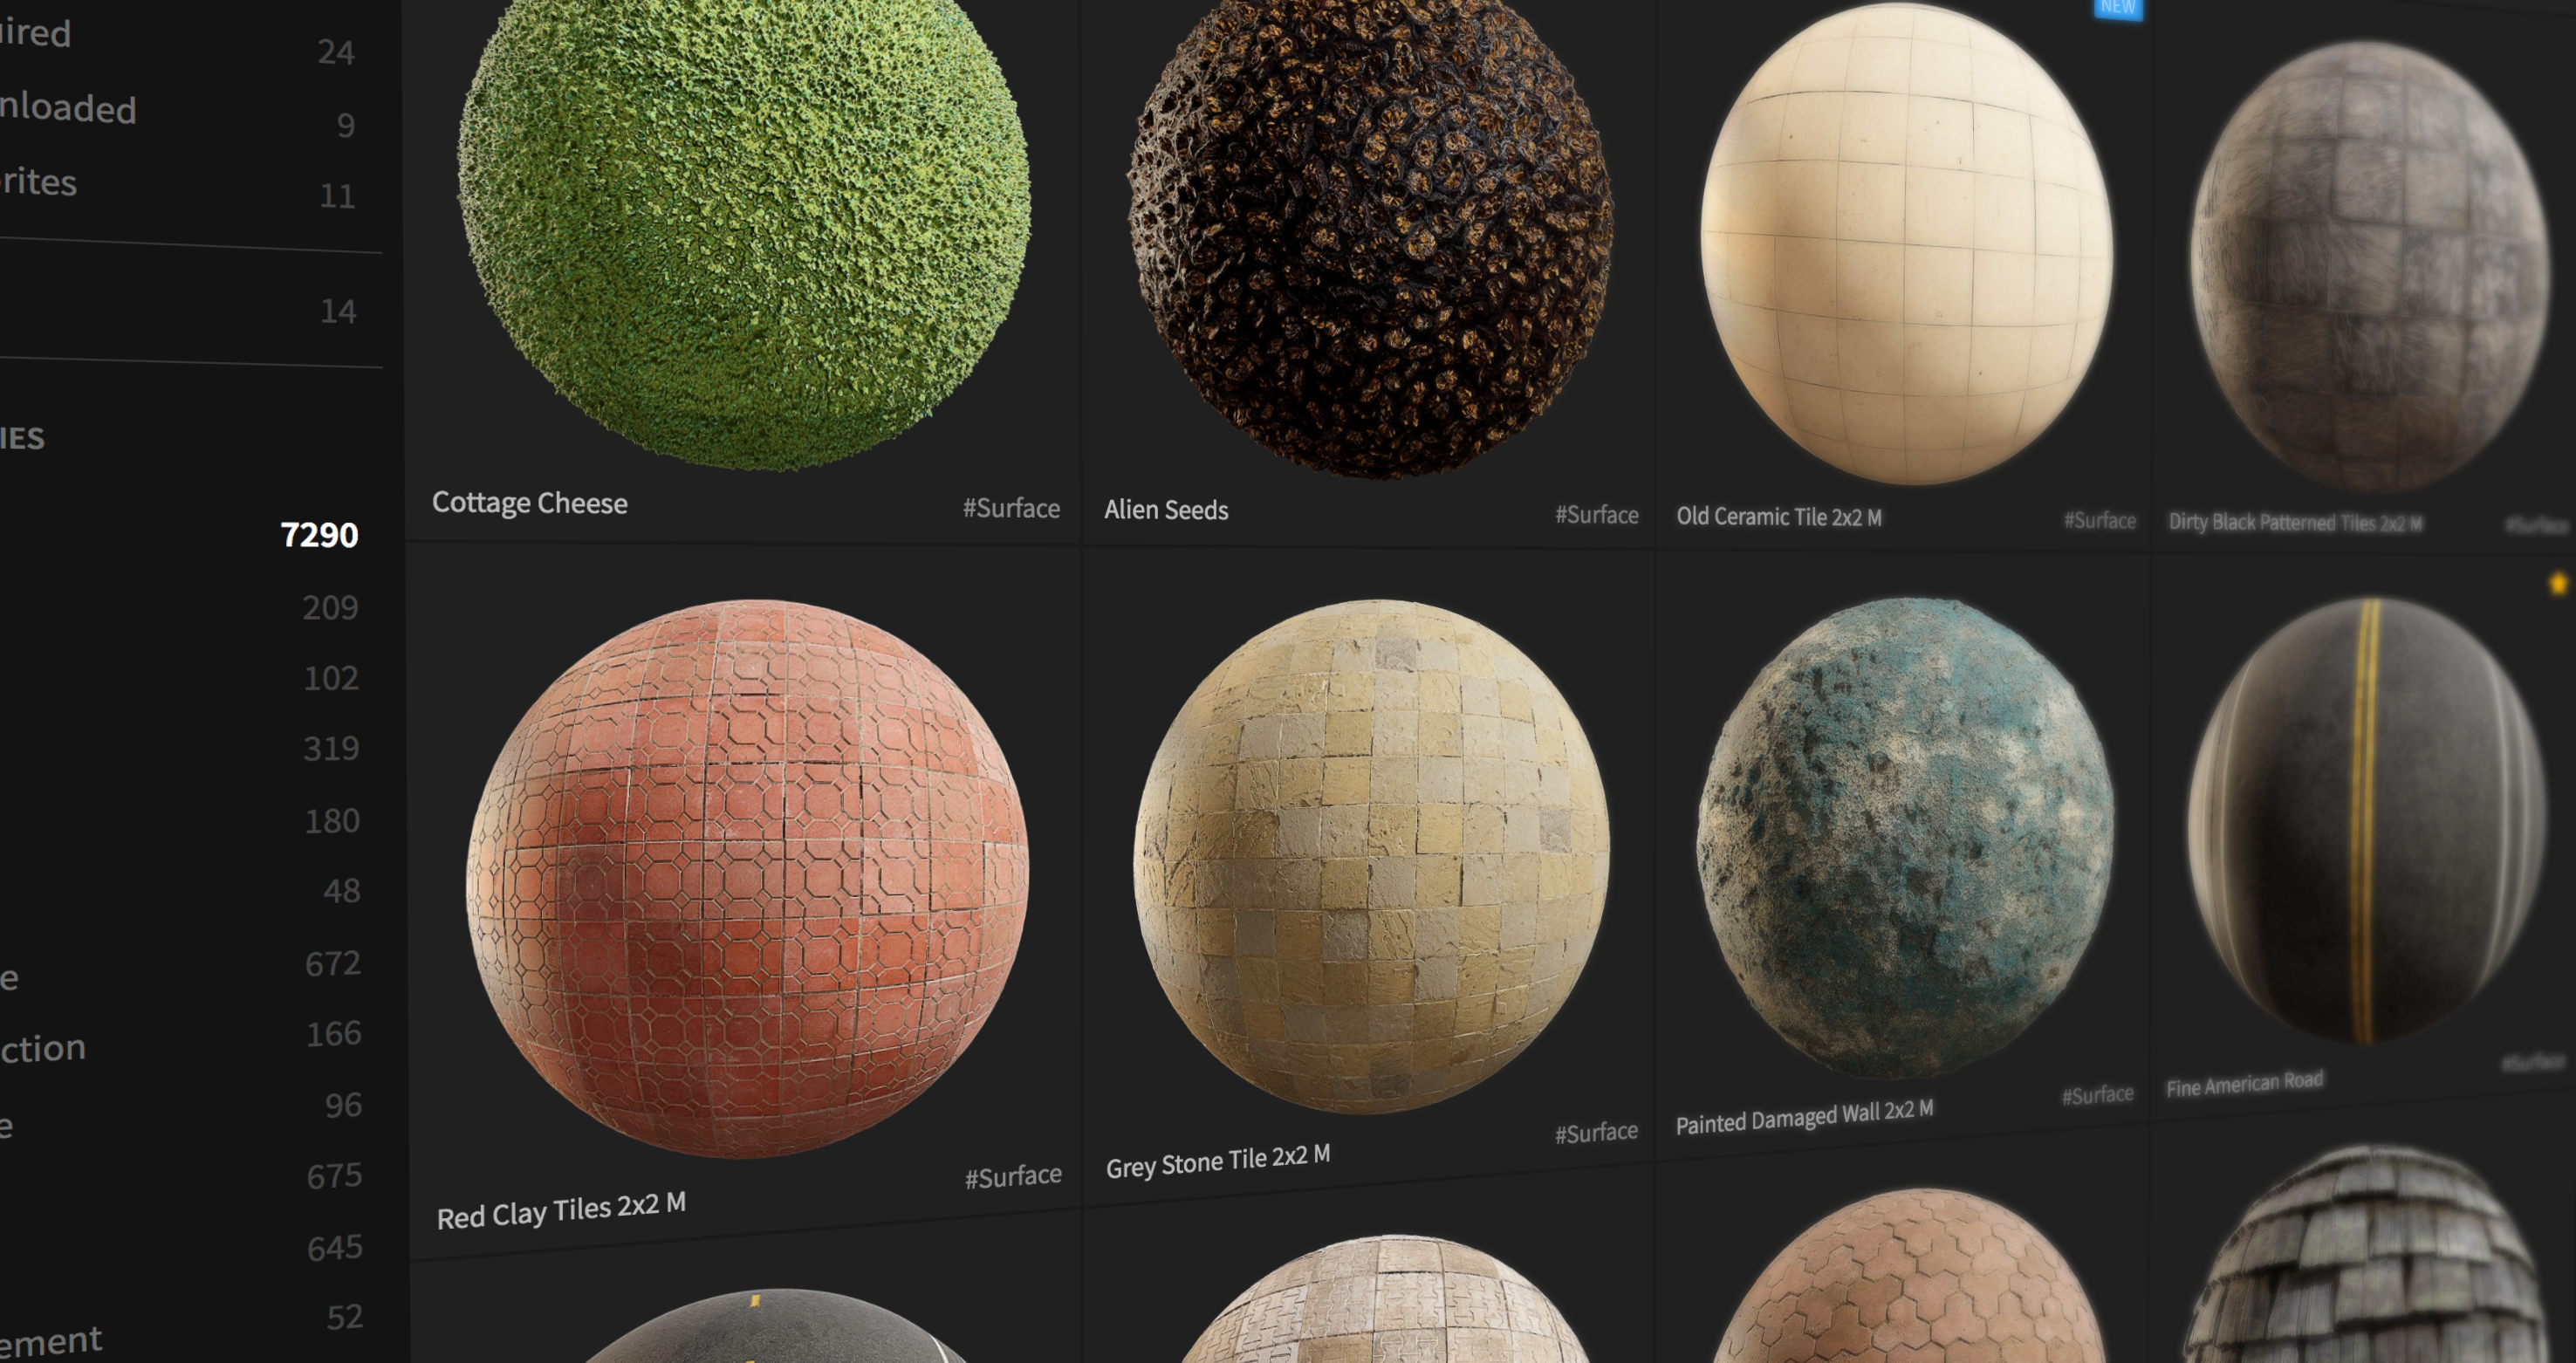
Megascans
This project was my first practical experimentation with Megascans. As a “one man army” it’s nearly impossible for me to add the level of detail I want in my projects within strict deadlines. I relied on the Megascans Library to add variation to the natural environment with photo-scanned assets and decals for dirt and leaves scattered on the ground. I’ve also used foliage atlases to help me create vegetation that I couldn’t find real source materials for.
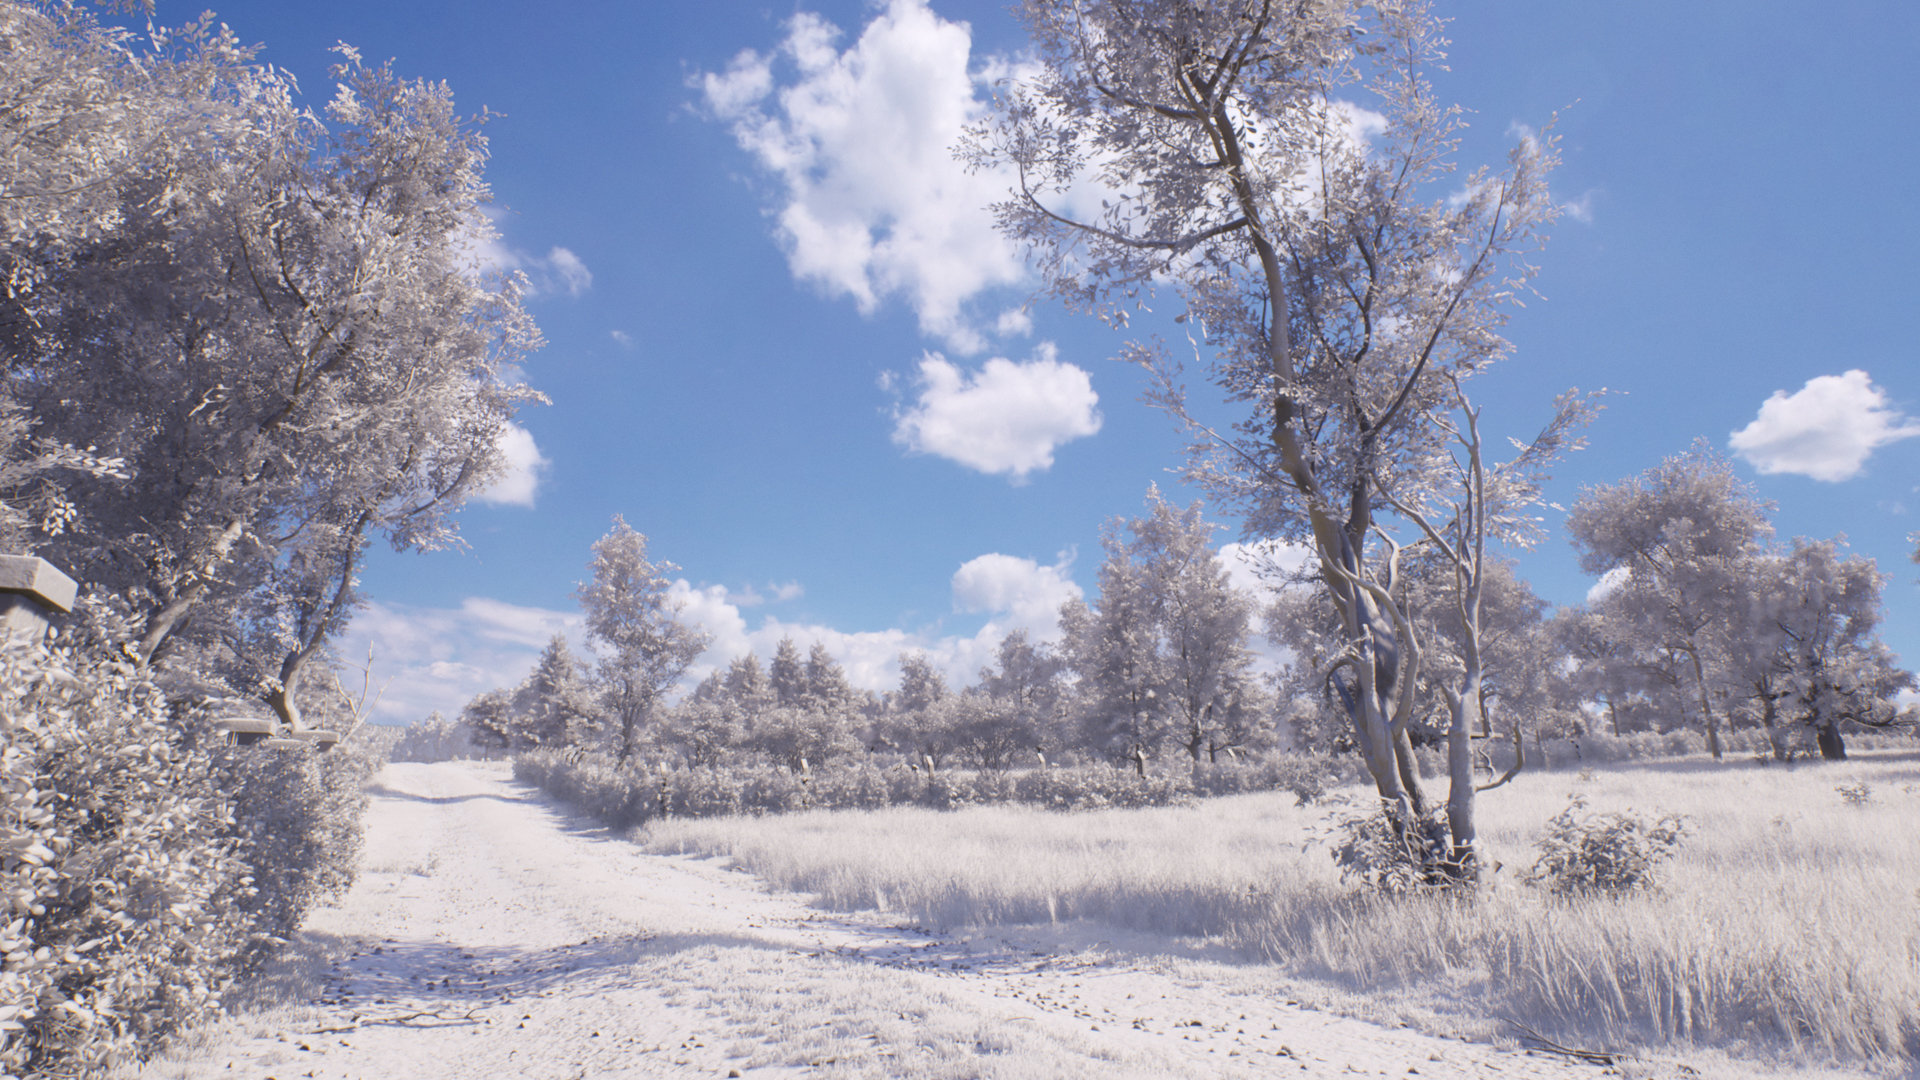
Lighting
I’m always looking for a neutral, photo-realistic lighting in my Arch Viz projects. I start with a very simple and clean setup: default values for Sun Light and Sky Light (both stationary); post-process without dynamic exposure, no vignette, no chromatic aberration, no bloom, no lens flares. Then I add a sphere dome with a sky texture (EXR), choose a photo with similar lighting conditions, and start increasing the Sun Light value until I get a similar light balance to the reference.
After getting my lighting close enough to the references, I start tweaking post-process to add the desired mood, if I need it.

Creating the video
I usually create all the video takes with the Unreal Sequencer tool, export all the frames as JPG images, and compose them with music in Adobe Premiere. It is possible to create all the composition inside Unreal, play it in real-time, and capture it with Nvidia ShadowPlay. But then you’ll be limited to your hardware capabilities, and even if the performance is good, it’s hard to avoid stuttering.
At first, I intended to create only one video, but this project got so big that I ended up creating a series of three videos; each focusing on different aspects of the project. Here they are:
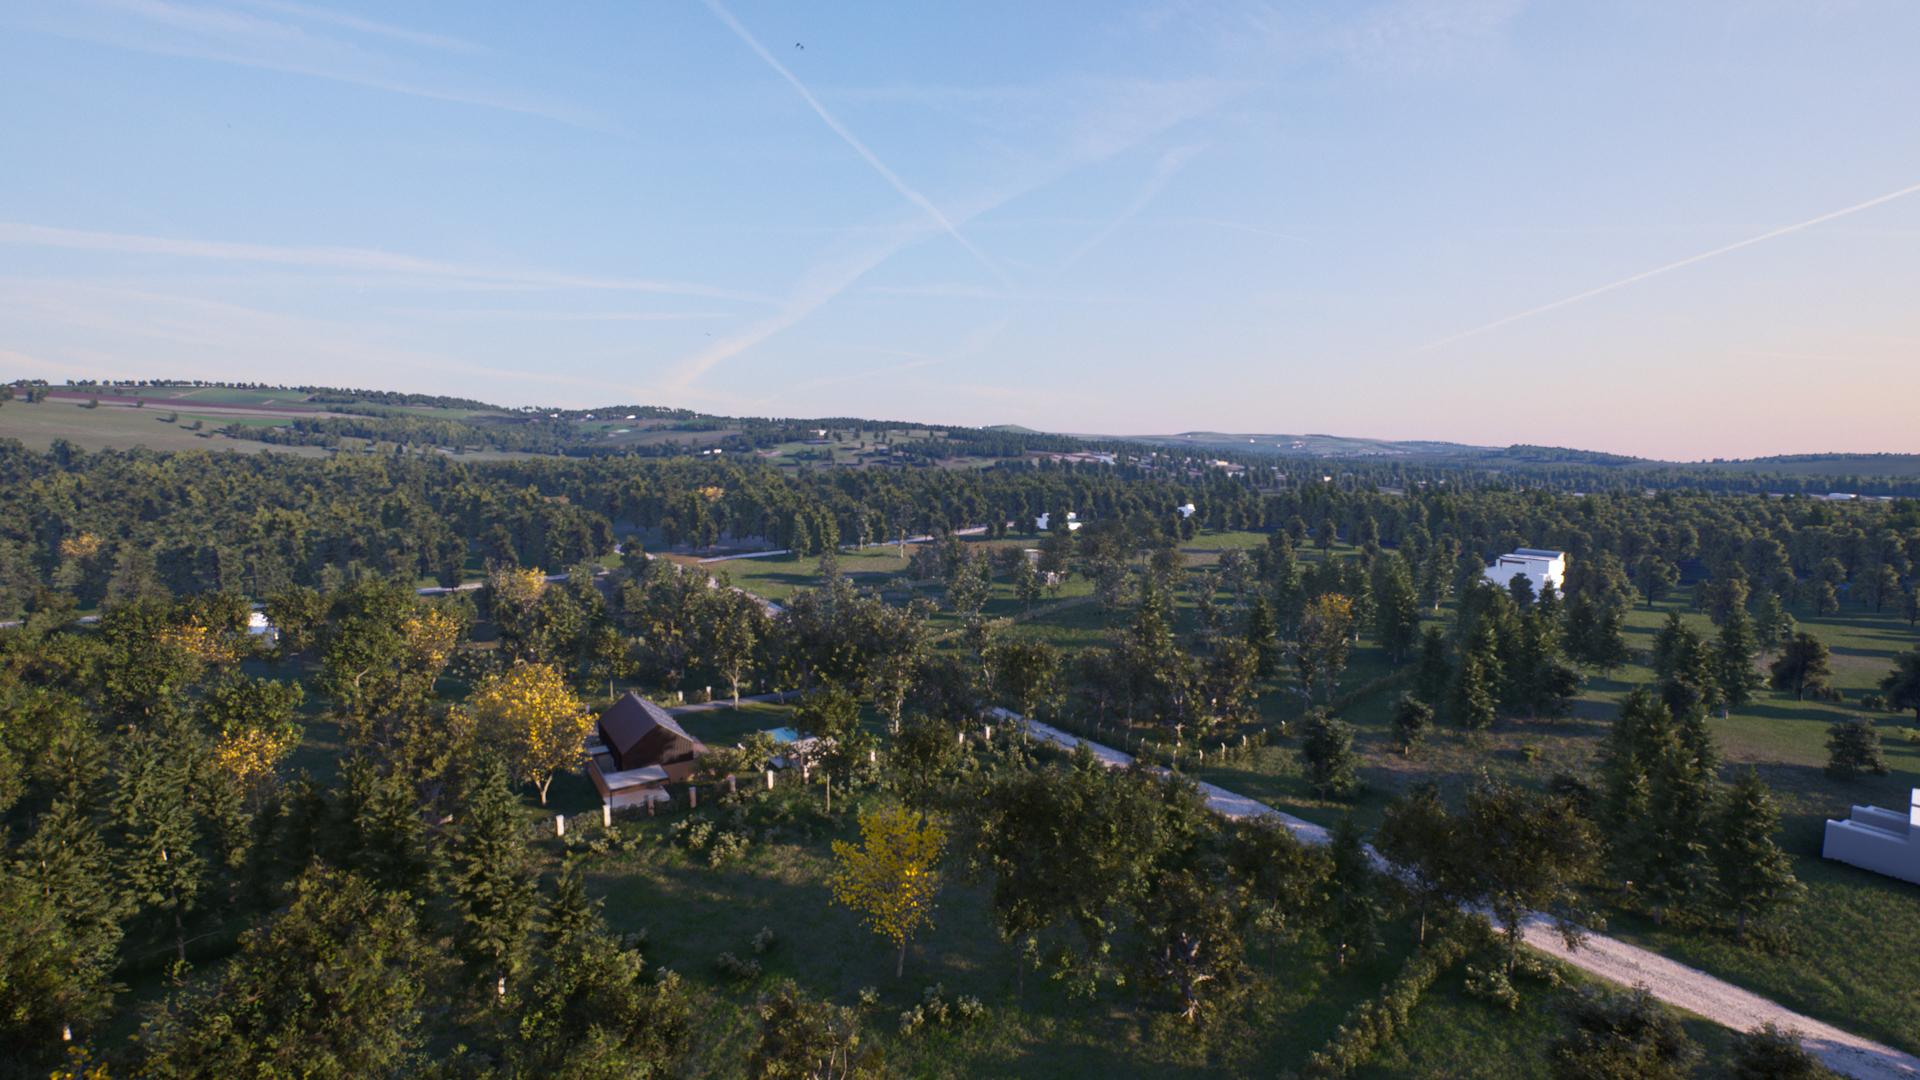
Part 1: “Plinia’s Rest” — shows the Plinia cauliflora tree that I consider one of the main characters of the project.
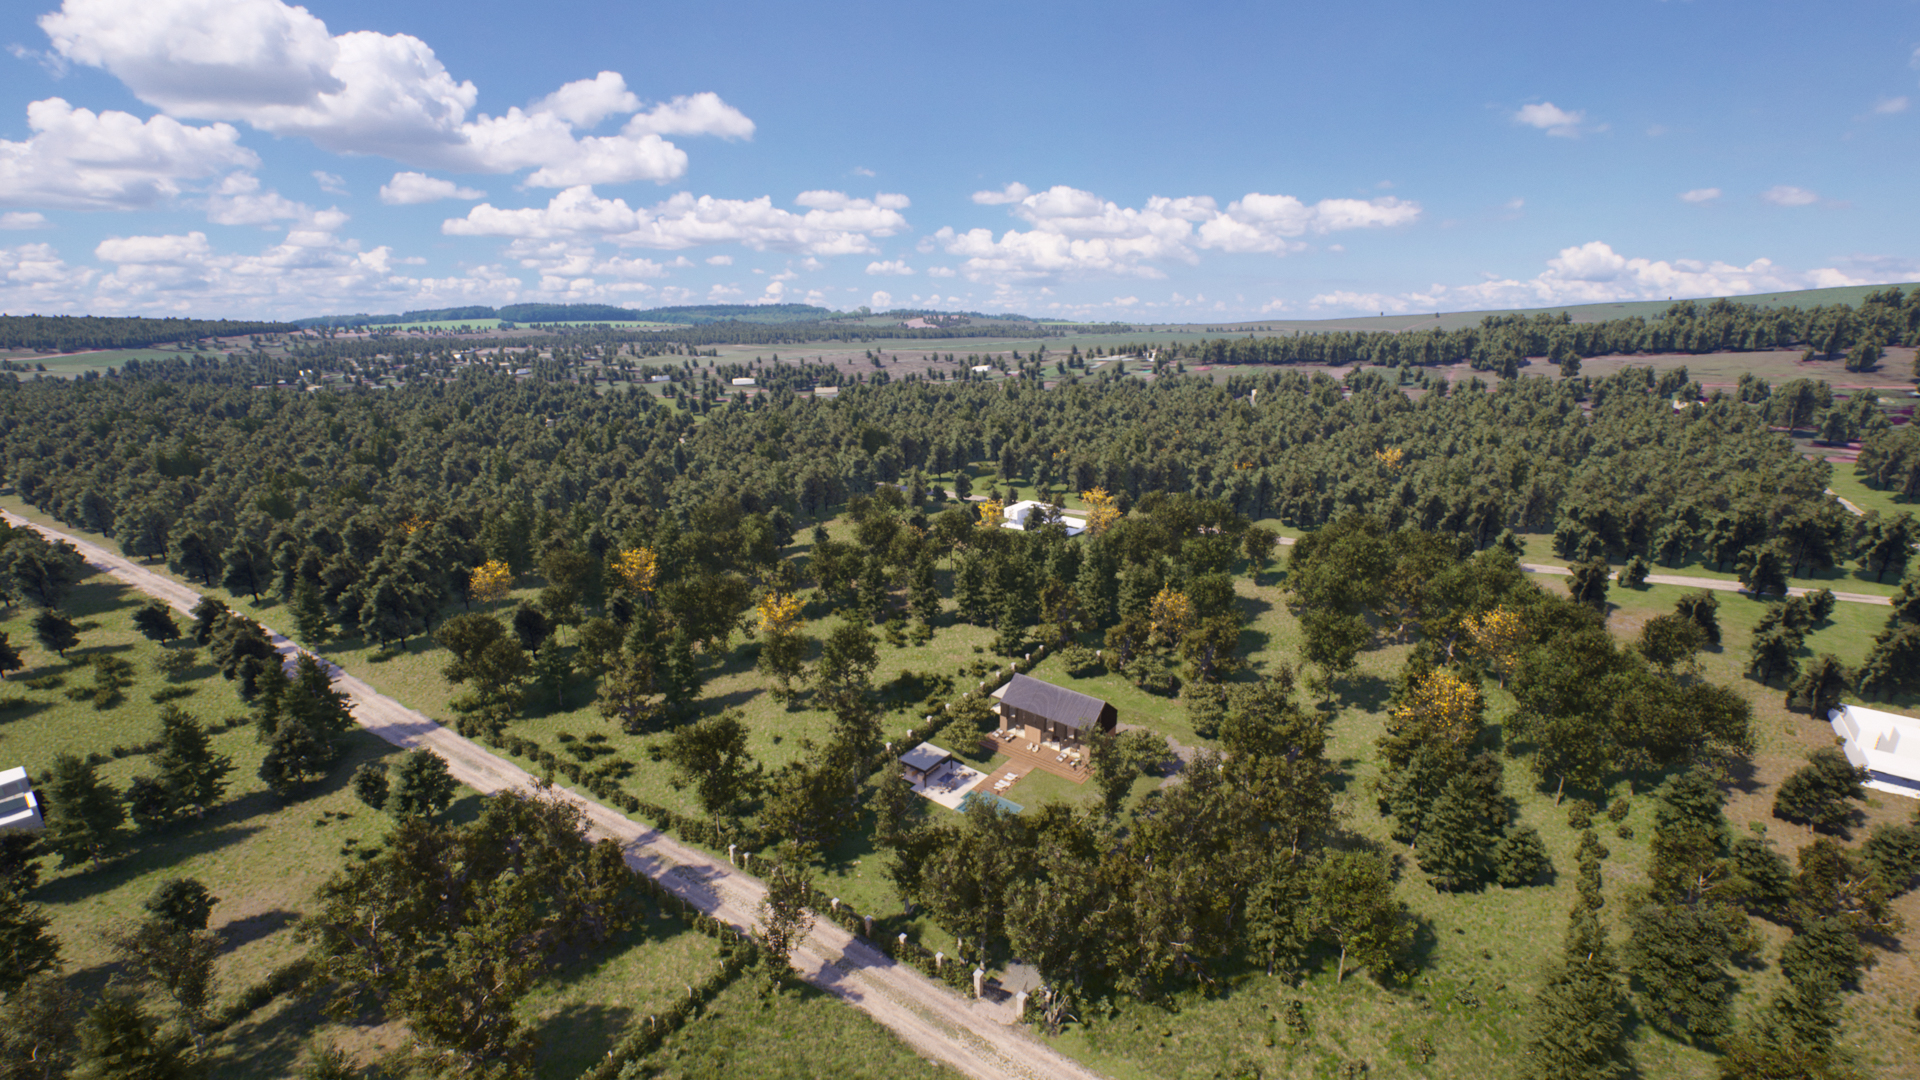
Part 2: “Explorer” — a walk through the environment created around the house.
Part 3: “Modern Barn” — the Arch Viz of the house itself.
Interactive experience
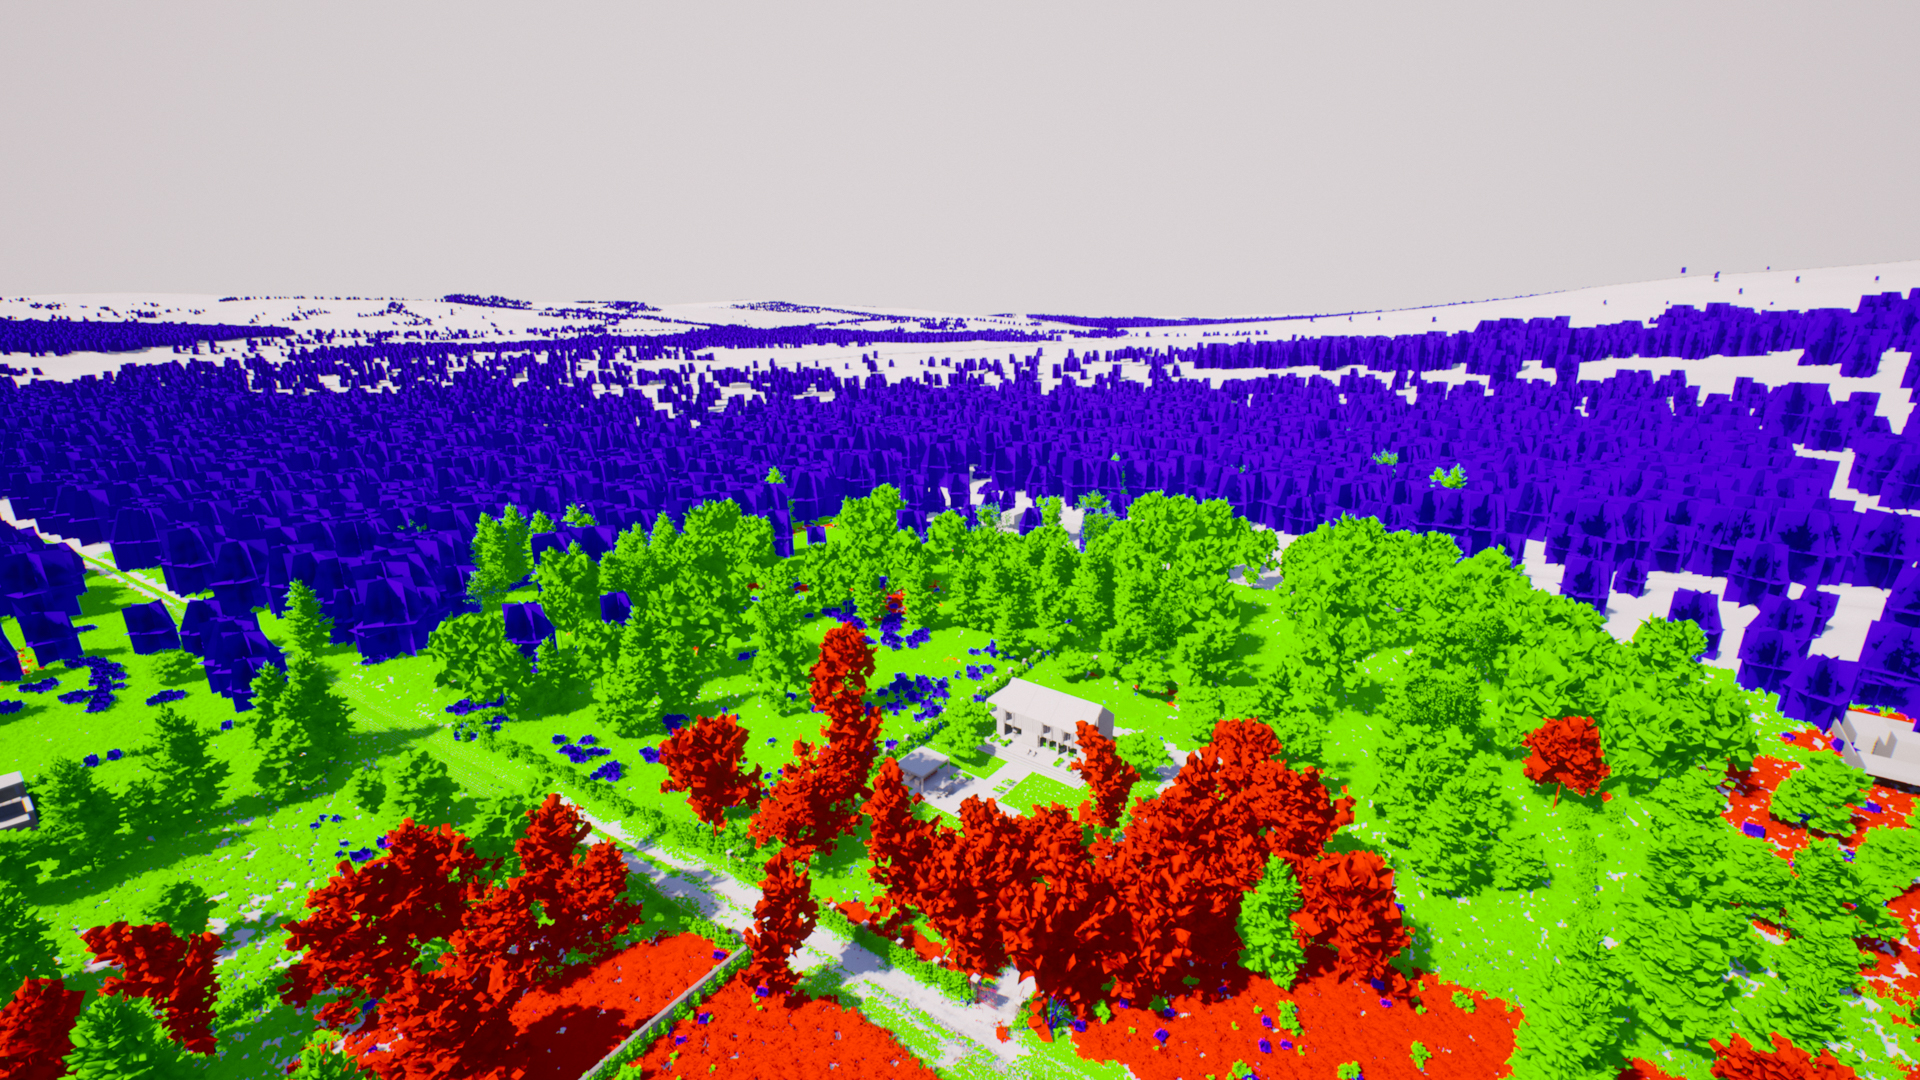
When I was halfway through the project, I decided to attend the CGArchitect Architectural 3D Awards 2018, in the Unreal Studio category. I started to optimize everything so I could achieve a good performance for a real-time capture of a sequence and an interactive experience.
I aimed for 1440p at 30fps on a GTX 1070. Most of the optimization work was on foliage density and LOD distribution. The highly-detailed trees also received extra attention on branch geometries to reduce over-drawing. Here is a real-time capture:
Conclusion
This was by far the most complex project I have ever done. I learned a lot in the process; from the large-scale level of management to real-time optimization. The aerial views also demanded extra effort to make everything look right from perspectives that most of my old assets weren’t optimized for.
Though I have, somehow, completed the project with a new post on my portfolios, I will continue to use it as a sandbox for studies and experimentations for a long time. You will probably see it again out there in the future. 😉
Thank you so much, Guilherme!
Check out this exquisite project on Behance and ArtStation, and don’t forget to follow the work of this talented artist.
Got a Quixel-infused project you’d like featured? Send your process breakdown write-up, bio, and hi-res images to blog@quixel.se.