Artist Spotlight: Creating intricate Mixes with Sébastien Van Elverdinghe
With the launch of the new Quixel Mixer, we’ve been seeing some truly great custom surfaces from the community. One of the works that immediately stood out was that of Sébastien Van Elverdinghe.
Sébastien created a number of material surfaces and was kind enough to give us a detailed walkthrough of his process in this exclusive breakdown.
In Sébastien’s words:
Hi, everyone!
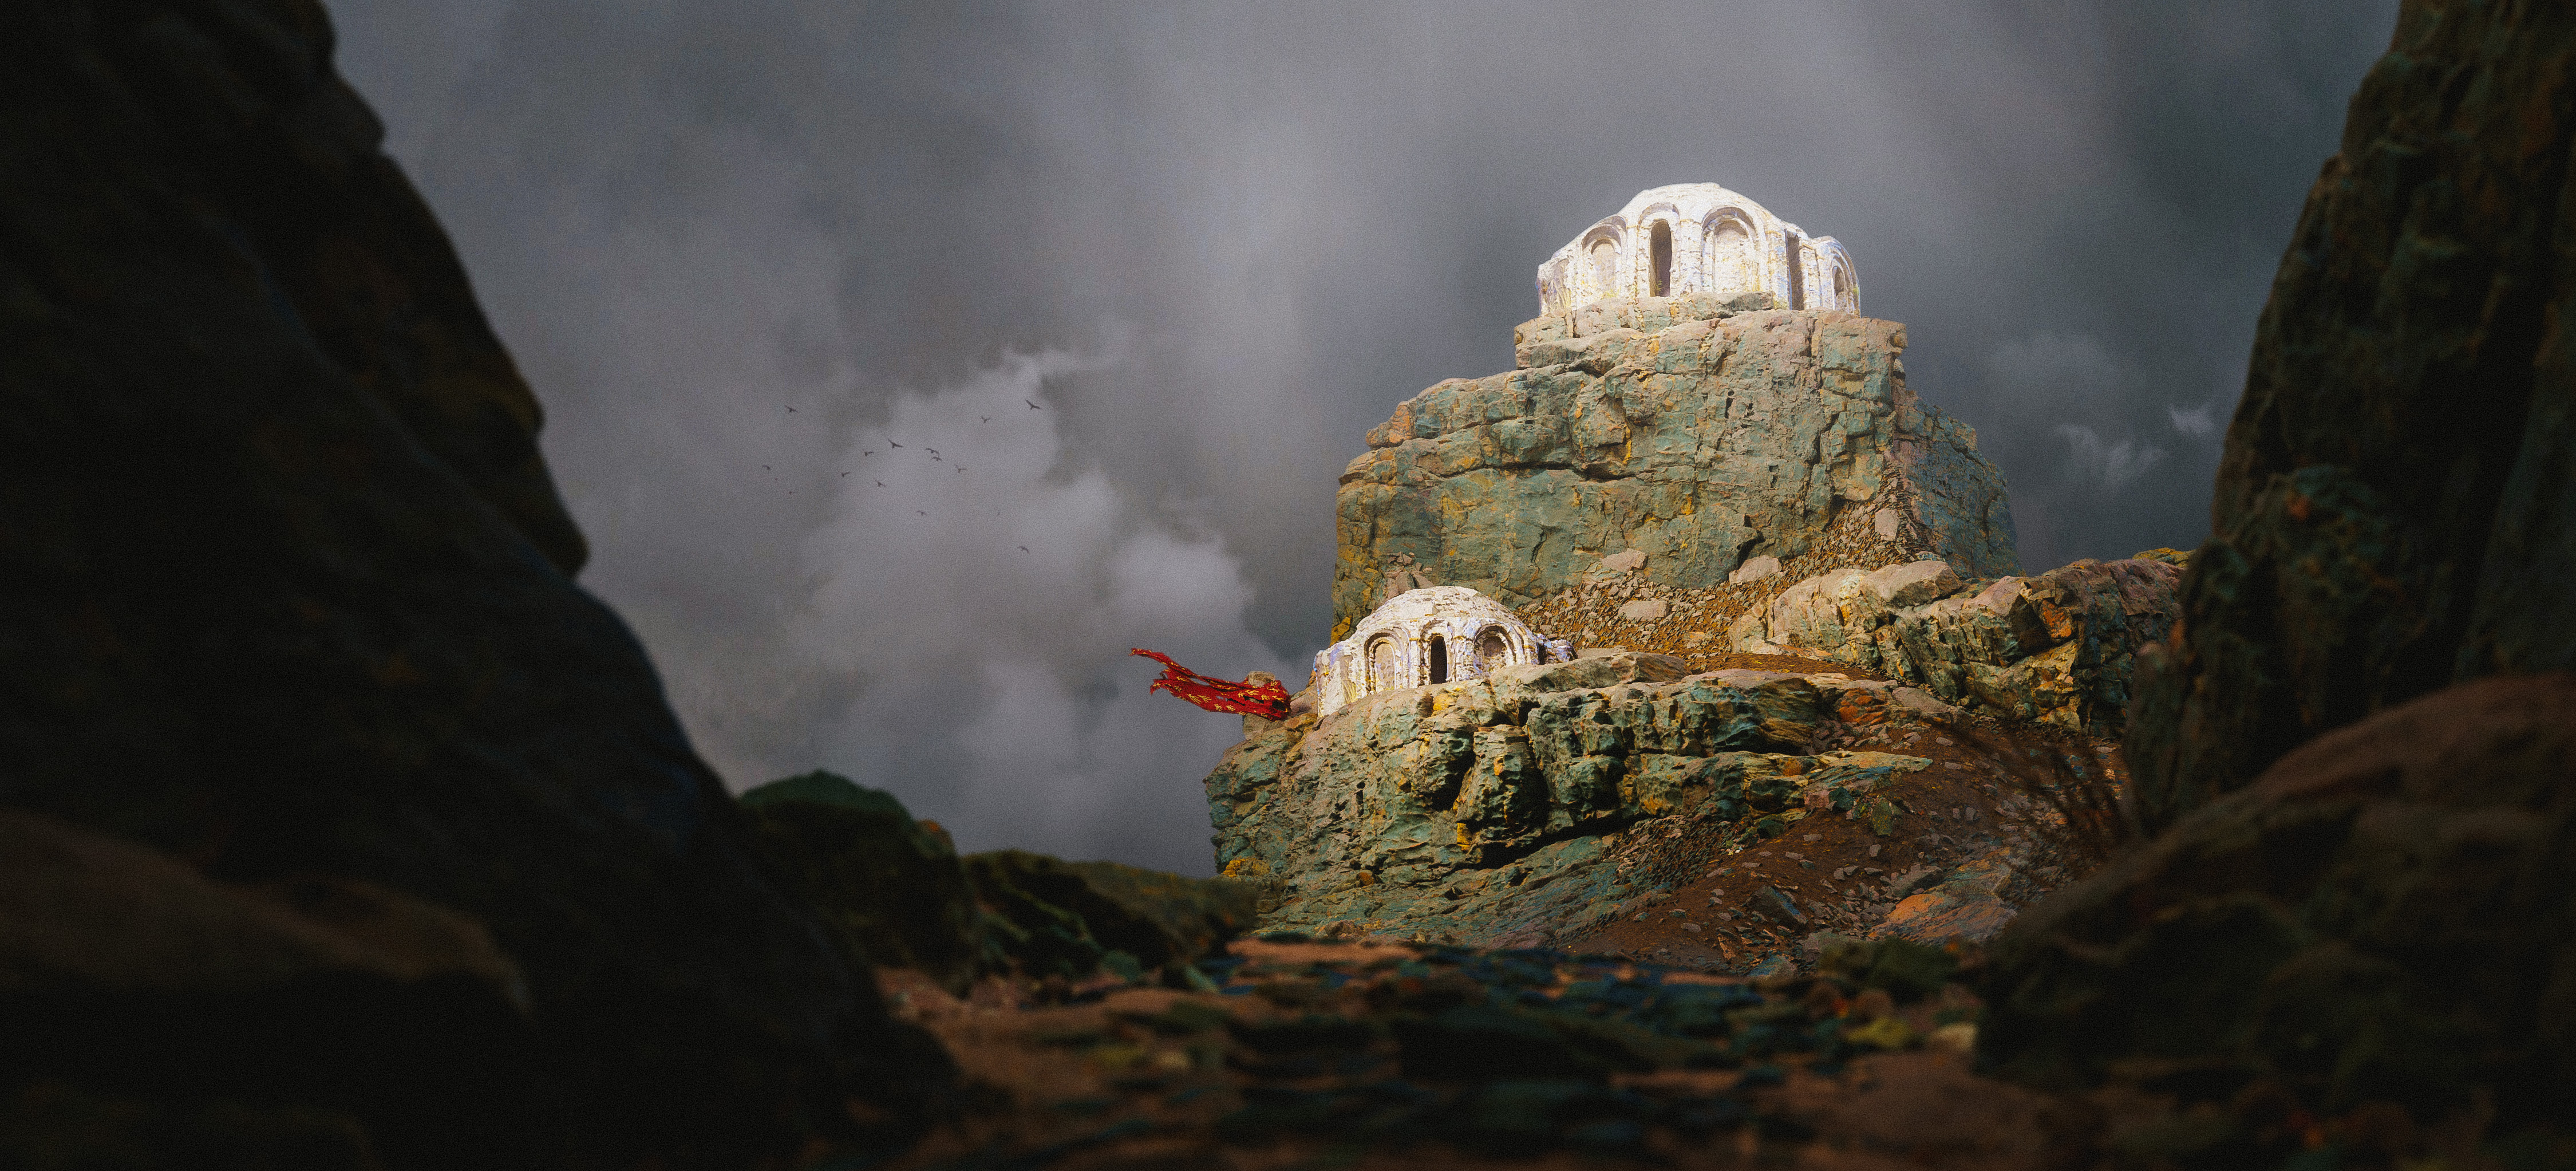
I’m Sébastien Van Elverdinghe from Brussels, Belgium, and currently living in Stockholm, Sweden. where I’m working as an environment artist at Starbreeze Studios on the upcoming Overkill’s The Walking Dead. Furthermore, I’m also behind some of the recent medieval Megascans tileables.

I have been scanning for several years now, with a special focus on tiling materials. Recently, I had a lot of fun mixing some of the medieval Megascans into brand new materials using Quixel Mixer.
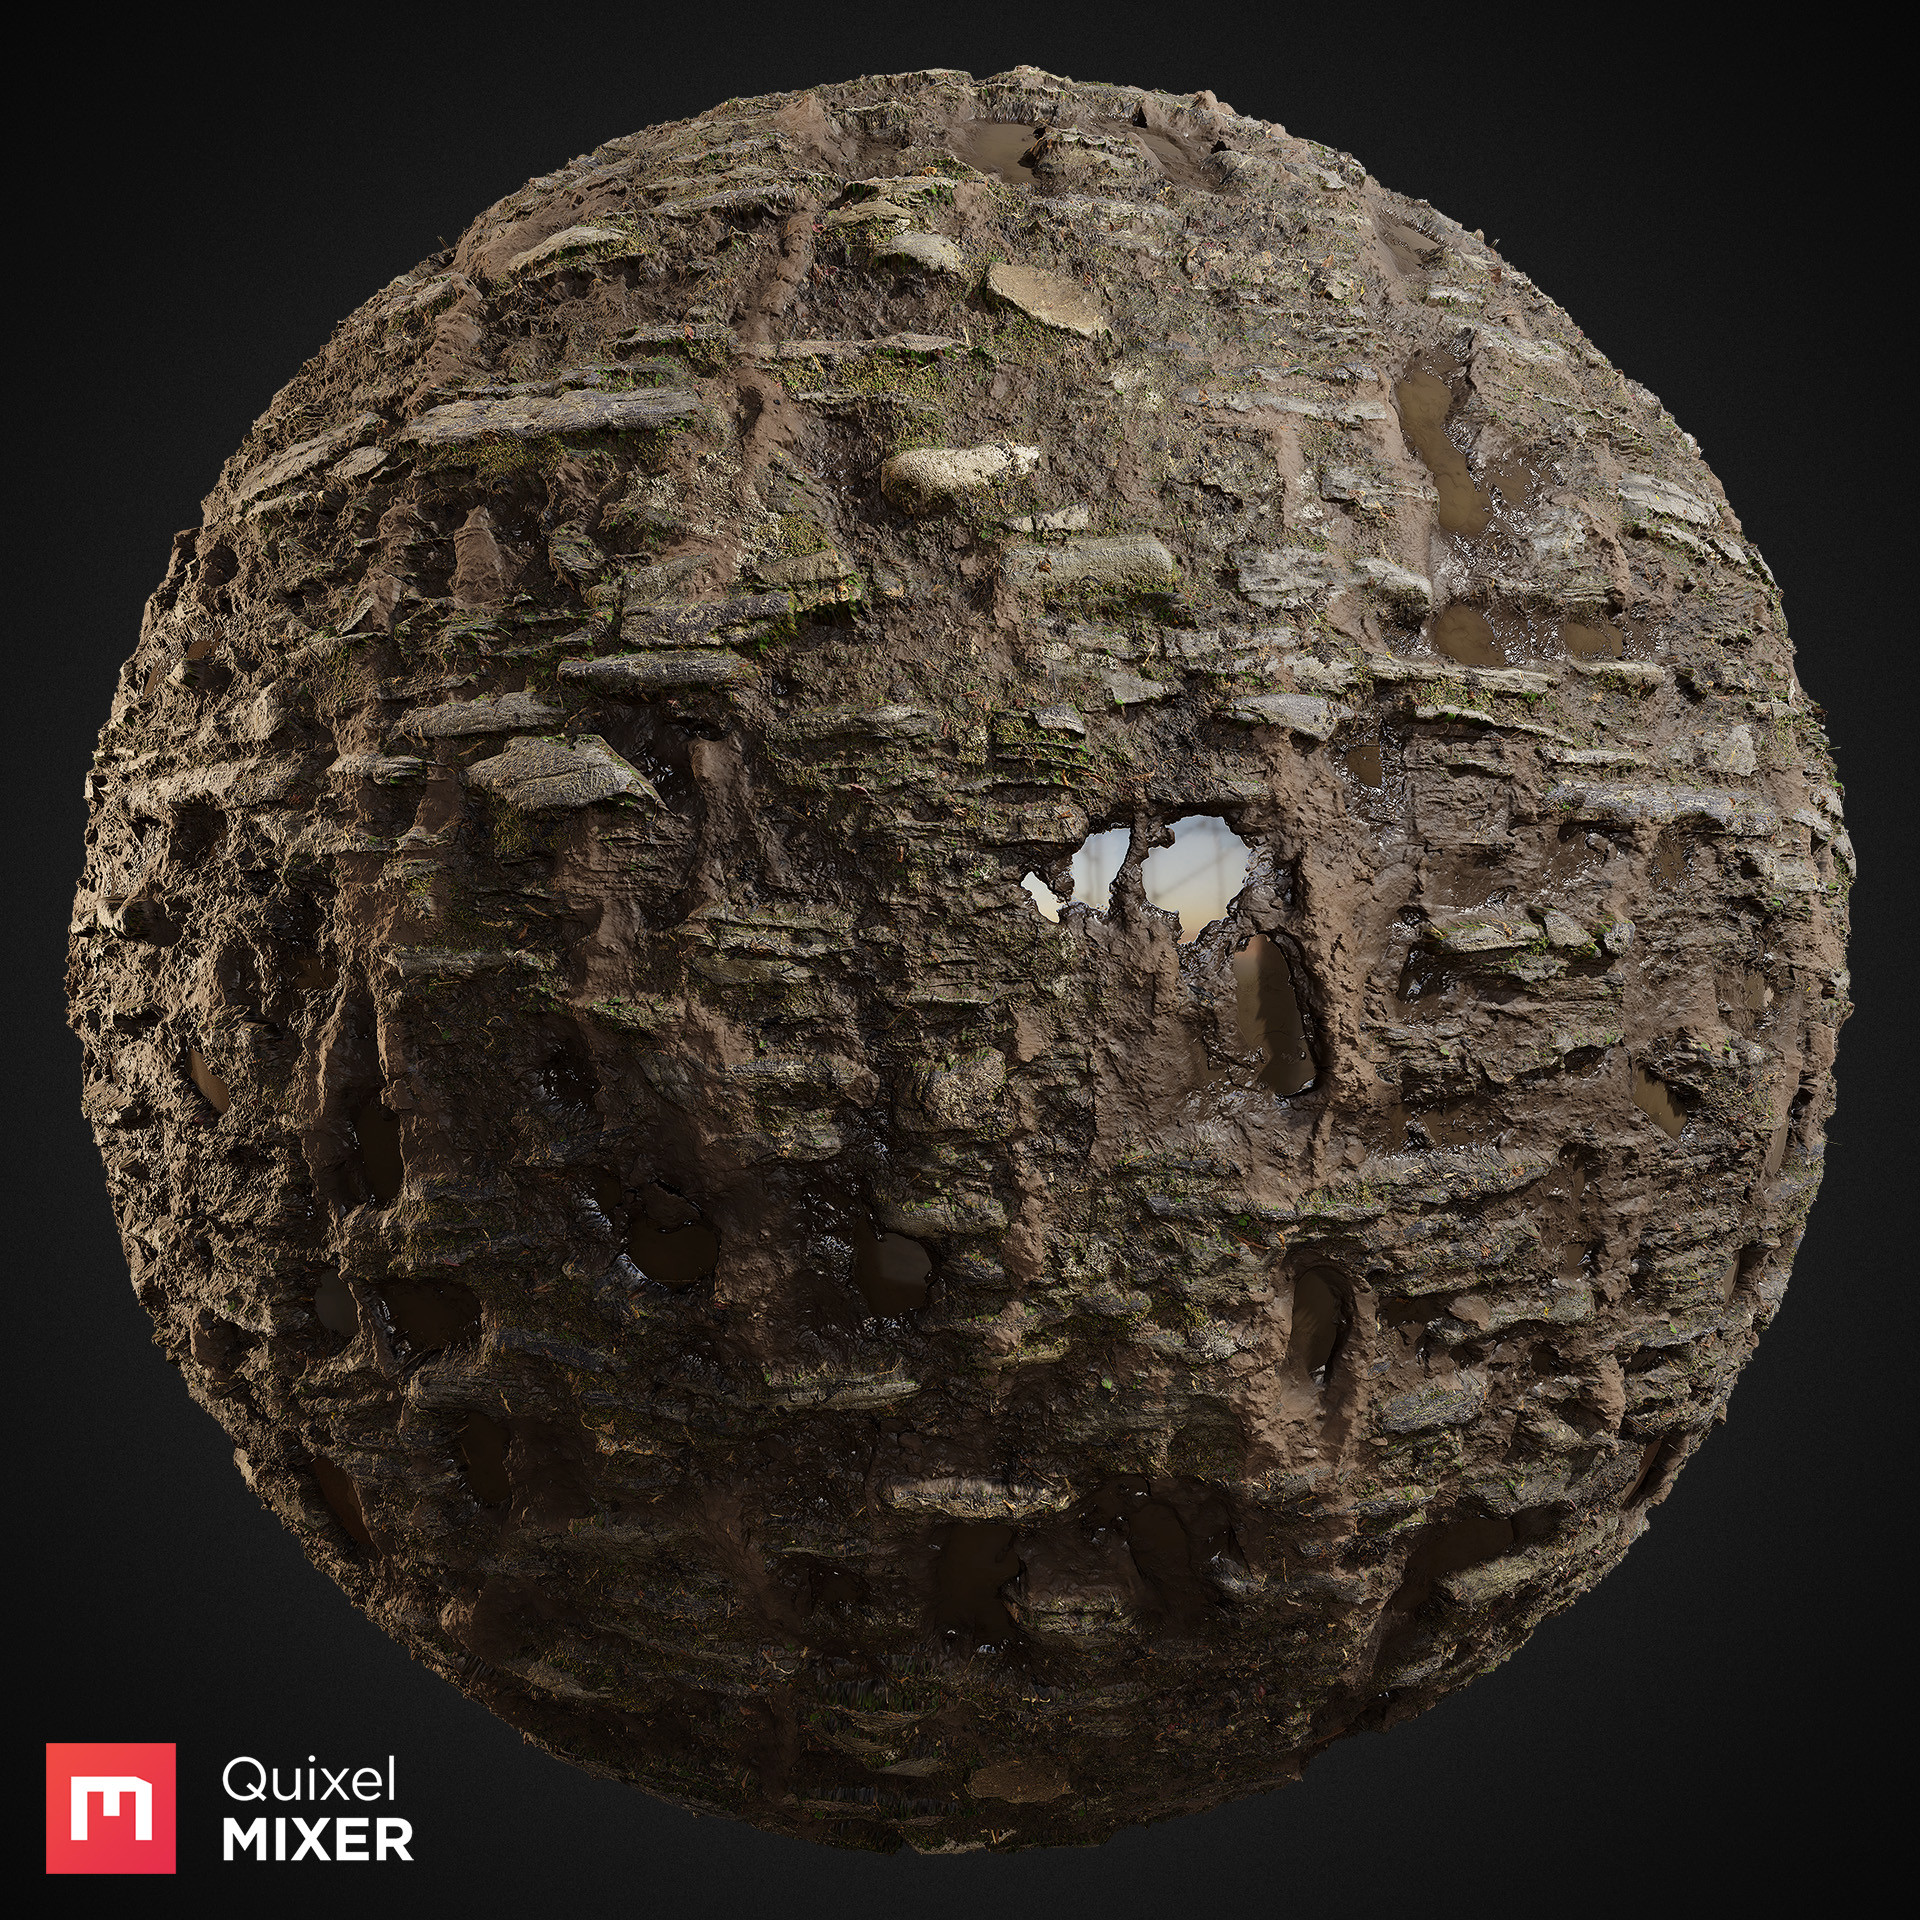
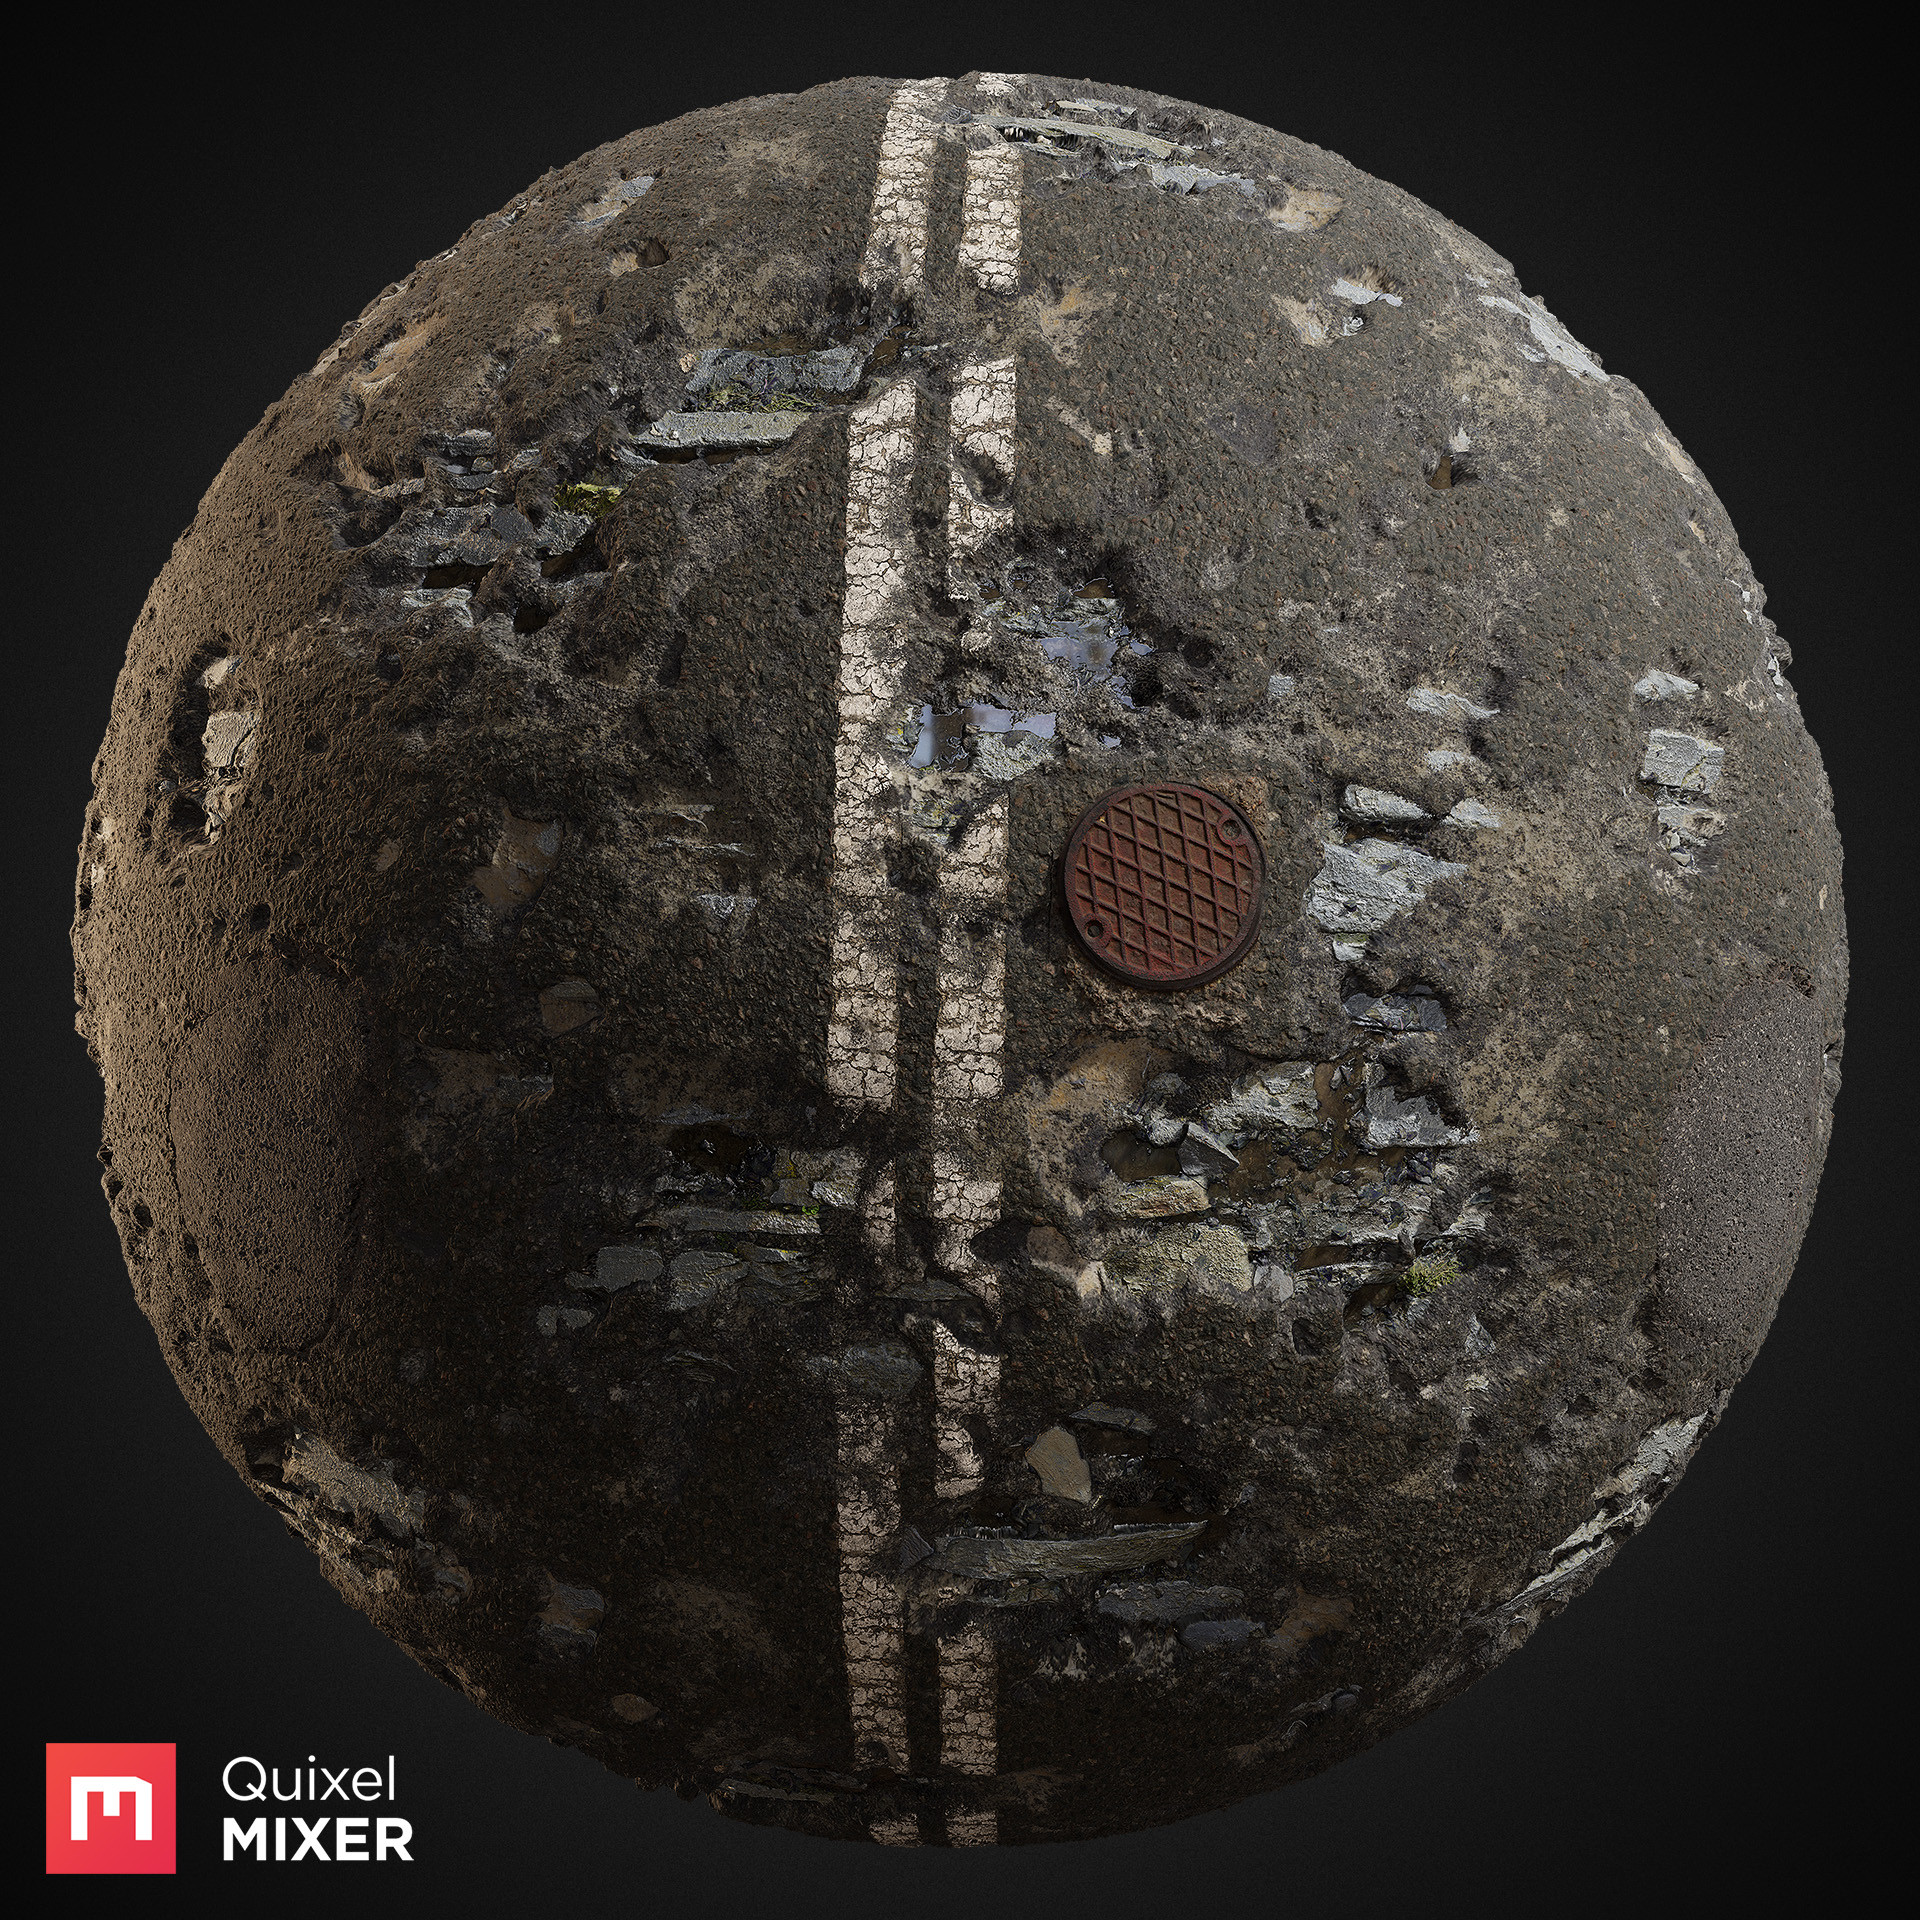
Today, I’m going to break down and detail my process step by step. I’ll be focusing on this muddy path material.
Introduction
Thanks to Megascans, we can use ultra-photorealistic materials that give incredibly believable results. However, you have to keep paying attention to the way you are mixing your materials together.
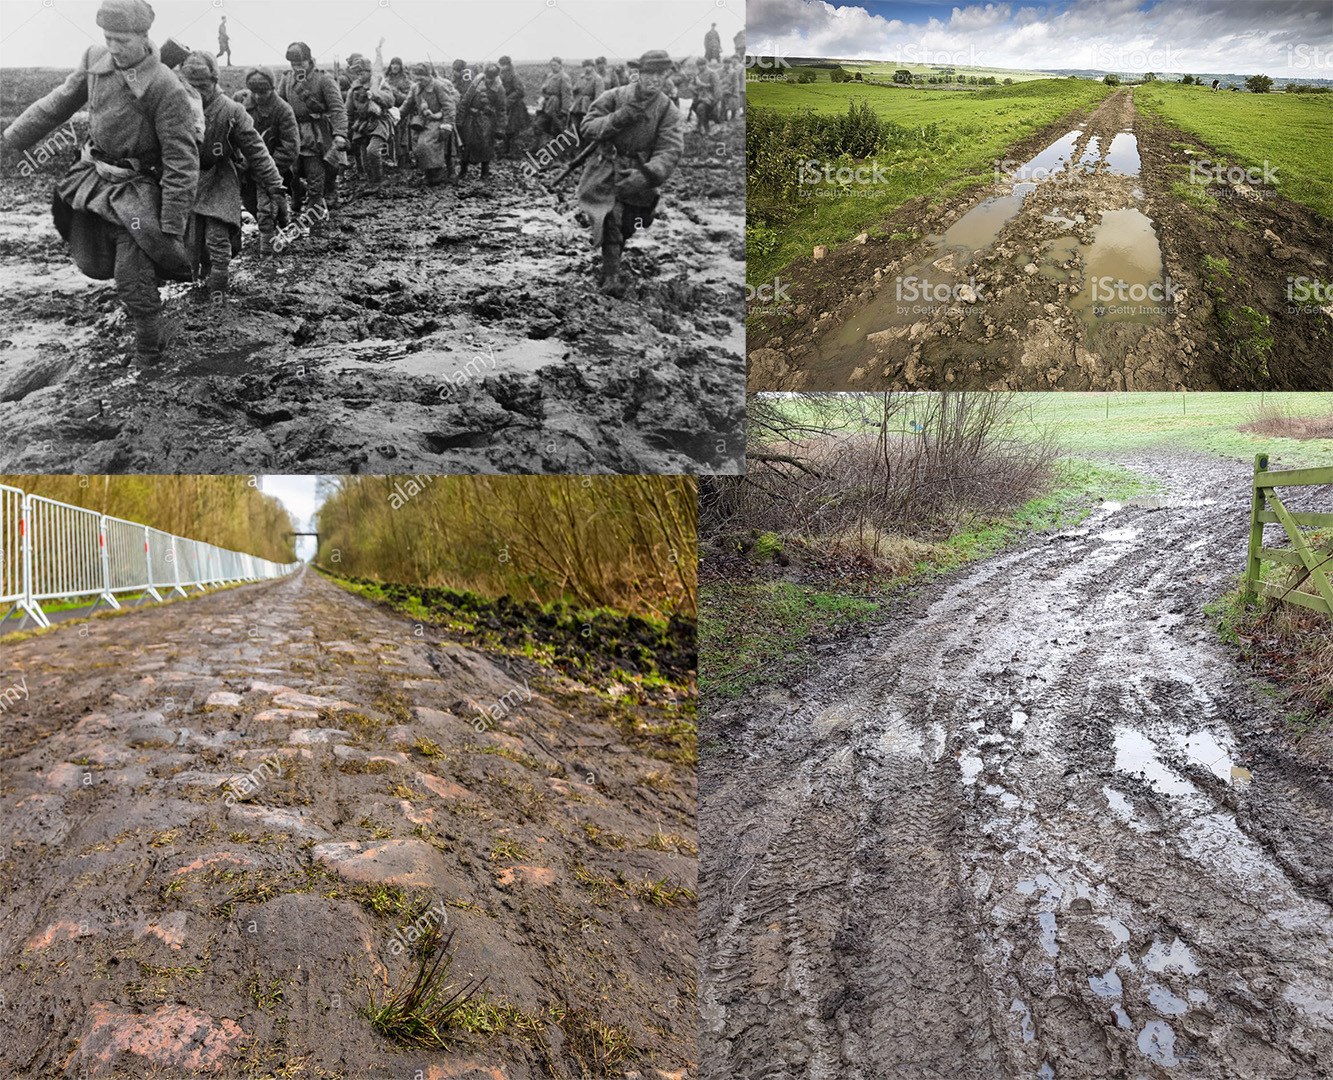
As always, references are key. I actually had a hard time finding actual photo references for this specific material. What I wanted to create here is that typical ‘supposedly paved, but in reality more of a mud field’ path. The kind I used to hike on in the countrysides around the United Kingdom. While it sounds very specific, trust me if you have been in the UK, you’ll relate to this for sure.
Furthermore, it’s also the kind of material that wouldn’t be out of place in a very muddy World War 1 battlefield environment. I’m going to be drawing a lot of references from memory, which is far from ideal, but also came up with an approximate mood board.
Break down
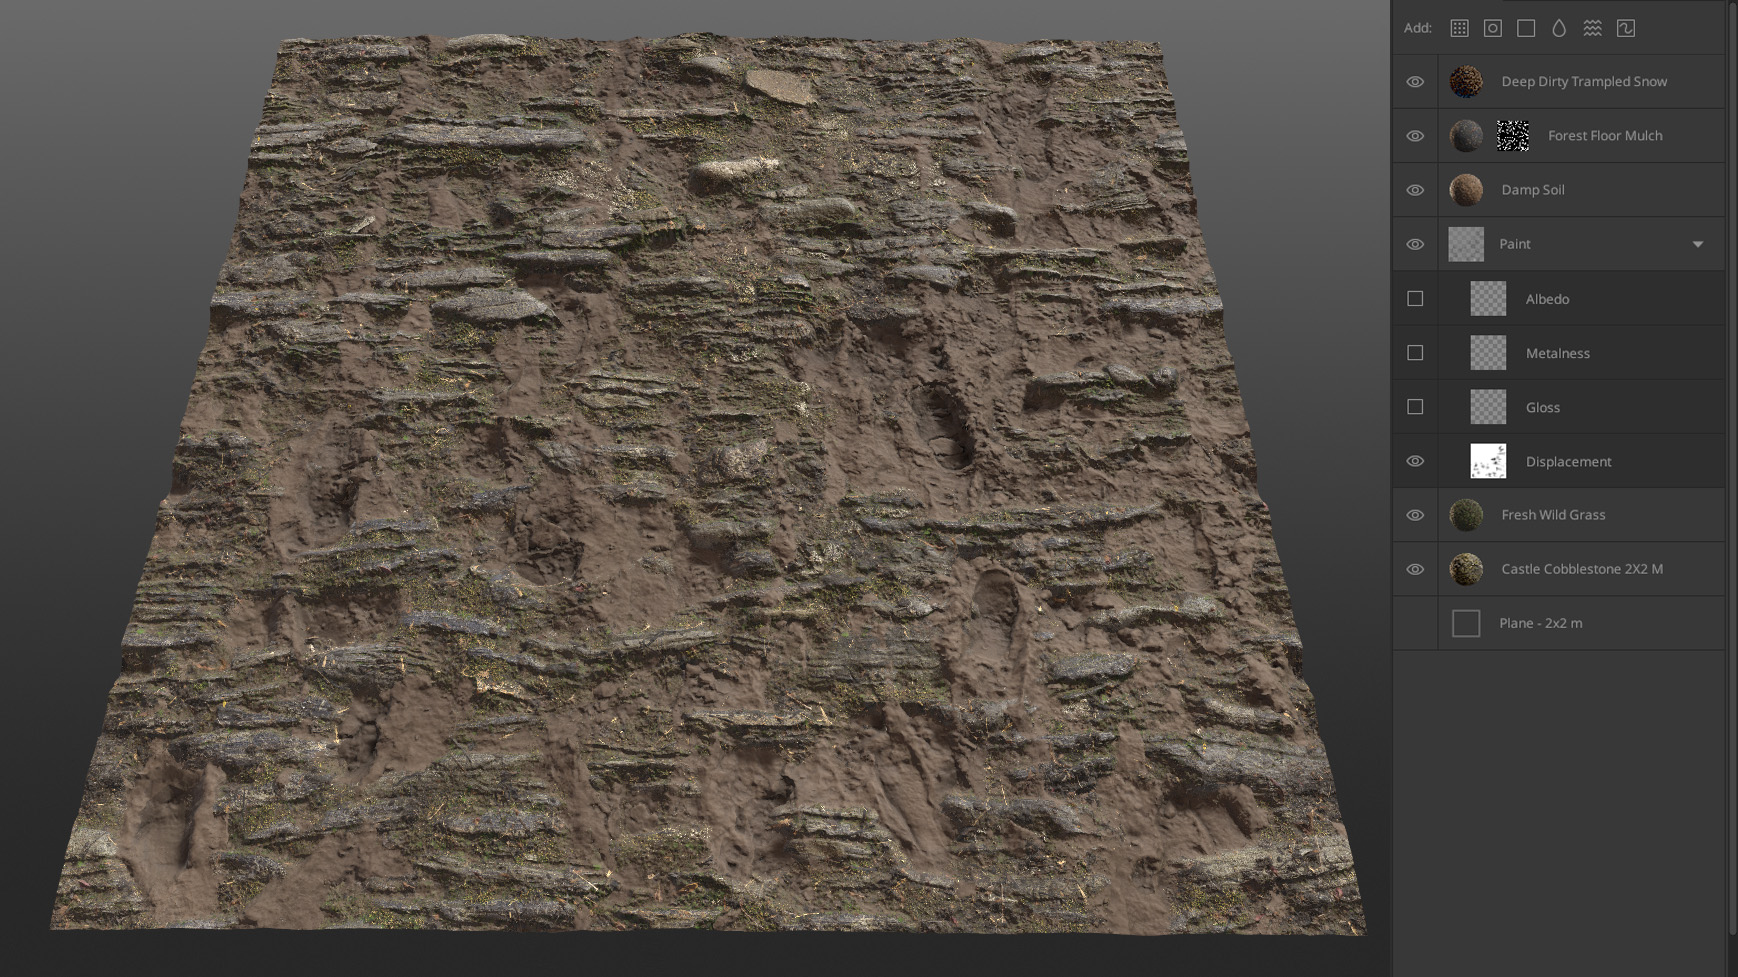
The idea is to decompose the results into the different layers that you will add in chronological order. In this case, I will have my base bricks, some mud, and finally the water.
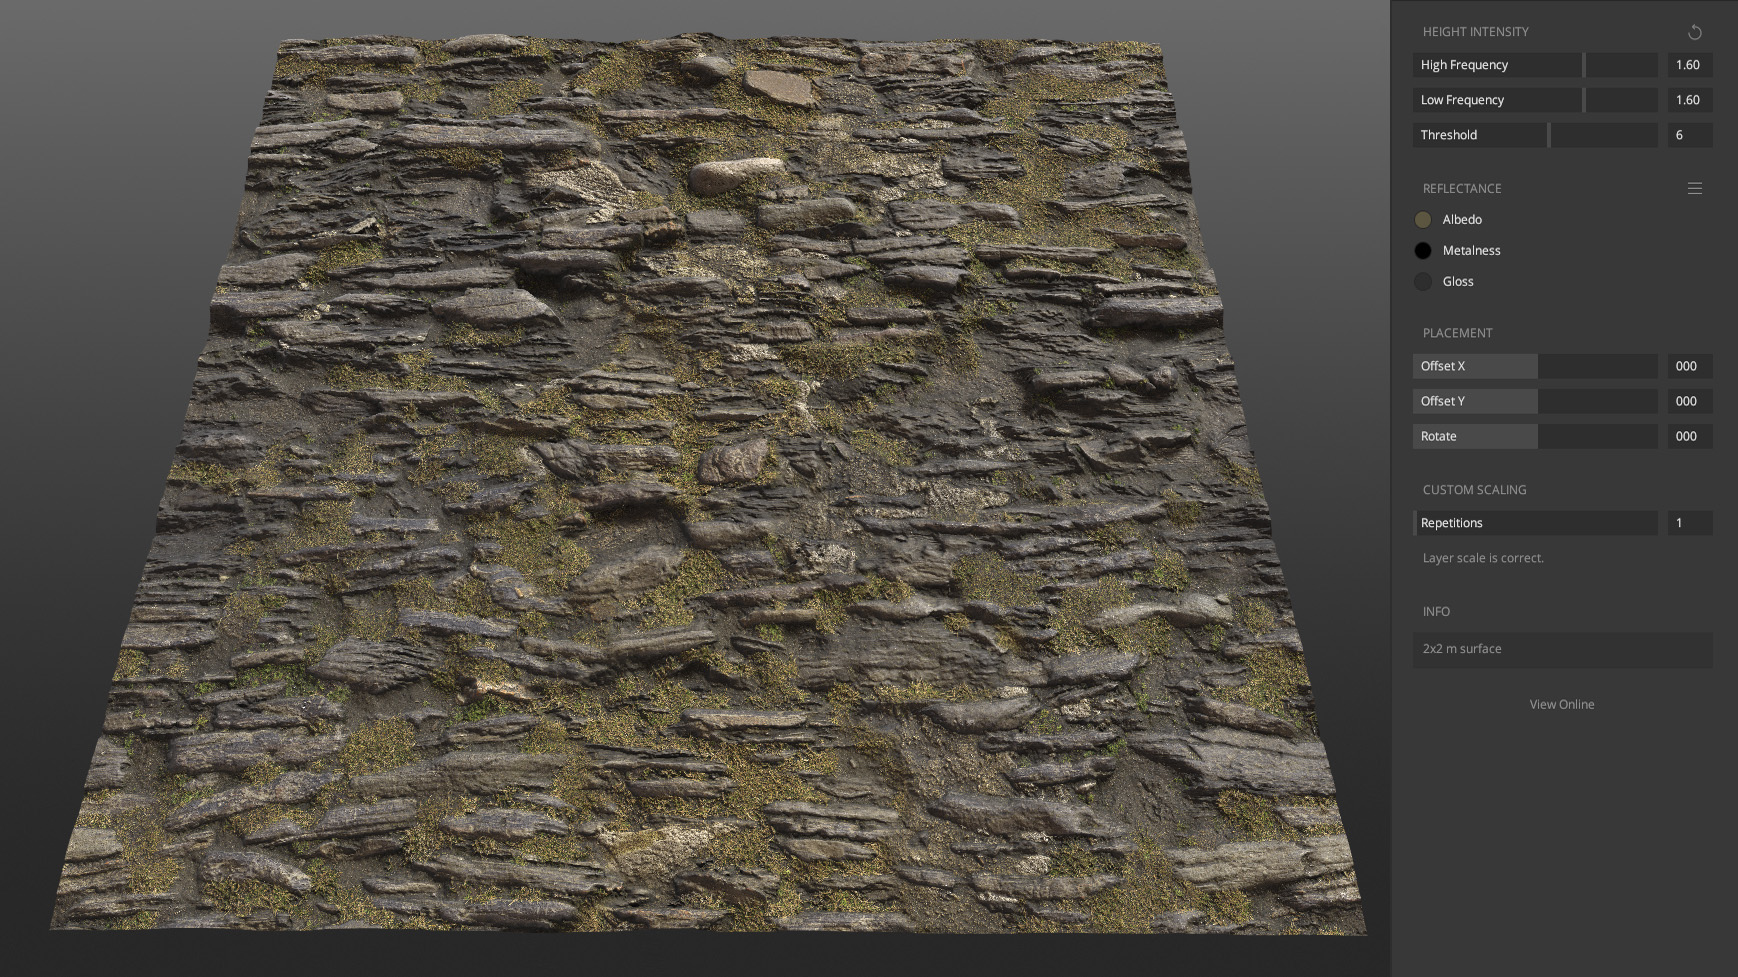
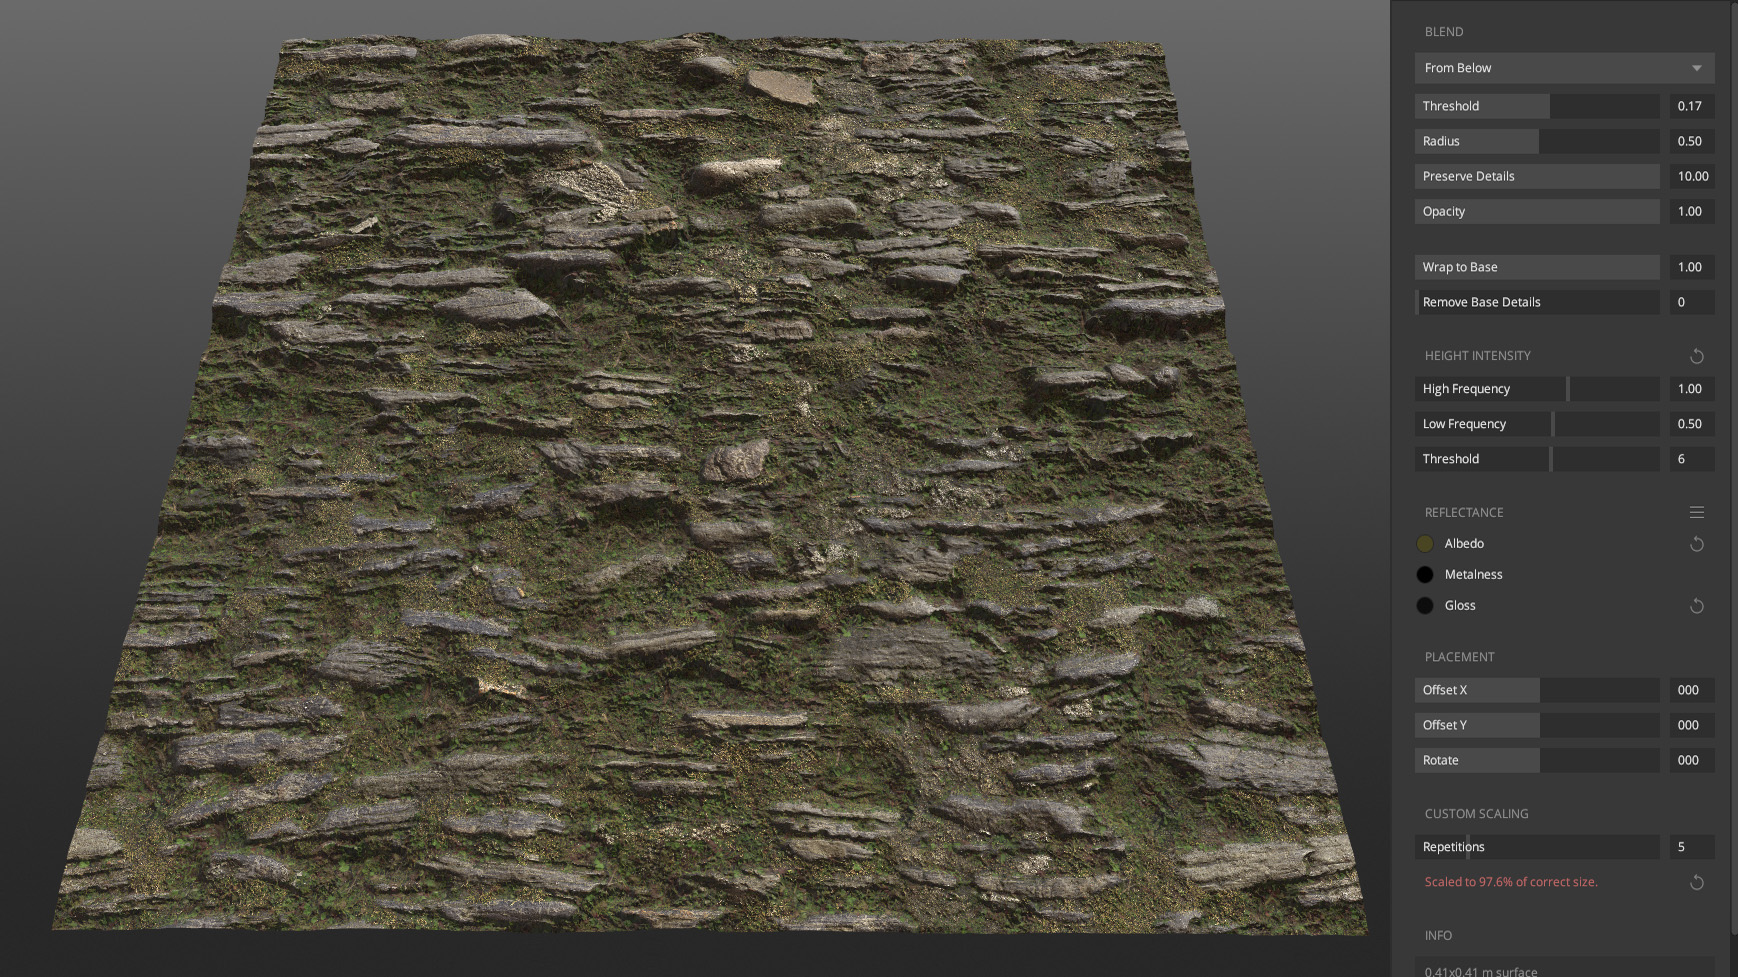
I also increased the height intensity a bit to make it look more dramatic. It looks a bit too “stony” and not wild enough, let’s add some wild grass.
I want it to roughly be on the cavities, but with a pretty wide radius. I also want to keep the stones’ displacement as much as possible; that grass is going to be trampled under a lot of mud after all. I’m therefore wrapping it to the base.
I also adjusted the albedo and gloss to better match the stones. I’m going to be doing that for each layer as I add them.
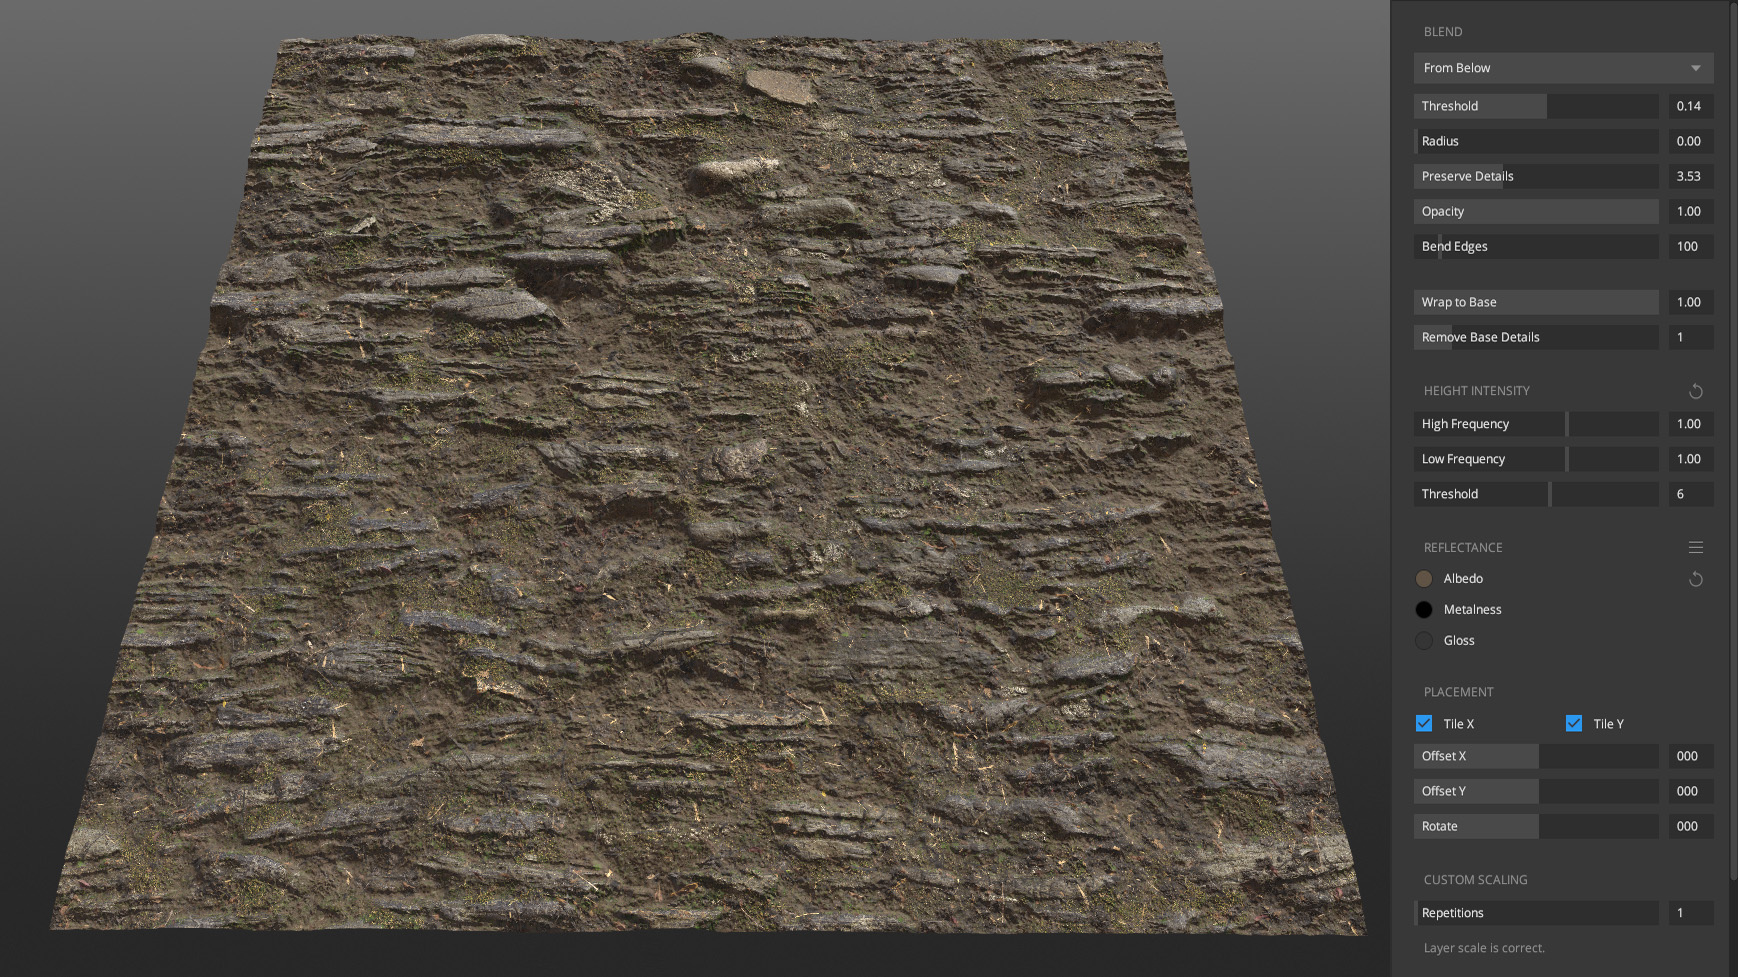
Now let’s tackle the mud. We’re going to decompose the different layers that compose our mud the same way we decomposed the different layers that compose our material.
We are going to start from the oldest and move to the more recent. So let’s add some old mud; think of it as a thin layer that stays permanently even when dry, and is more spread out than the core of the mud.
It will cover most of the grass we added just before, and that actually makes sense.

Next, I want to add some “impurities” such as little leaves and branches. In the Megascans library, there is an amazing atlas called ‘Forest Floor Mulch’ that is perfect for this.
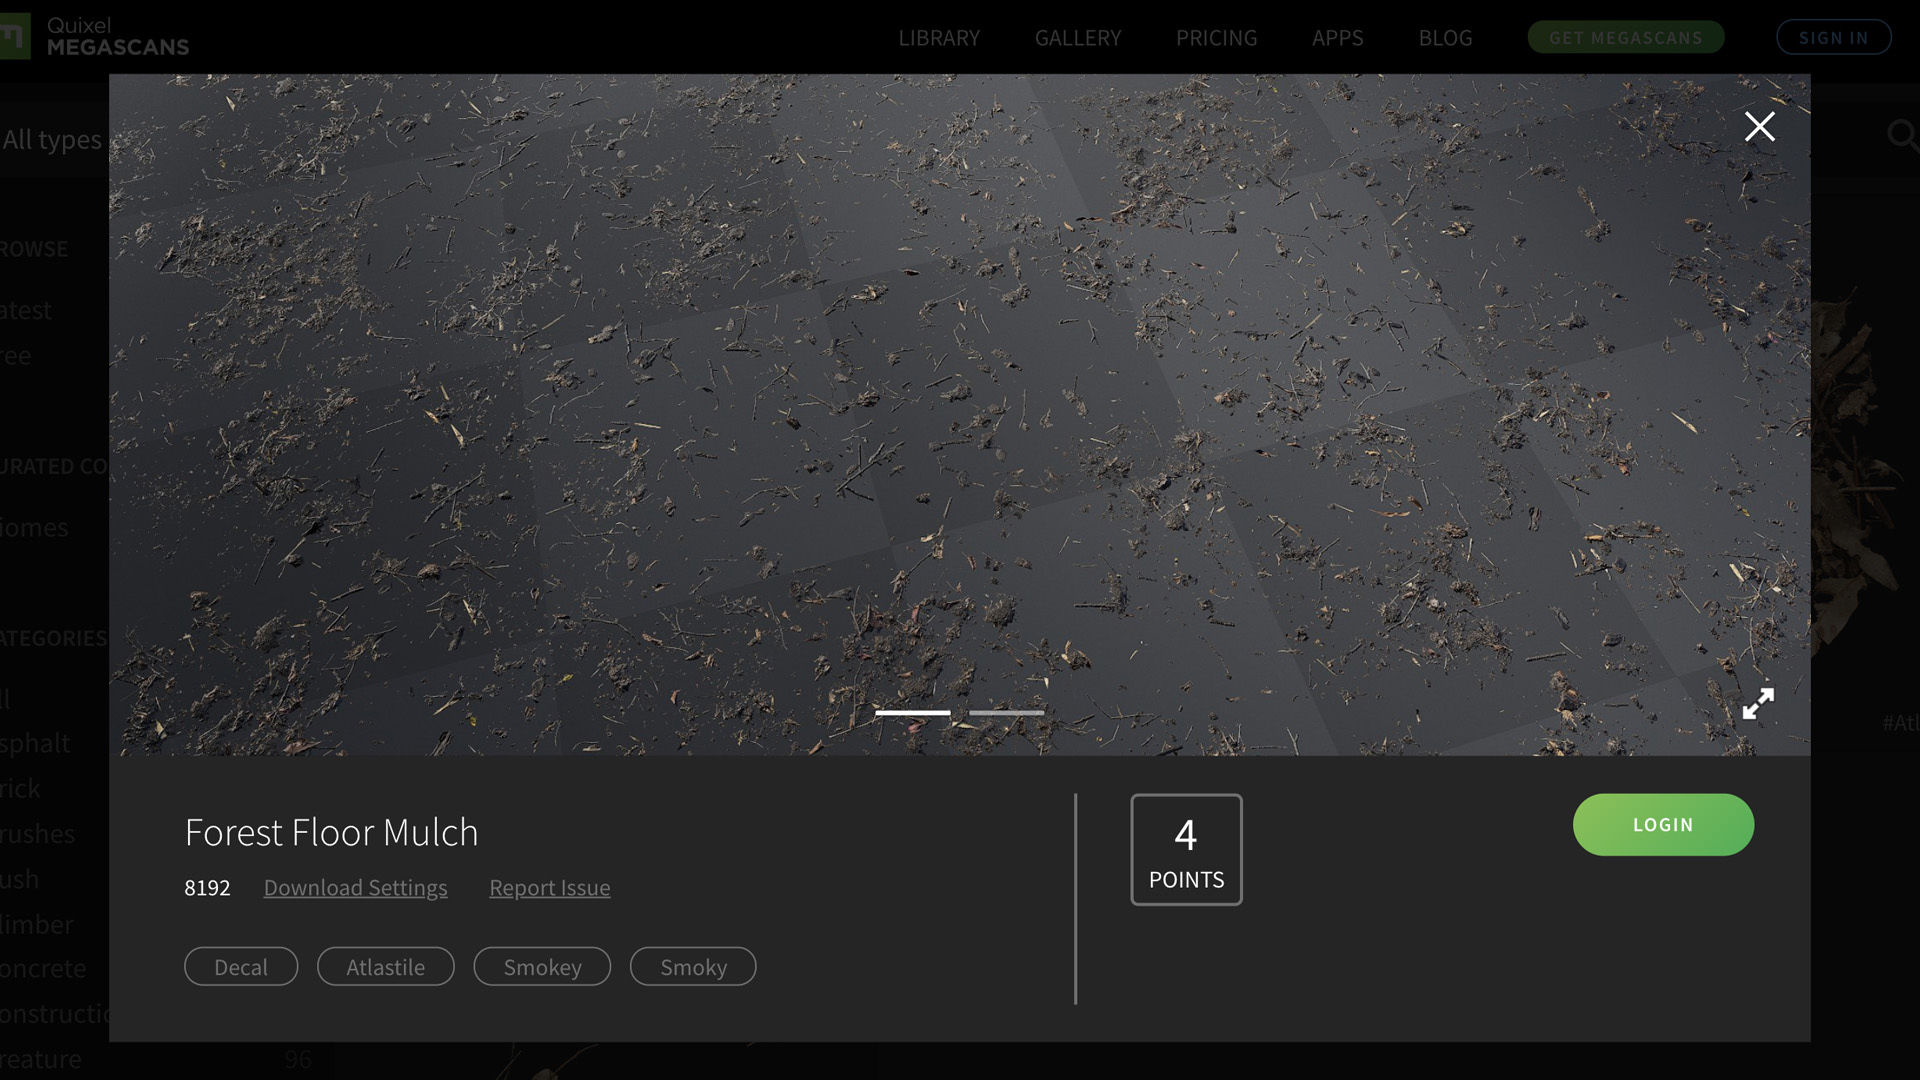
Definitely one of my favorites, I have used it in nearly all my ground mixes. The reason I’m adding it now is that I want it to be above the old mud but below the fresh mud.
Now let’s get to the real part — the actual mud!
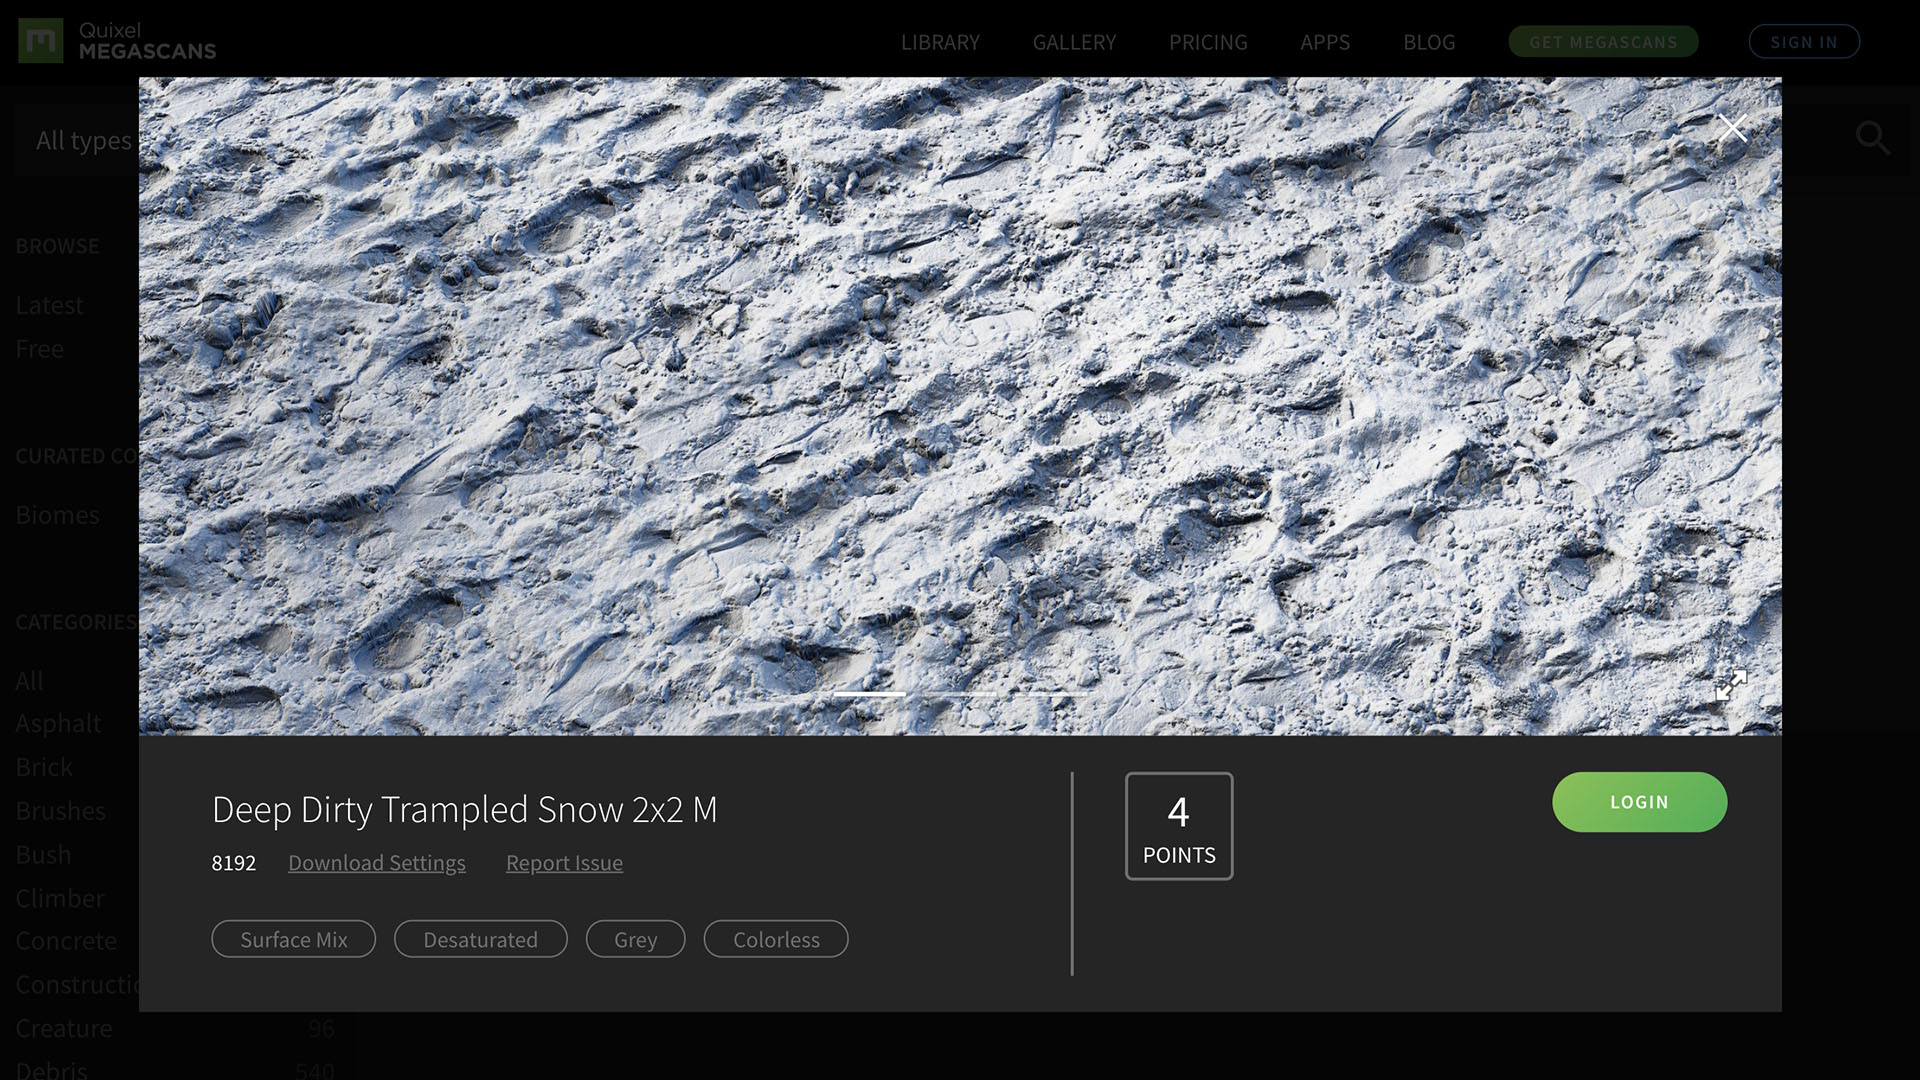
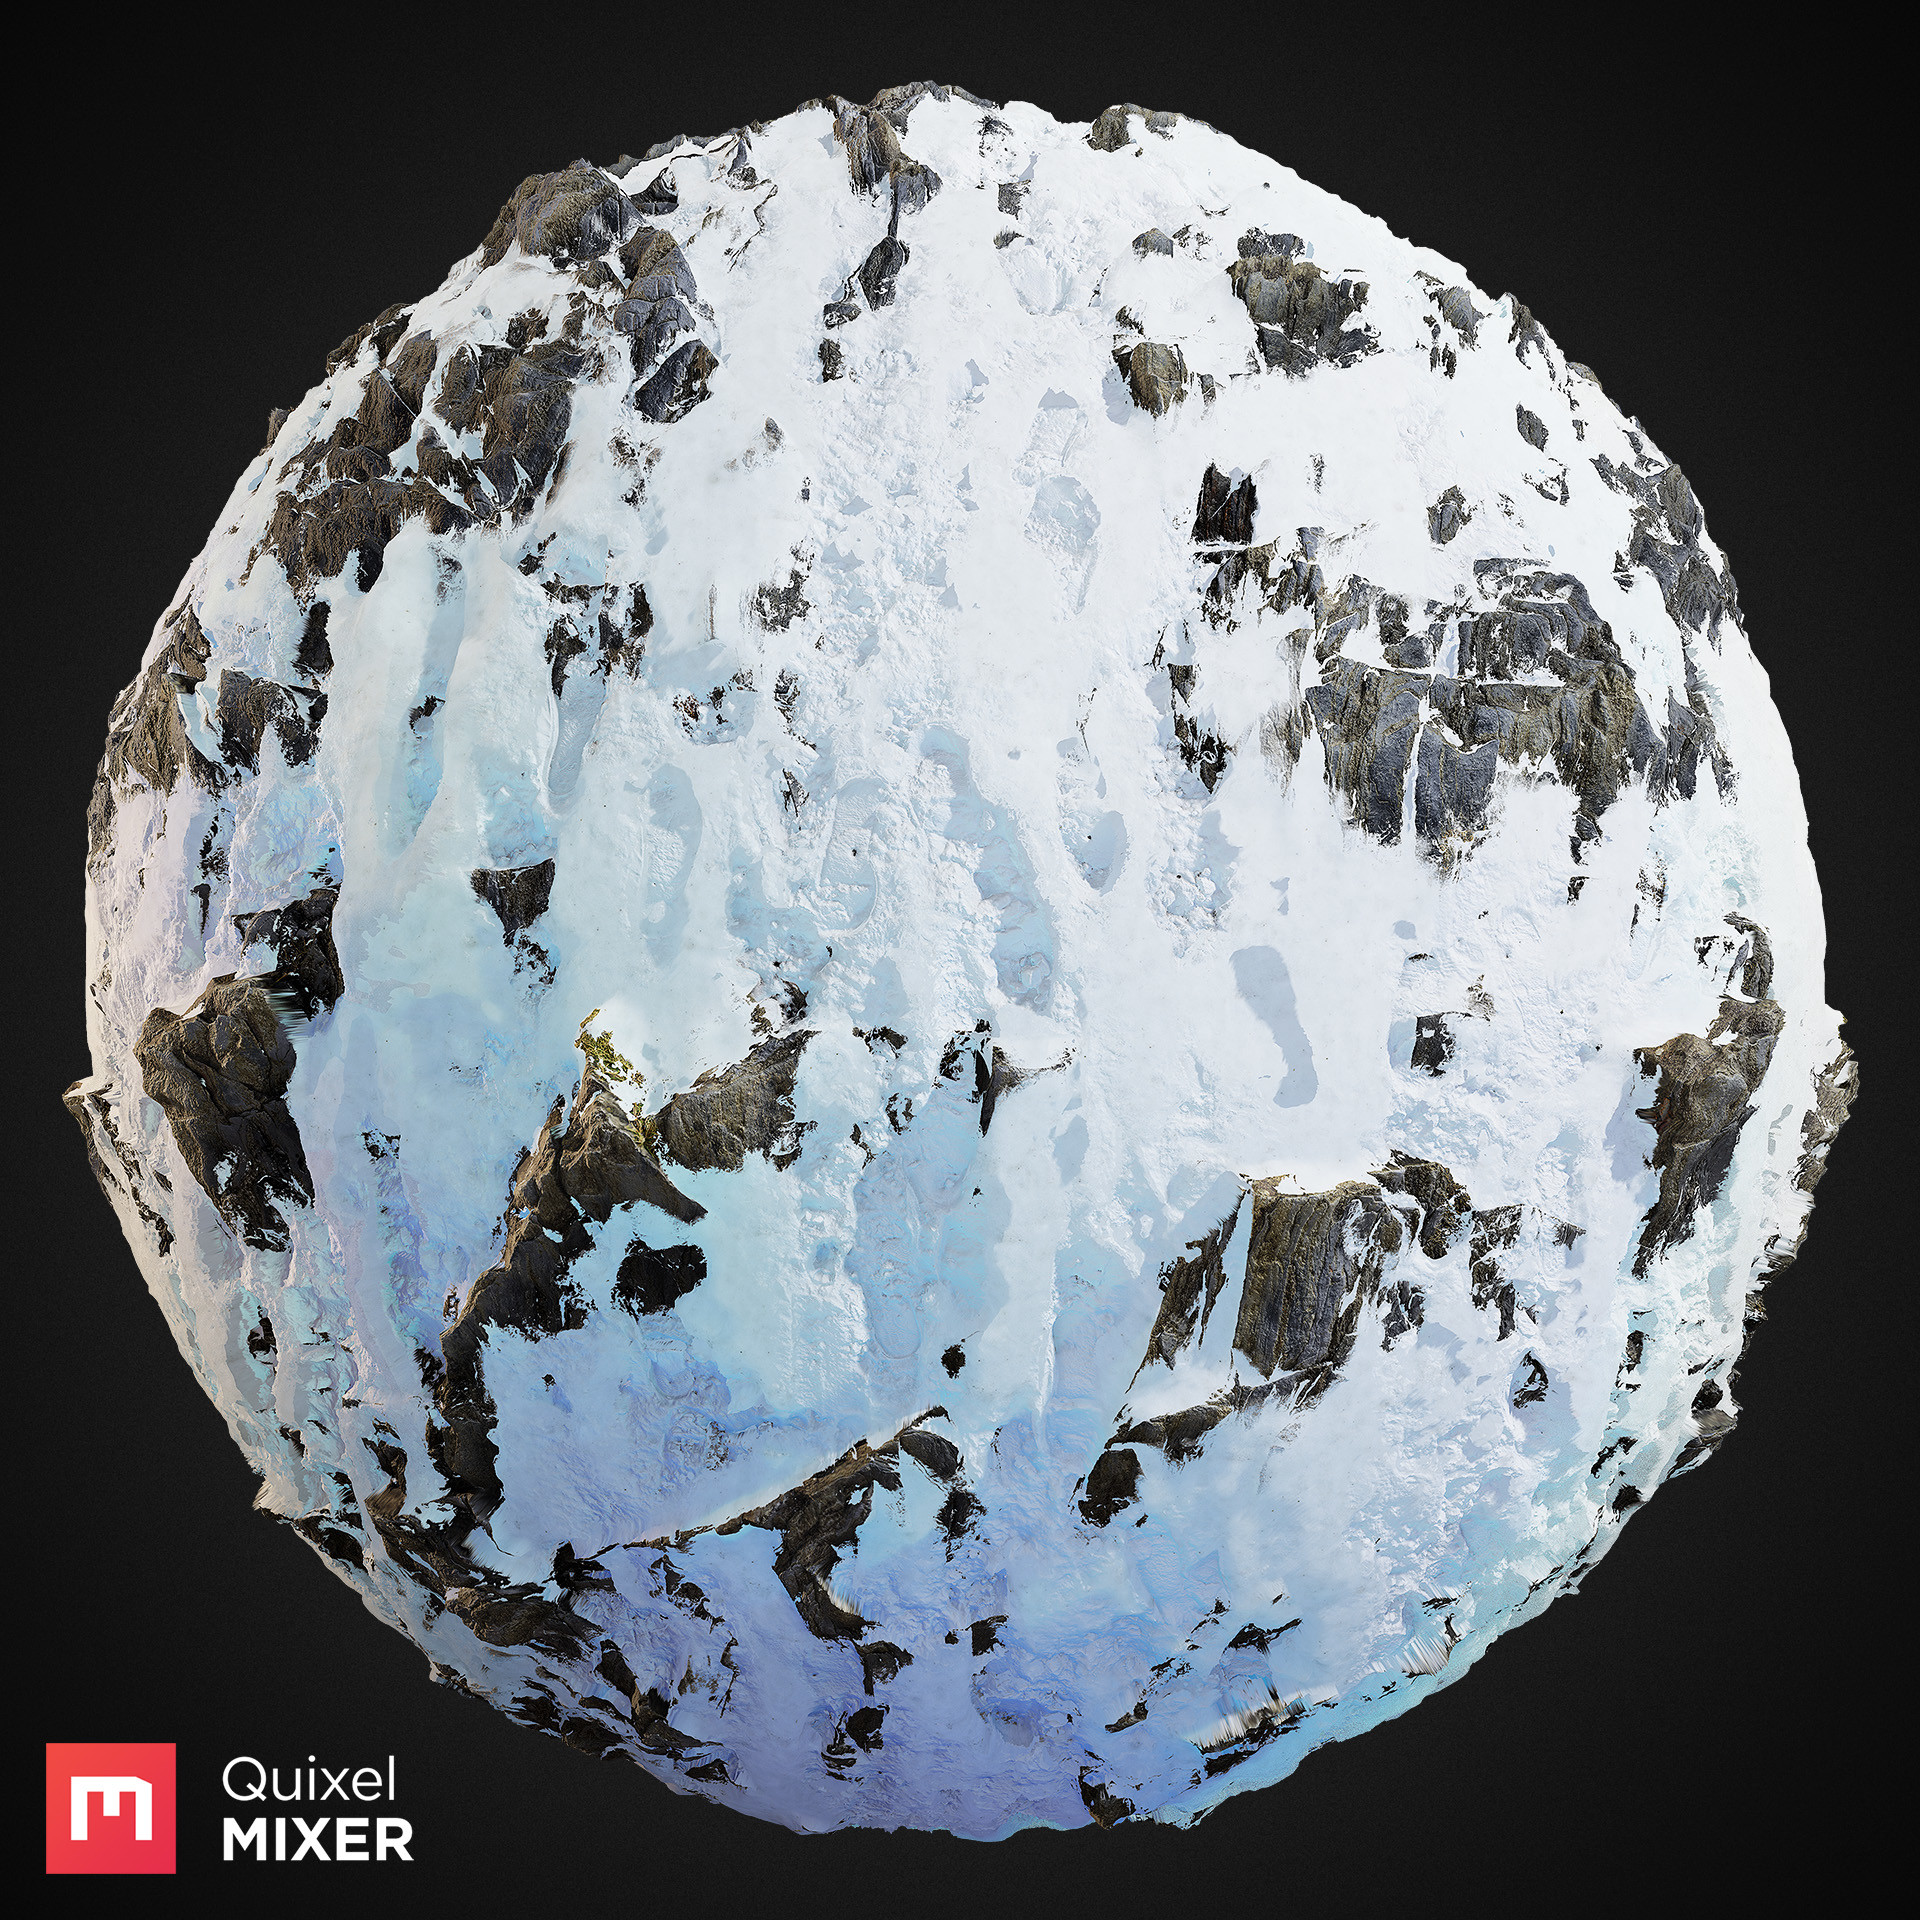
I have used ‘Deep Trampled Snow’ for this but tinted it the same color as the mud.

You may be wondering: where are the deep footprints? Well, the reason they are not showing up is that there is no hole deep enough for them to form. And that’s where the paint layers come into action. We are going to carve some stones out to create deep holes for the mud to accumulate.
Again, you need to think about the layer order here. The holes have to be below the mud, and so does the paint layer. It is therefore put between the grass and the first layer of mud we added. Now, just have fun digging some holes! Try to keep the tiling patterns in check using “T”.
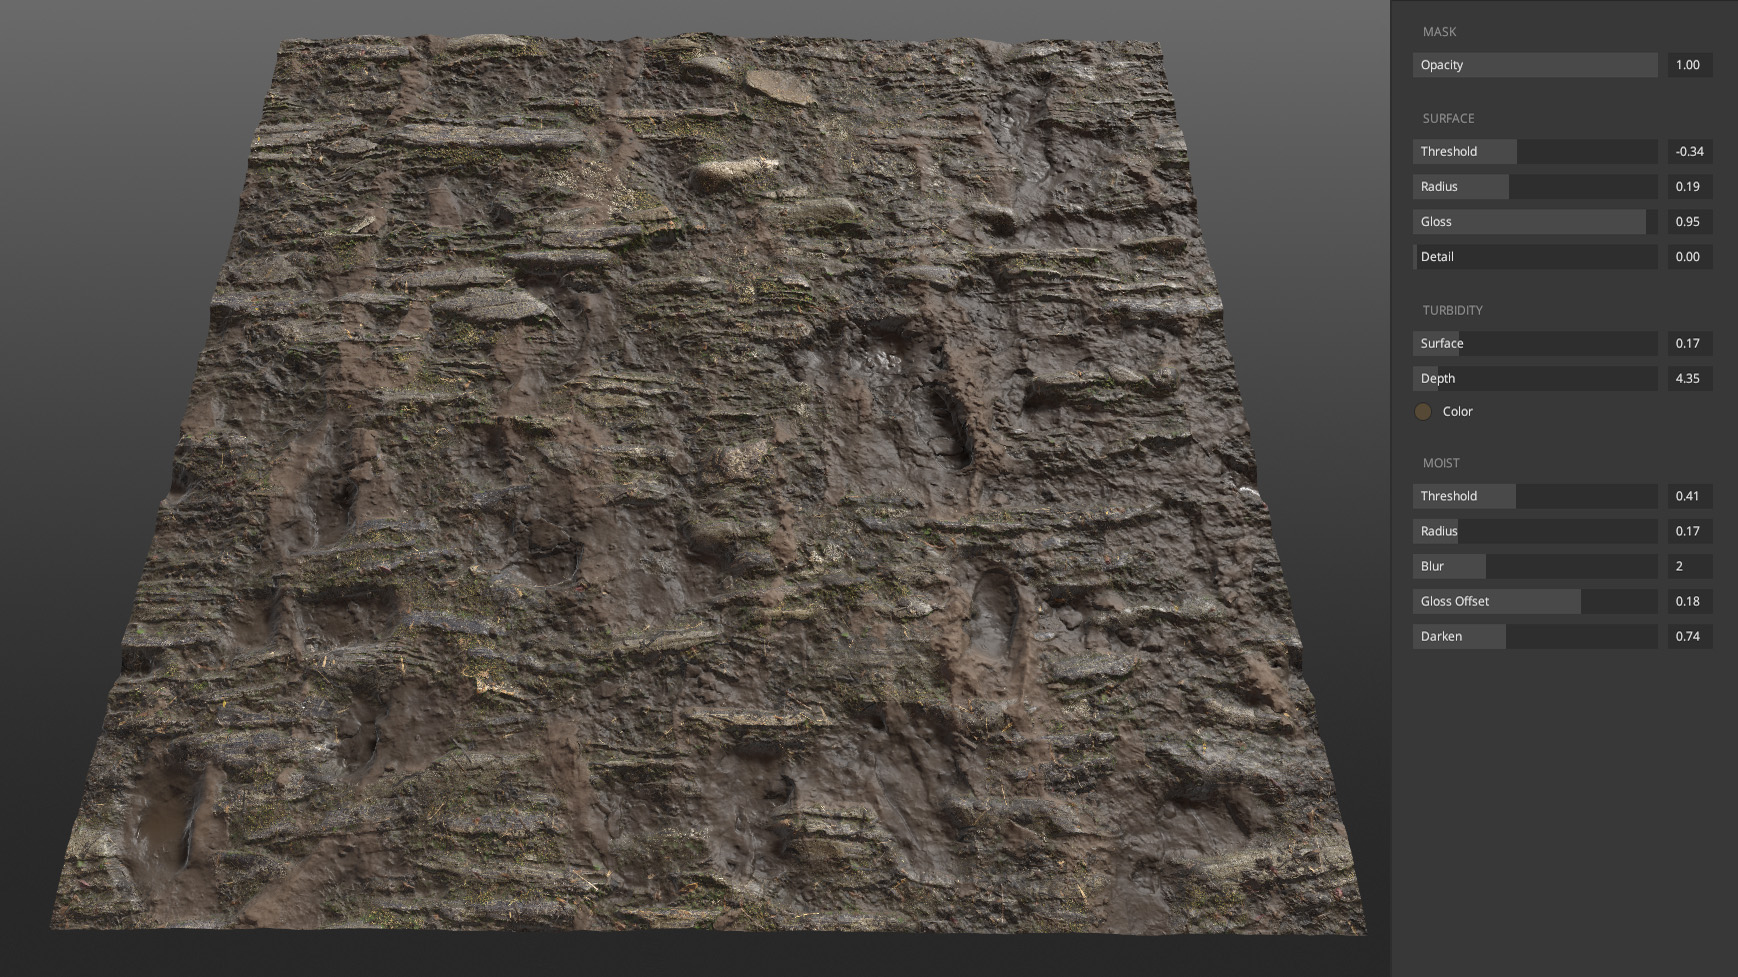
Now that’s much better! Let’s add the final touch — the water! For that, we are going to add liquid layers. It’s probably the most powerful layer type, and definitely the most fun to use.
Again, we need to decompose it — this time in two layers: damp and wet. First, let’s make the damp mud. Create a liquid layer and bring its threshold down until the last puddle disappears. Then play around with the moistness settings.
What I wanted to emphasize here was that the highest parts of the mud would already be dry while the rest stayed damp. Furthermore, wet mud is very malleable and therefore softens when wet. You can reproduce this by increasing the blur value a little.
And finally — let’s add the actual puddles. Add another liquid layer and drag the threshold until you reach the level you aimed for. The water being dirty, should not be see-through at all. It’s very tempting to make the material super wet just because it looks so good. However, if you plan on tiling it, be careful not to make the patterns too obvious. I decided to stay quite subtle for that very reason. You could also go back to the paint layer and add some more holes as well, or adjust the existing ones.
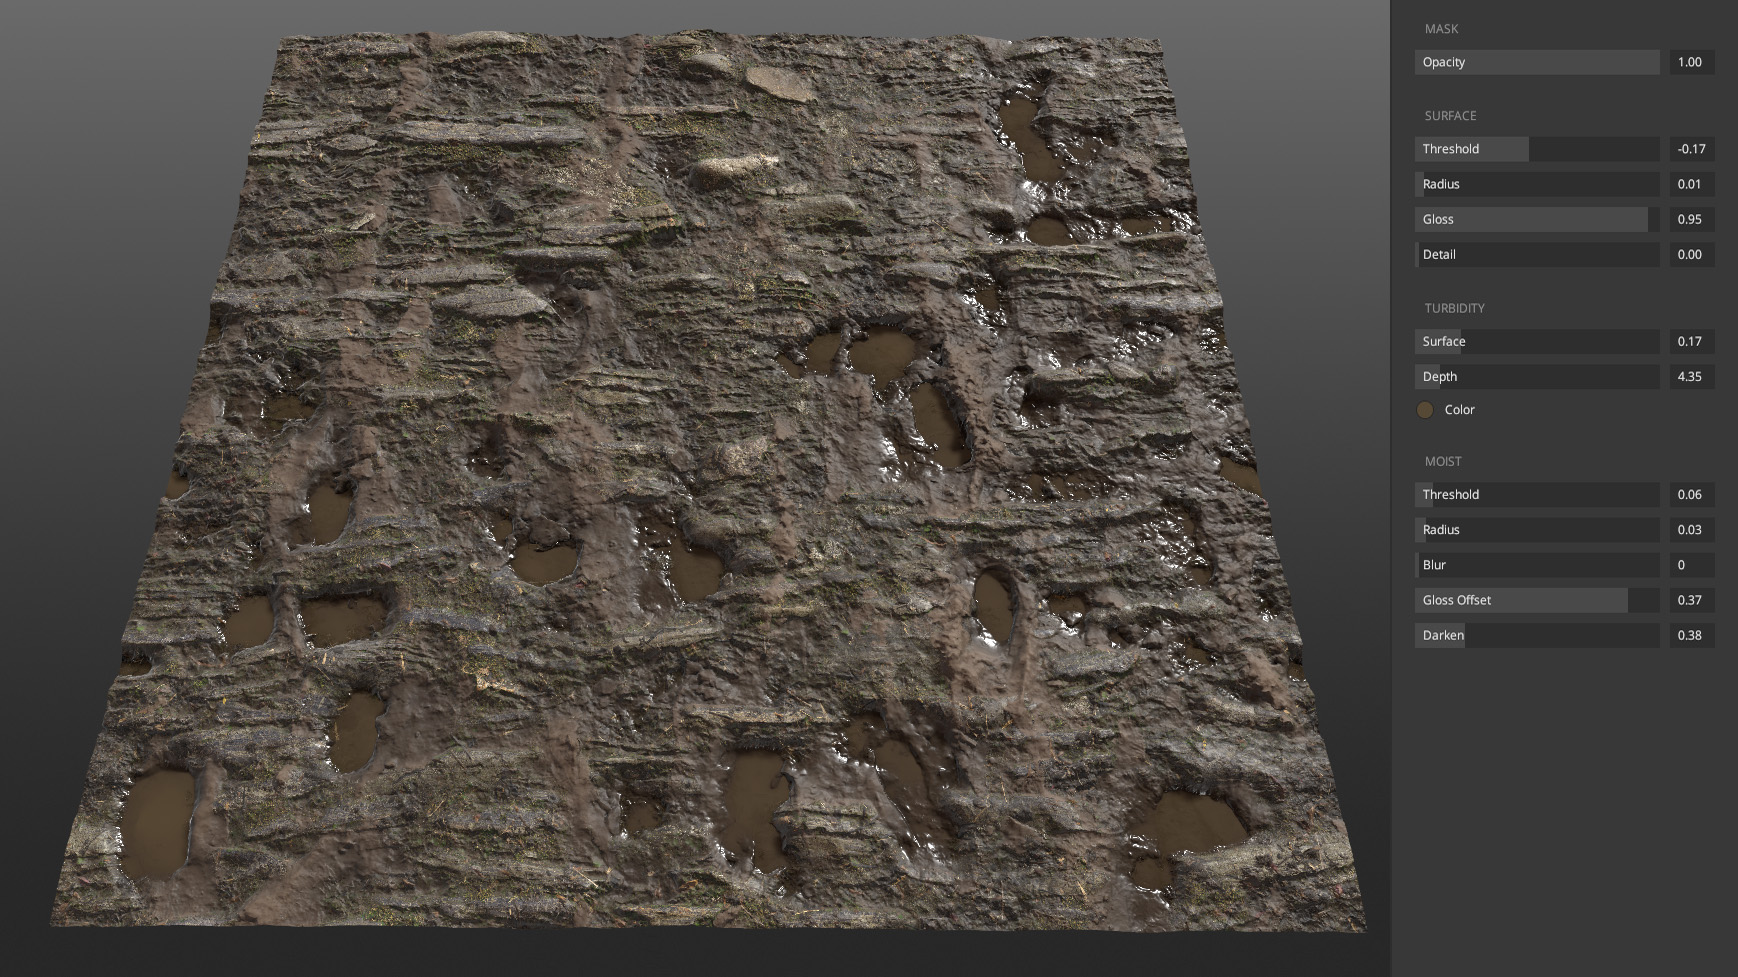
I haven’t used any decals here, but add some if you feel like it. And lastly, individually check and adjust the albedo and gloss for each layer until they all work together.
Conclusion
Quixel Mixer is so incredibly fast and powerful that it actually took me as much time to gather references as it did to create the Mix!
I think the key to believable materials is to deconstruct them in all the needed layers and then add them in the correct order.
But at the same time, pay attention to the “happy accidents”. They can happen when you least expect — just put a layer in the wrong place and it suddenly looks awesome. I’d also encourage you to think out-of-the-box when it comes to materials. Just because a material is called concrete doesn’t mean it couldn’t make some amazing dirt with a bit of tweaking.
Lastly, I’ll repeat — pay attention to tiling if your material is supposed to tile. It’s so easy to get carried away with a super awesome material only to then realize that it doesn’t tile well at all. Run a “tiling check” after each layer you add. It only takes a couple of hours to get familiar with the whole process and the possibilities are endless!
Thank you all — and happy mixing!
Many thanks, Sébastien! Check out this artist’s work on ArtStation.
Got a Quixel-infused project you’d like featured? Send your process breakdown write-up, bio, and hi-res images to blog@quixel.se.