Next Level Creativity with Mixer 2018.2.2
Introducing Quixel Mixer 2018.2.2 — a release packed with quality of life features, performance optimizations, and brand new tools.
Sampling colors with the all-new Eye Dropper, using the Orthographic View for precise edits, and Straight Line Painting are just some of the new features Mixer now offers.
The Eye Dropper
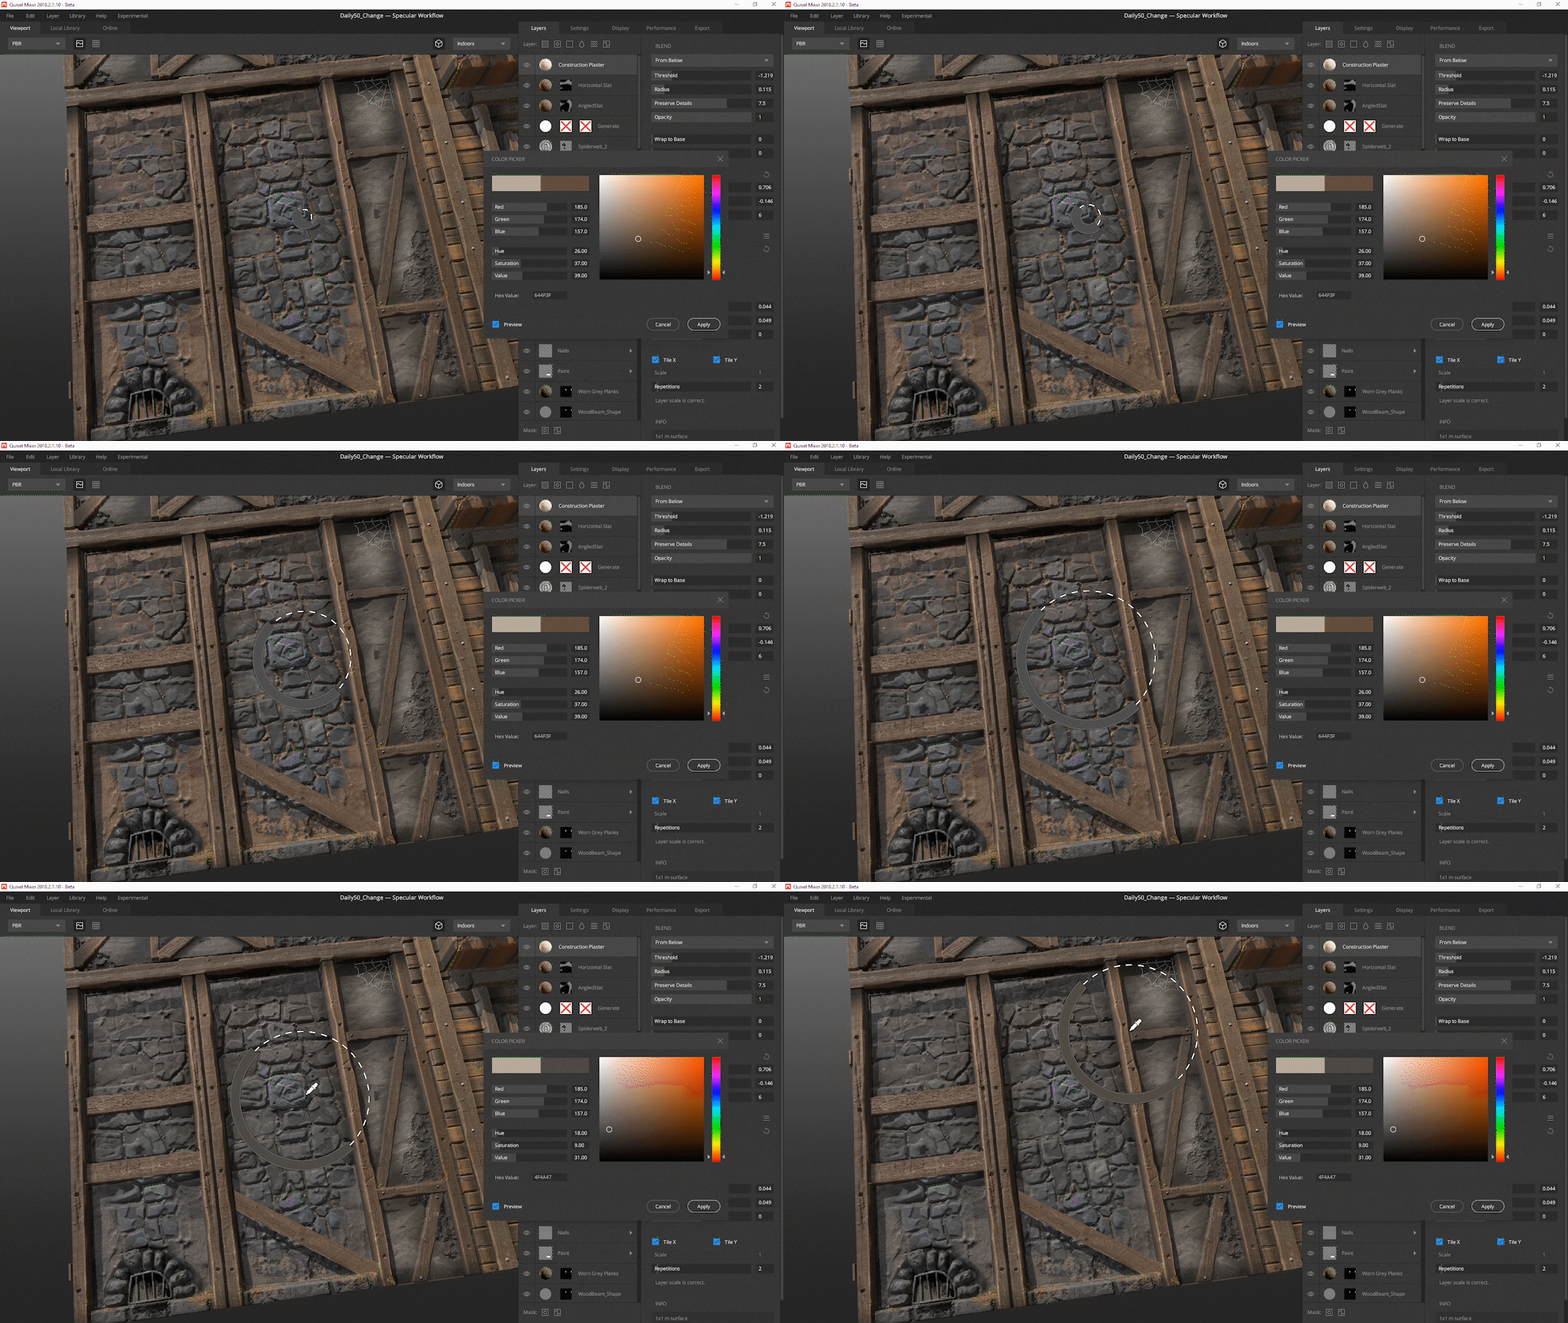
The Eye Dropper is an essential tool in any artist’s arsenal. It allows for sampling colors to be used when painting or adjusting reflectance values. We’ve taken this one step further by allowing you to quickly and effortlessly adjust the Eye Dropper’s sample radius so you can specify a larger region to sample an average color from.
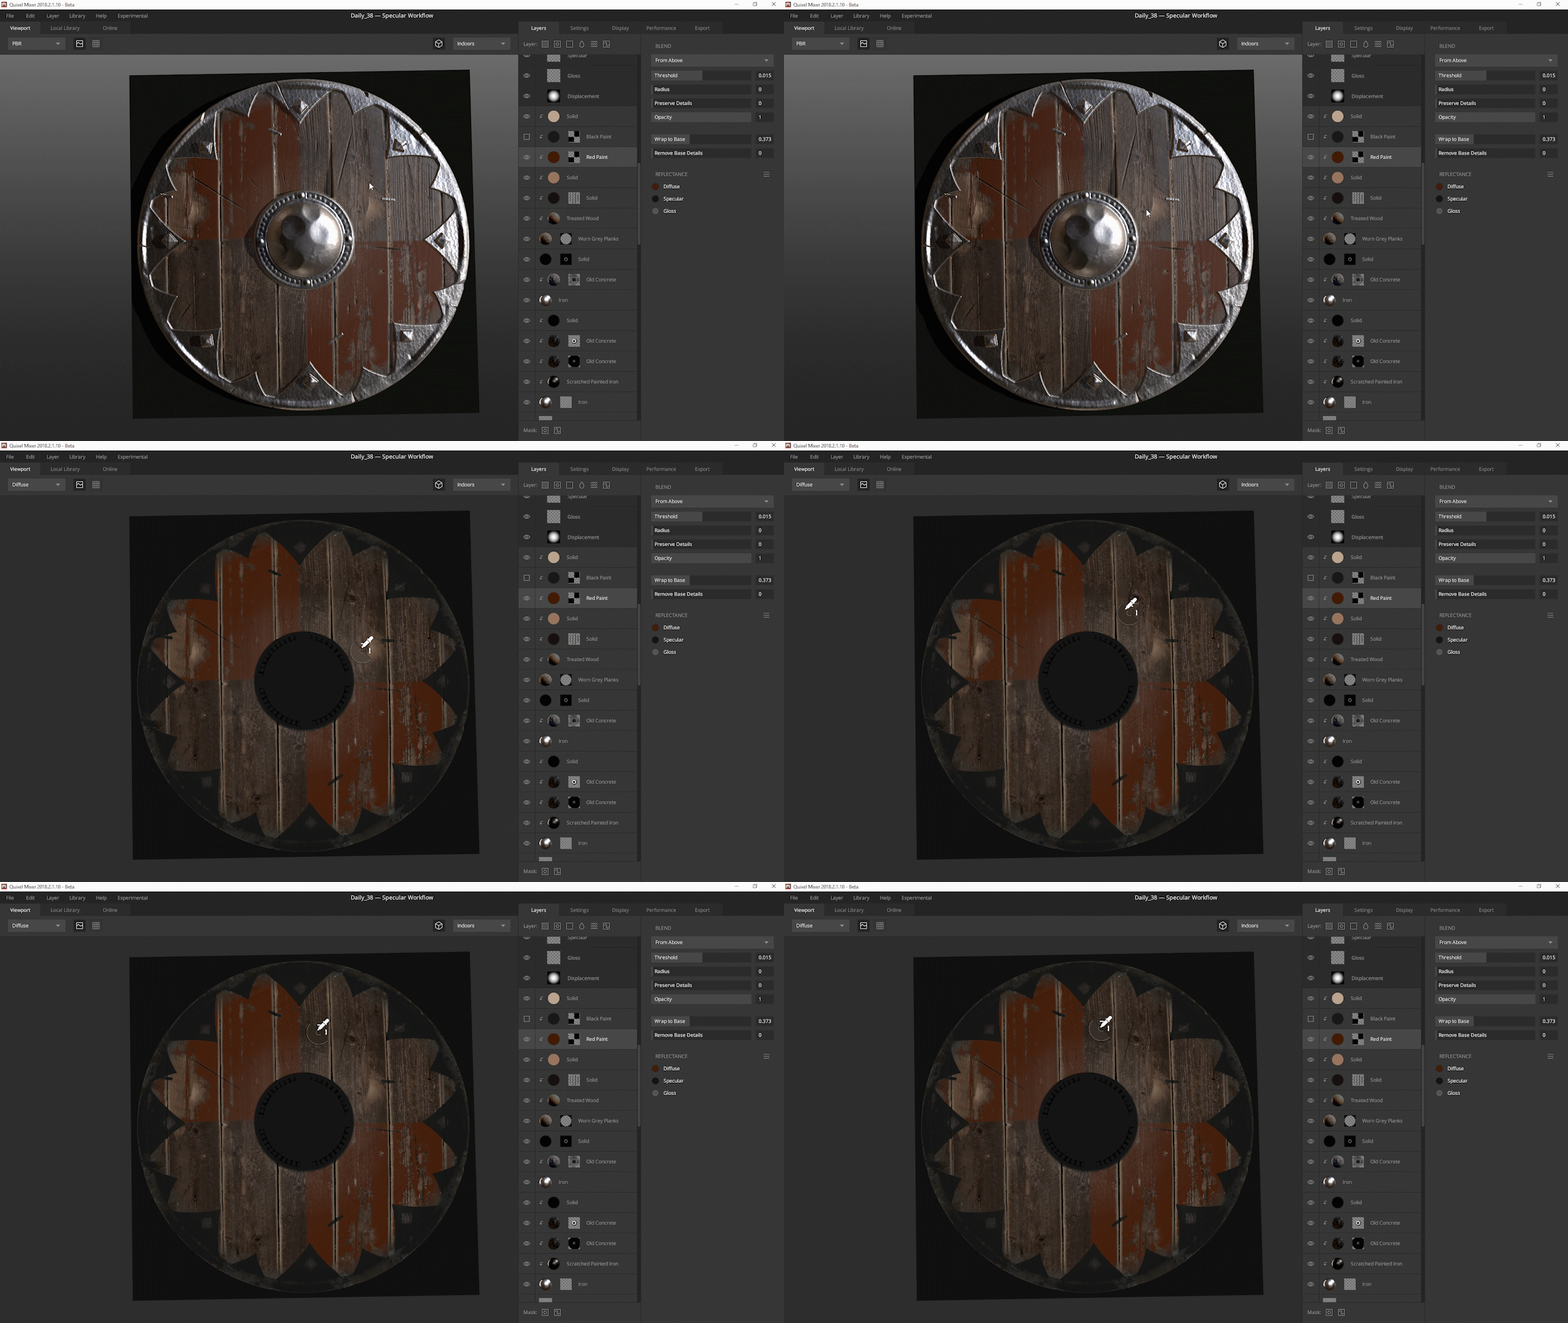
The Eye Dropper can be accessed in several ways: Click on the color swatch to bring up both Color Picker and Eye Dropper. ‘Shift+Left Click’ to open just the Eye Dropper. Press and hold ‘Q’ for access to the Eye Dropper.
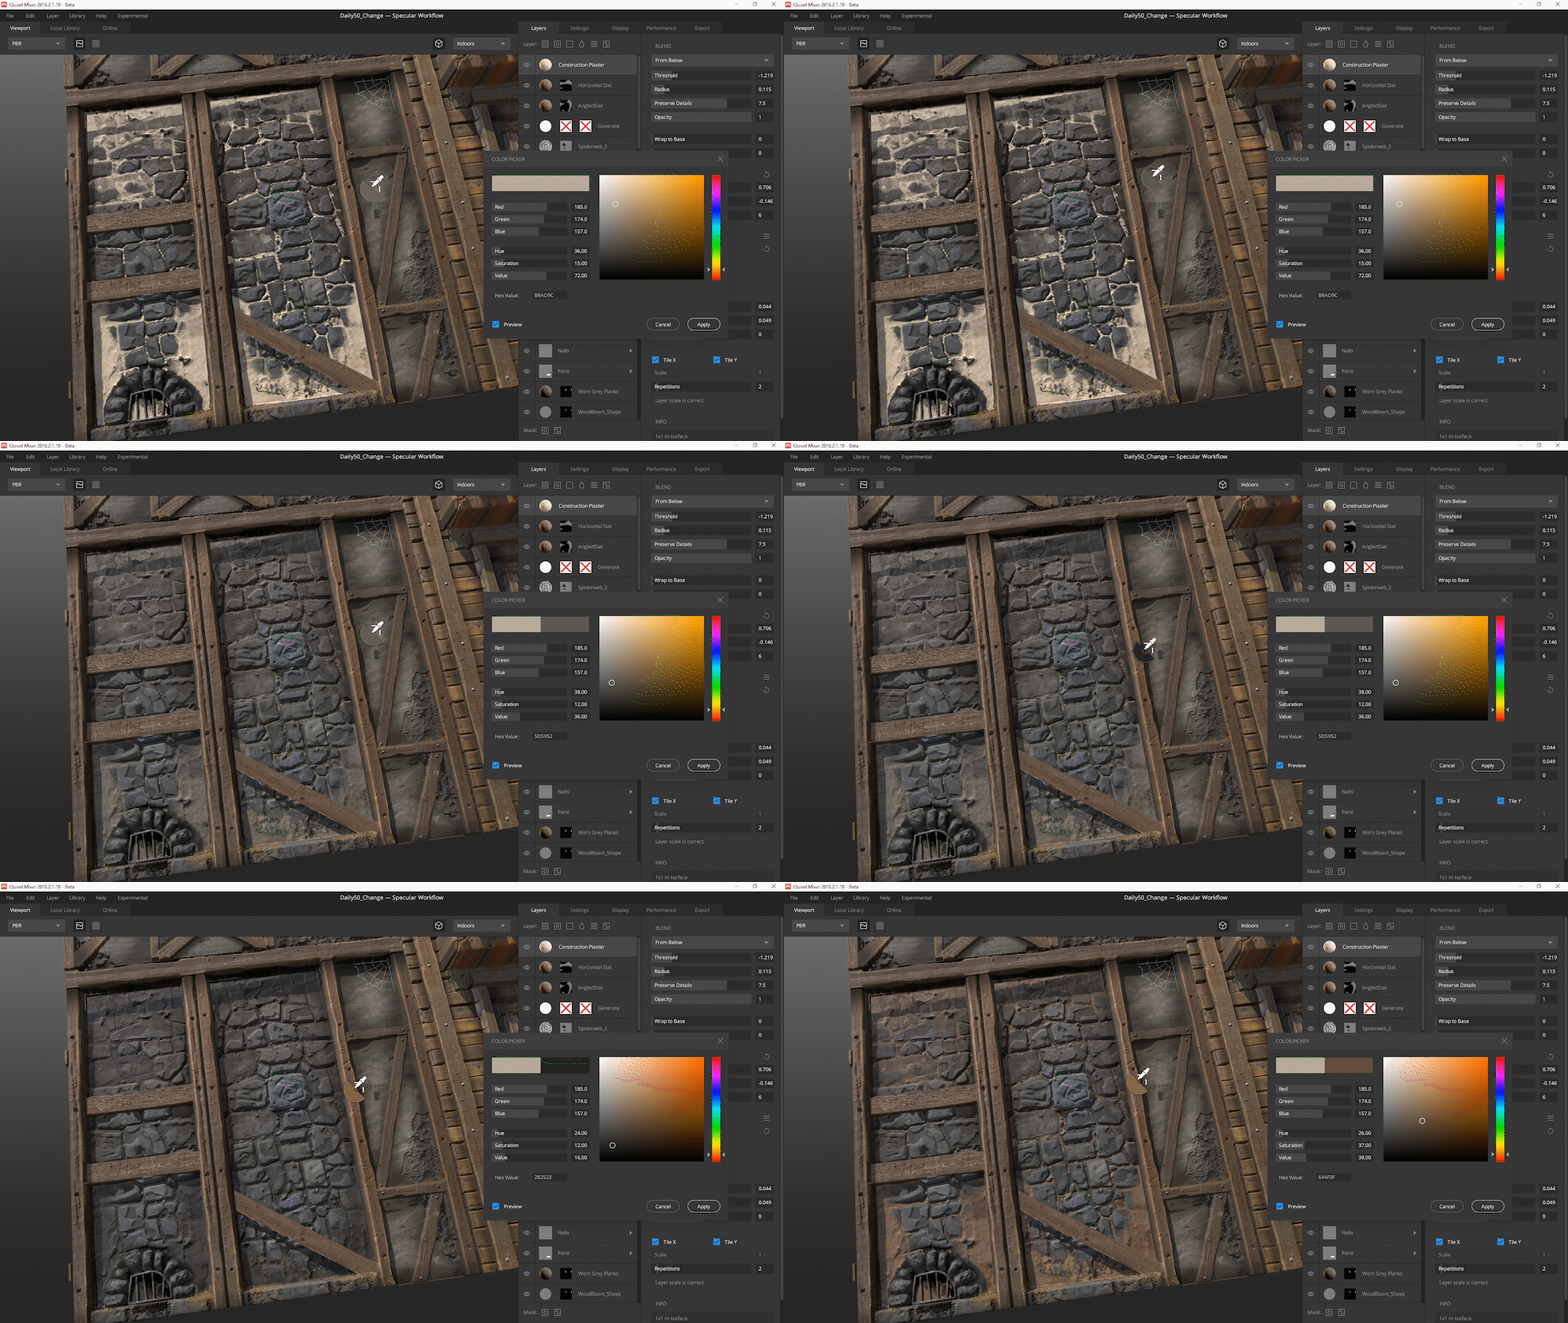
The render changes to the channel you wish to sample for, making things even easier.
Average Color Sampling
You can easily adjust the average sample area using ‘S+MMB drag’. This allows you to quickly, and intuitively, blend the current layer as well as your painting to the surrounding area. The sample area is represented by the dotted radius around the Eye Dropper.
Orthographic View
The Orthographic View allows you to make precise and exact edits to your Mix and gives you a great overview of the texture’s layout and rhythm. To access this view, simply press ‘P’ on your keyboard or click the ‘View’ toggle button in the top bar.
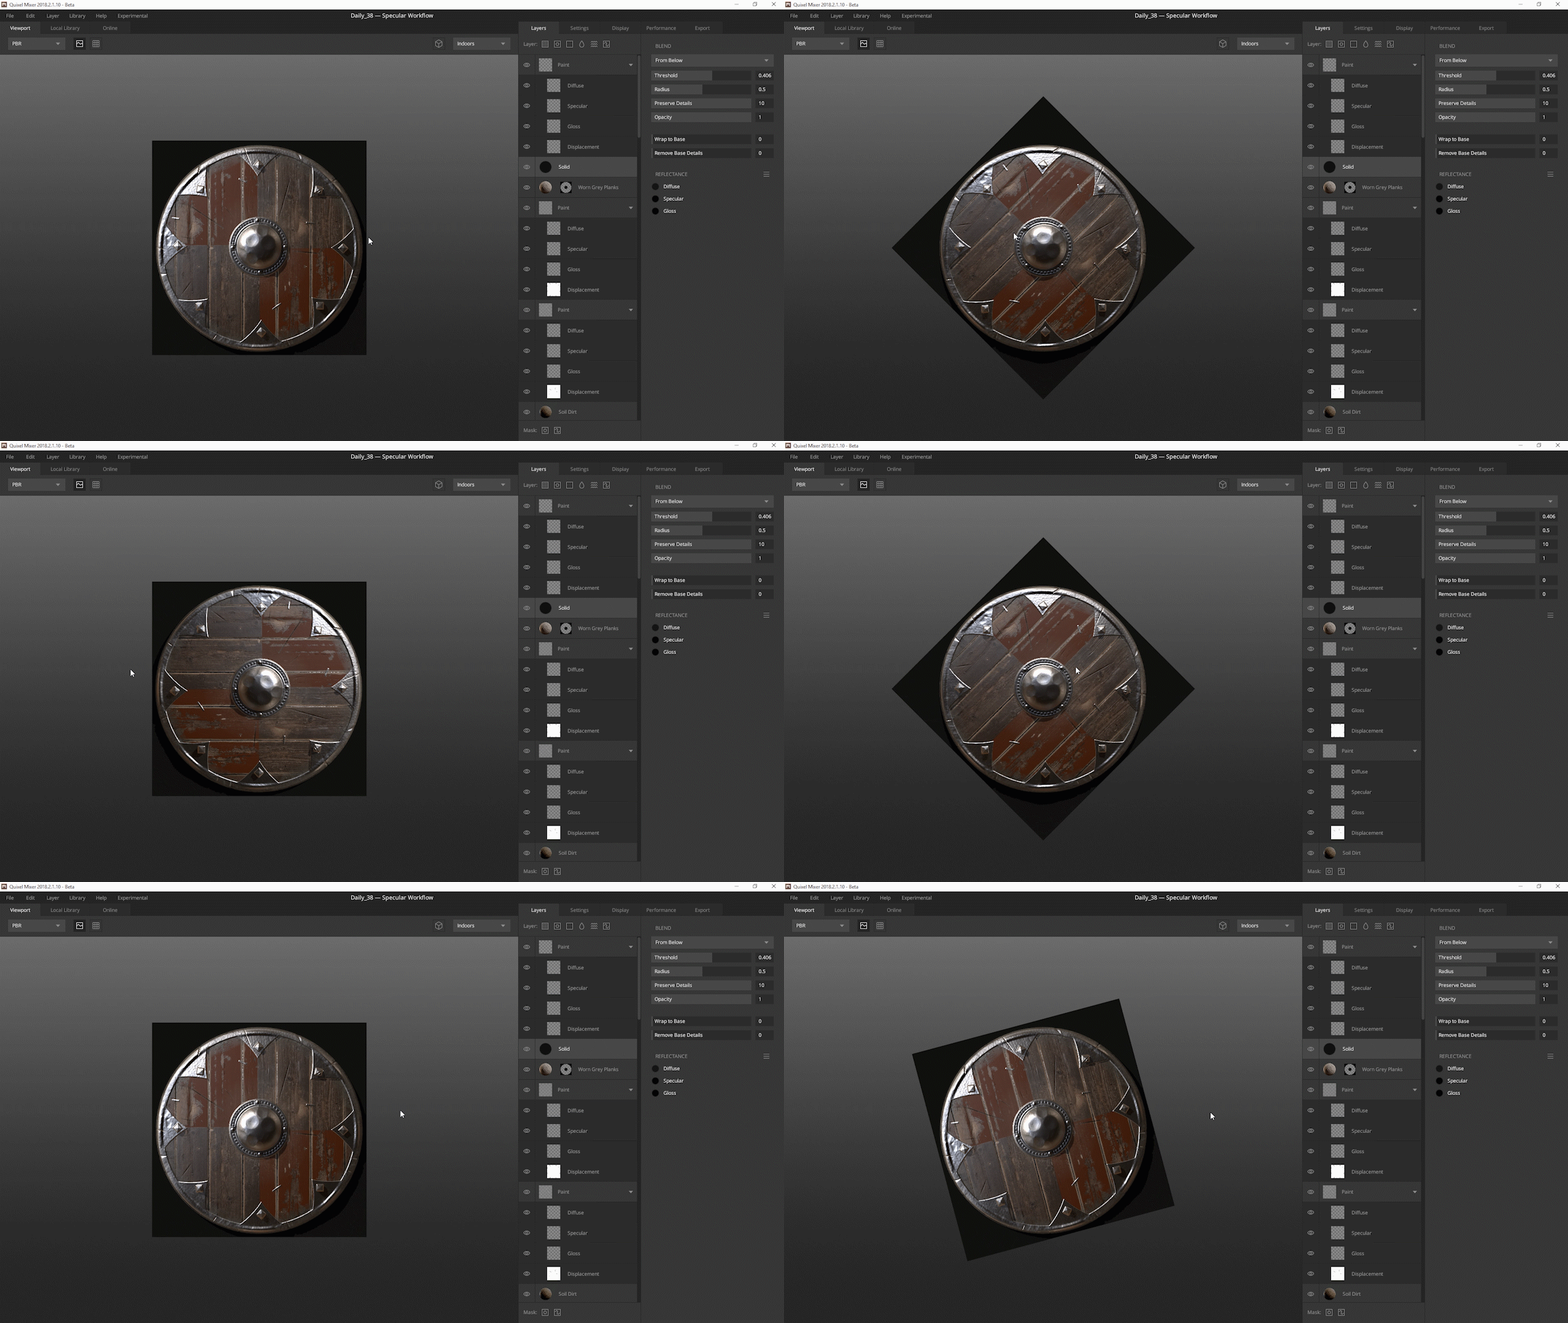
Orthographic View also allows for discrete rotation in 15-degree increments. This, in combination with the new Straight Line Painting feature (more below), opens up many more possibilities for artists. Also, performance is bumped up when working in Orthographic view.
Access the Orthographic View by pressing ‘P’ or by clicking the ‘View’ button in the top bar. Snap to 15-degree increments by holding ‘S’ while rotating.
Straight Line Painting
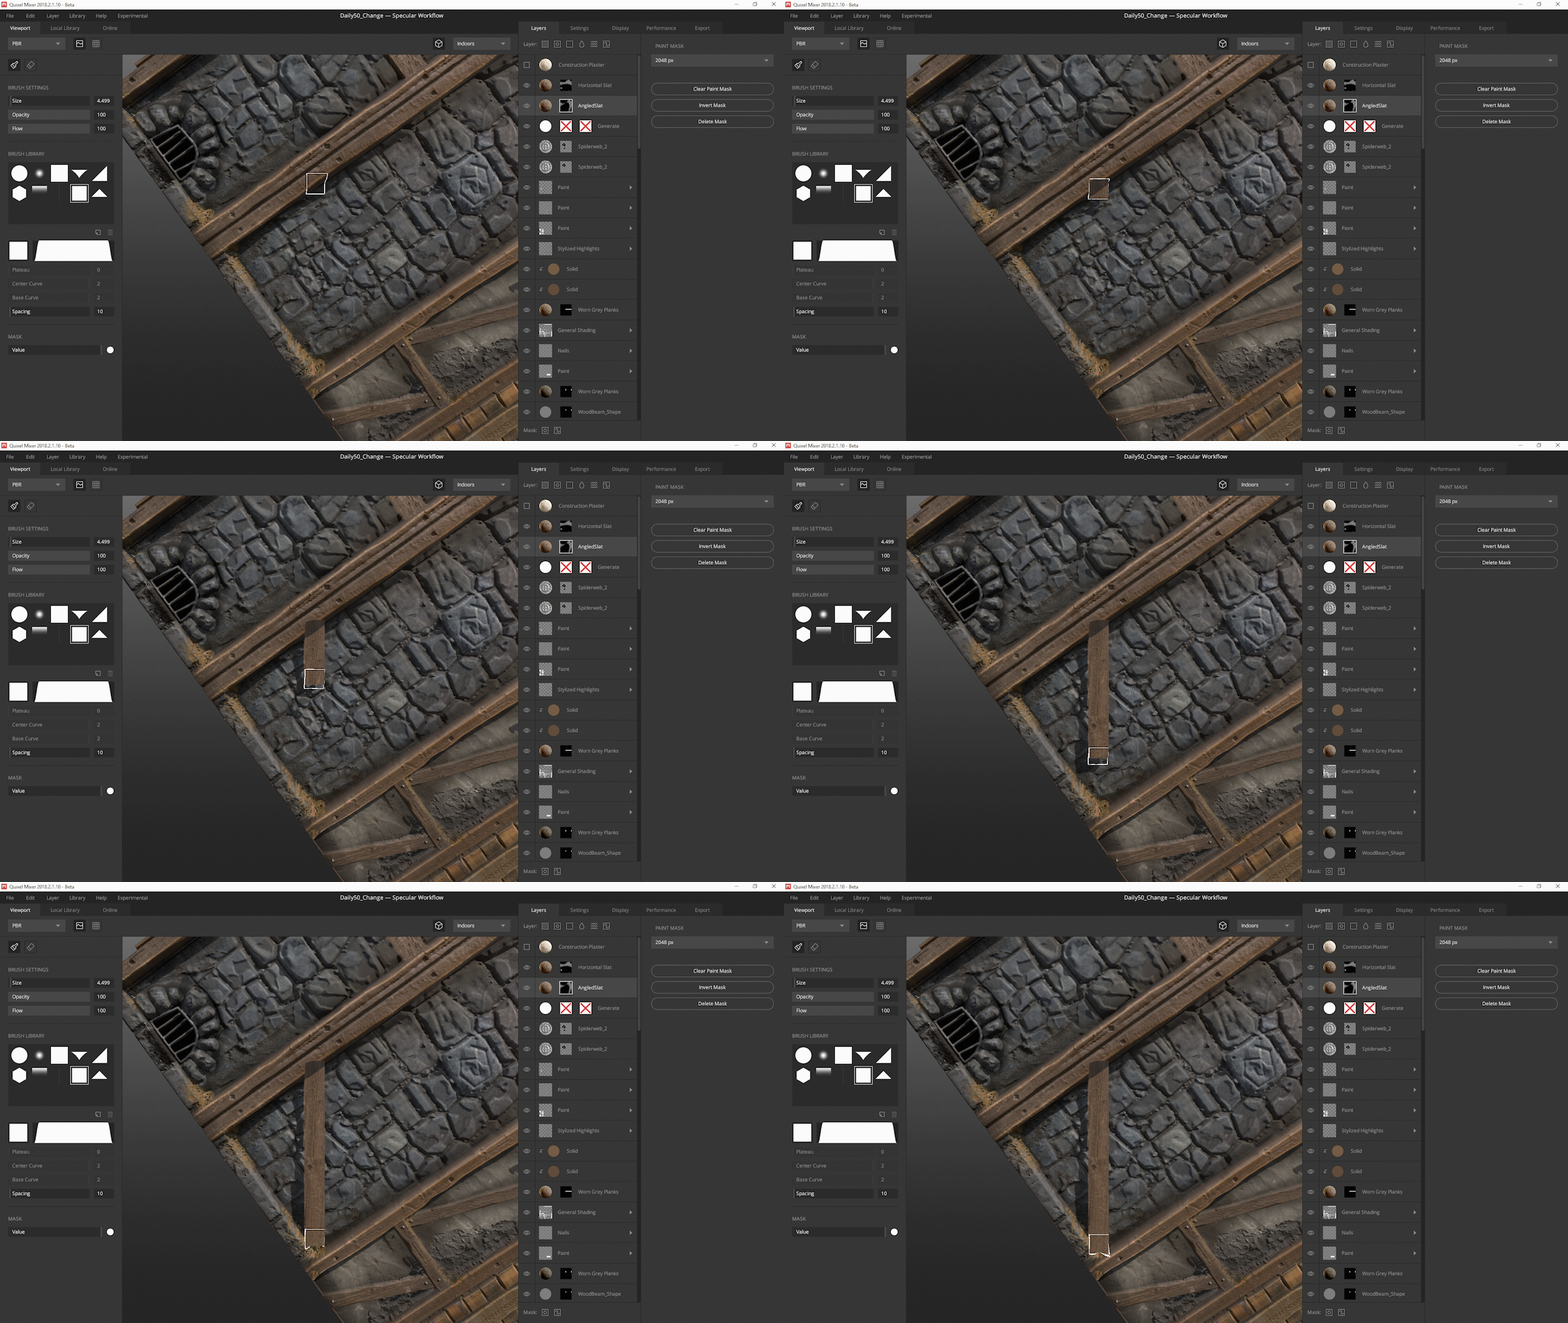
We have expanded the existing ‘Shift+Click’ paint functionality in Mixer with Straight Line Painting, which allows for straight lines to be painted — either aligned to the canvas or along the camera axis.
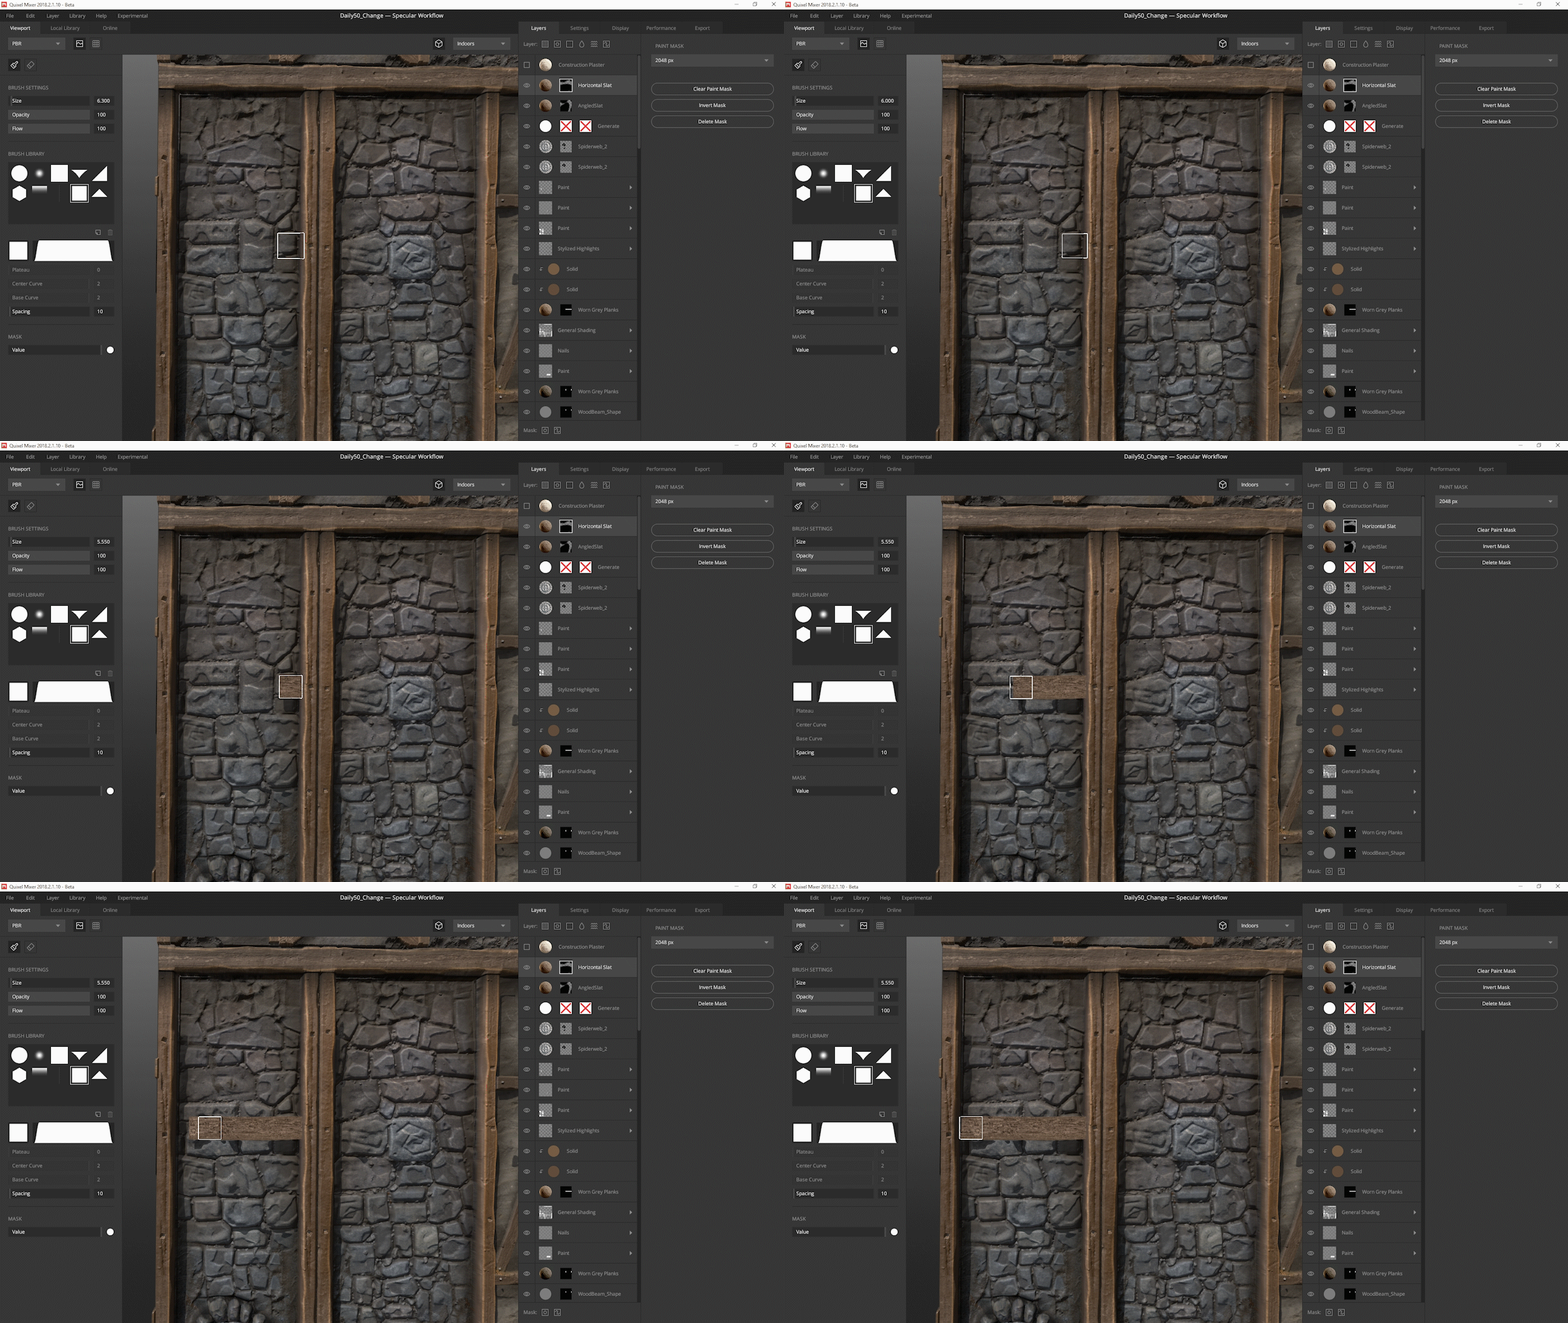
Canvas-Aligned Snapping
The default alignment is along the canvas orientation, allowing you to draw straight lines along the canvas. Simply hold ‘Shift’ while painting to enable this behavior.
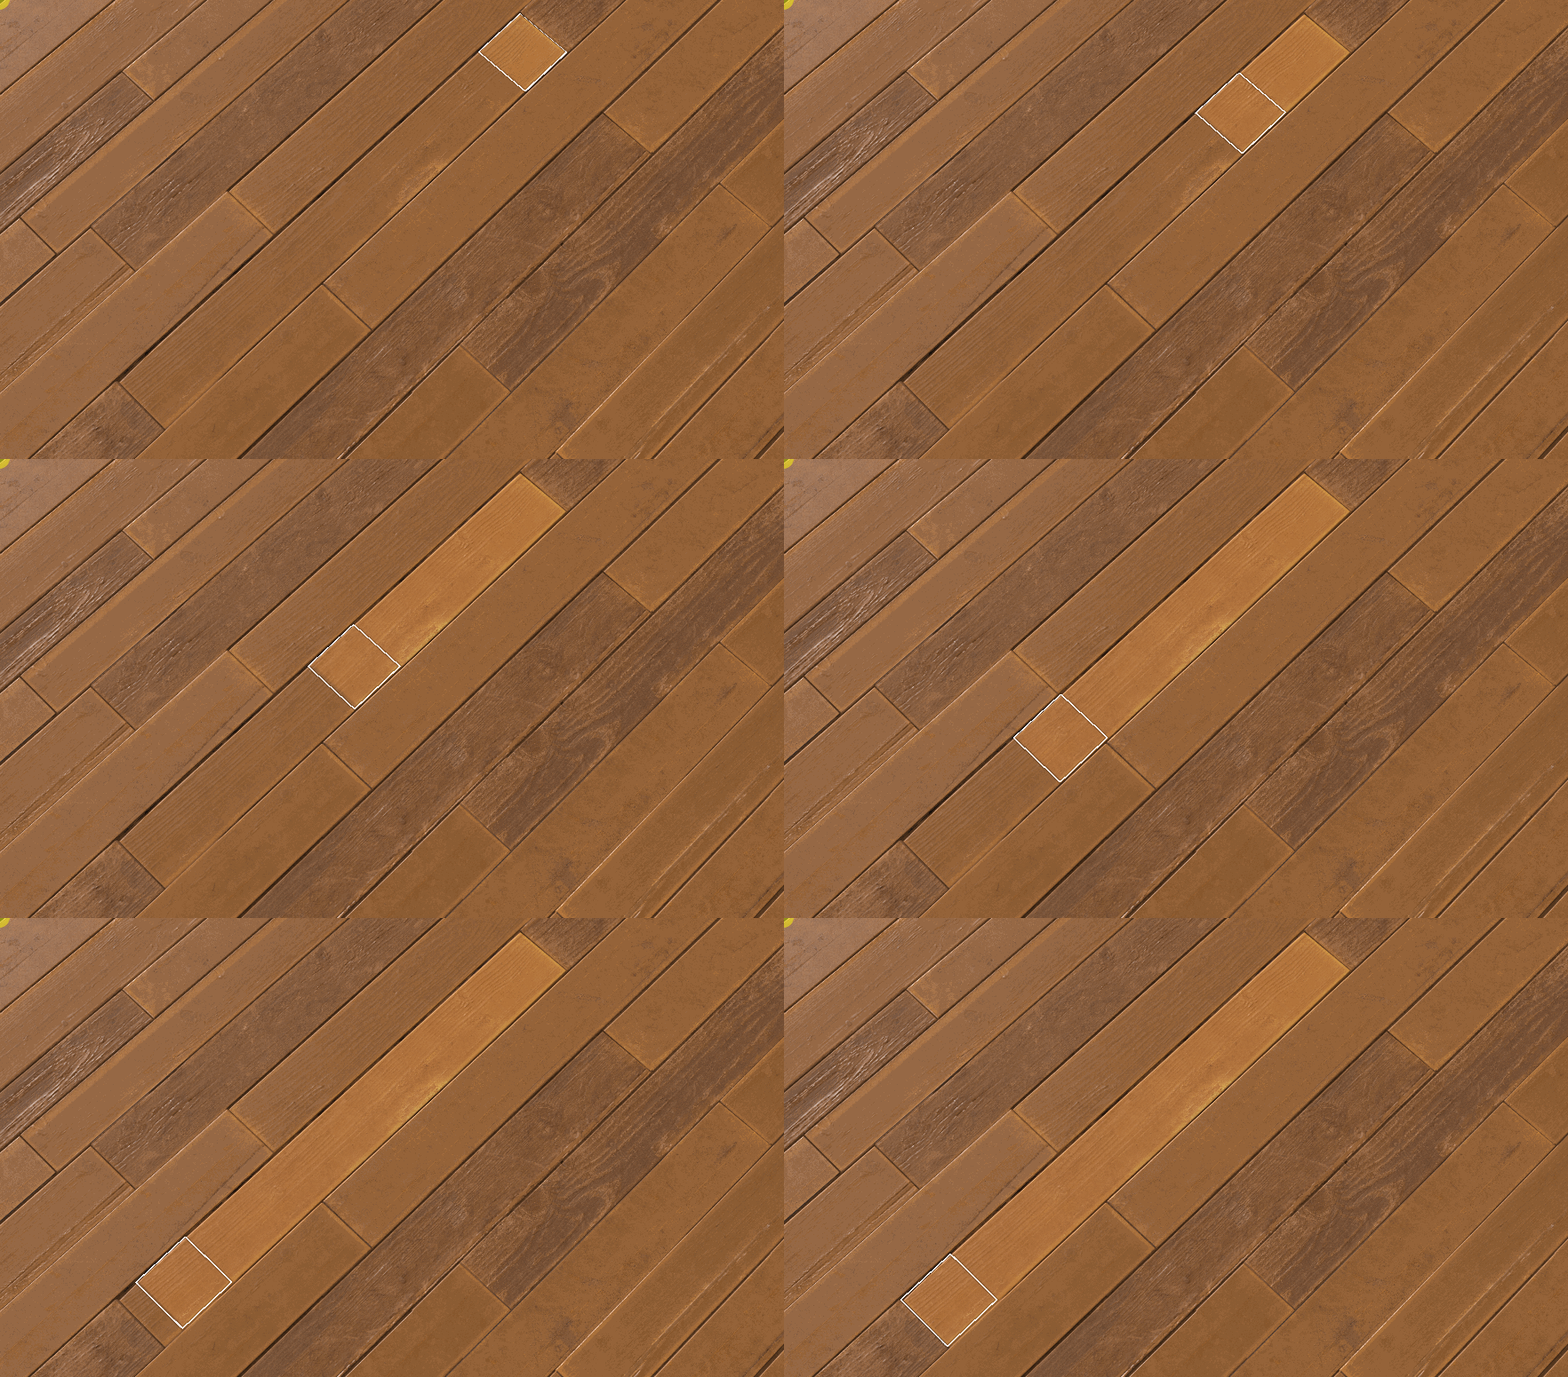
Camera-Aligned Snapping
By holding ‘S’ and ‘Shift’, the Camera-Aligned Snapping behavior is enabled, which aligns the strokes along the camera orientation. This, combined with the new Orthographic view, opens up a lot of options.
Layer Modularity: Change Layer Textures
As a first step to make layers in Mixer more modular, we’re introducing the option to change a layer’s textures while retaining its parameter settings and reflectance values. This will allow for rapid iterations and adjustments during your work.
This is supported for both Surface and Atlas type layers. Simply ‘Right-Click’ a layer to change a layer material. All of the layer’s parameters (including custom naming) remain unchanged when changing the textures.
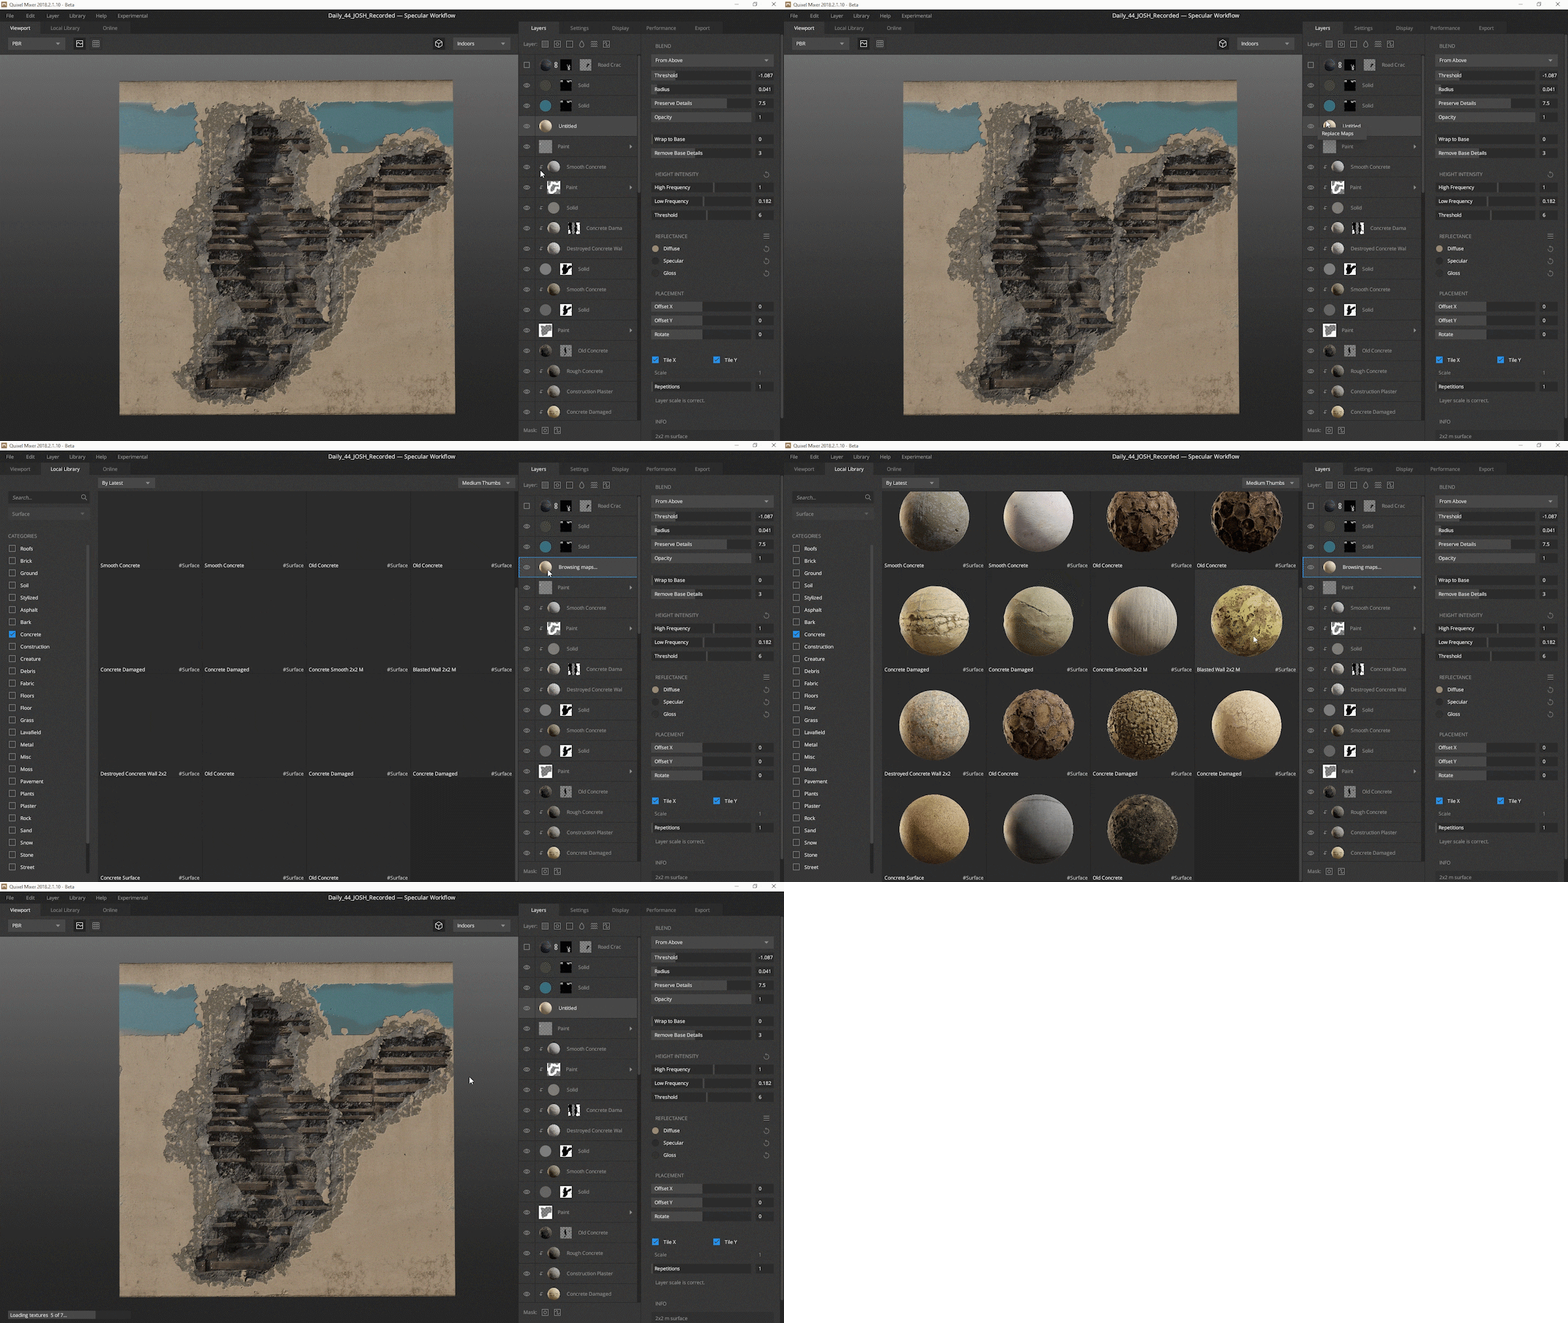
There may be times when even after many tweaks to the settings of a layer, it just doesn’t look right. Modularity allows you to quickly try out different materials and see how they interact with the Mix, without having to create a new layer and re-adjust the parameters. The ability to change layer materials does all this in just a few clicks.
There’s more…
In addition to a ton of bug fixes and performance improvements, a range of actively requested features have also been added to Mixer 2018.2.2 — such as gorgeous new HDRIs and the Match Color to Base feature.
All-New HDRIs Available
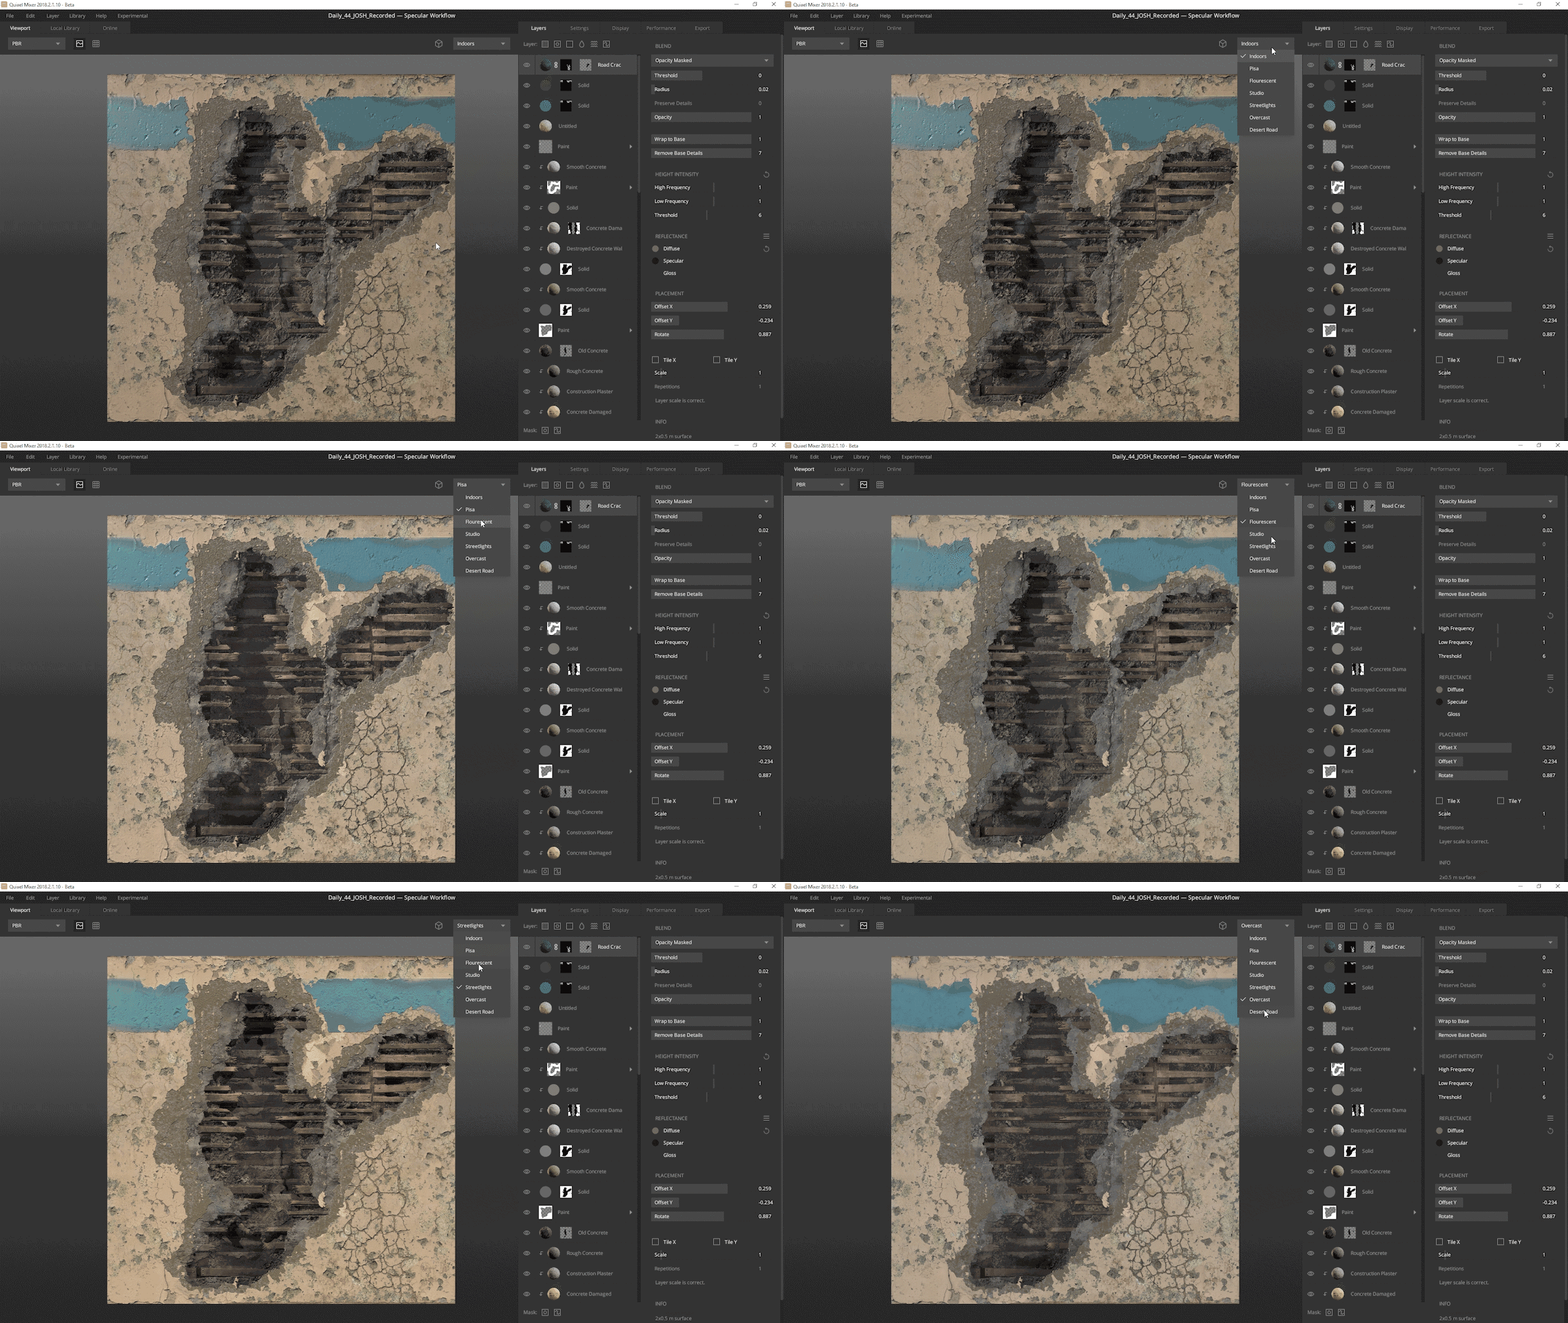
We’re introducing a range of HDRIs to Mixer that cover a selection of high-quality lighting conditions. All the HDRIs have also had their main light source aligned. These include: Indoors, Fluorescent, Street Lights, Overcast, and Desert Road.
Match Color to Base
No more fiddling around in the Color Picker to find the correct reflectance values. Simply ‘MMB-Click’ the color swatch to match the current layer to the average color of the Mix. It’s really that simple!
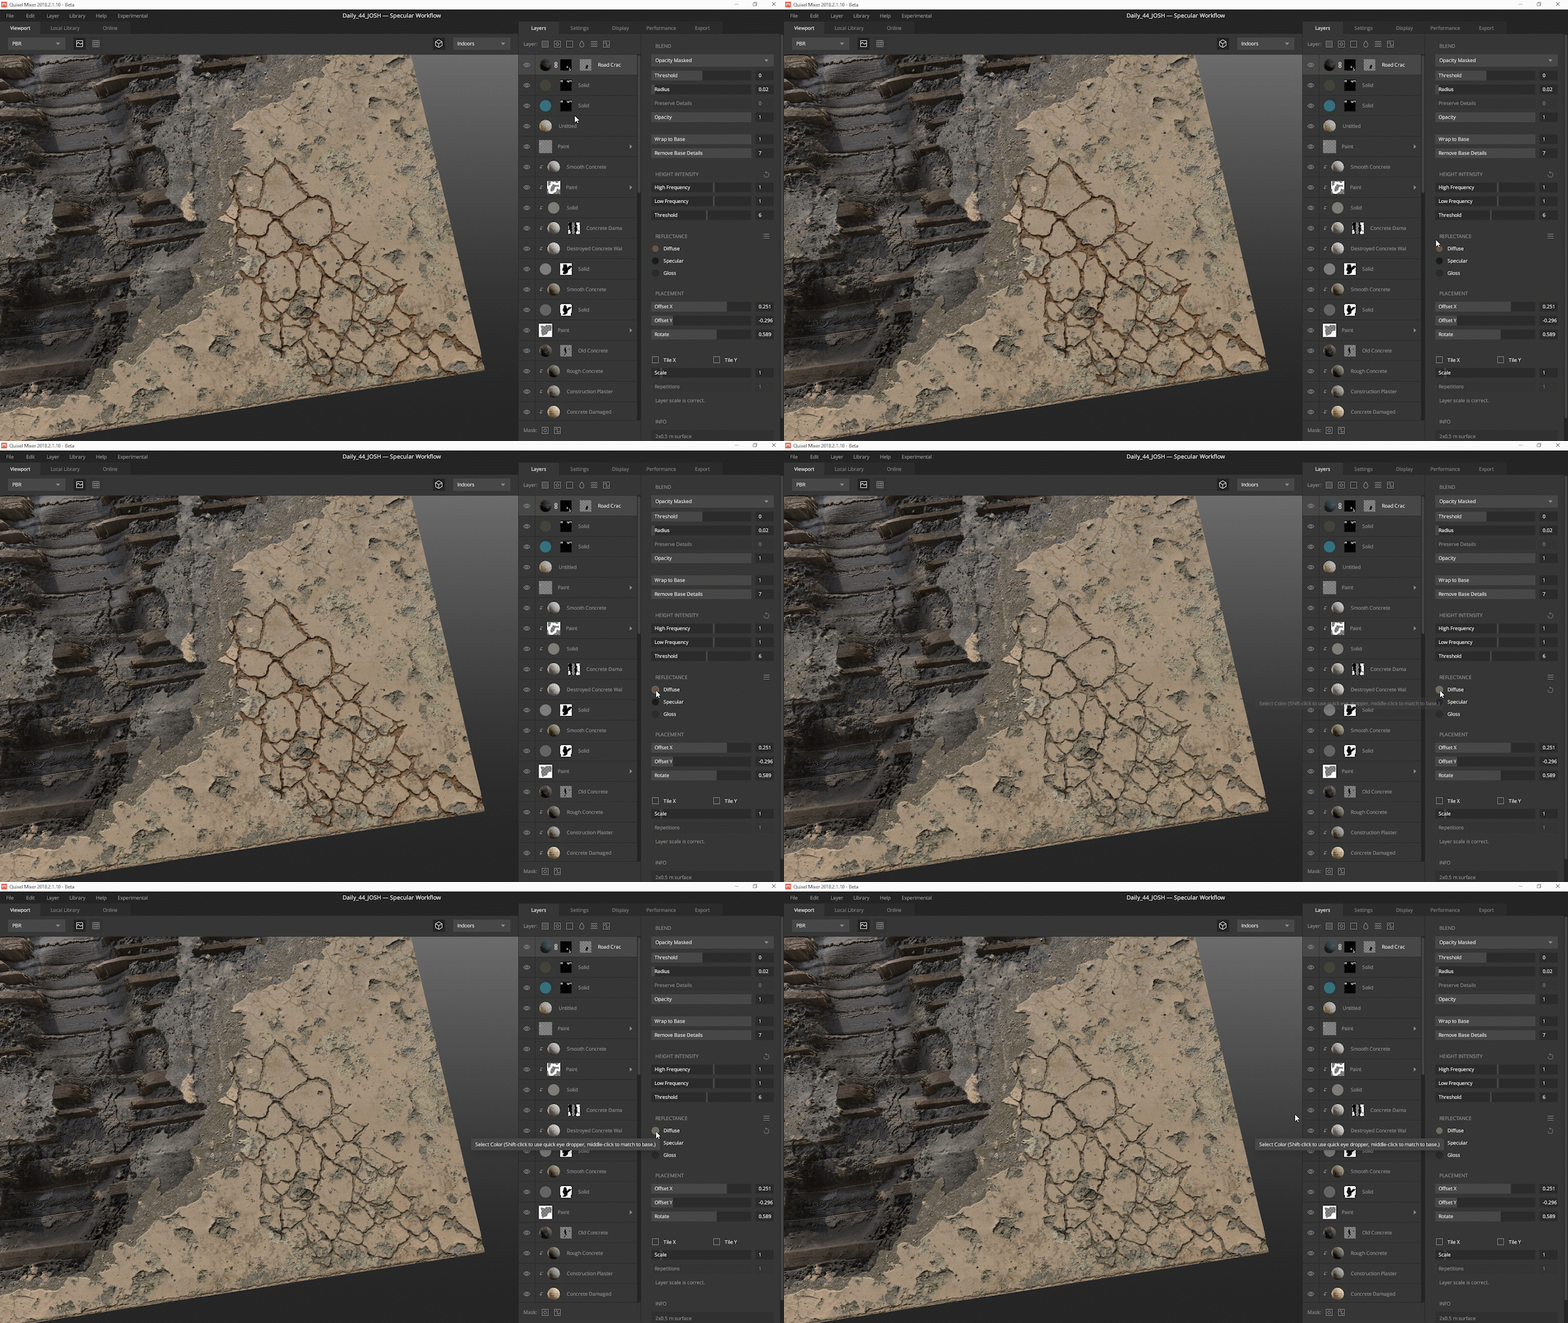
For ‘Alt-Linked’ layers, the current layer will be matched to the average color of its parent layer.
Major Mixing Performance Boost
The speed and quality of blending and mixing have been greatly improved — with even more improvements on the way. Mixing layers high up in the stack will now be buttery-smooth, even with many layers in the stack.
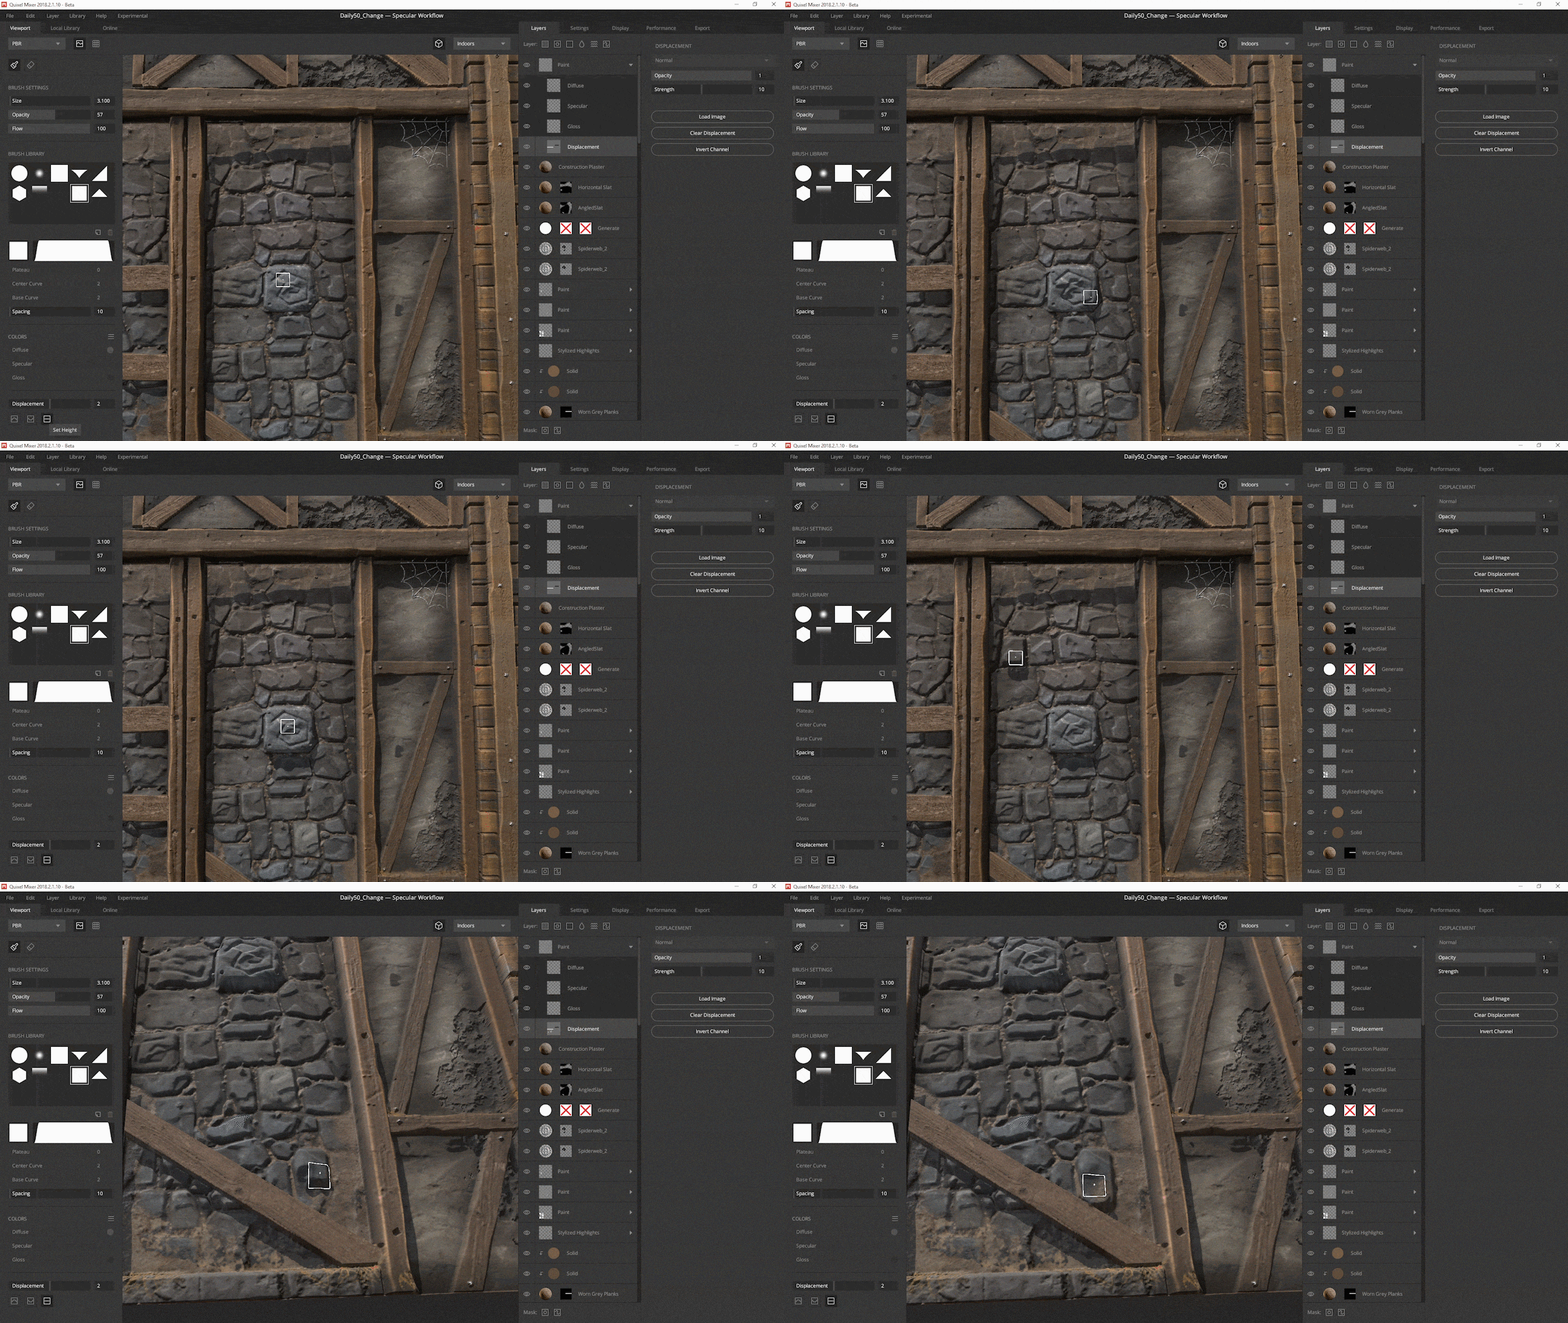
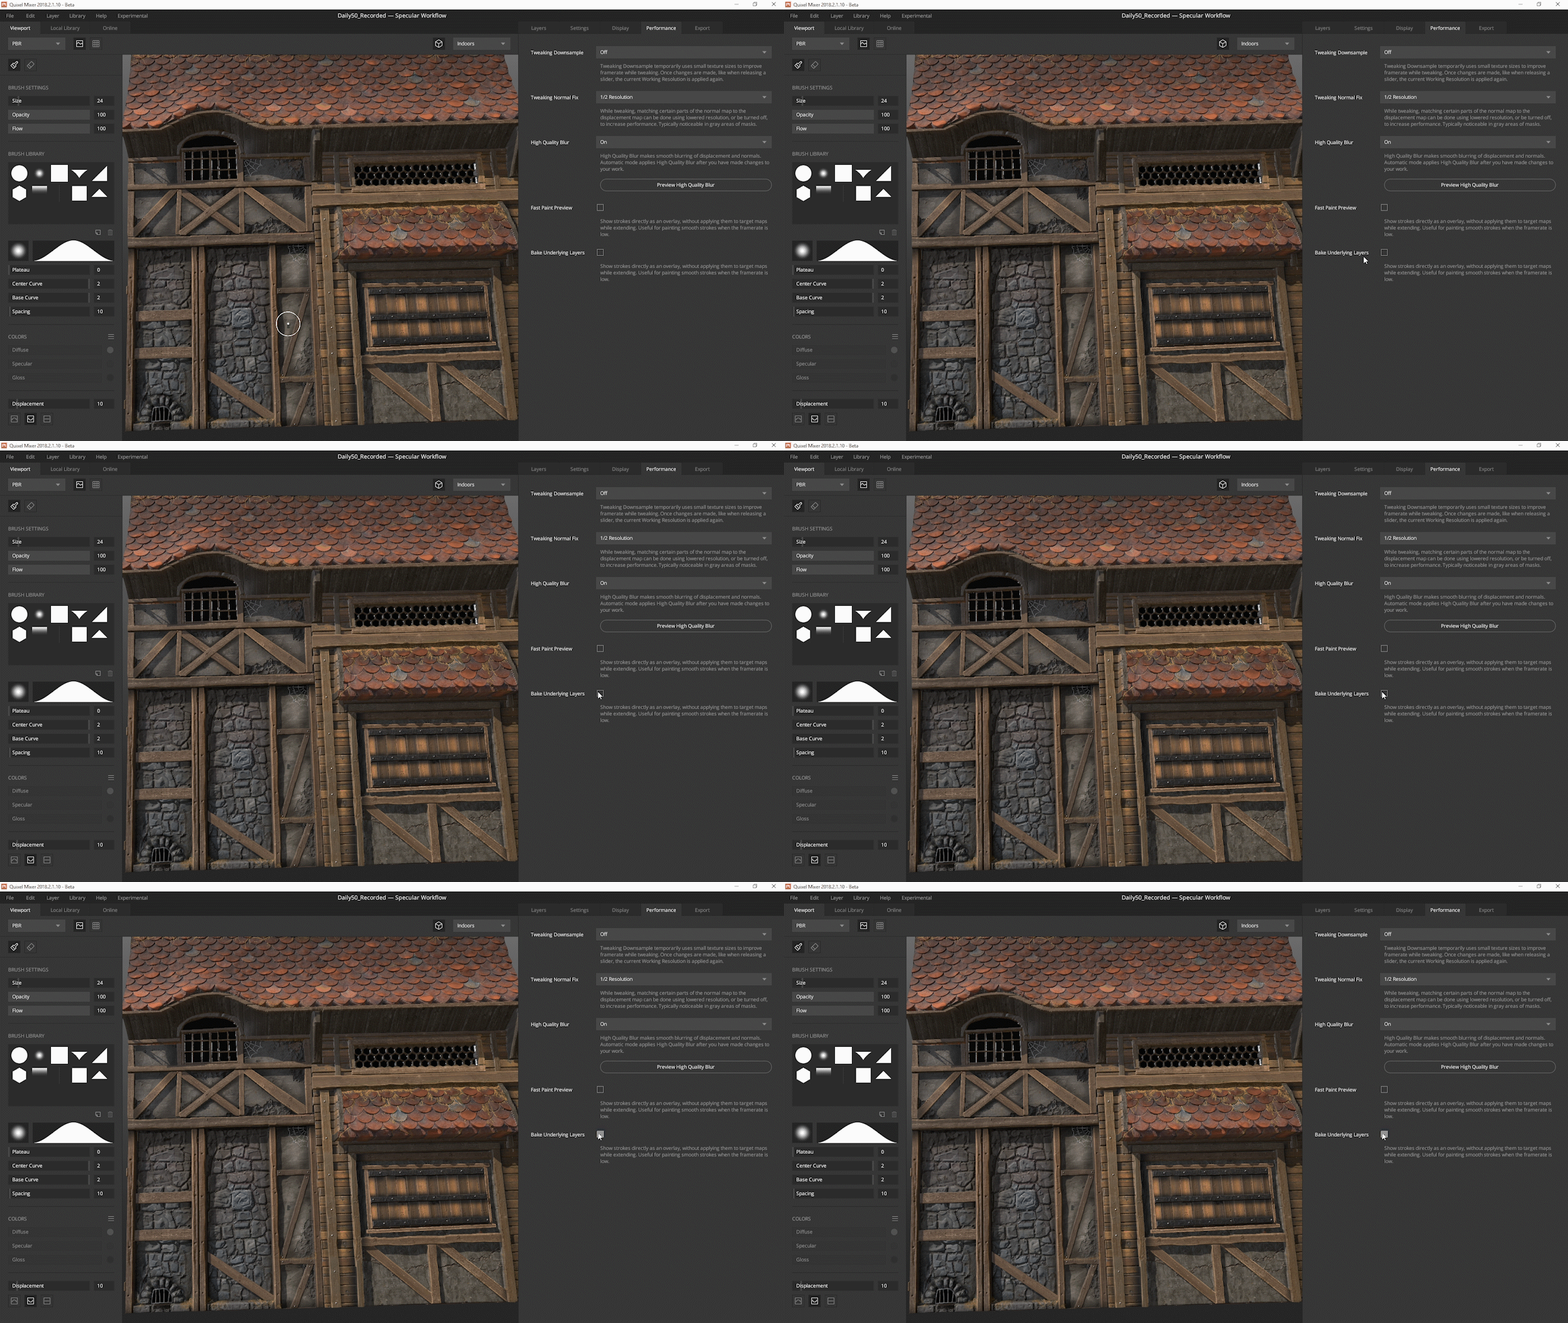
This optimization is enabled by default but can be turned off by unchecking ‘Bake Underlying Layers’ in the performance tab.
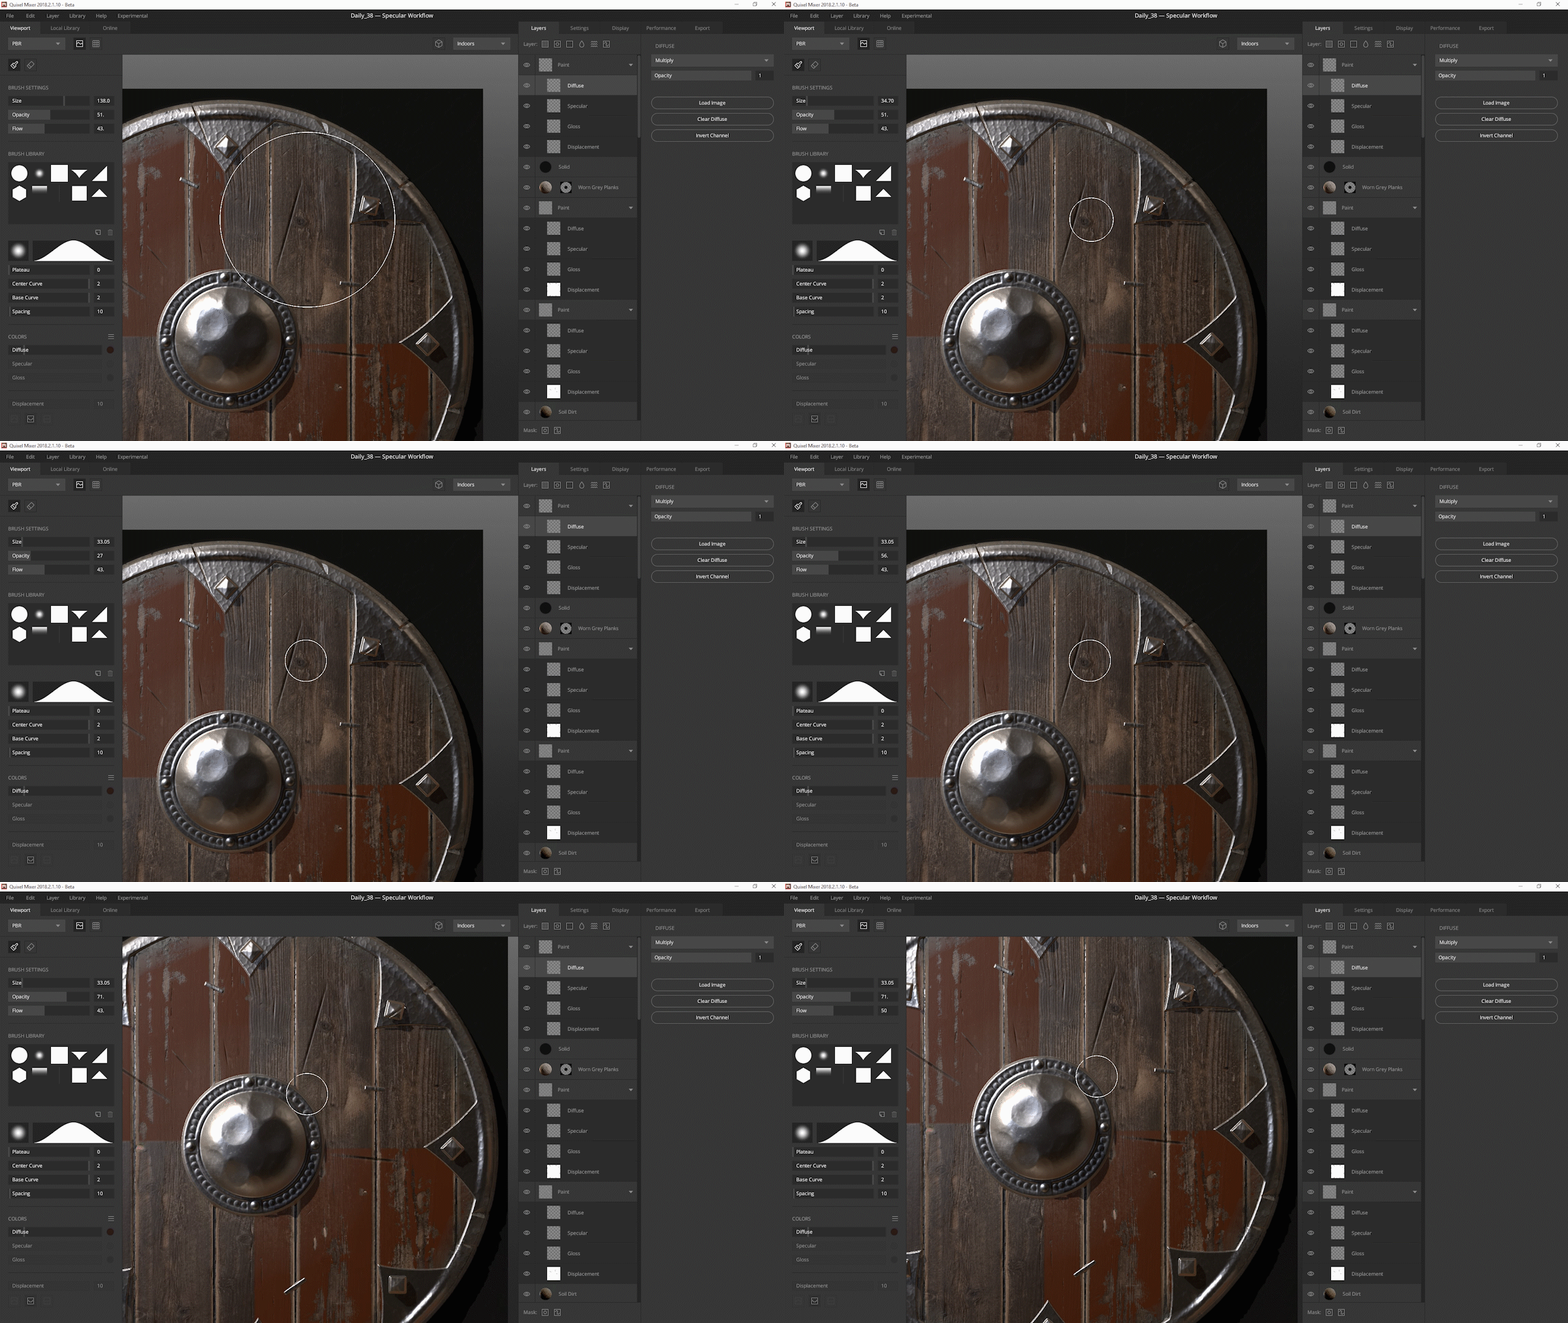
And try out the new hotkeys for improved performance!
New Brushes Added
We’ve expanded the stock brush library with several new brushes. These include: Arrow, Diagonal Square, Hexagon, Linear Gradient, Soft Square, and Triangle.
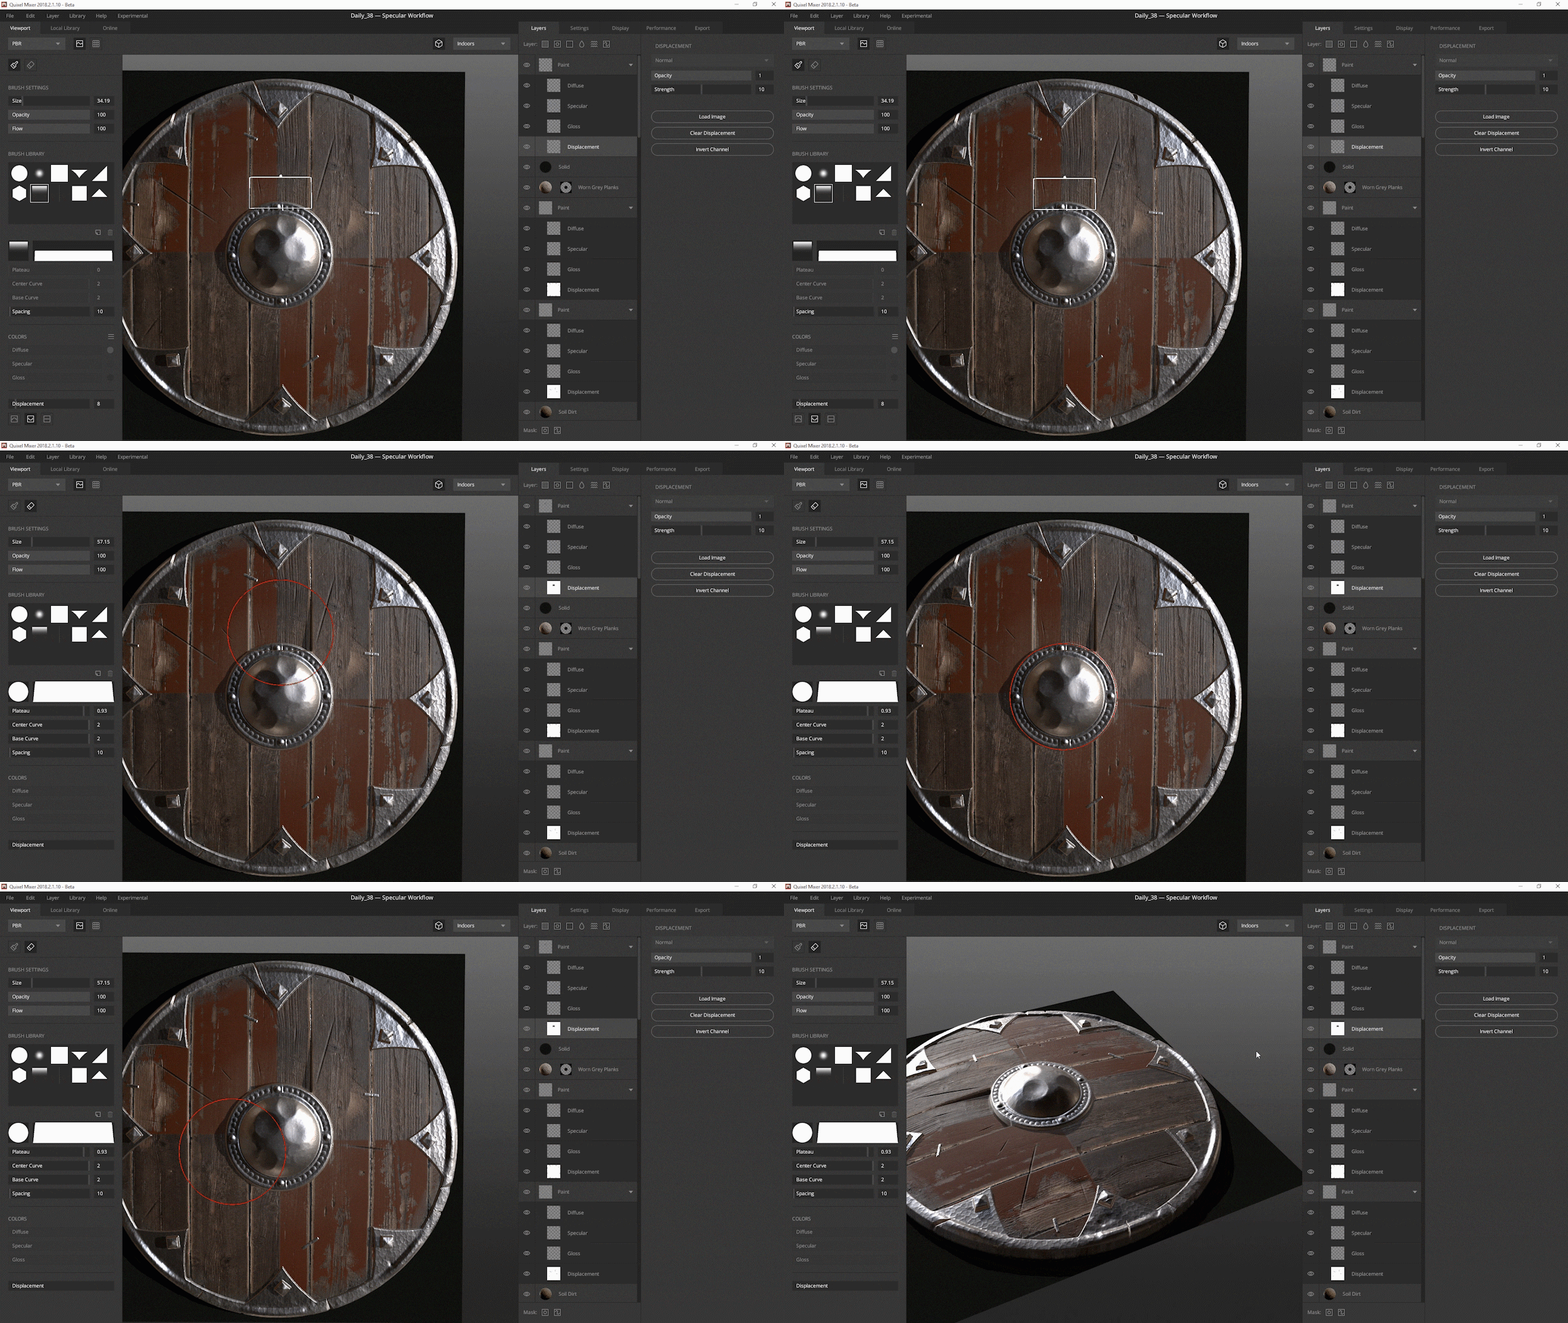
The brush library can easily, and at any time, be expanded either by downloading Megascans brushes from the Online Library, or by adding your own custom brushes with the click of a button.
Quick-Export Added
Using the new ‘CTRL+Shift+E’ hotkey allows you to quickly export your Mix with the current export settings specified in the exporter.
Sign up for a subscription (or start your free trial) to get your hands on Quixel Mixer!

