Artist Spotlight: Rafael Chies recreates Angkor Wat with Megascans
When Prop and Environment Lookdev artist, Rafael Chies, shared this rich scene using Megascans, we just had to know how Quixel textures helped create it. Imagine our surprise when we learned that this gorgeous recreation of a Cambodian temple represented the first time Rafael has used the Megascans Library. It goes to show what all a quality material library can add to a talented artist’s work.
Rafael used Megascans for most of the vegetation and for the soil. “I simply loved it and totally recommend it to everyone,” he said. We were lucky enough to speak with him about how he went about creating this piece.
In Rafael’s words:
My name is Rafael Chies. I was born and raised in Brazil, but I live in Florence, Italy.

I’ve been working as a 3D artist for the past 11 years and I’m currently working as a freelance Environment and Lookdev artist.
Q: Where does your inspiration come from?
RC: I love art. Also, I’m really interested in other cultures, religions, histories, and traditions. I love the idea of mixing these facets with fantasy. I can be inspired to make a new piece while watching TV, walking in the streets, playing a game, or even while washing the dishes.
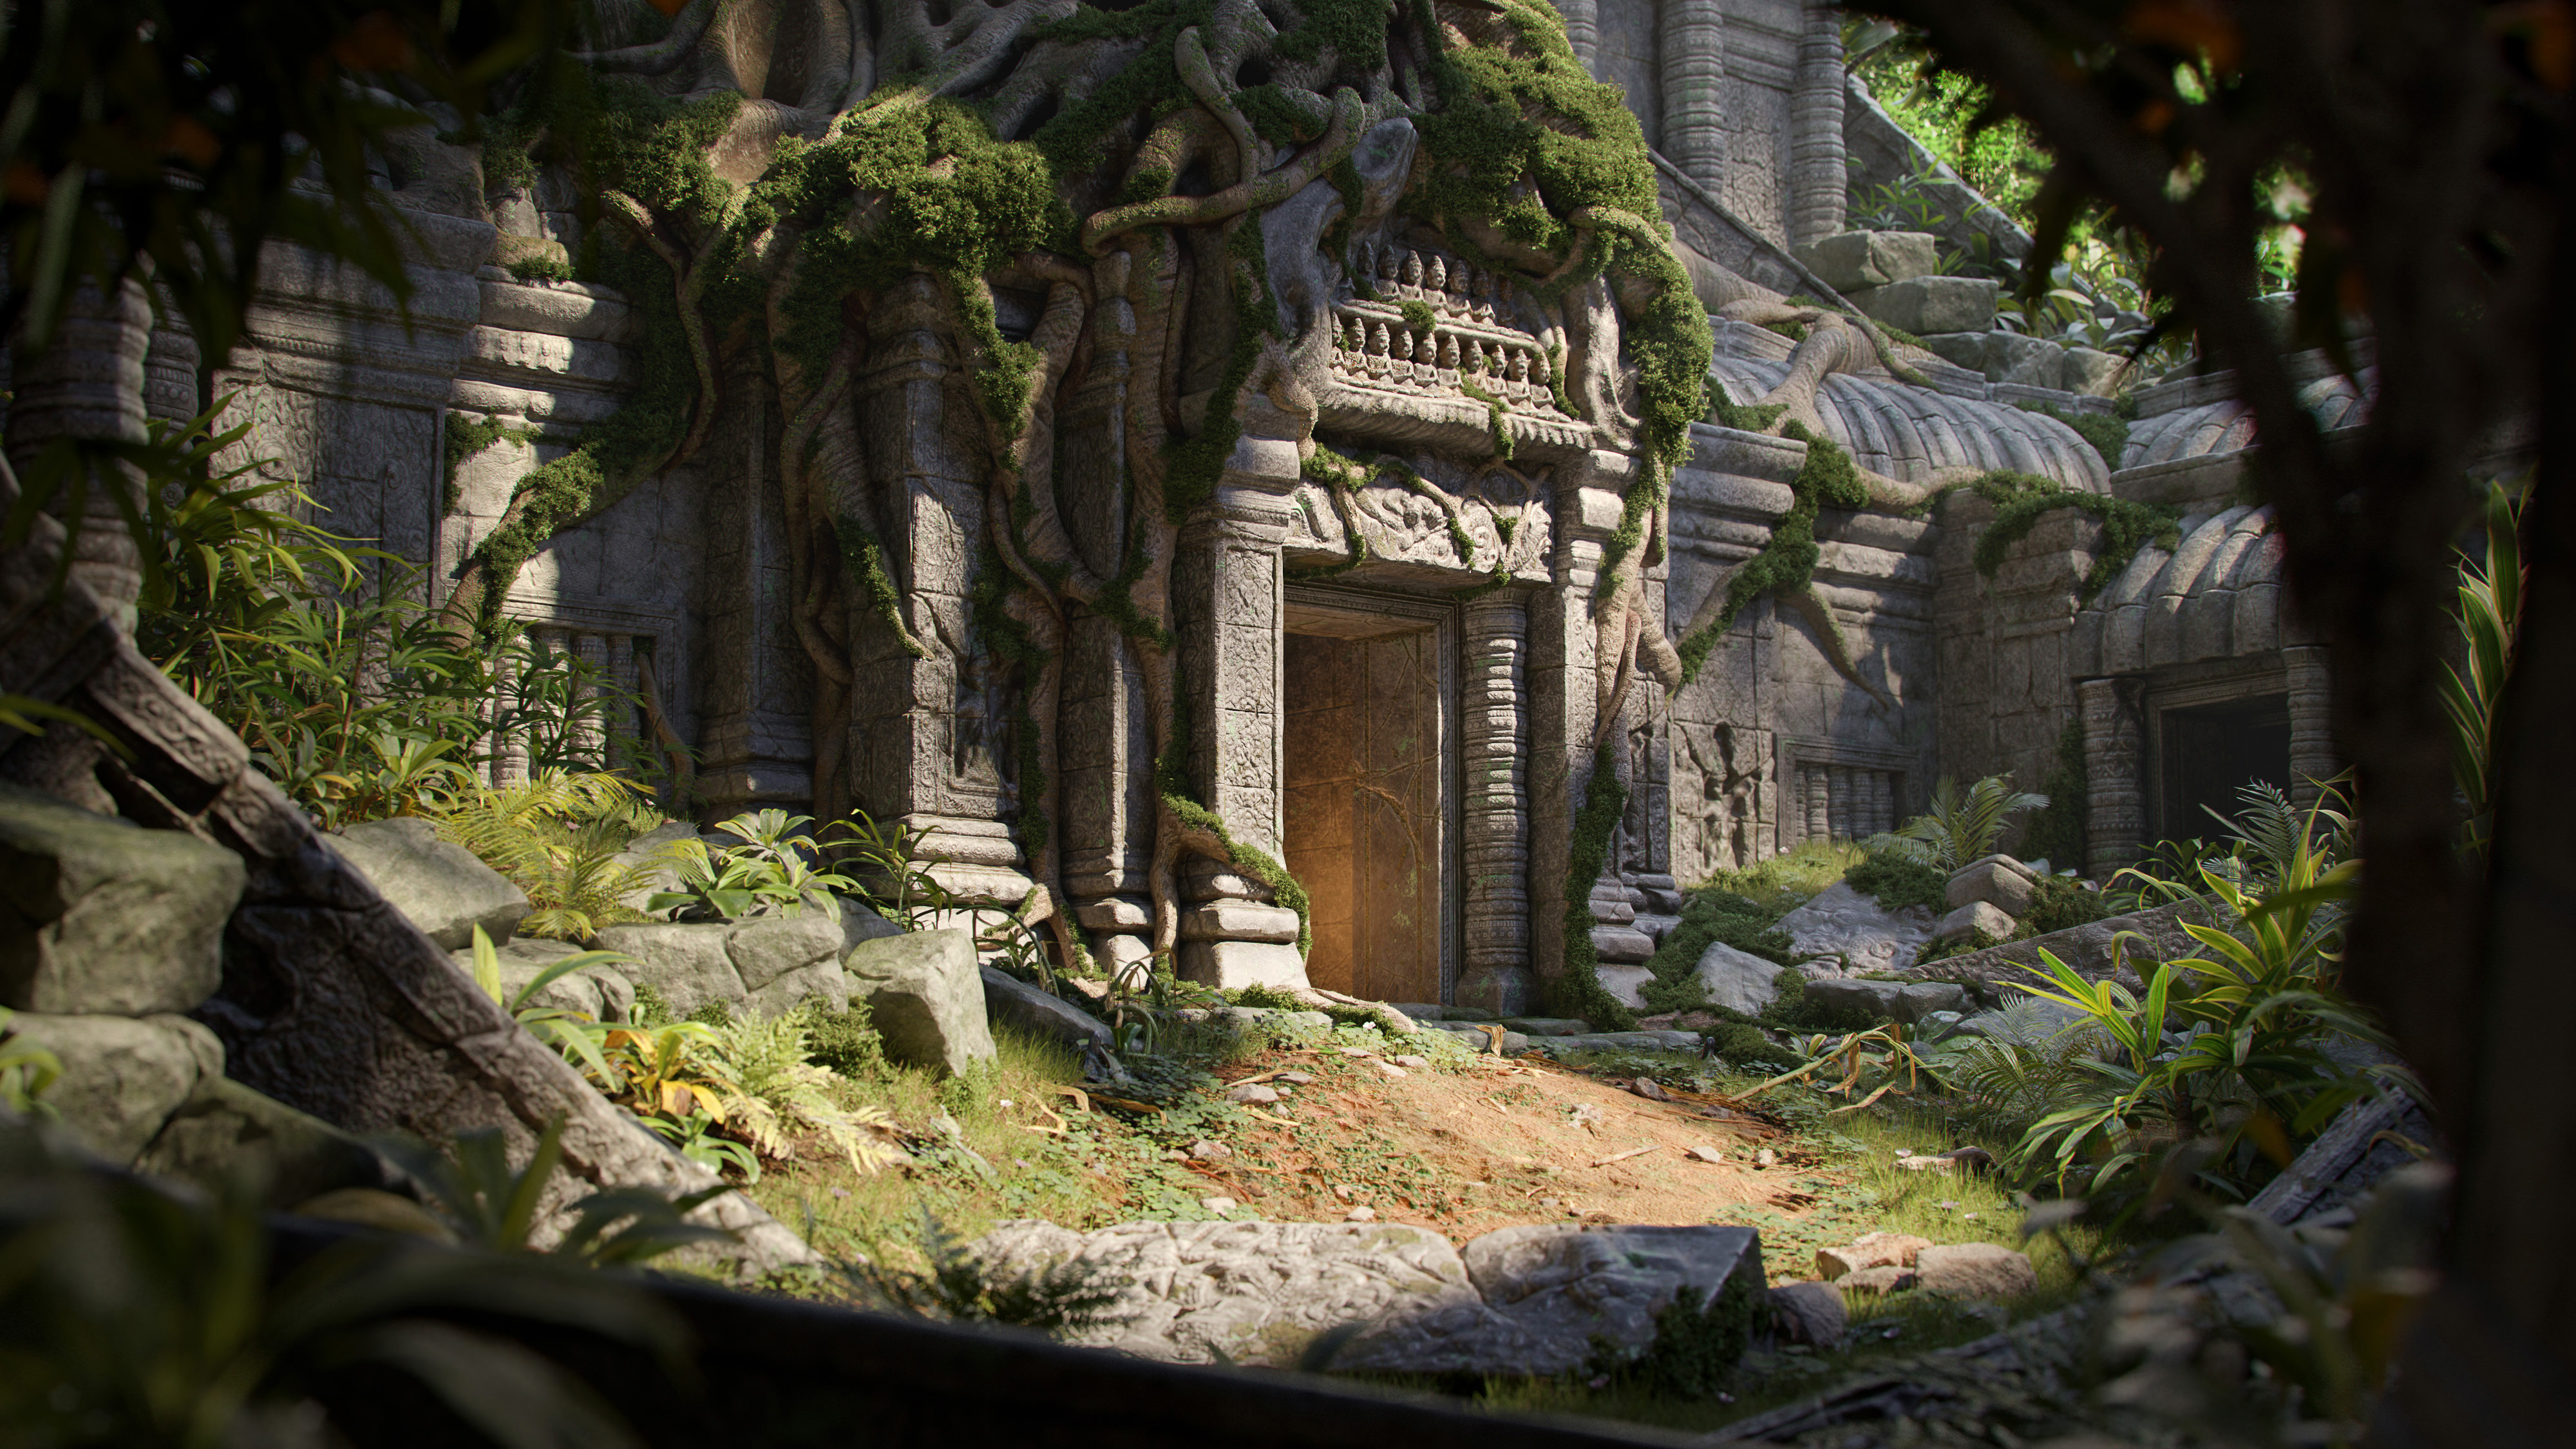
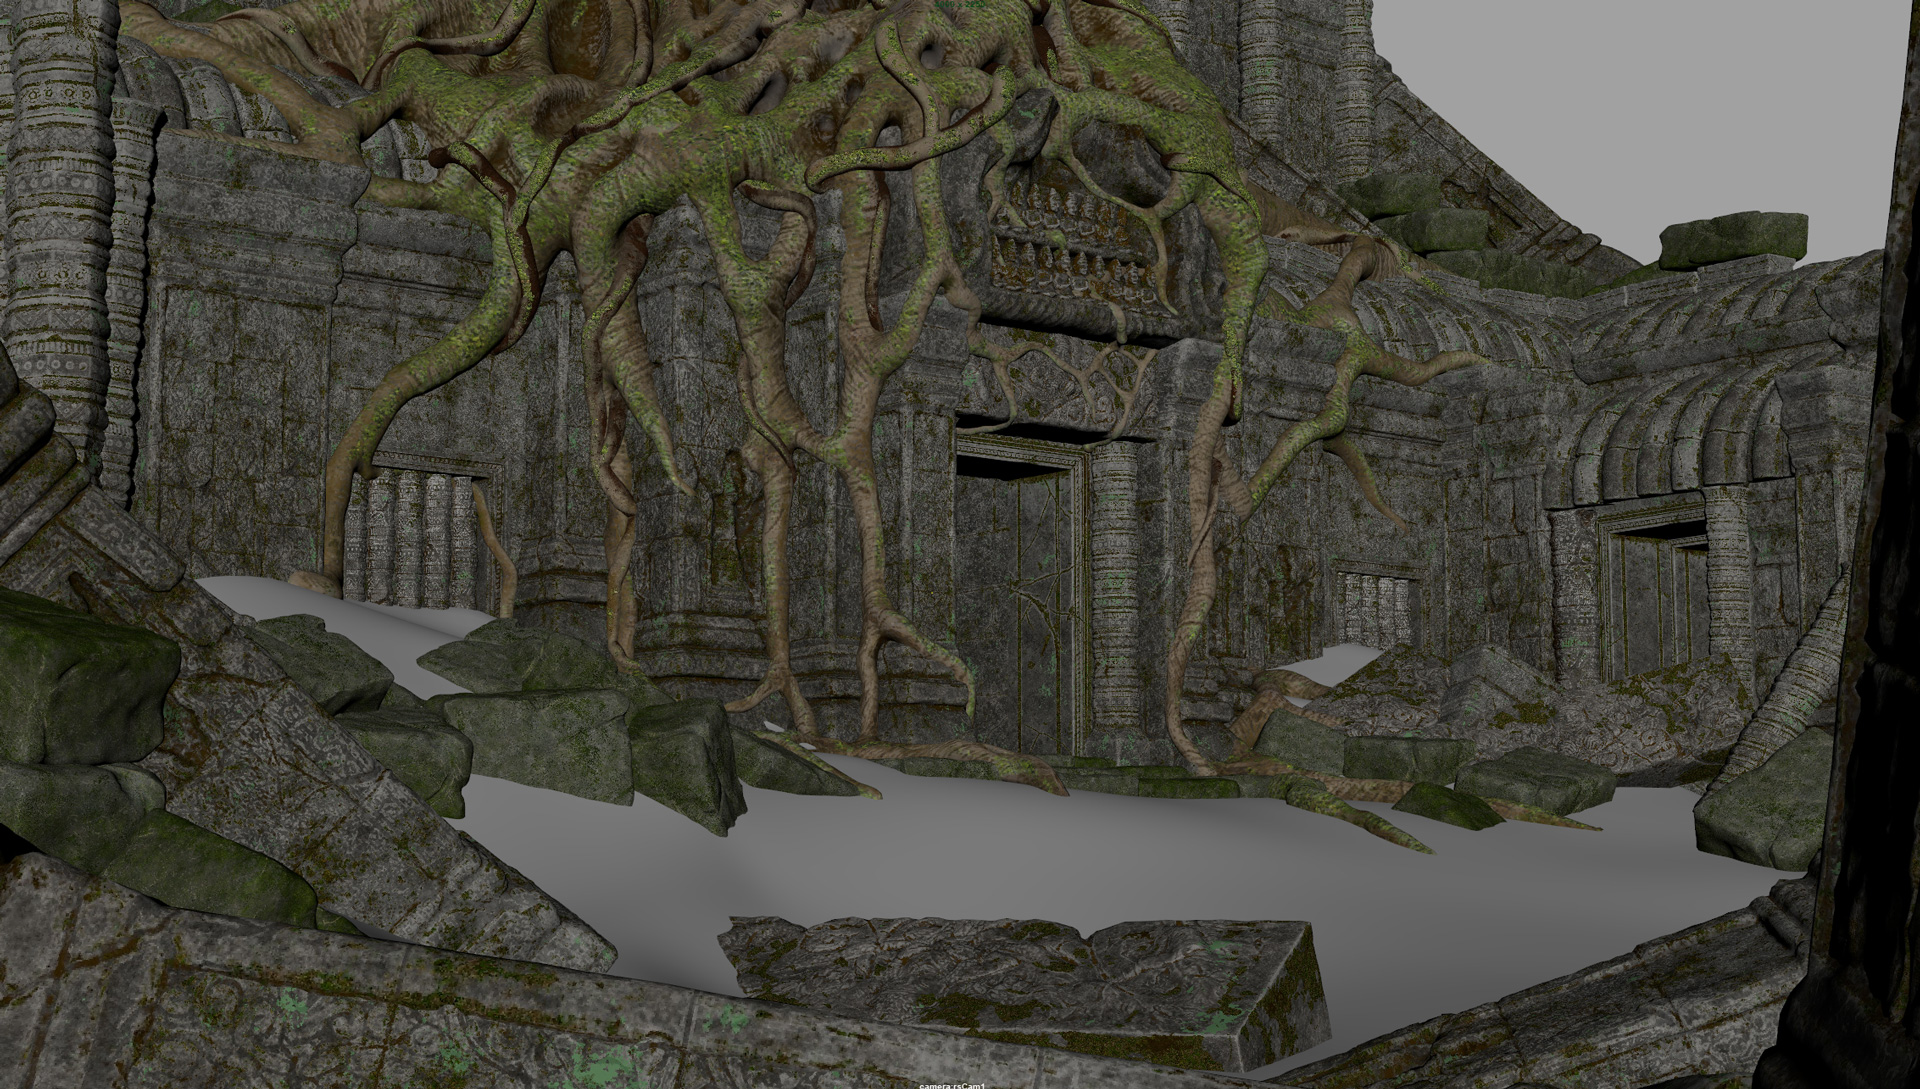
The place I used as a reference for my environment is inspired by the ancient temple of Angkor Wat, a temple in the Siem Reap region of Cambodia. In order to decide what elements I was going to use, I did a quick search to learn more about the nature of Cambodia.
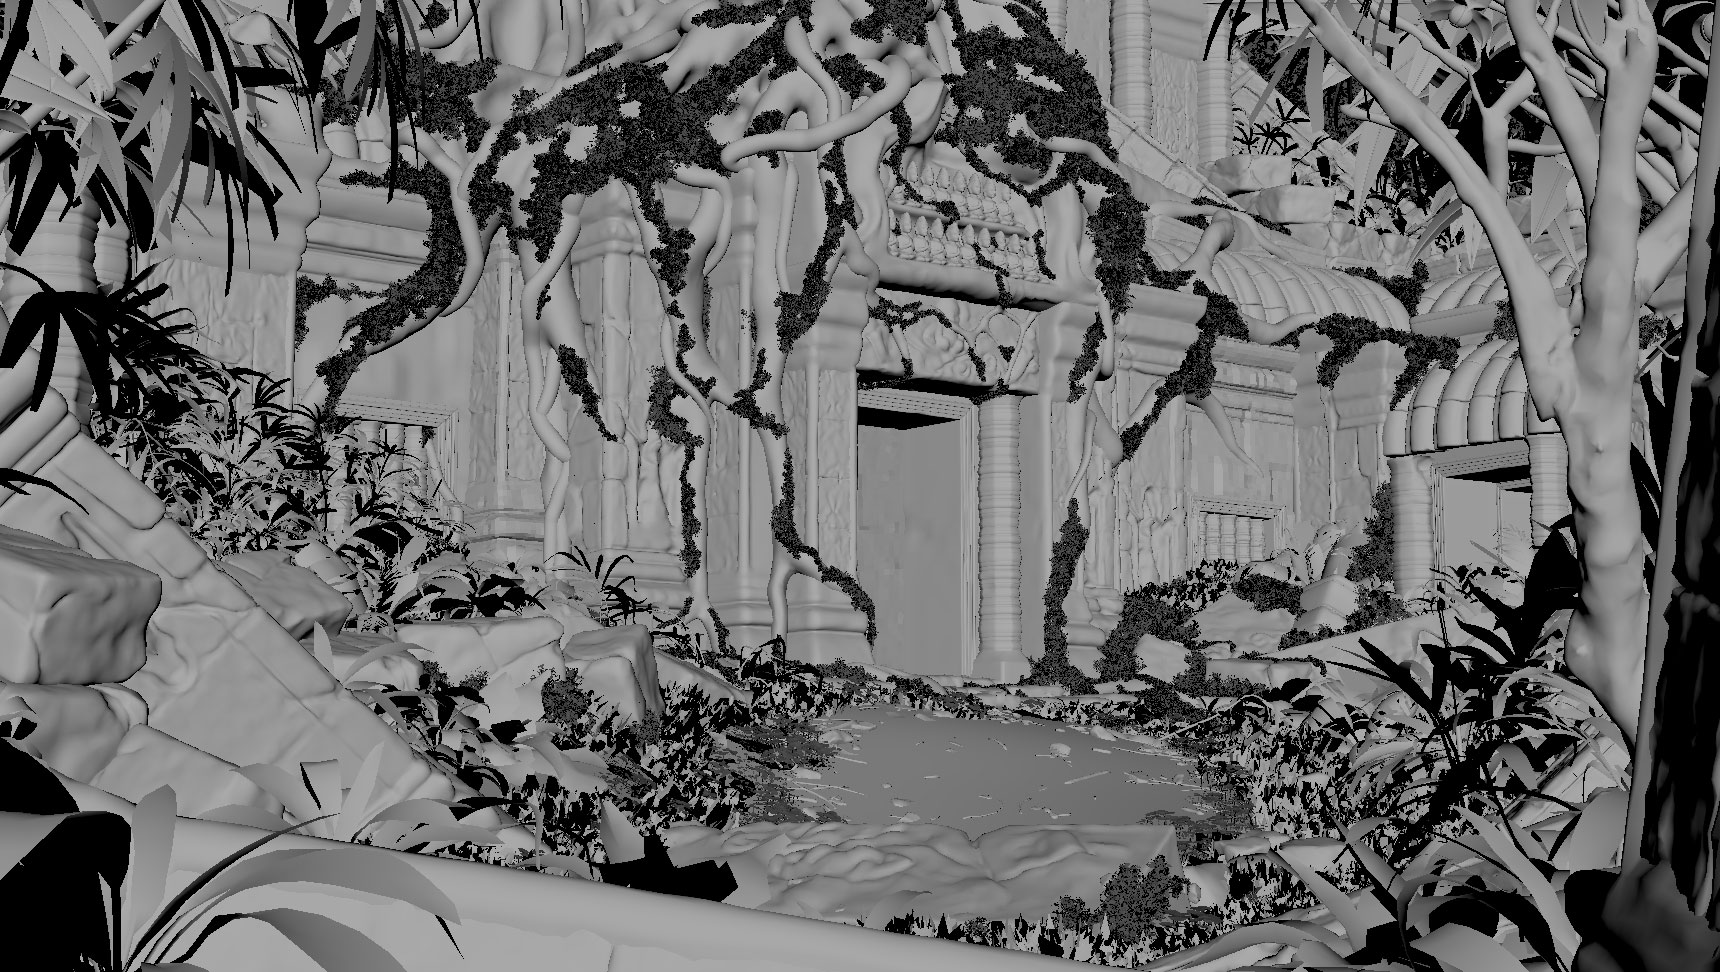
Q: Could you walk us through your process on this environment?
RC: Using Quixel Bridge, I selected all the elements I wanted from the Megascans Library and then sent them to Autodesk Maya with the exporter. It’s a really simple and straight-forward process — it’s literally just one click to have a ready-to-use asset inside Maya, or in your preferred software.
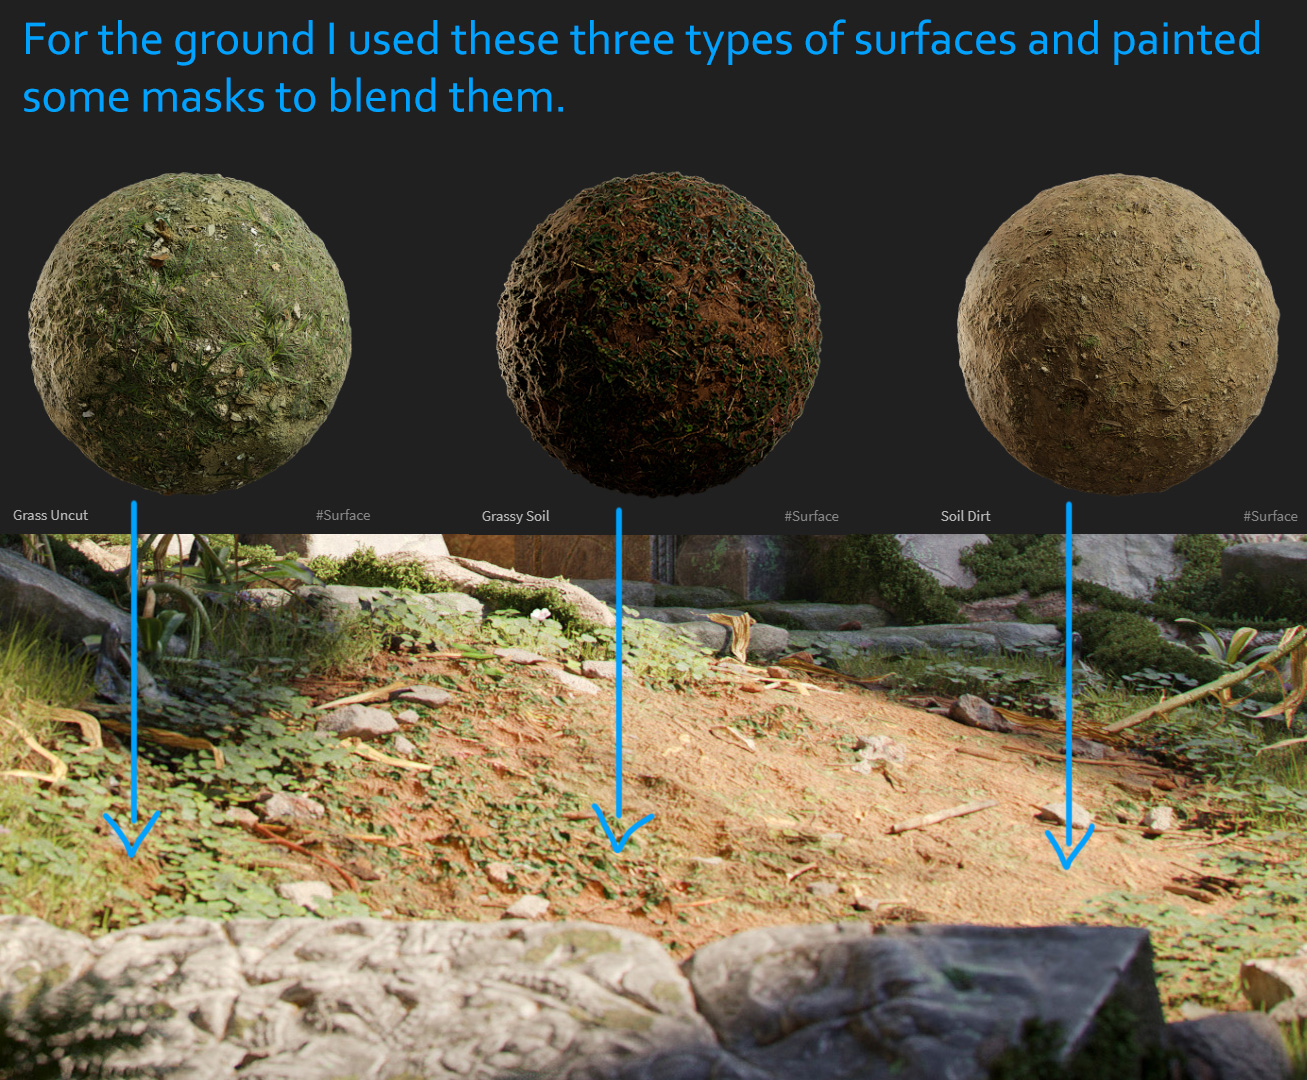
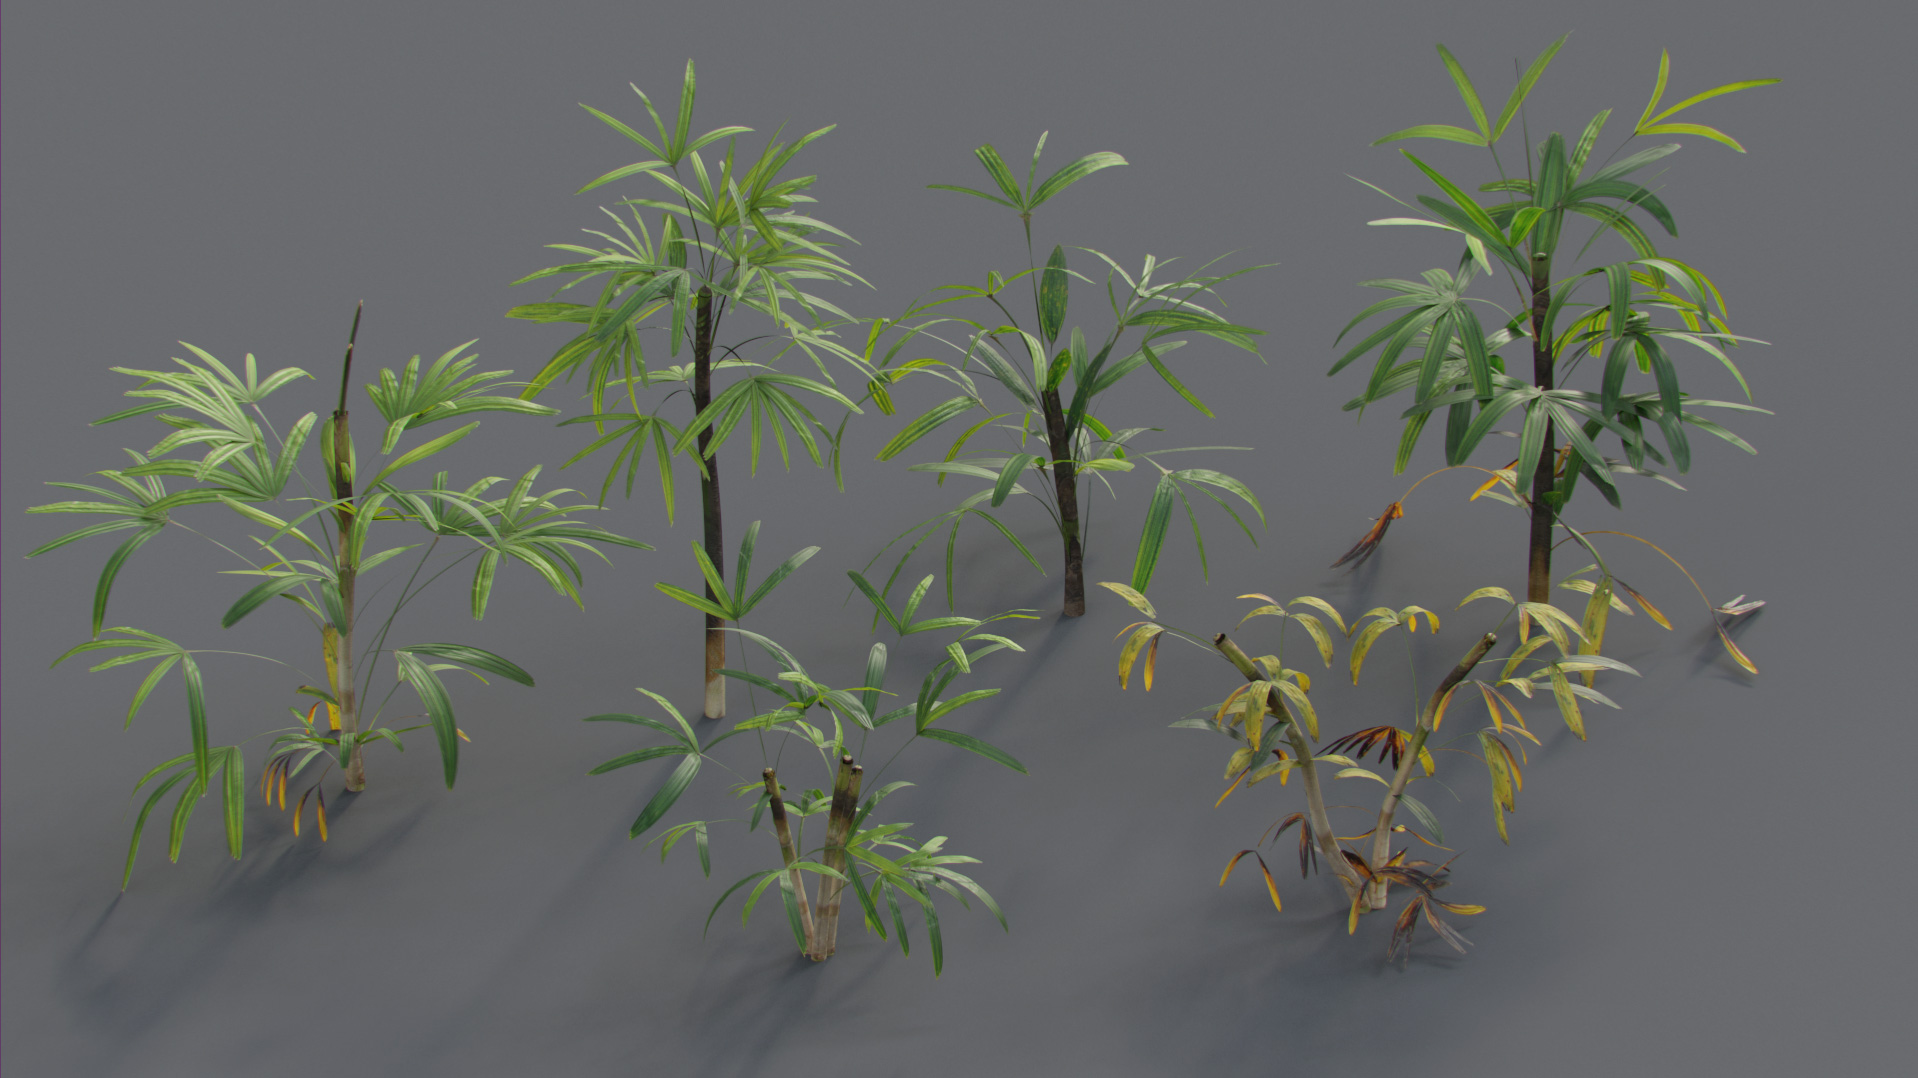
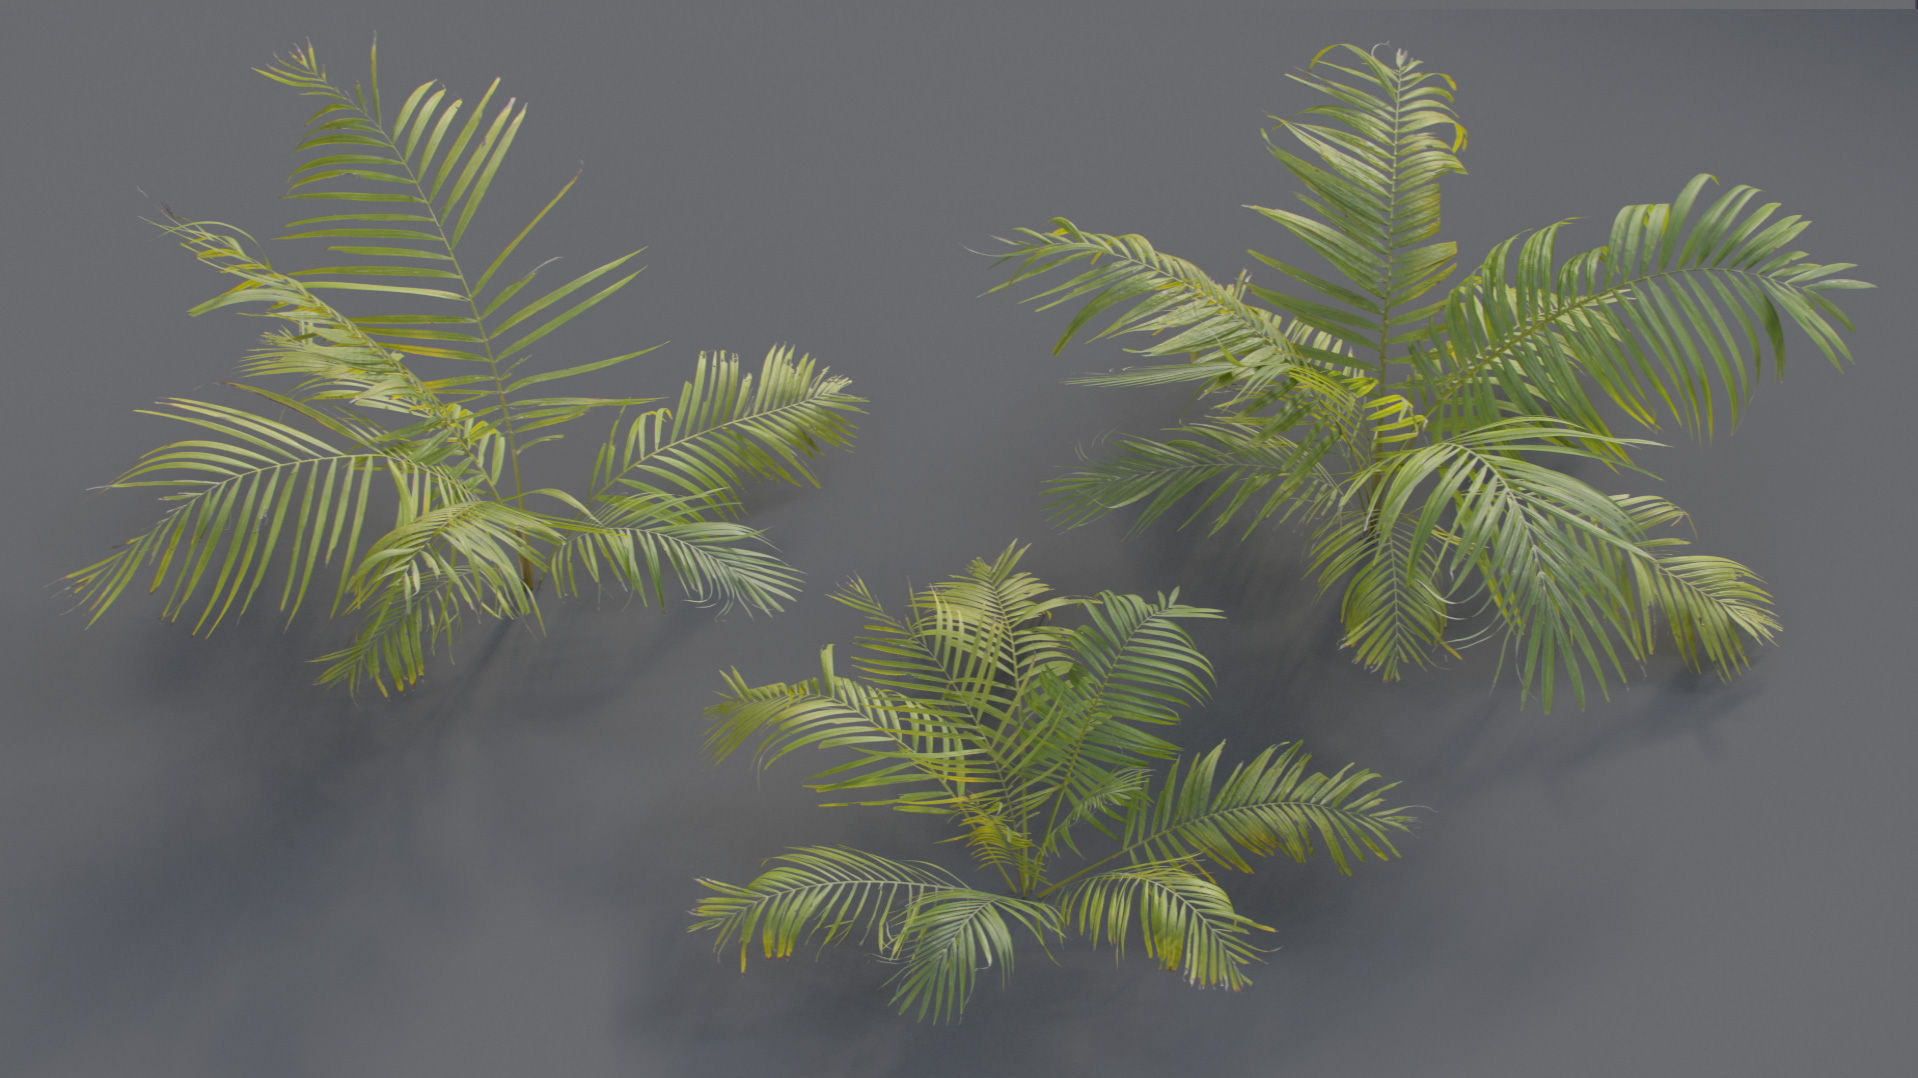
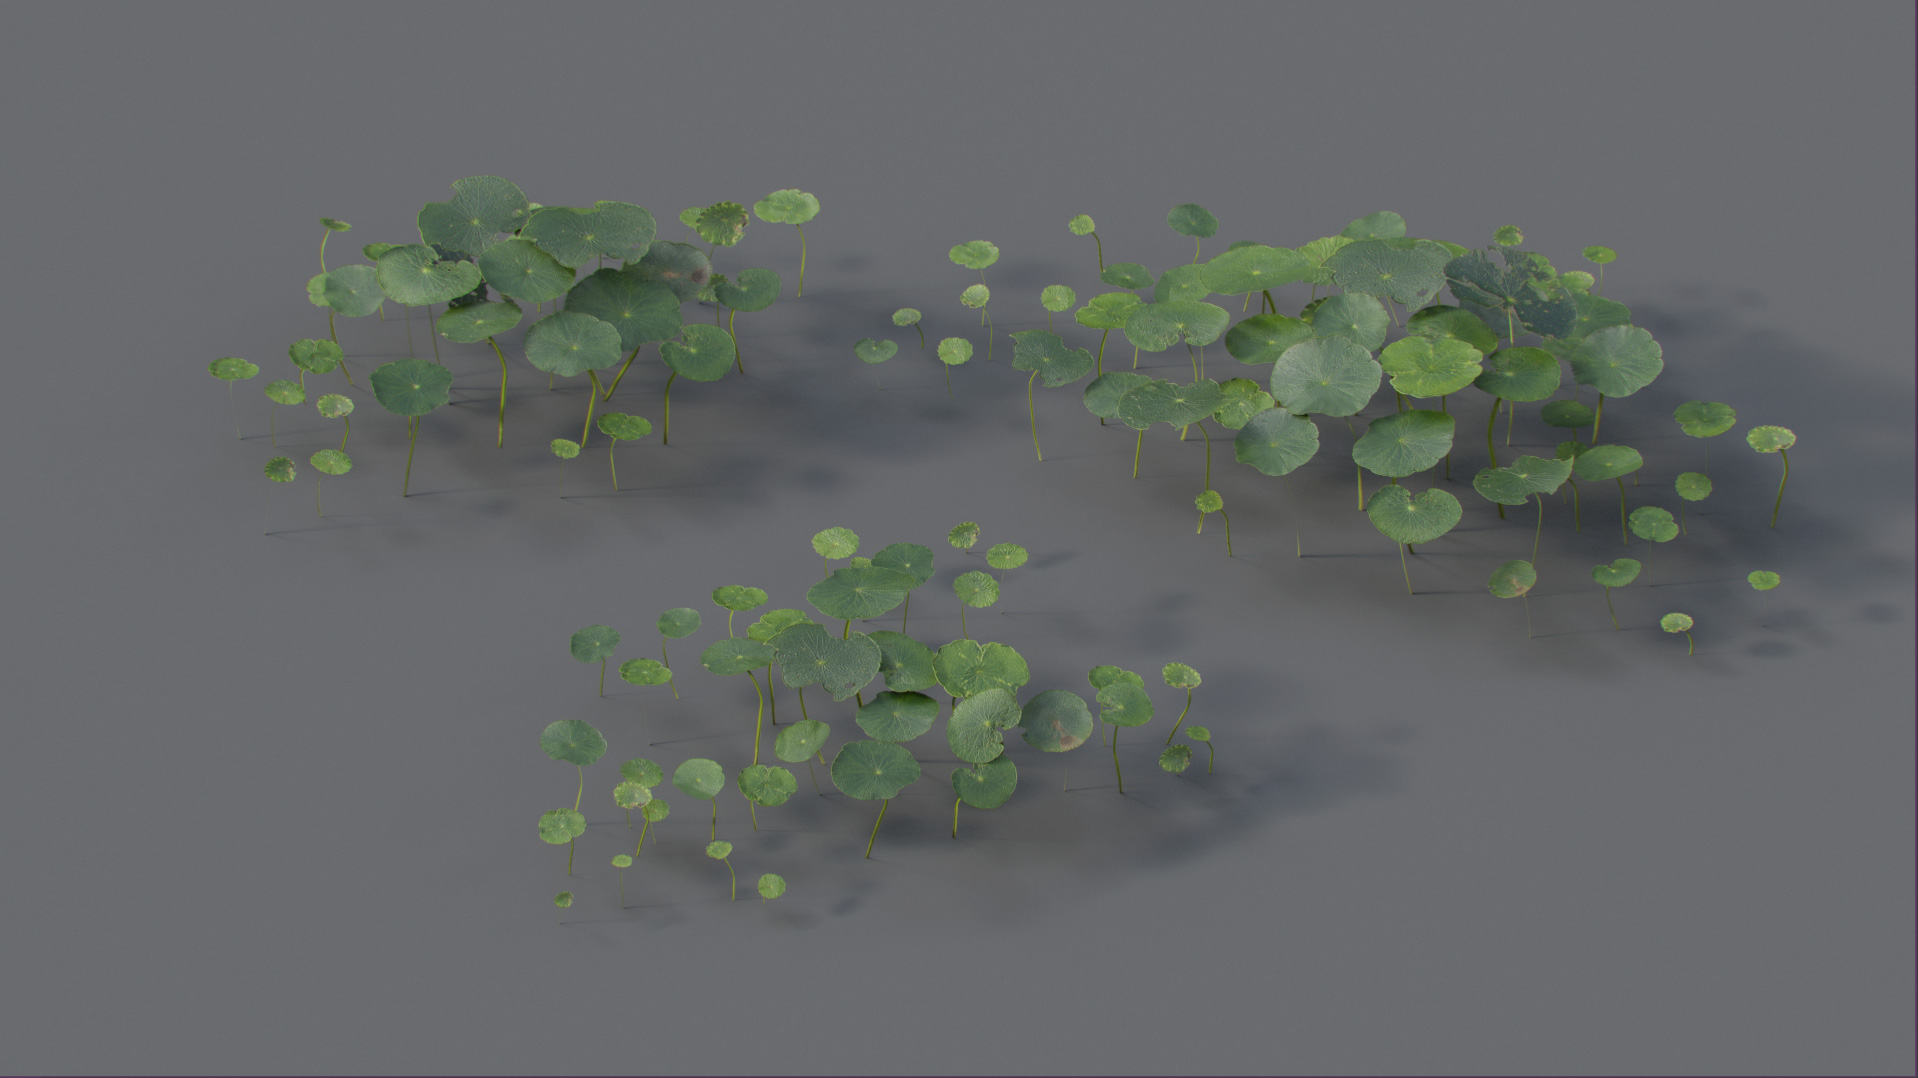
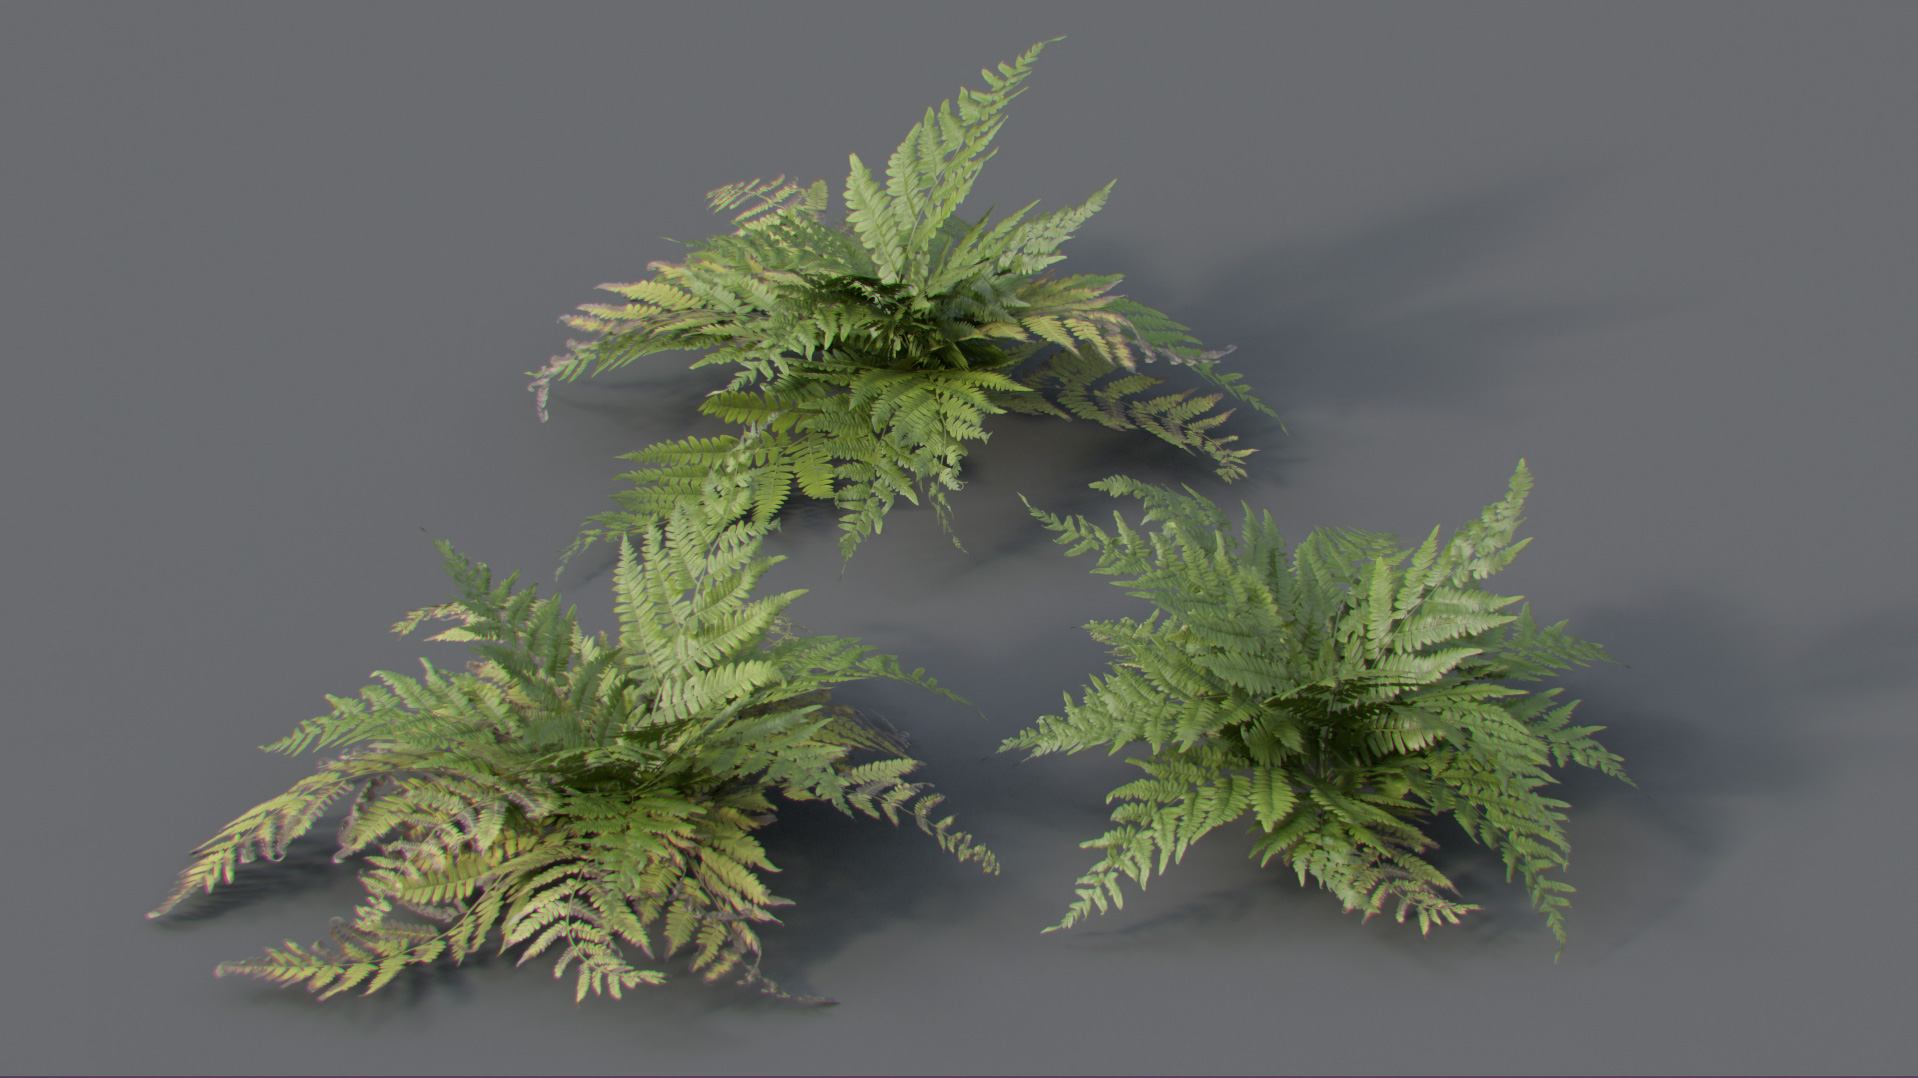
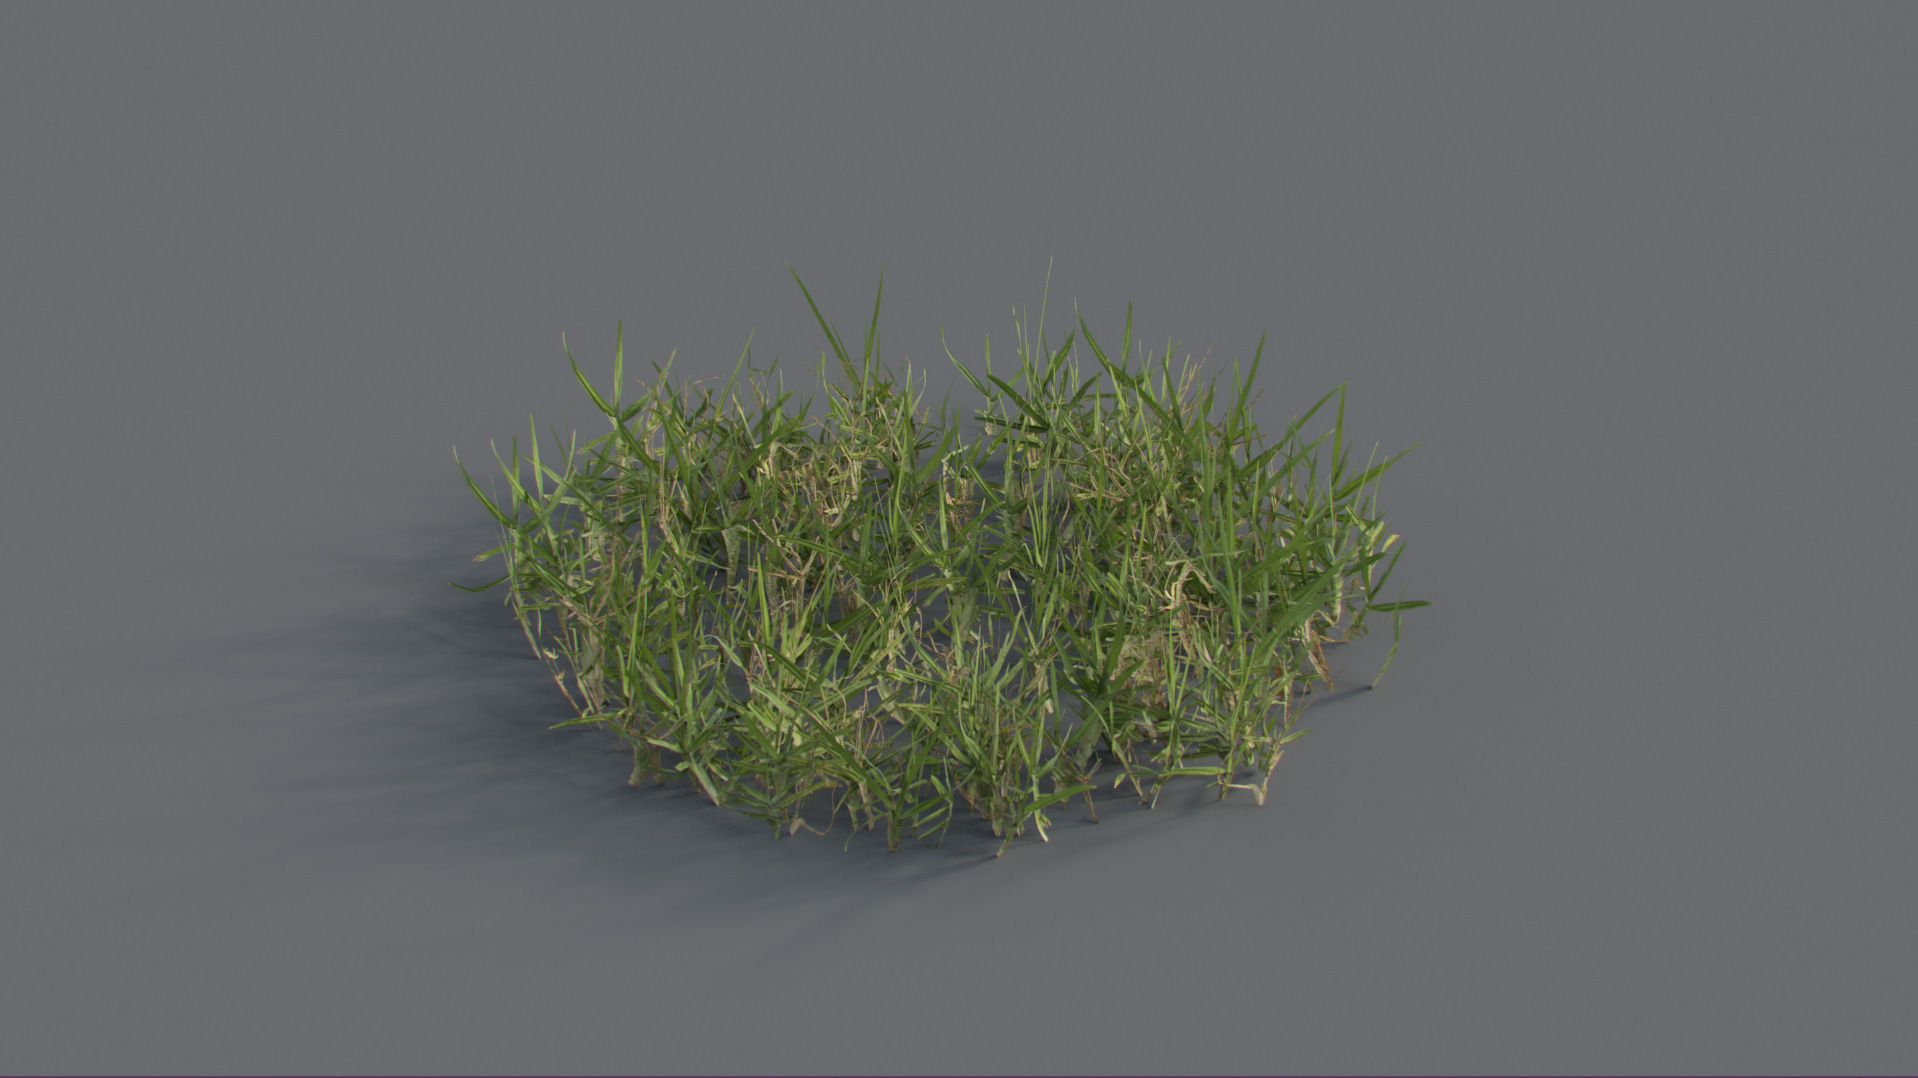
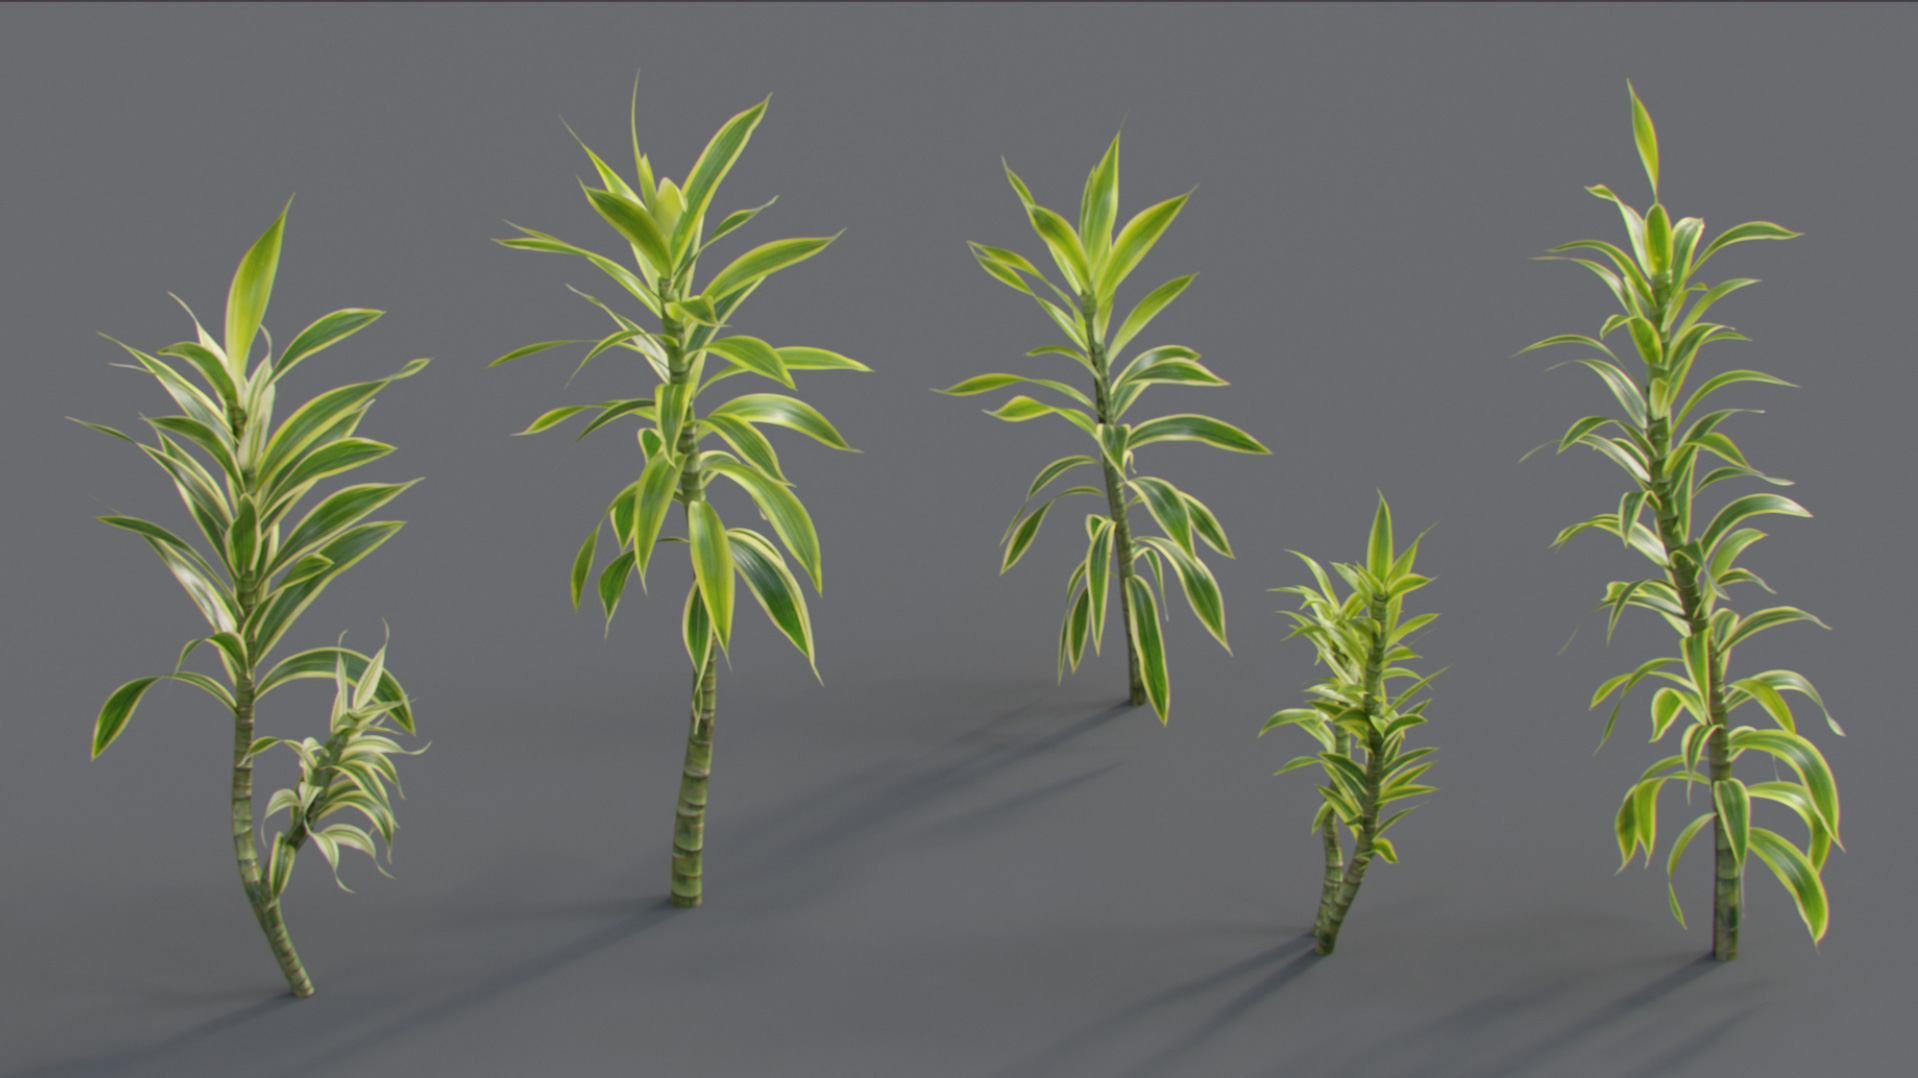
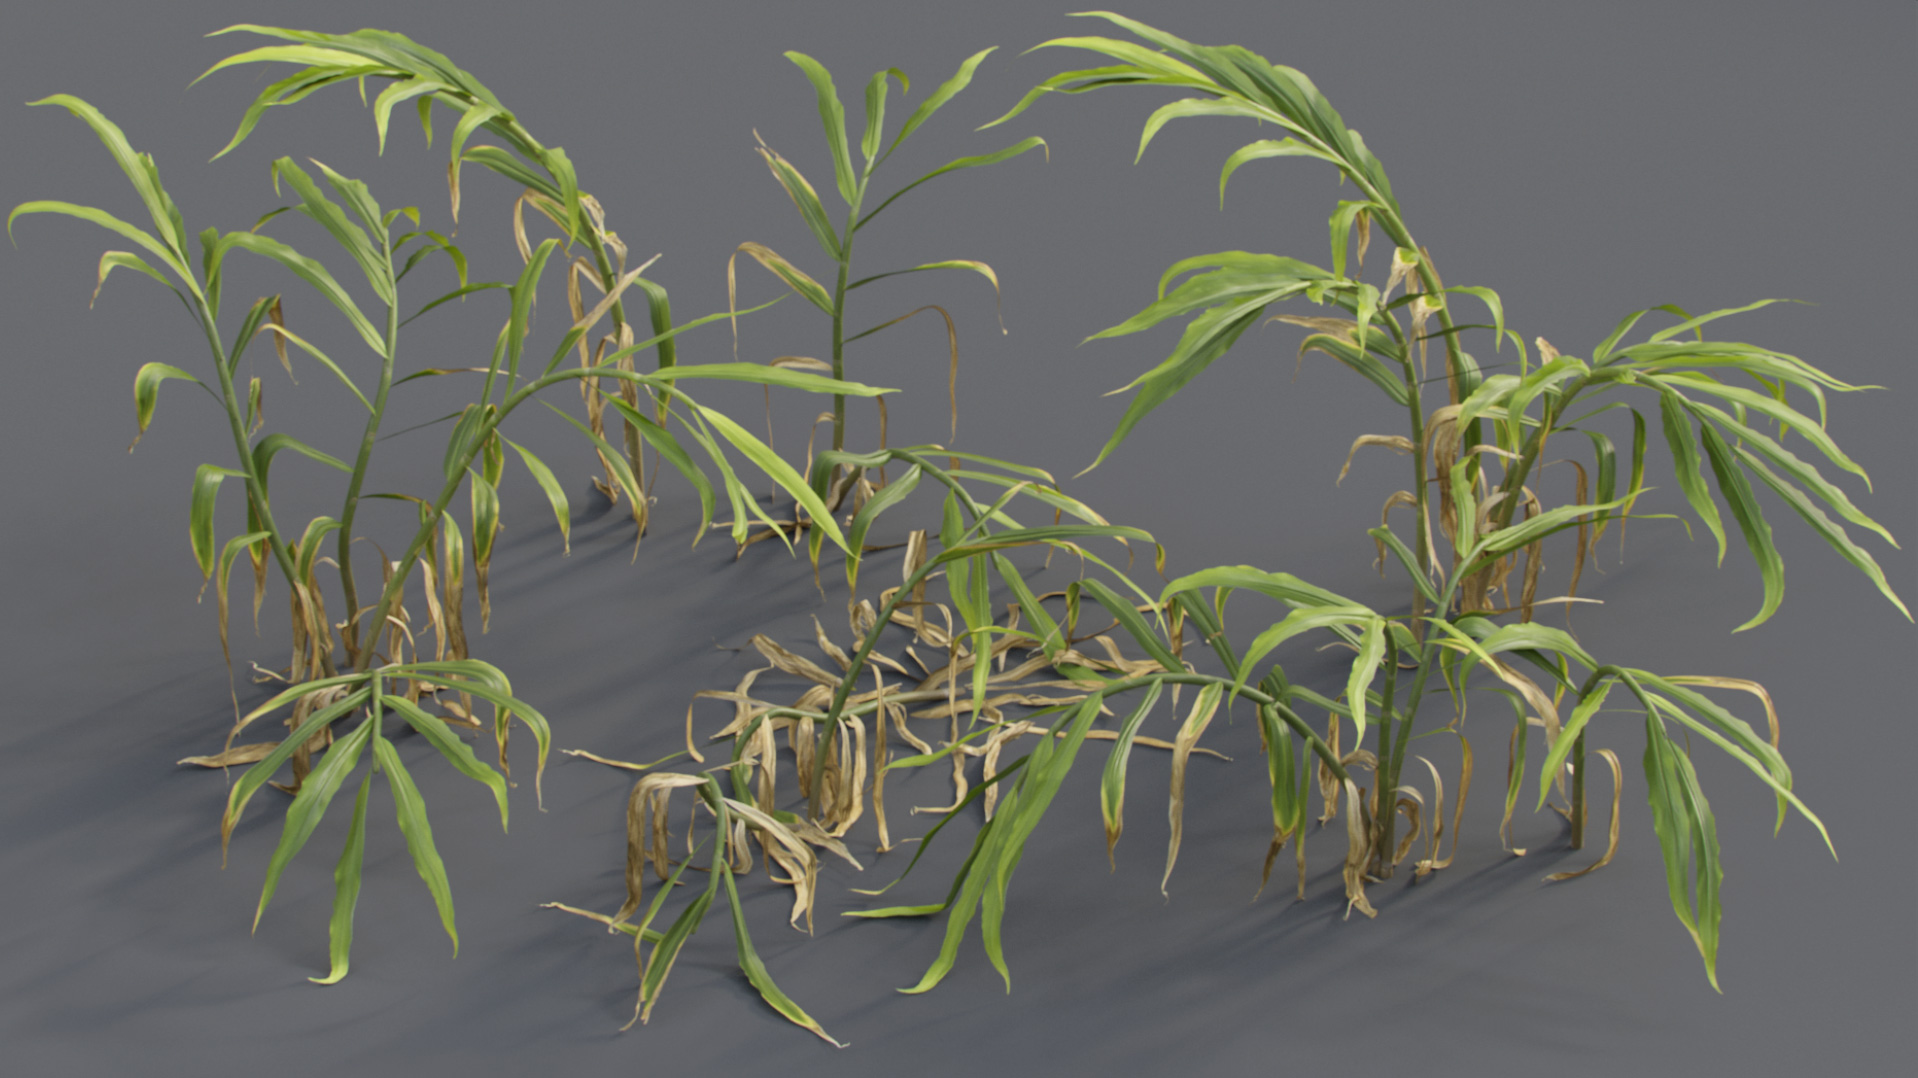
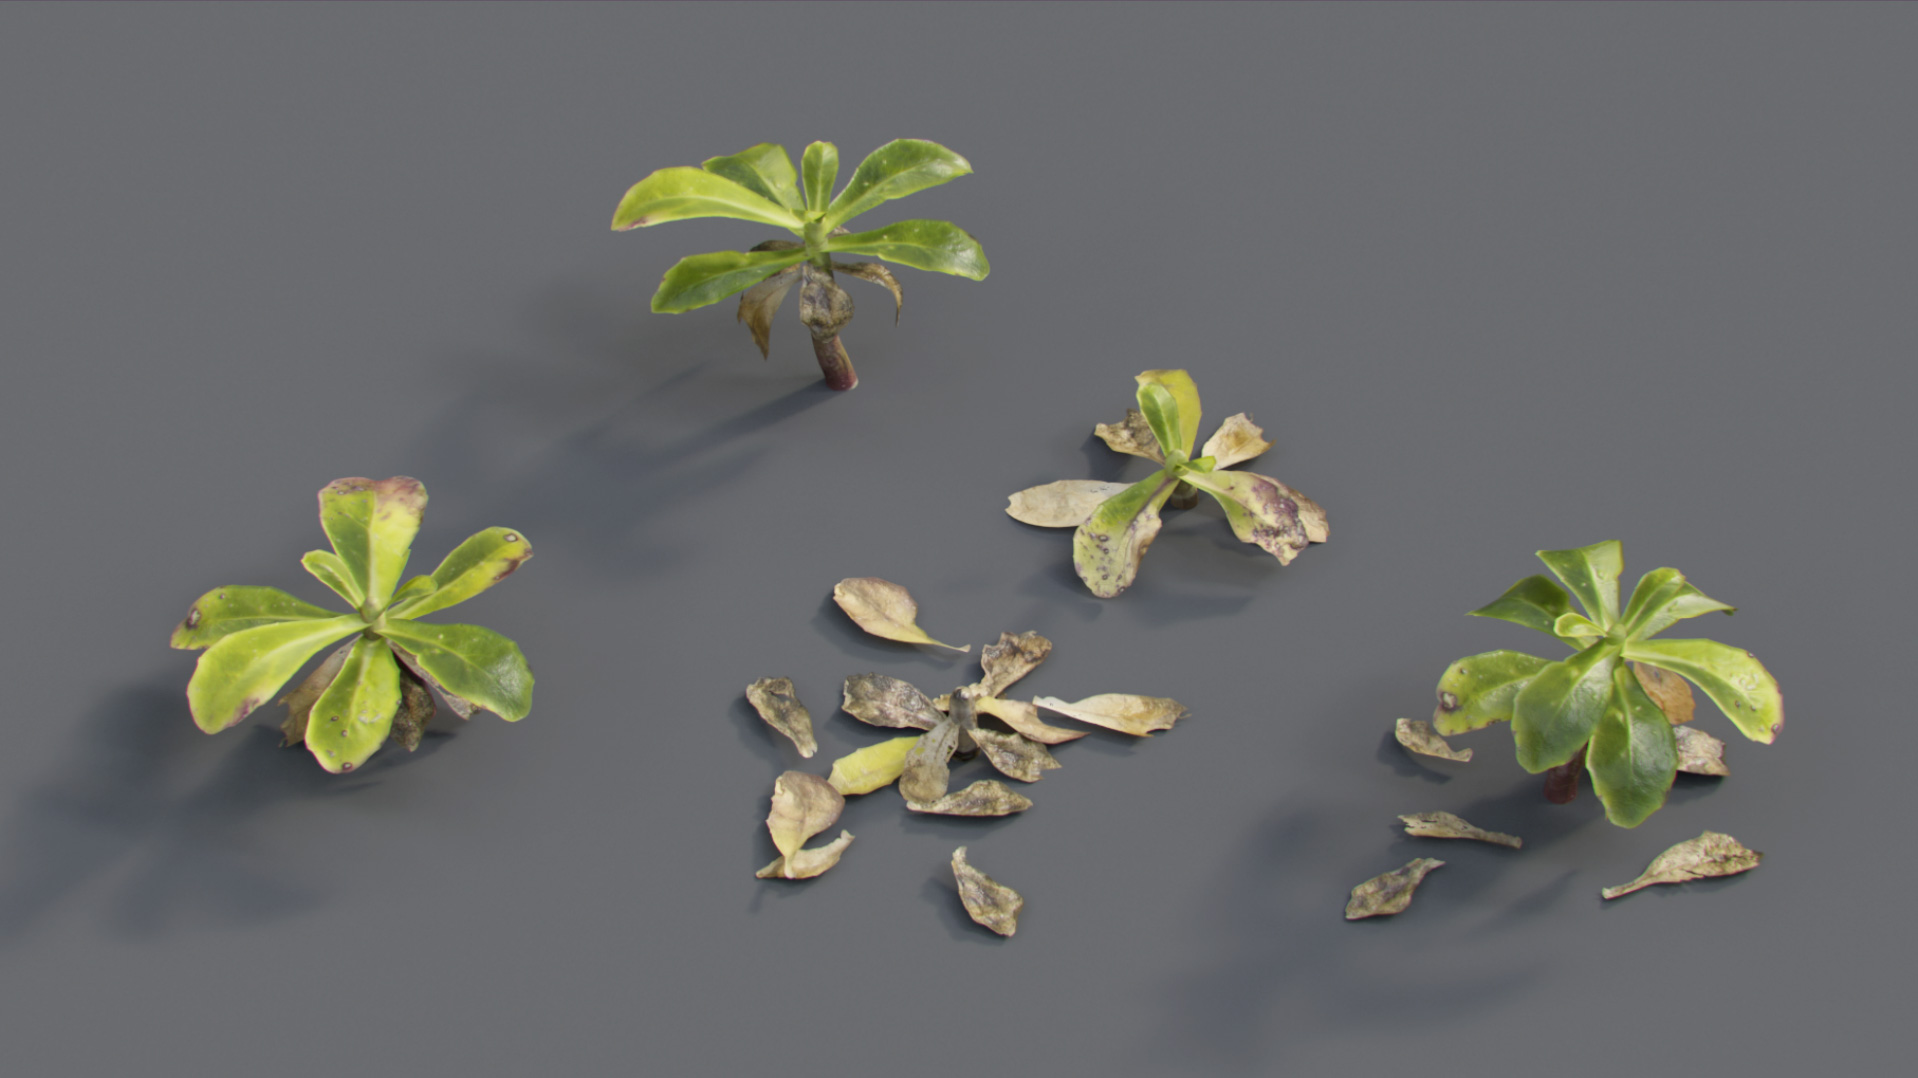
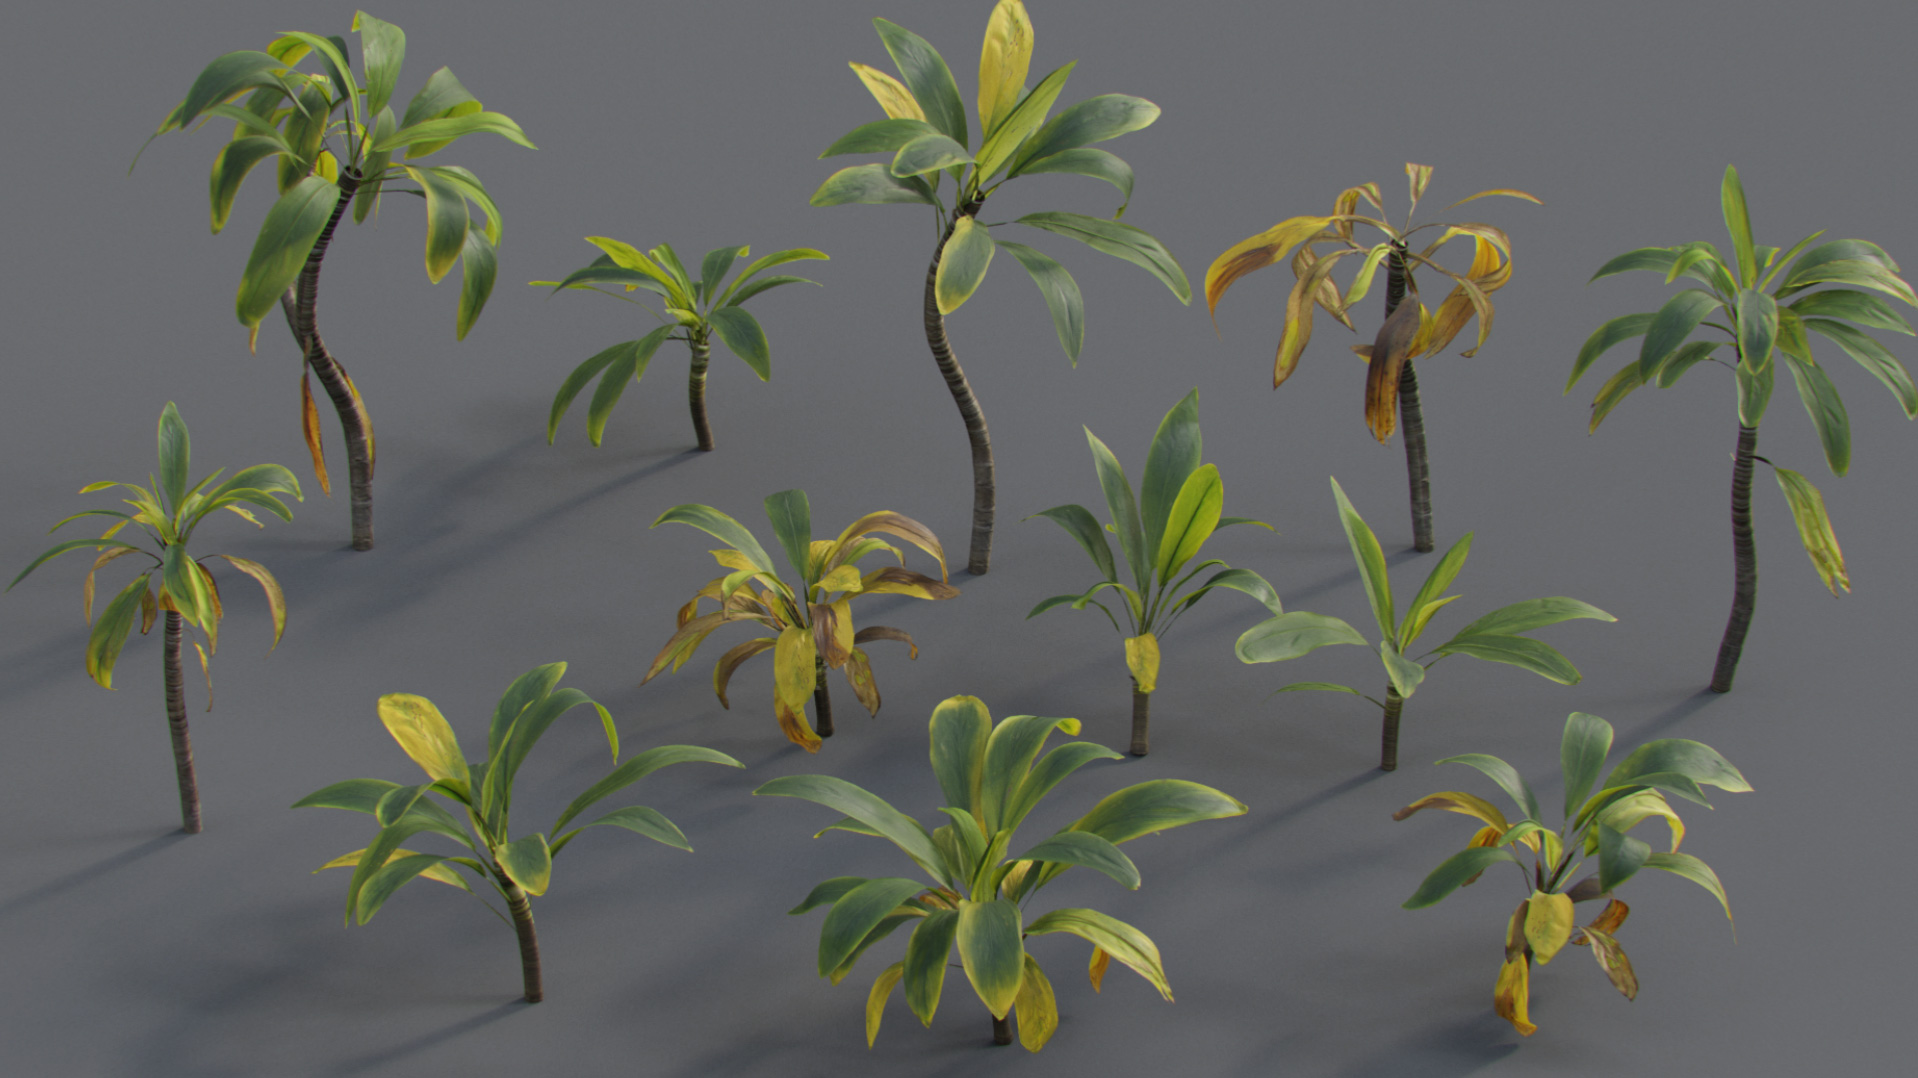
A breakdown of the Megascans surface materials and assets used:
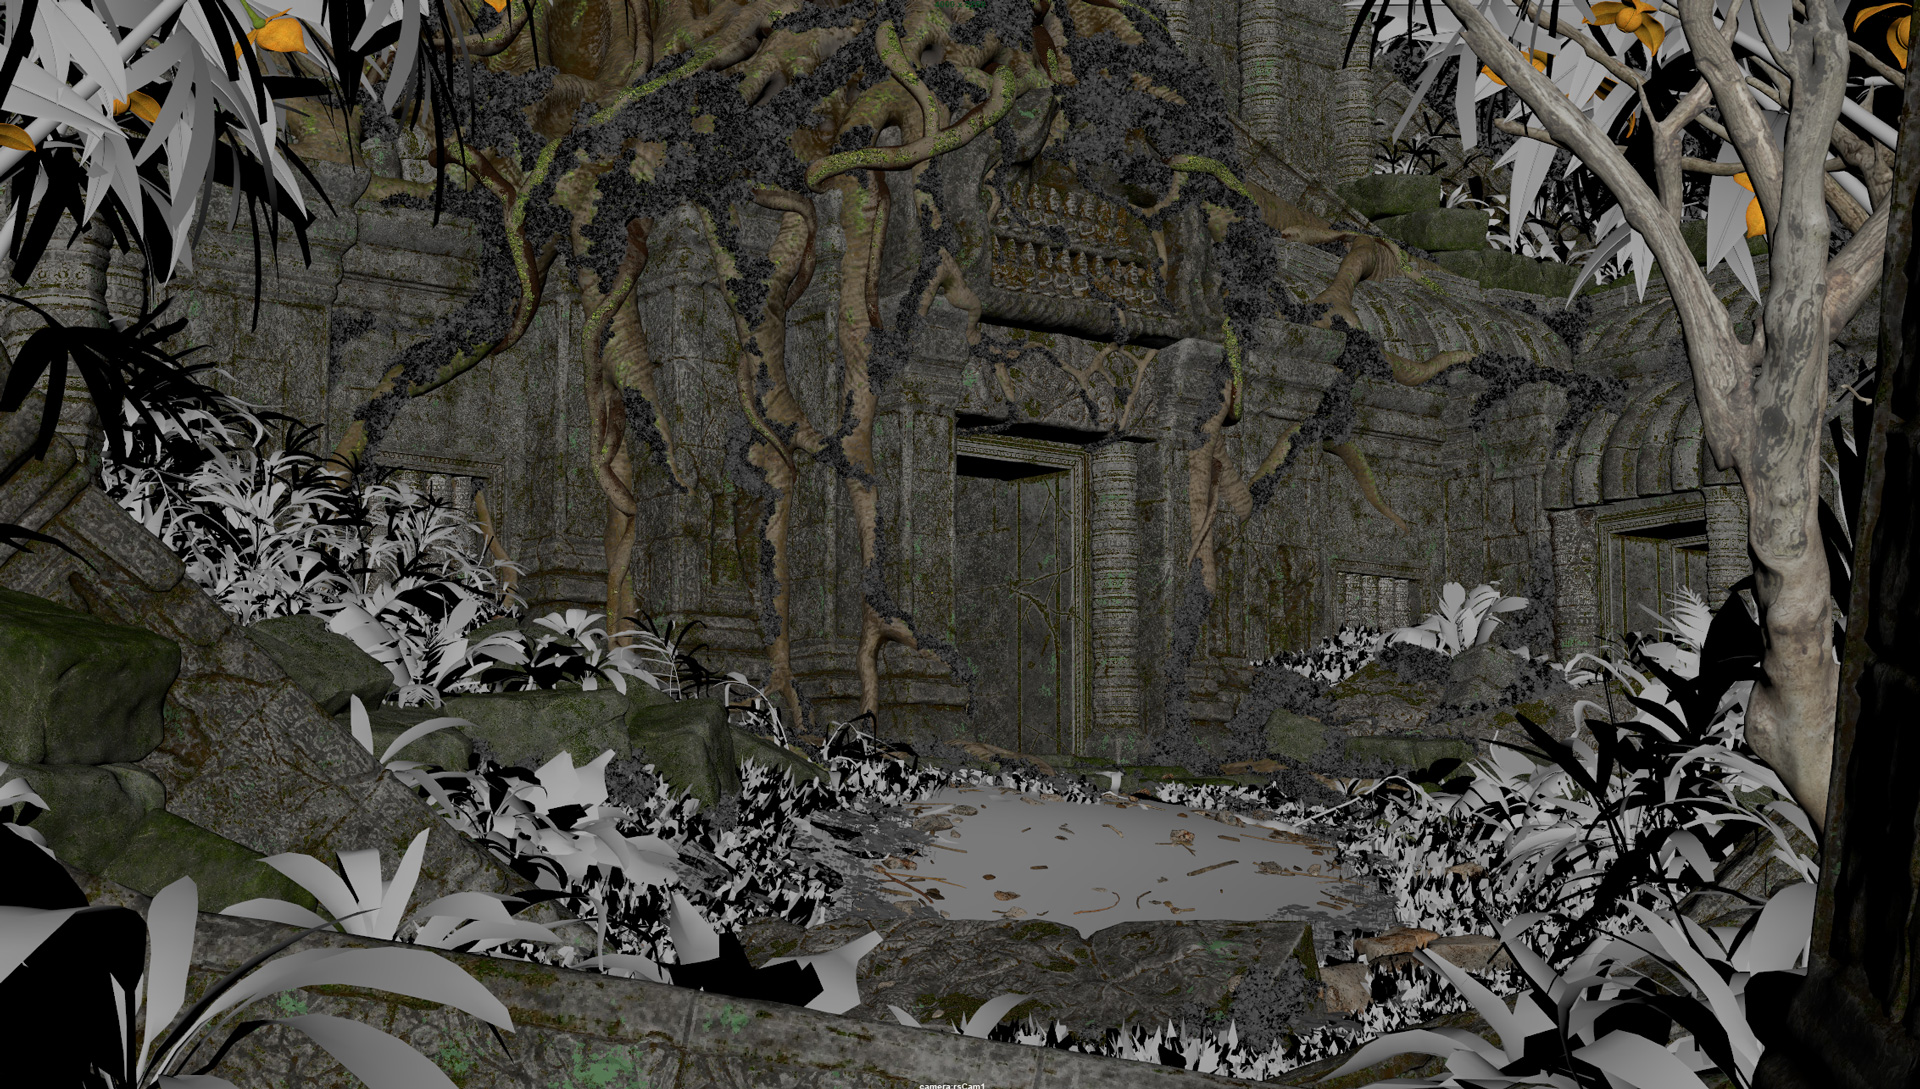
In the two following videos, I show a little bit about the two main processes I always use to scatter elements in my environments. One of them is using the free script spPaint3d for Maya. It’s an old script, but yet very useful.
The other method is using MASH, which comes with Maya, and has tons of options.
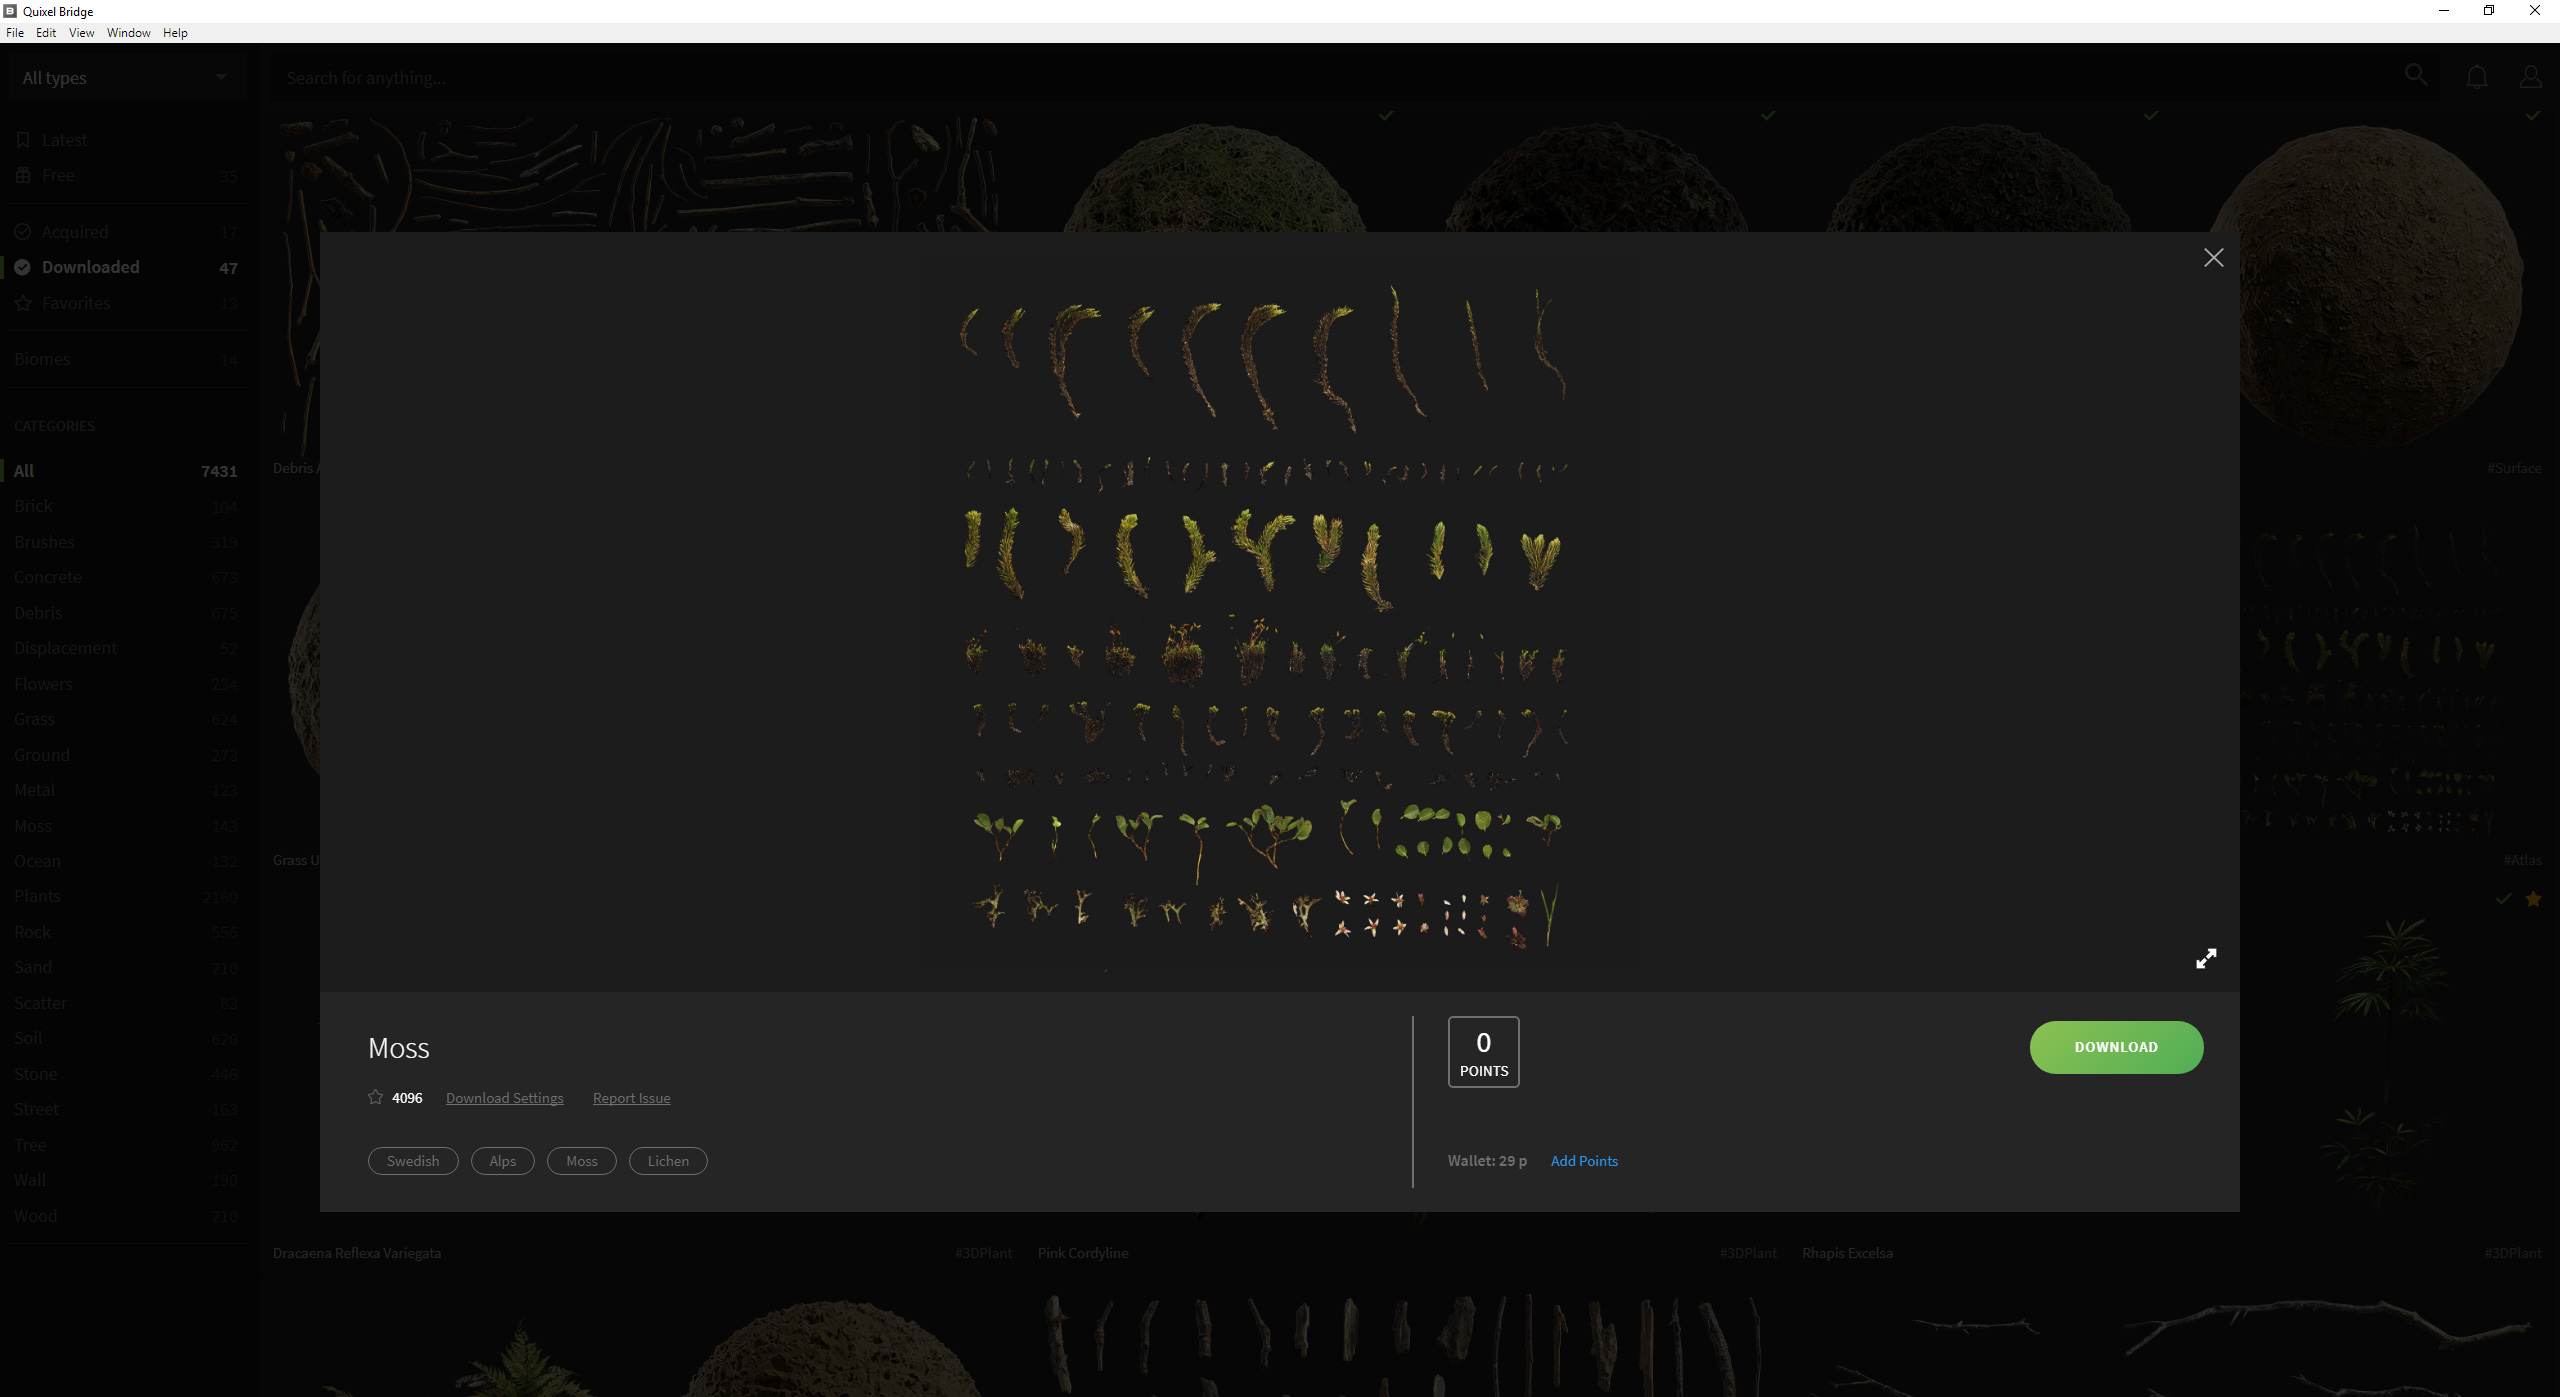
A step-by-step for the moss:
I chose this Moss because it has lots of variations and will give us a rich and interesting result.
I then loaded the opacity map from Megascans as a Texture Map.
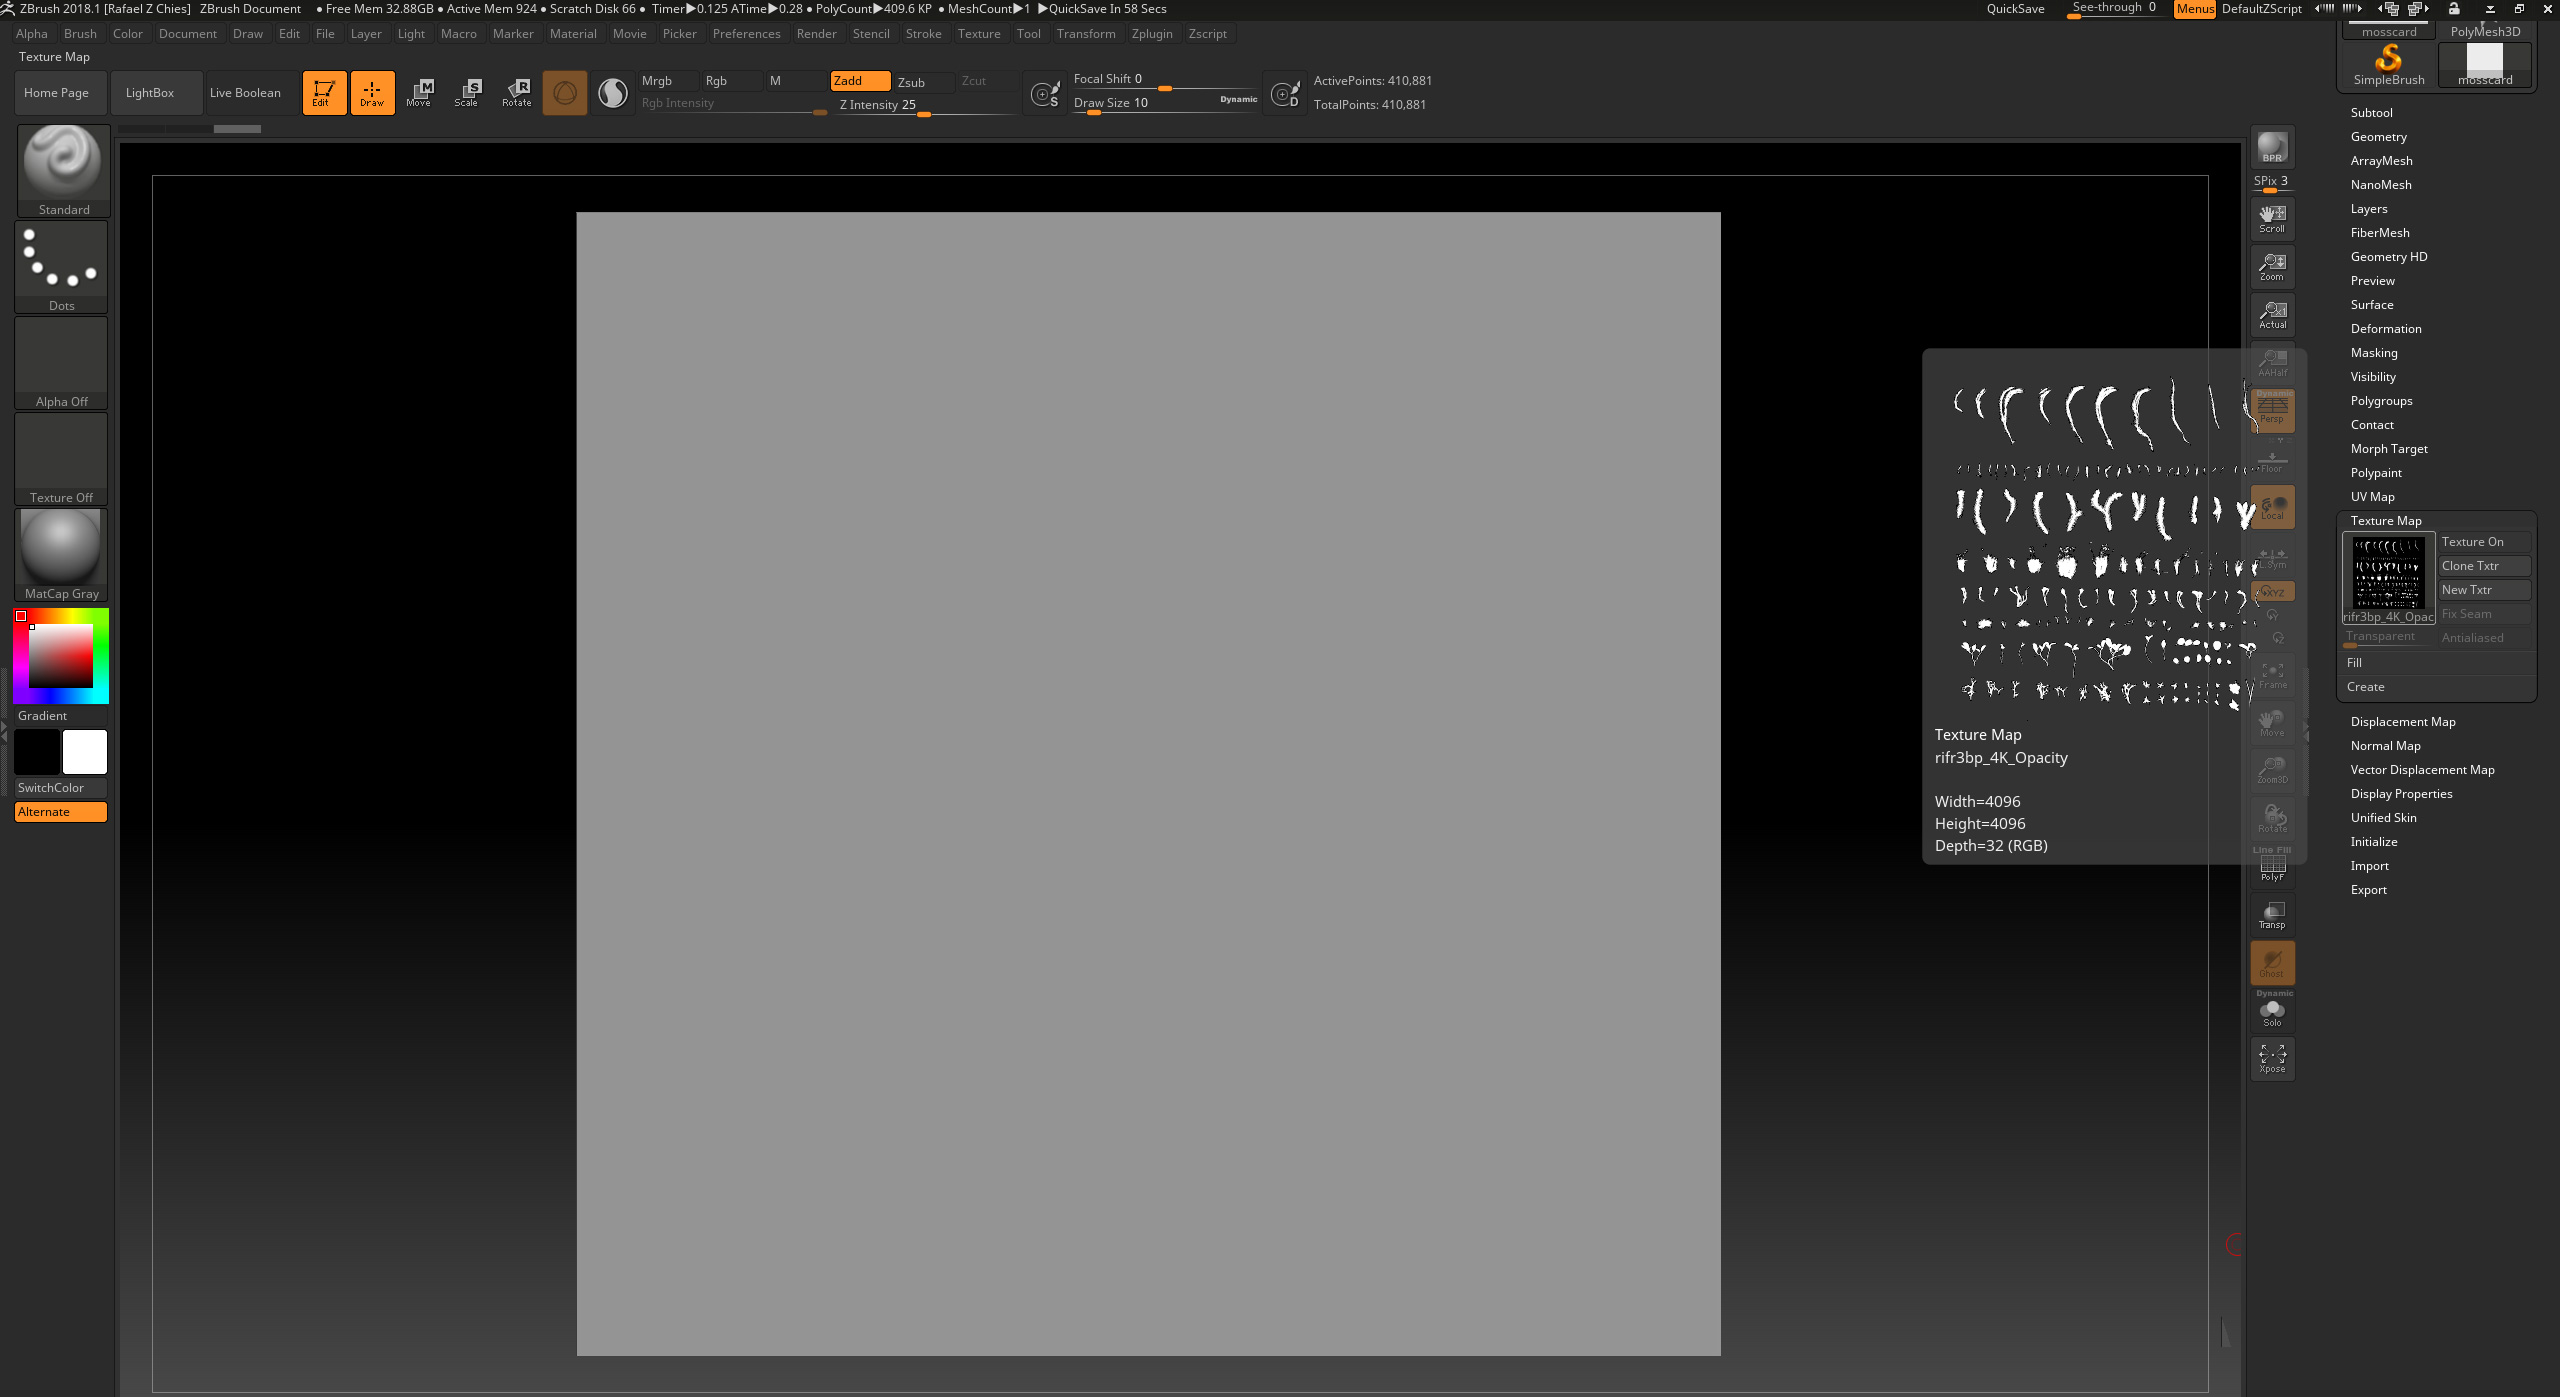
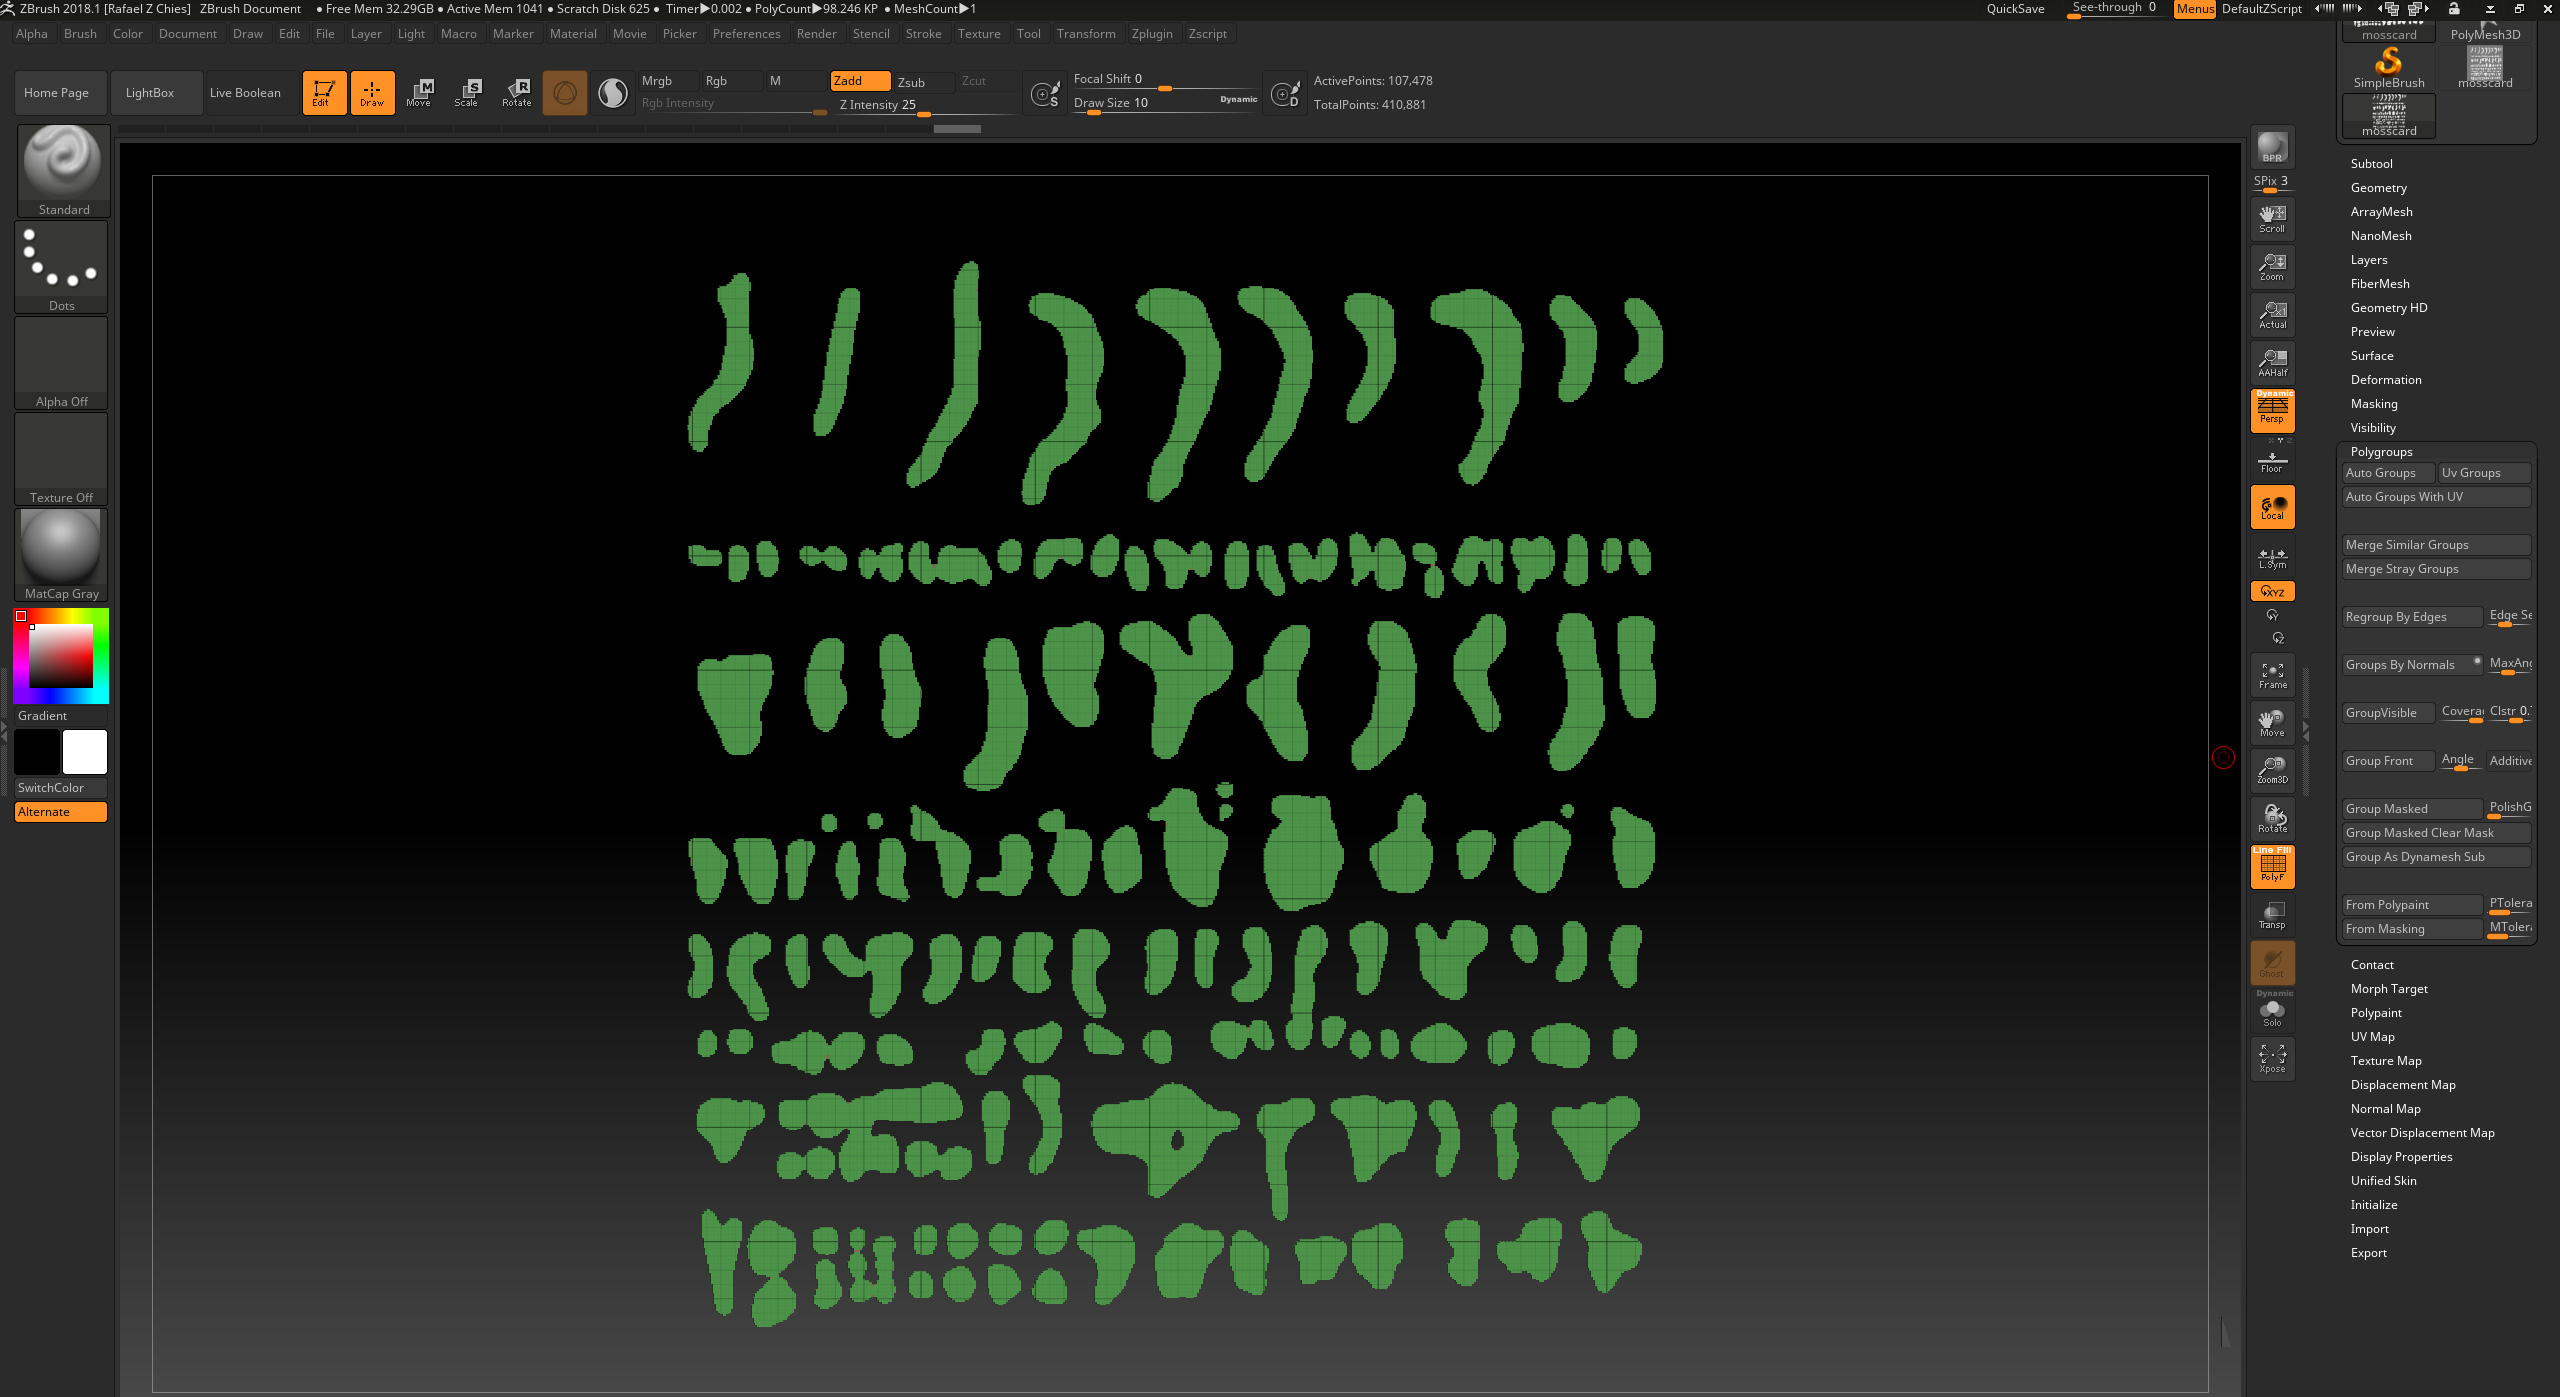
I then used the “Mask By Intensity” button to create a mask from the texture. You may have to make some adjustments using the grow, shrink, blur, and sharpen mask buttons.

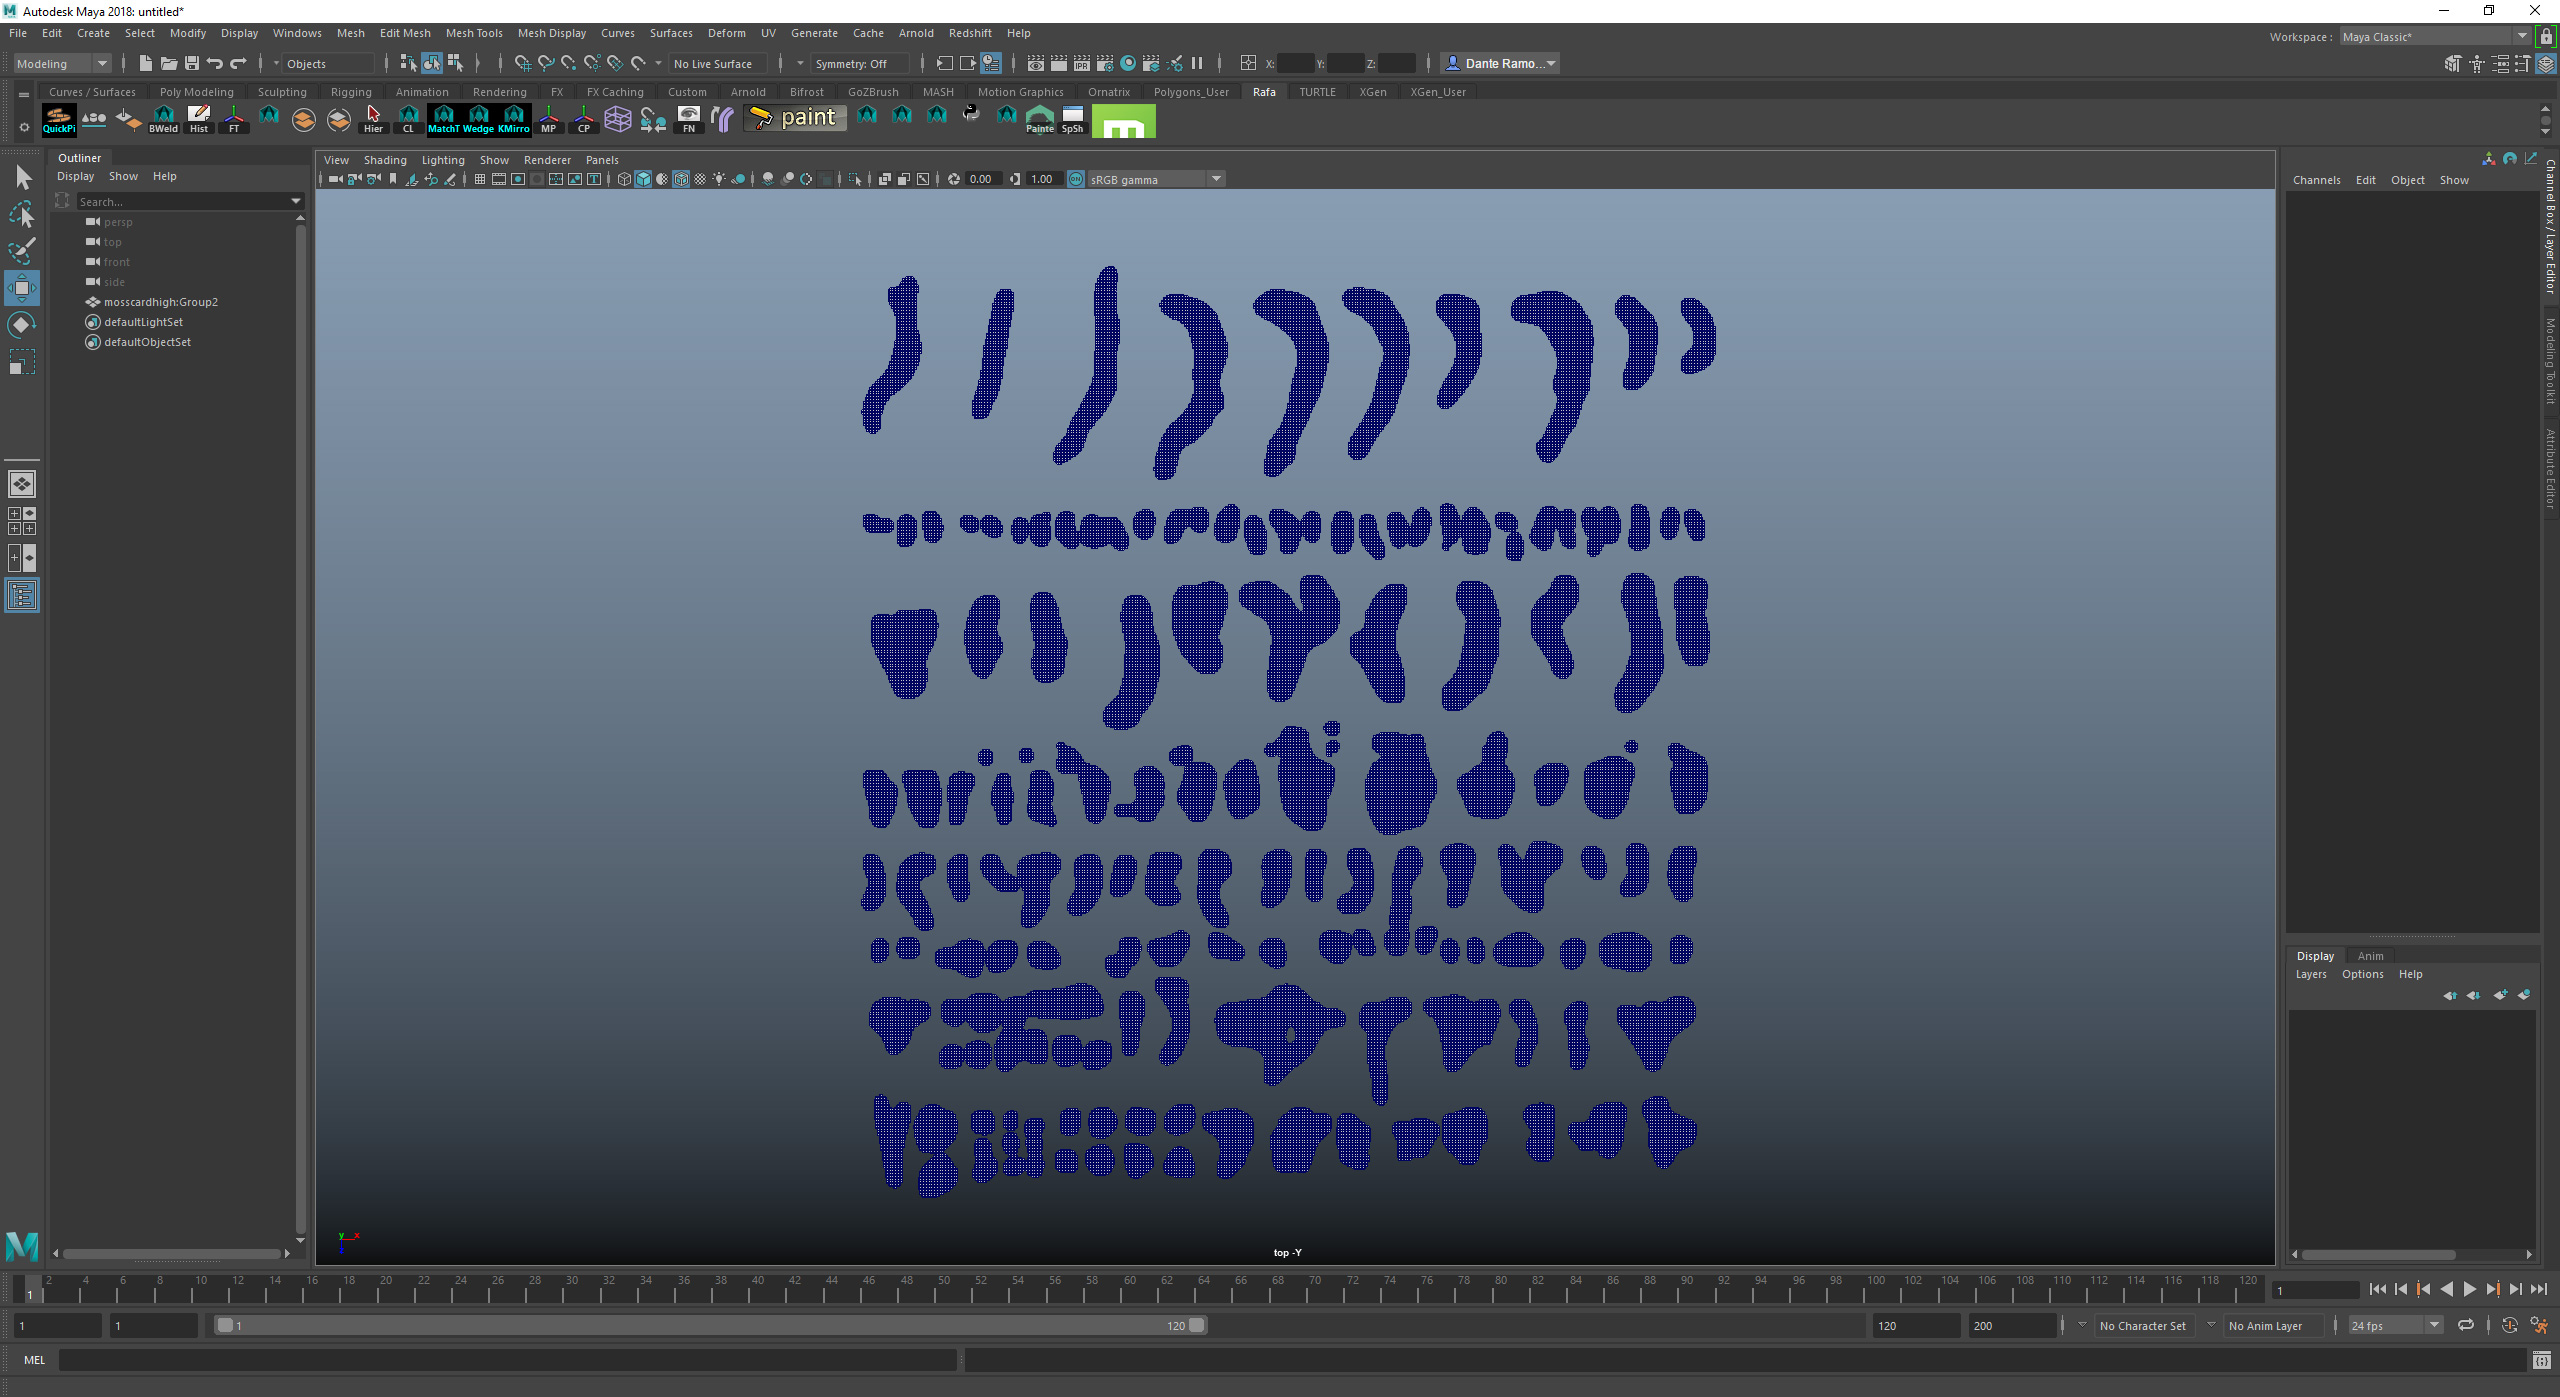
Then delete the background and export this high-resolution mesh to Maya.
Import the mesh into Maya and use the “Mesh→Reduce” tool to lower the polycount of the mesh. Try to preserve the silhouette as much as you can.
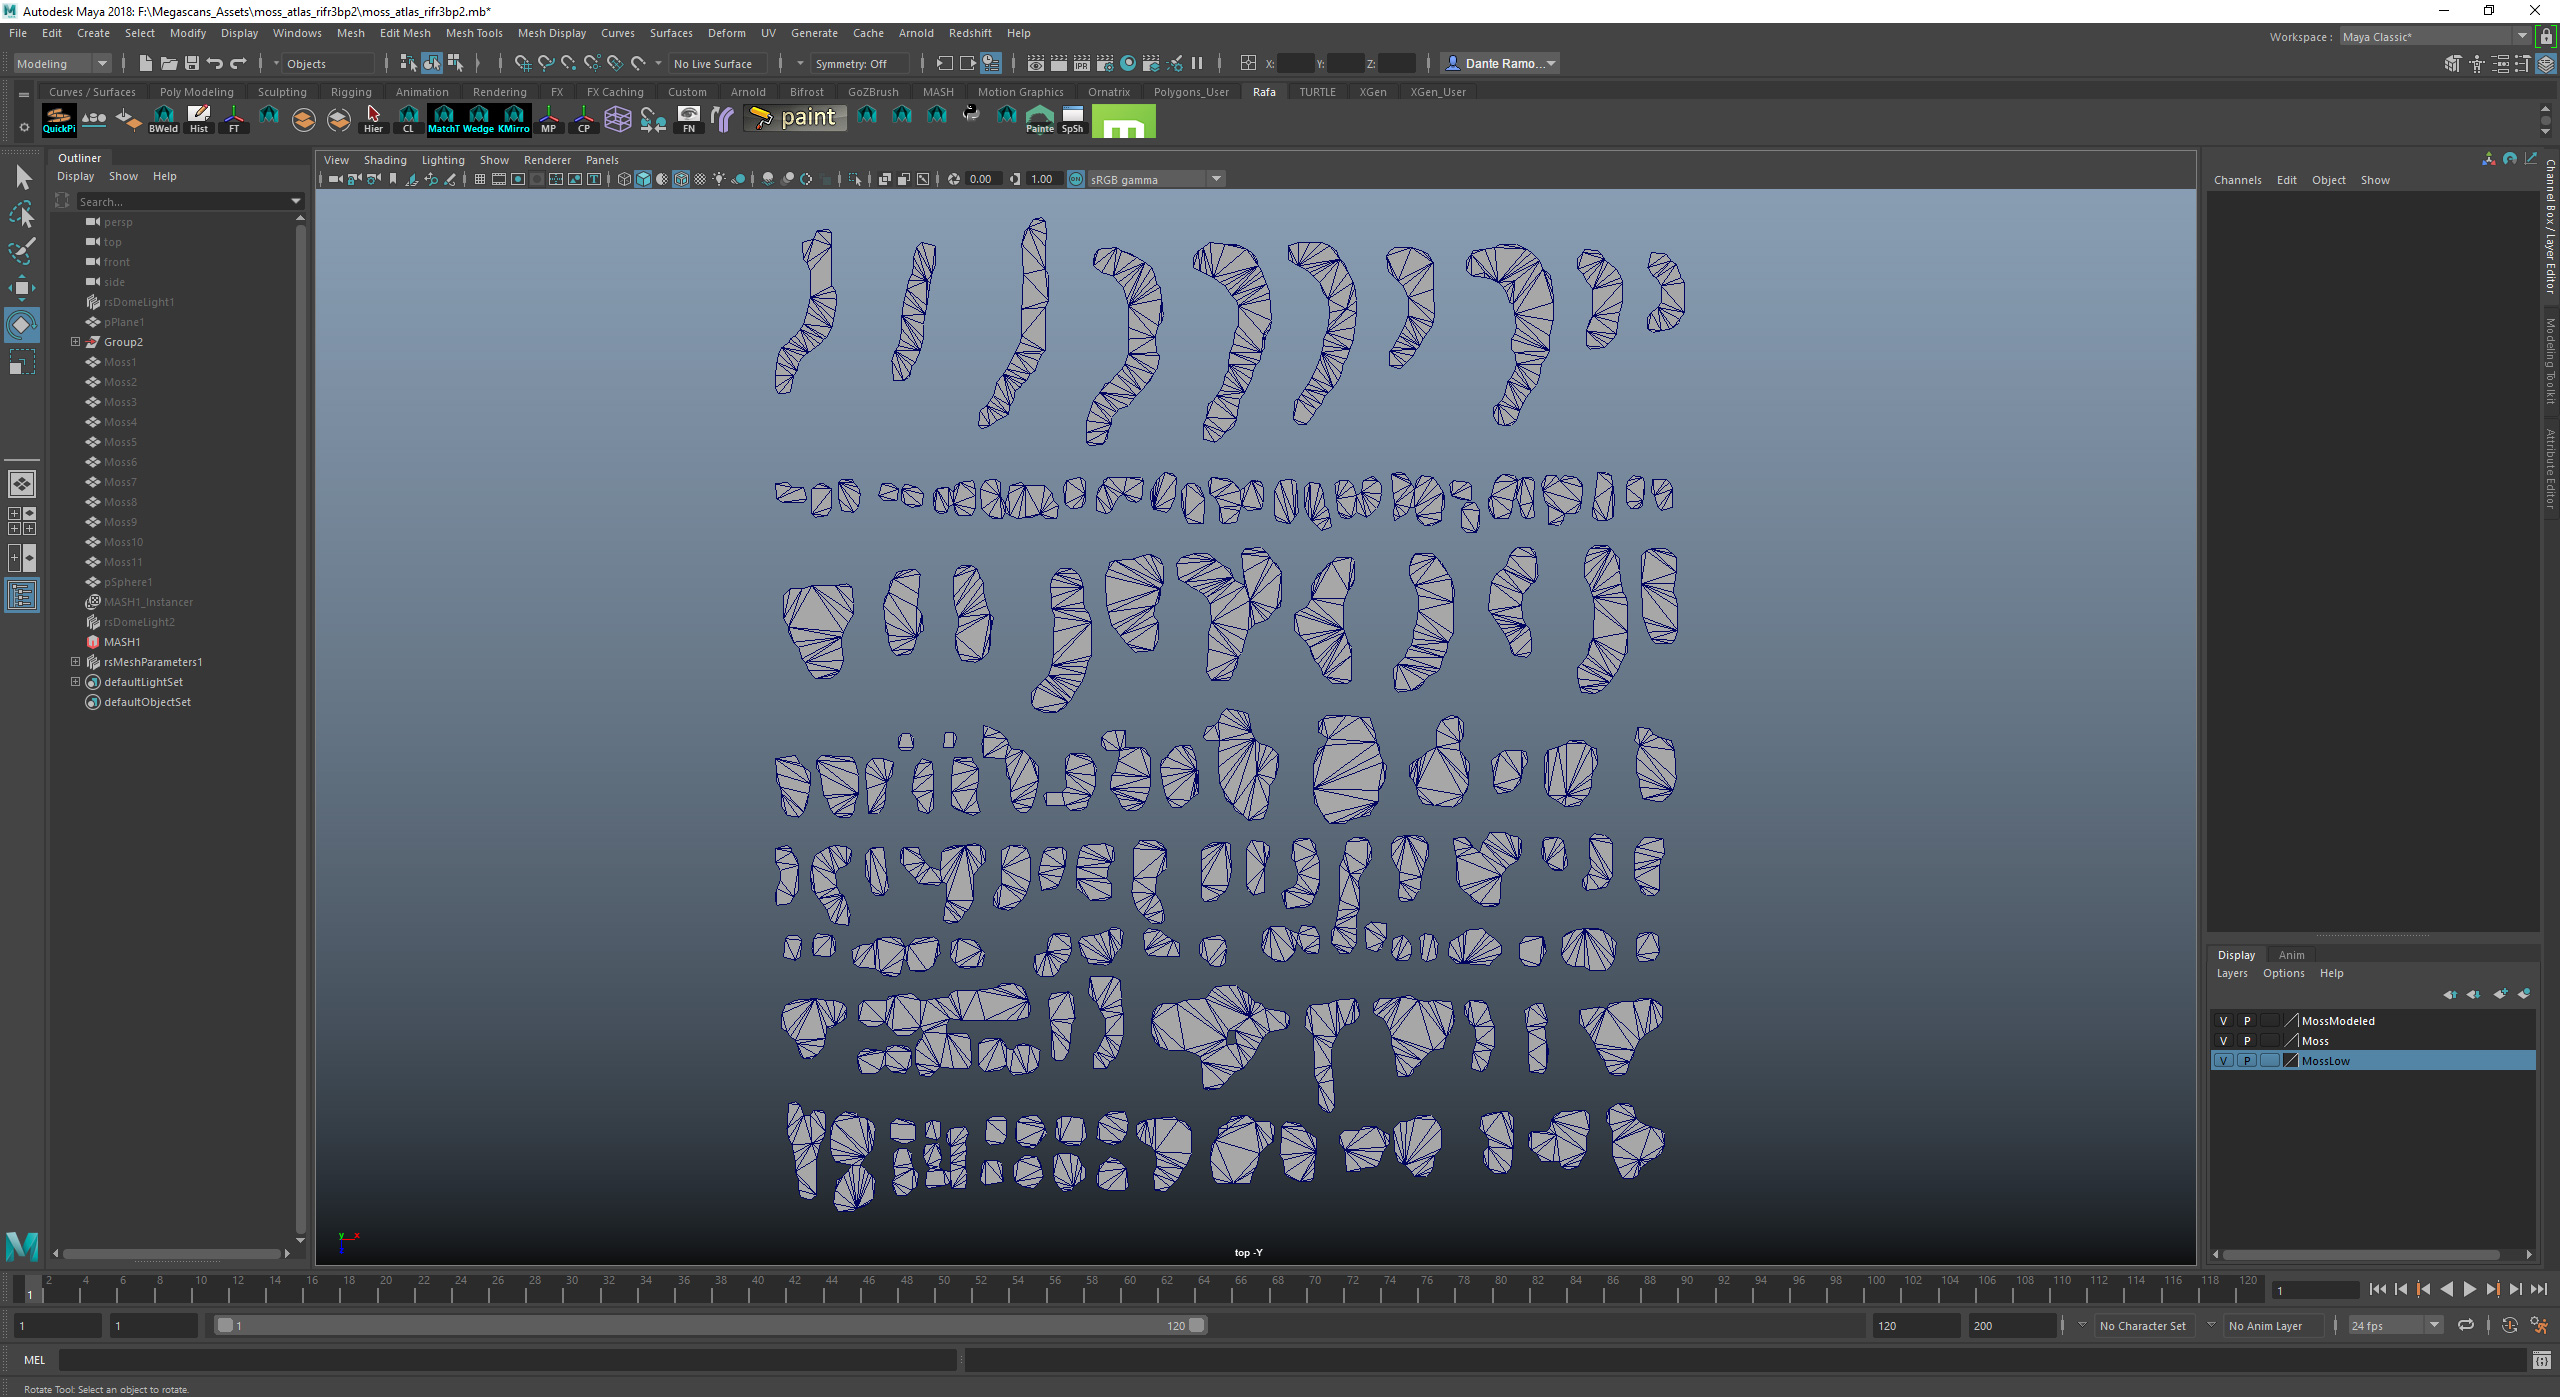
Use these cards, with some use of the scatter tool, to create “chunks”. In this case, I’ve scattered the cards on some primitives using MASH.
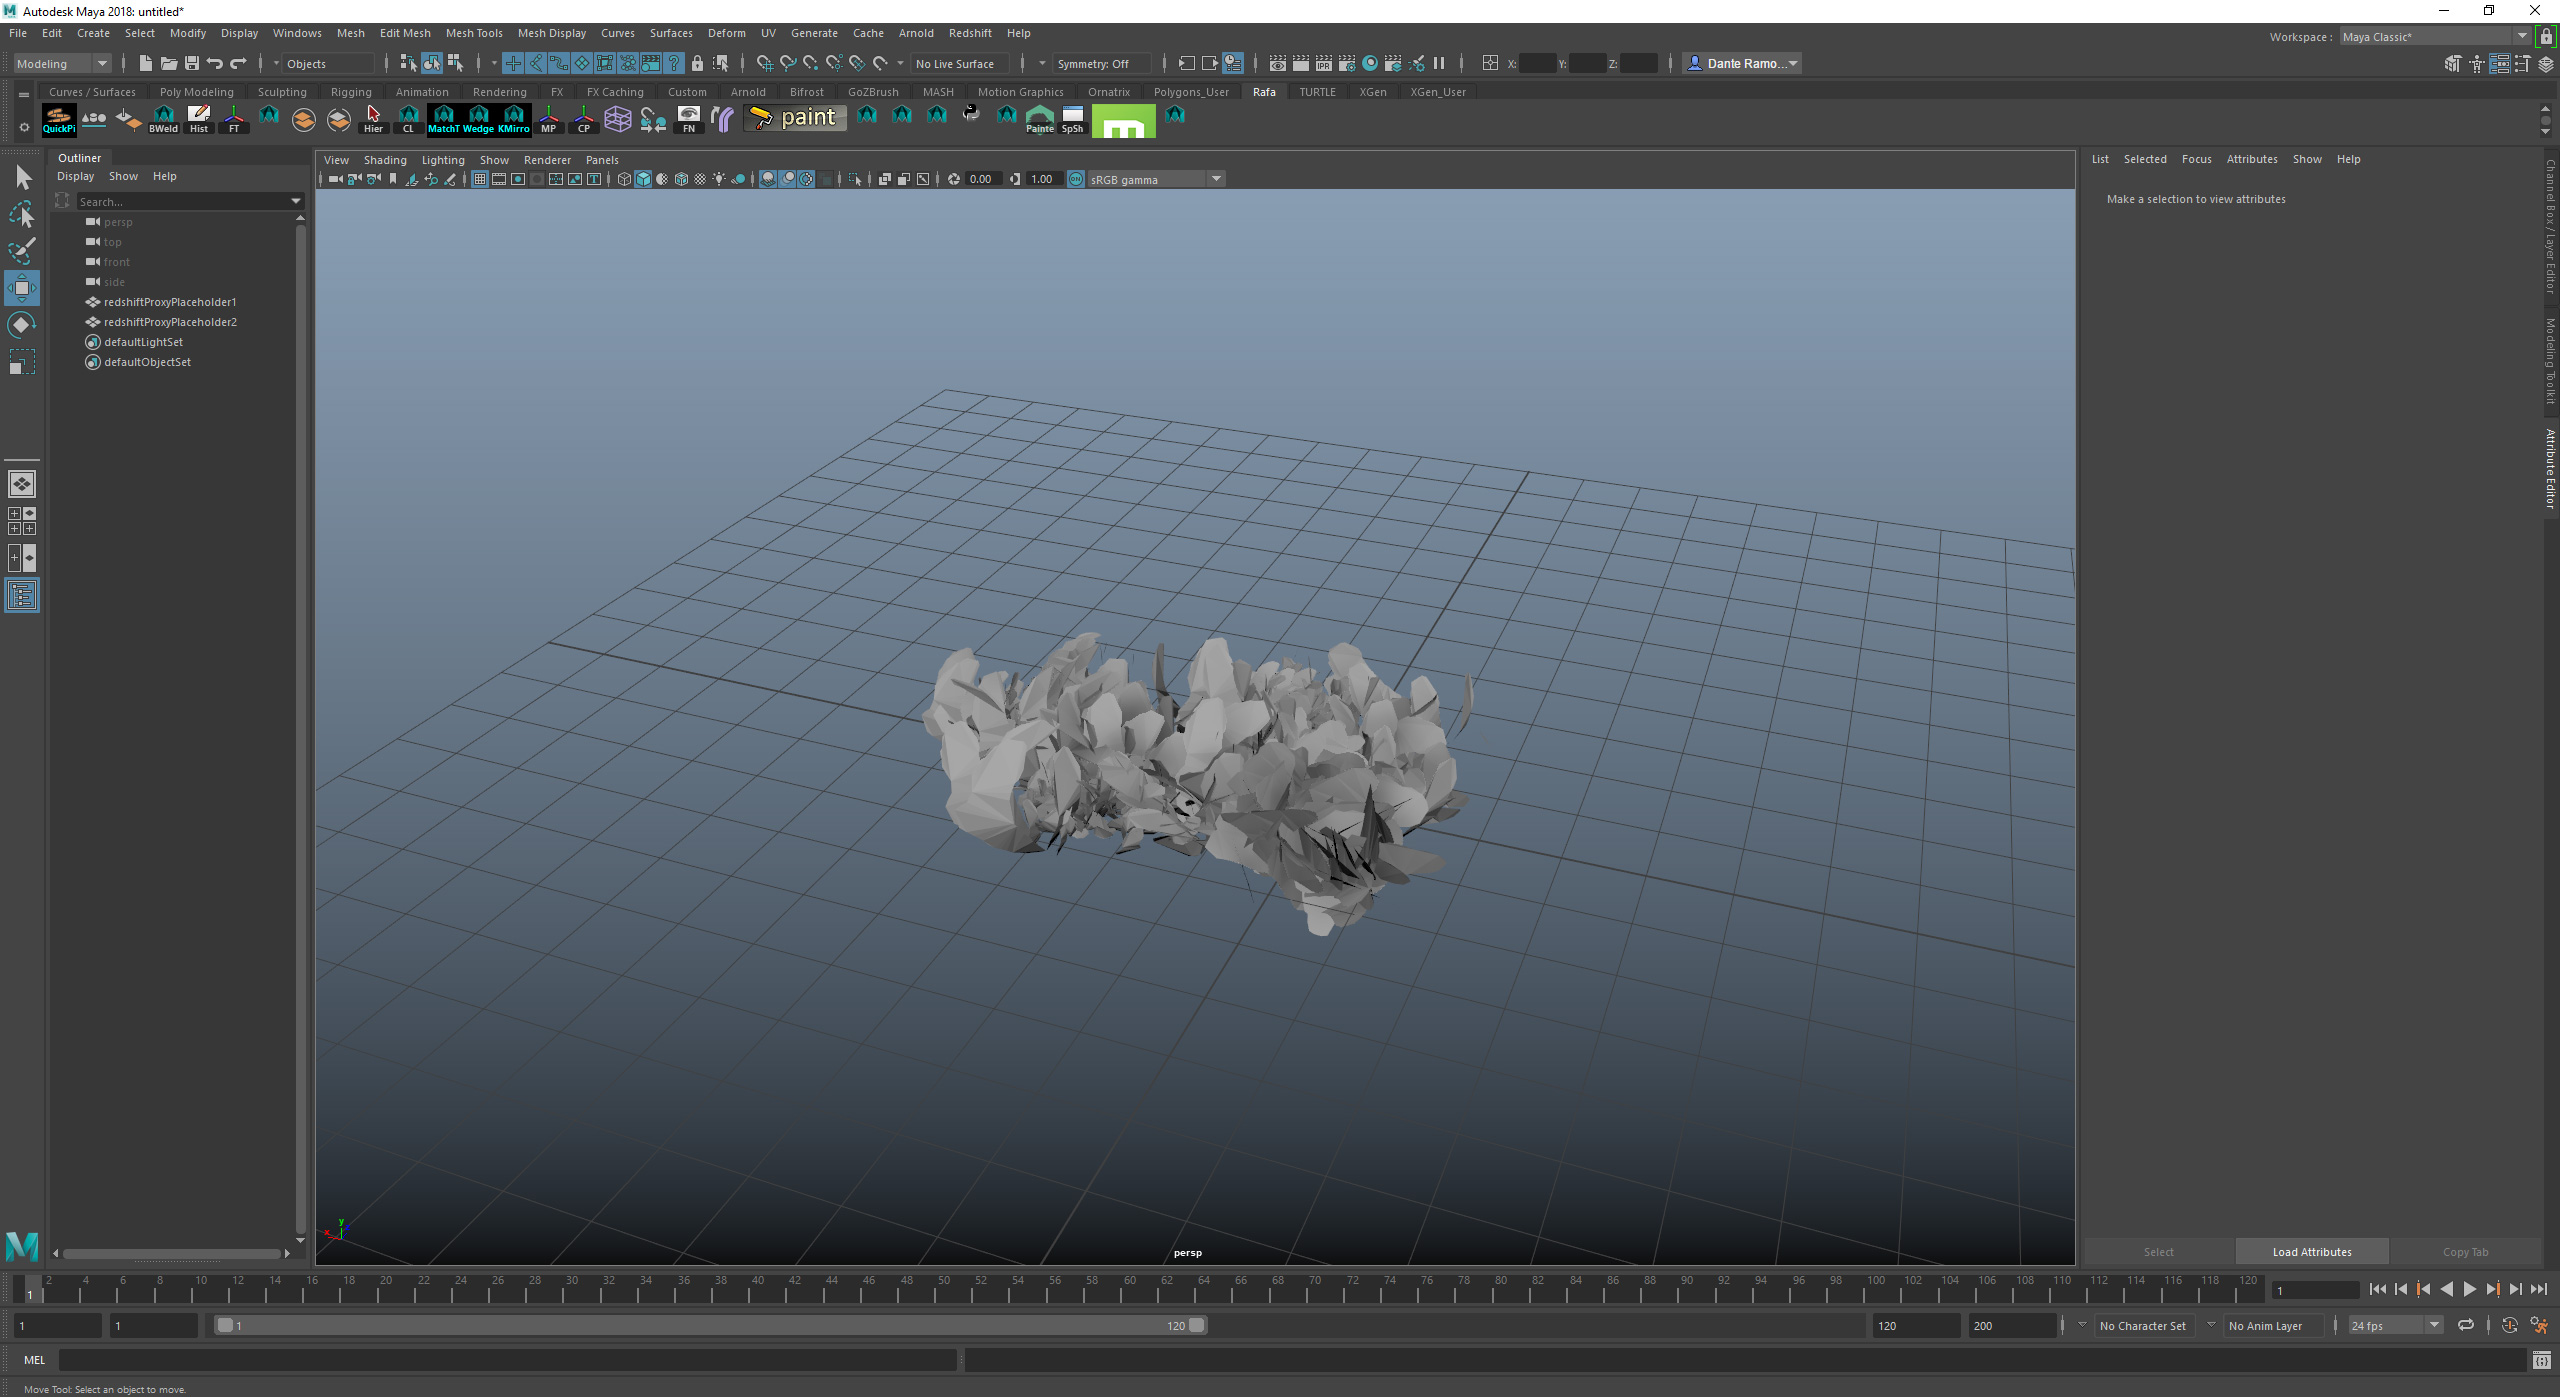
Use these chunks to scatter the moss along the surface you want. Remember to use instances or proxies to preserve the system memory.
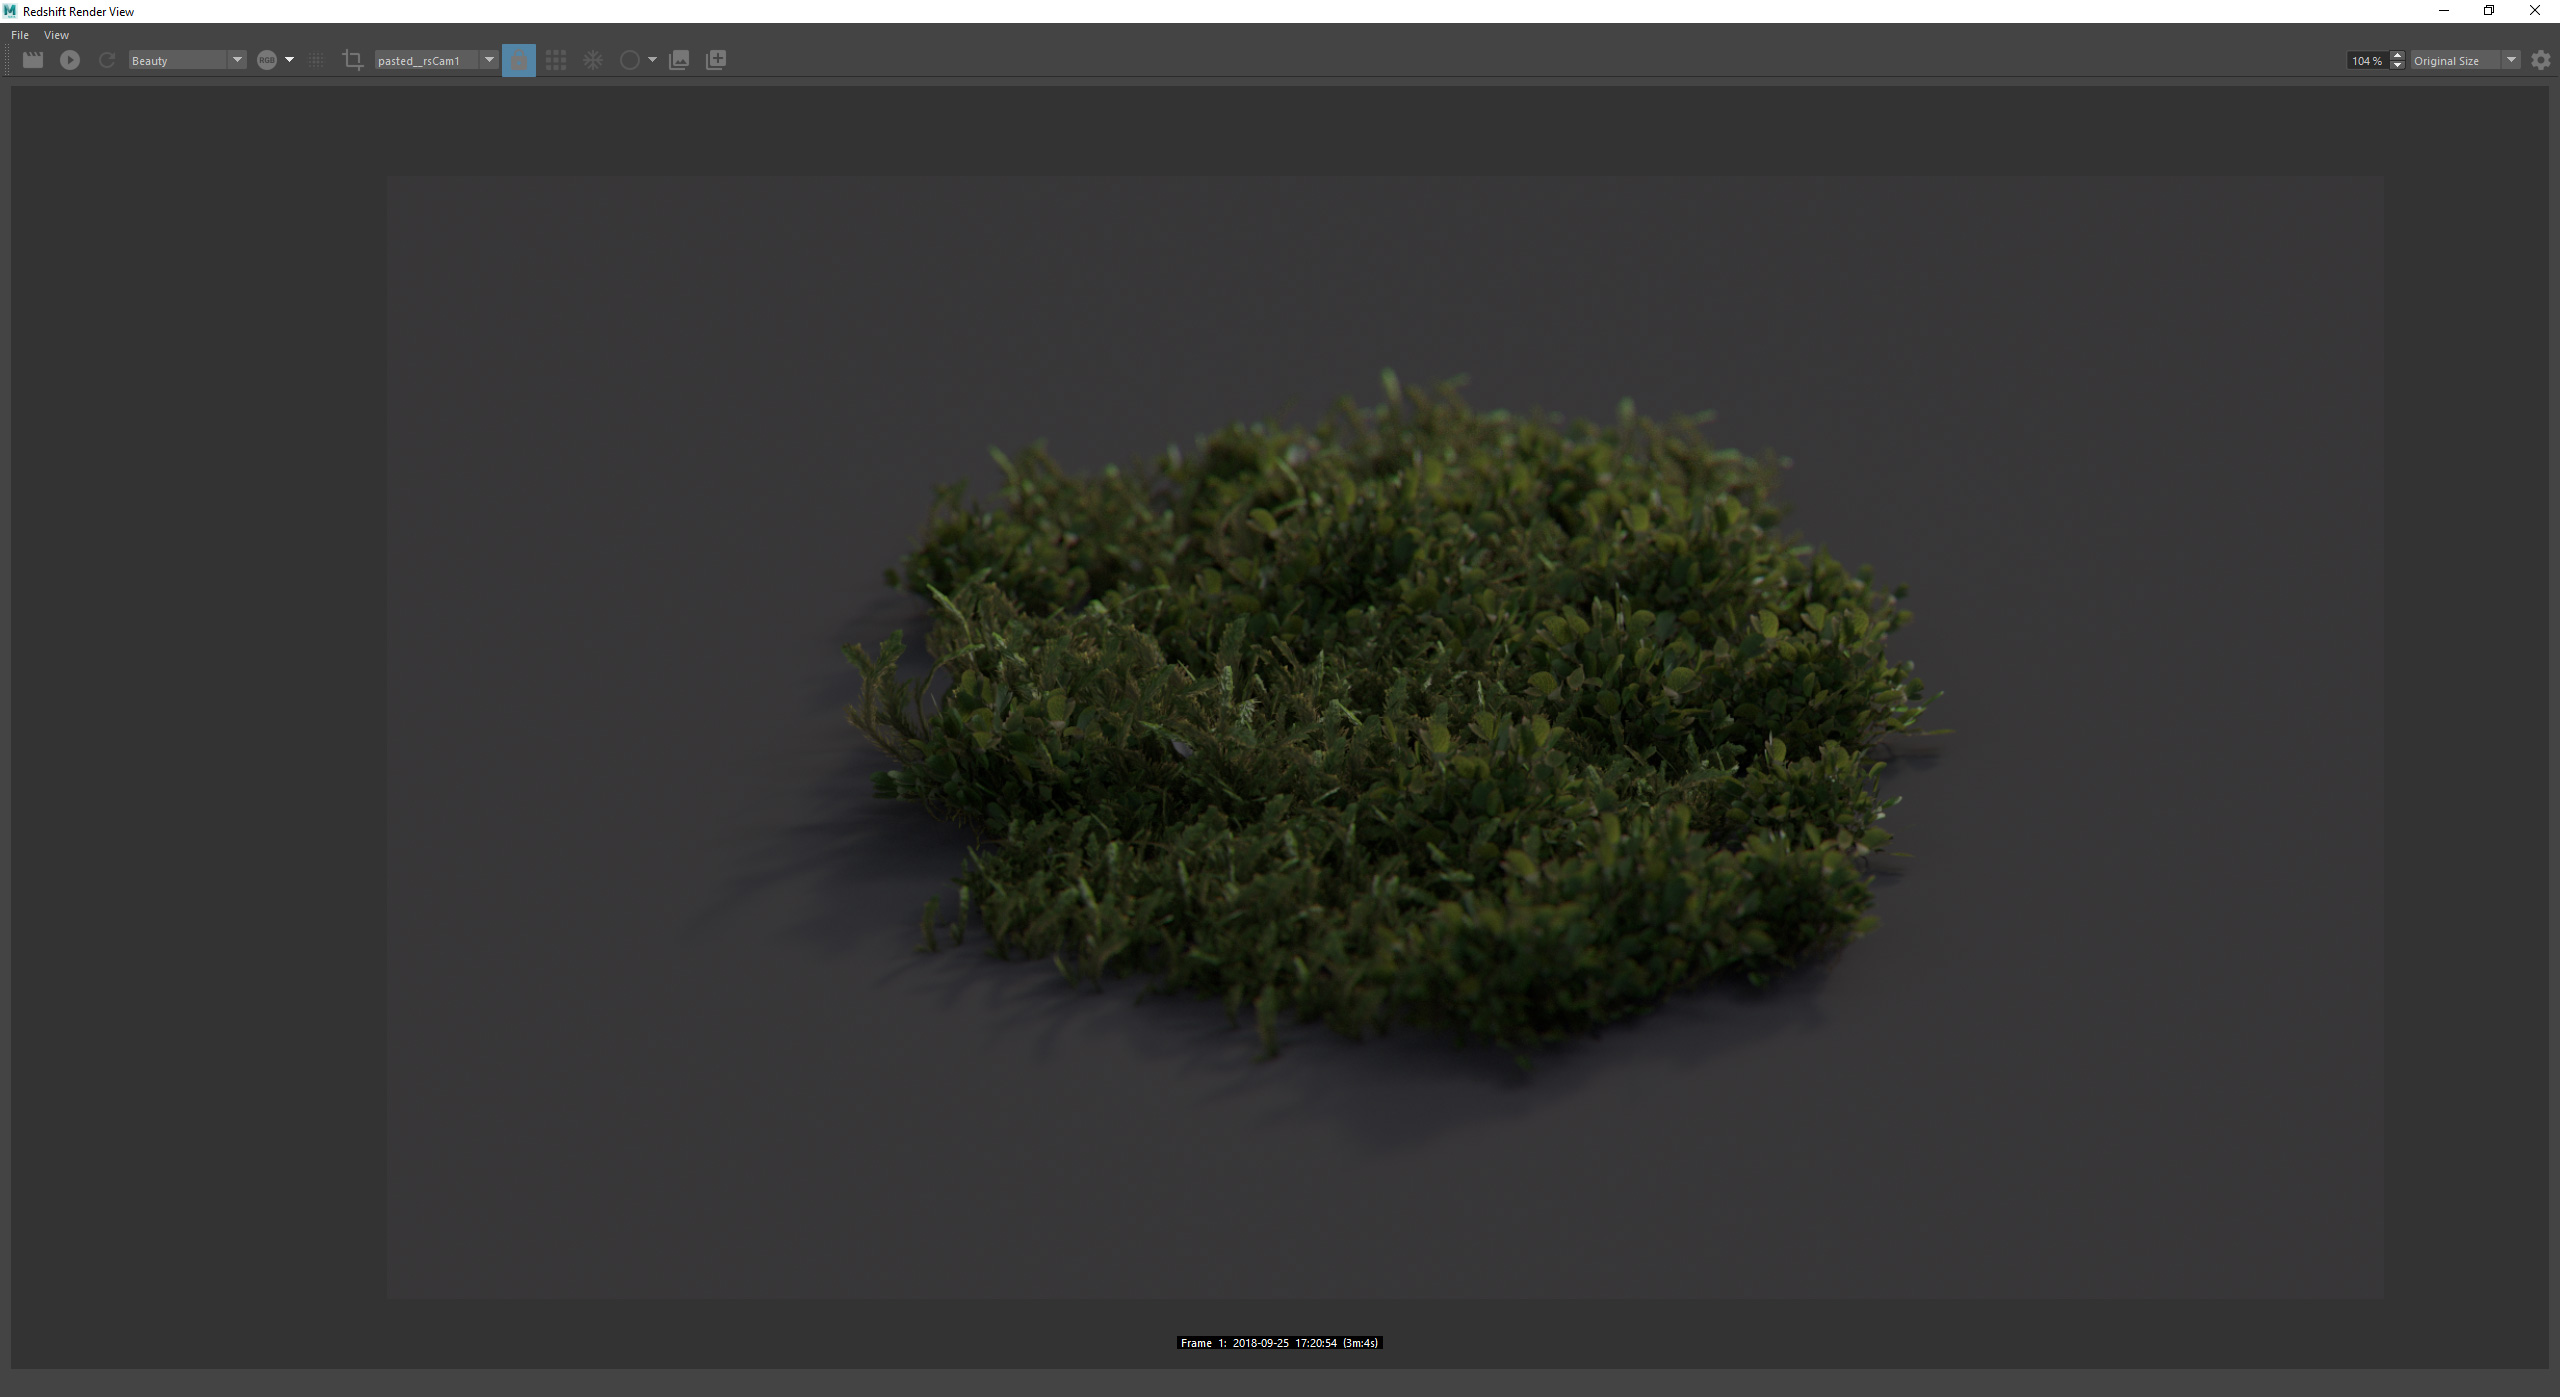
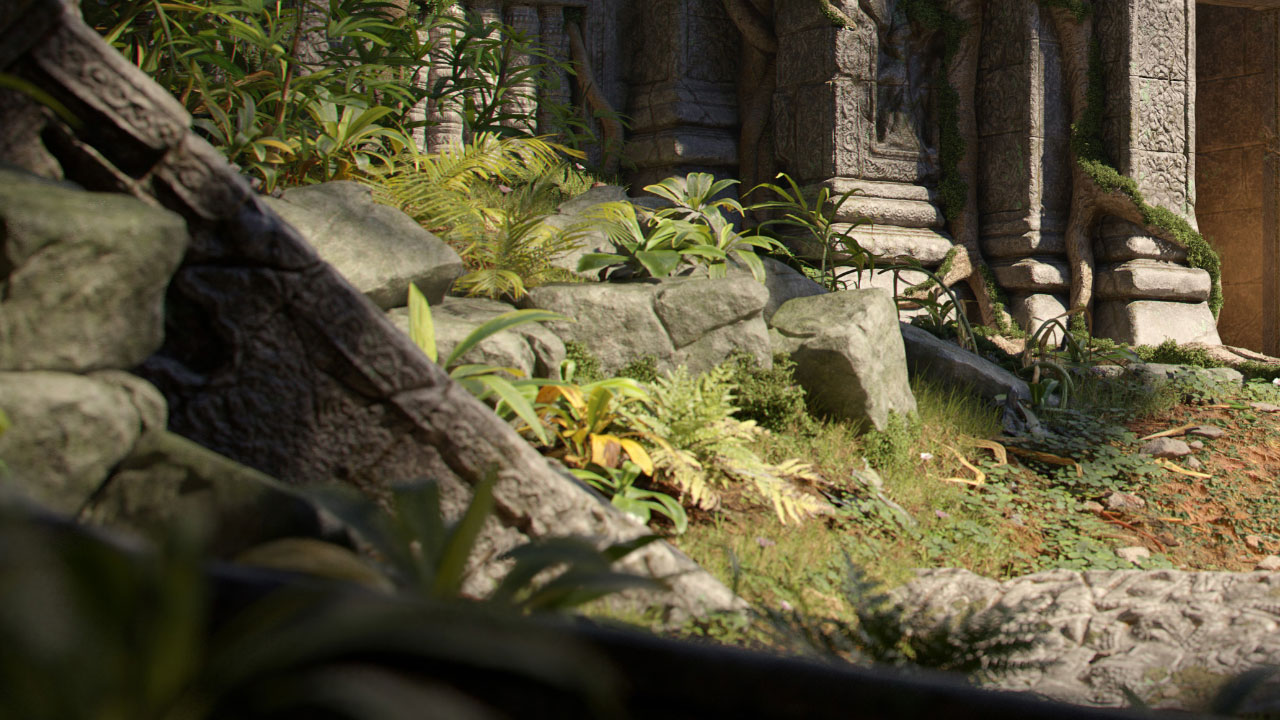
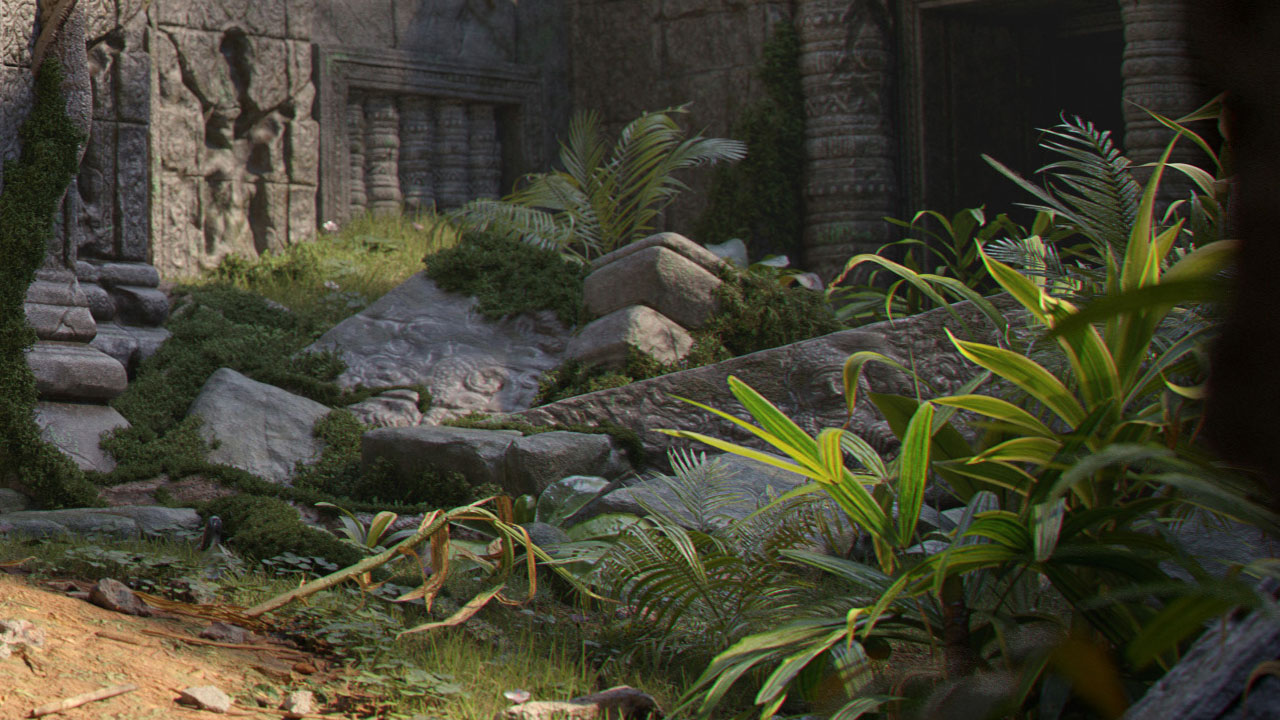
Putting it all together

Q: What are your impressions of Quixel Megascans?
RC: Megascans is such an amazing and powerful tool. It gives you access to high-quality realistic assets in a totally artist-friendly way, helping you to make your work to be much more interesting and complex with just a few clicks. I totally recommend to everyone and it’s a game changer for sure.


Thank you, Rafael!
Discover this talented artist’s work on ArtStation and Behance.
Got a Quixel-infused project you’d like featured? Send us a write-up with a little bit about yourself, a detailed project breakdown, and hi-res images to blog@quixel.se.

