Artist Spotlight: Michael Fedichkin recreates Spanish bar with Megascans
The leaps in photogrammetry are most evident when the line between photography and visualization begins to disappear. And a combination of ultra-high quality scans, a talented artist, and an inspiring subject can do just that!
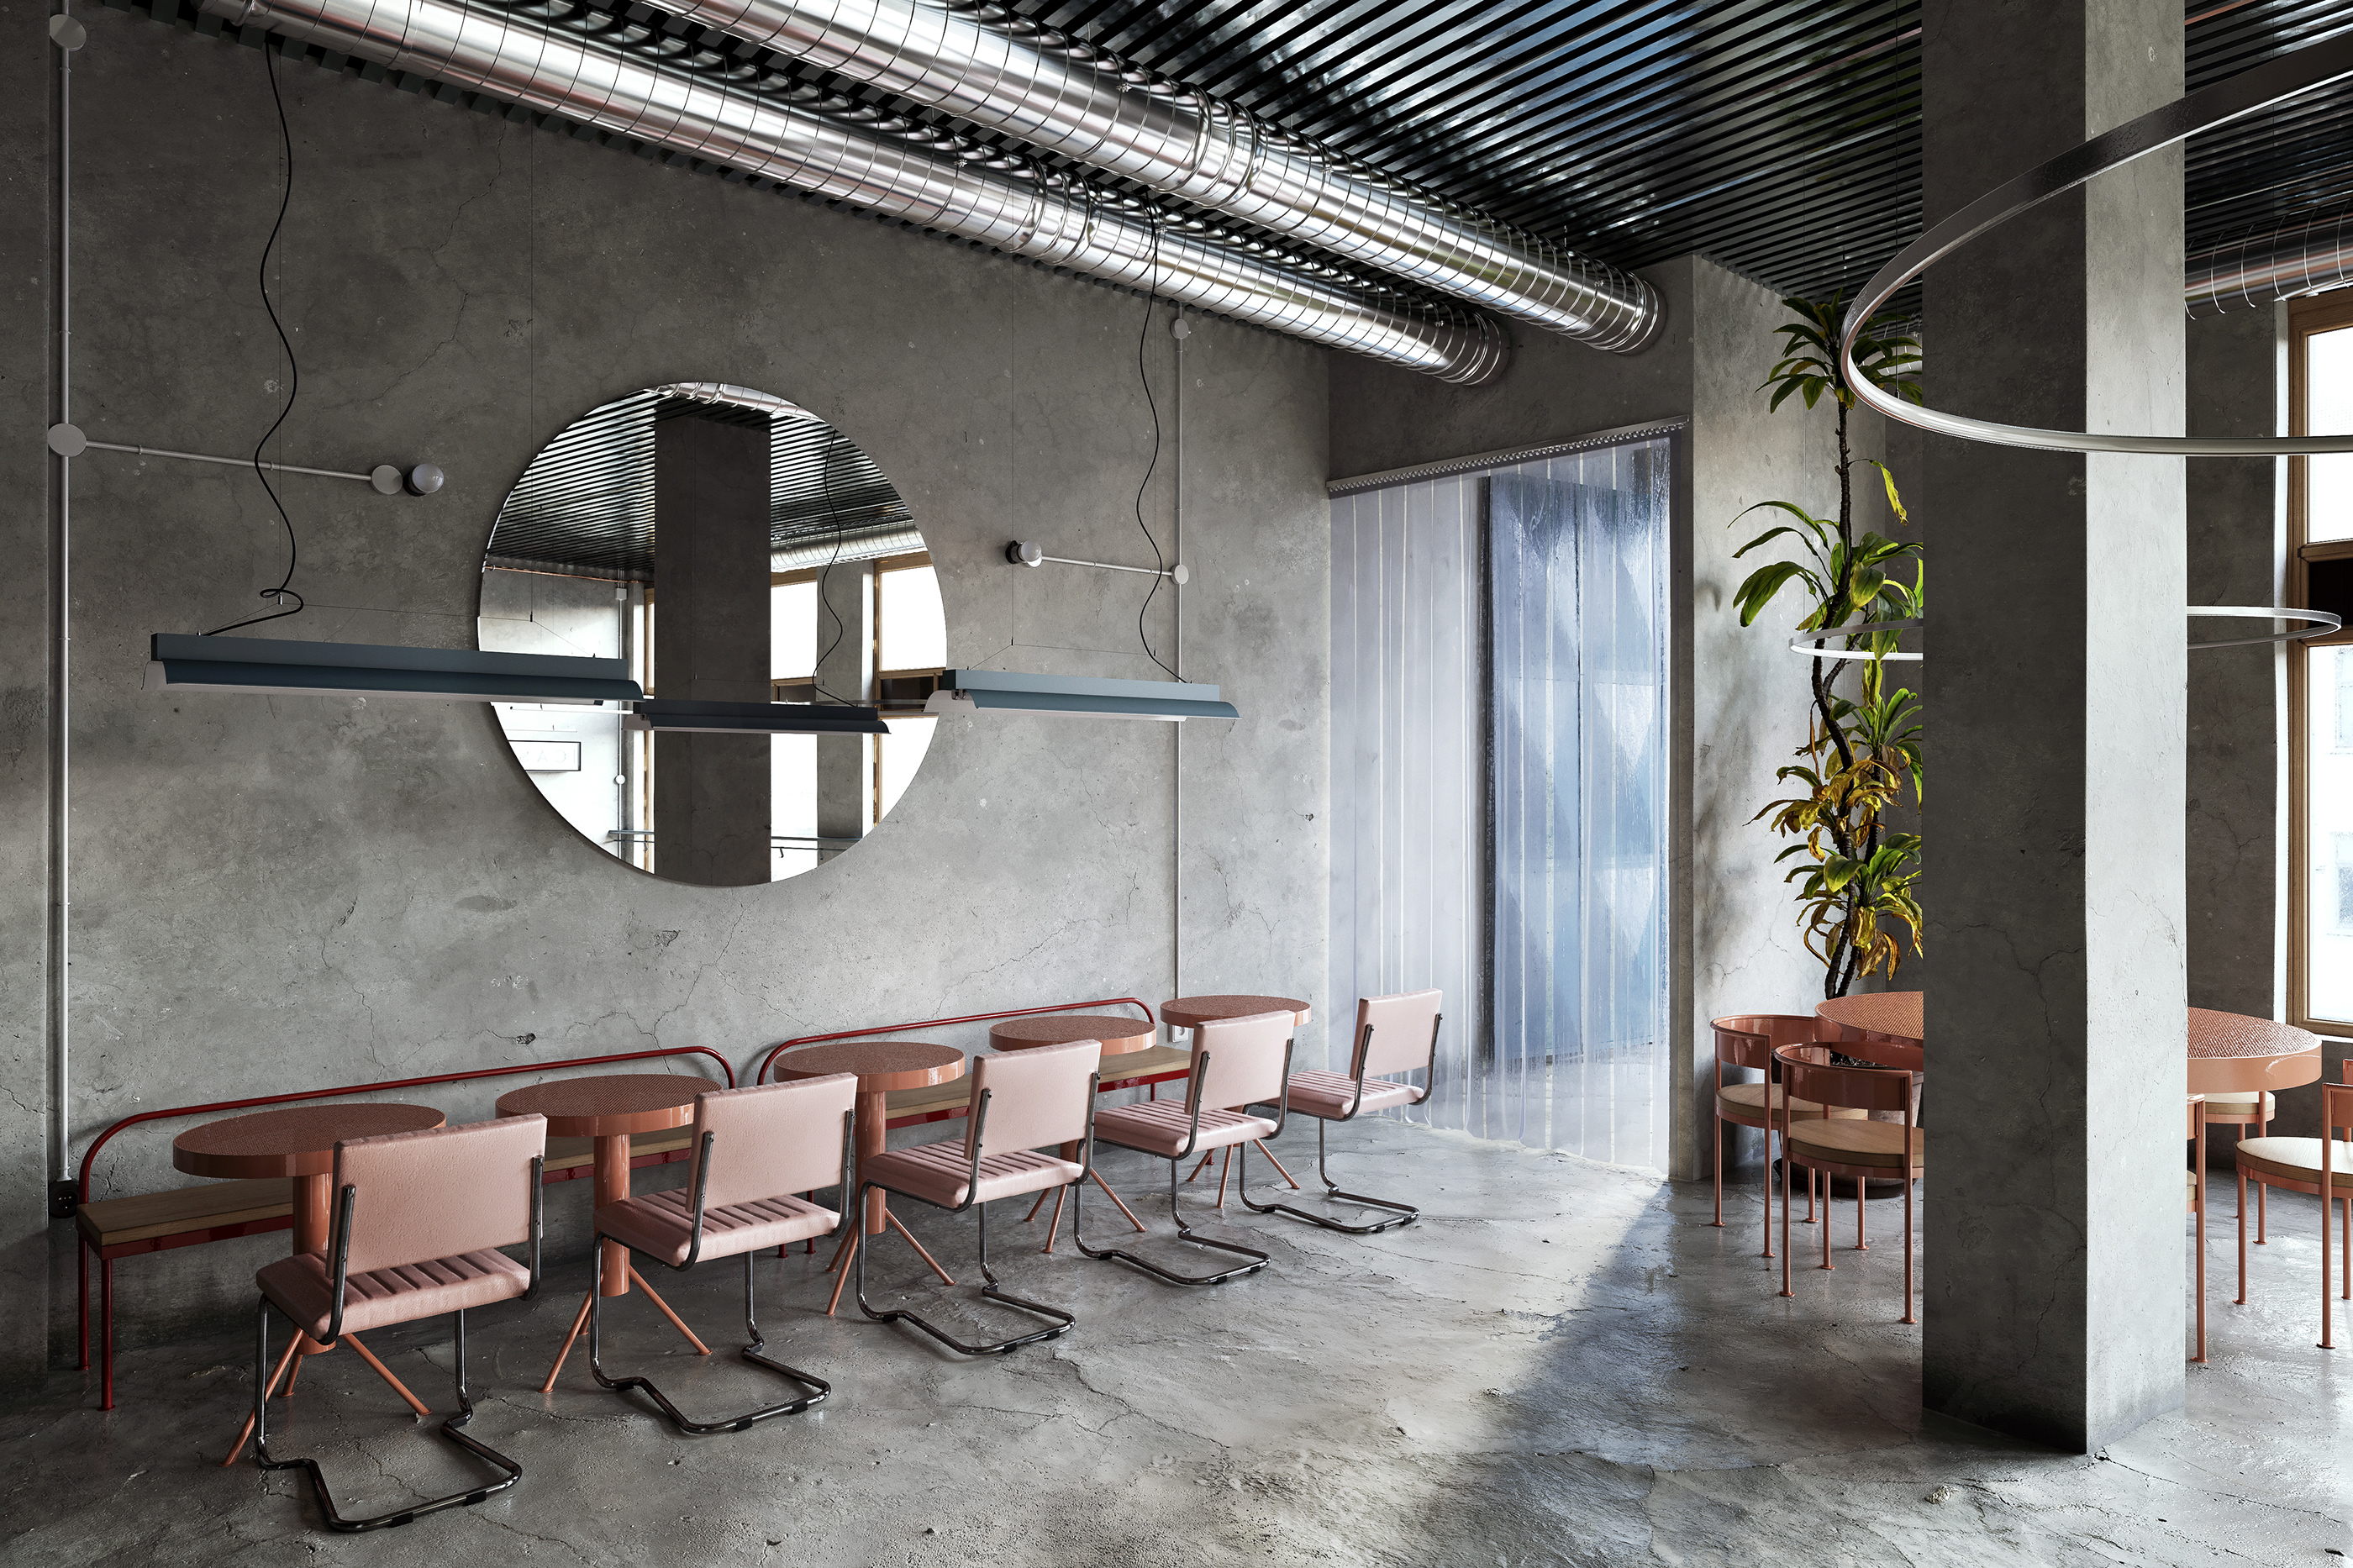
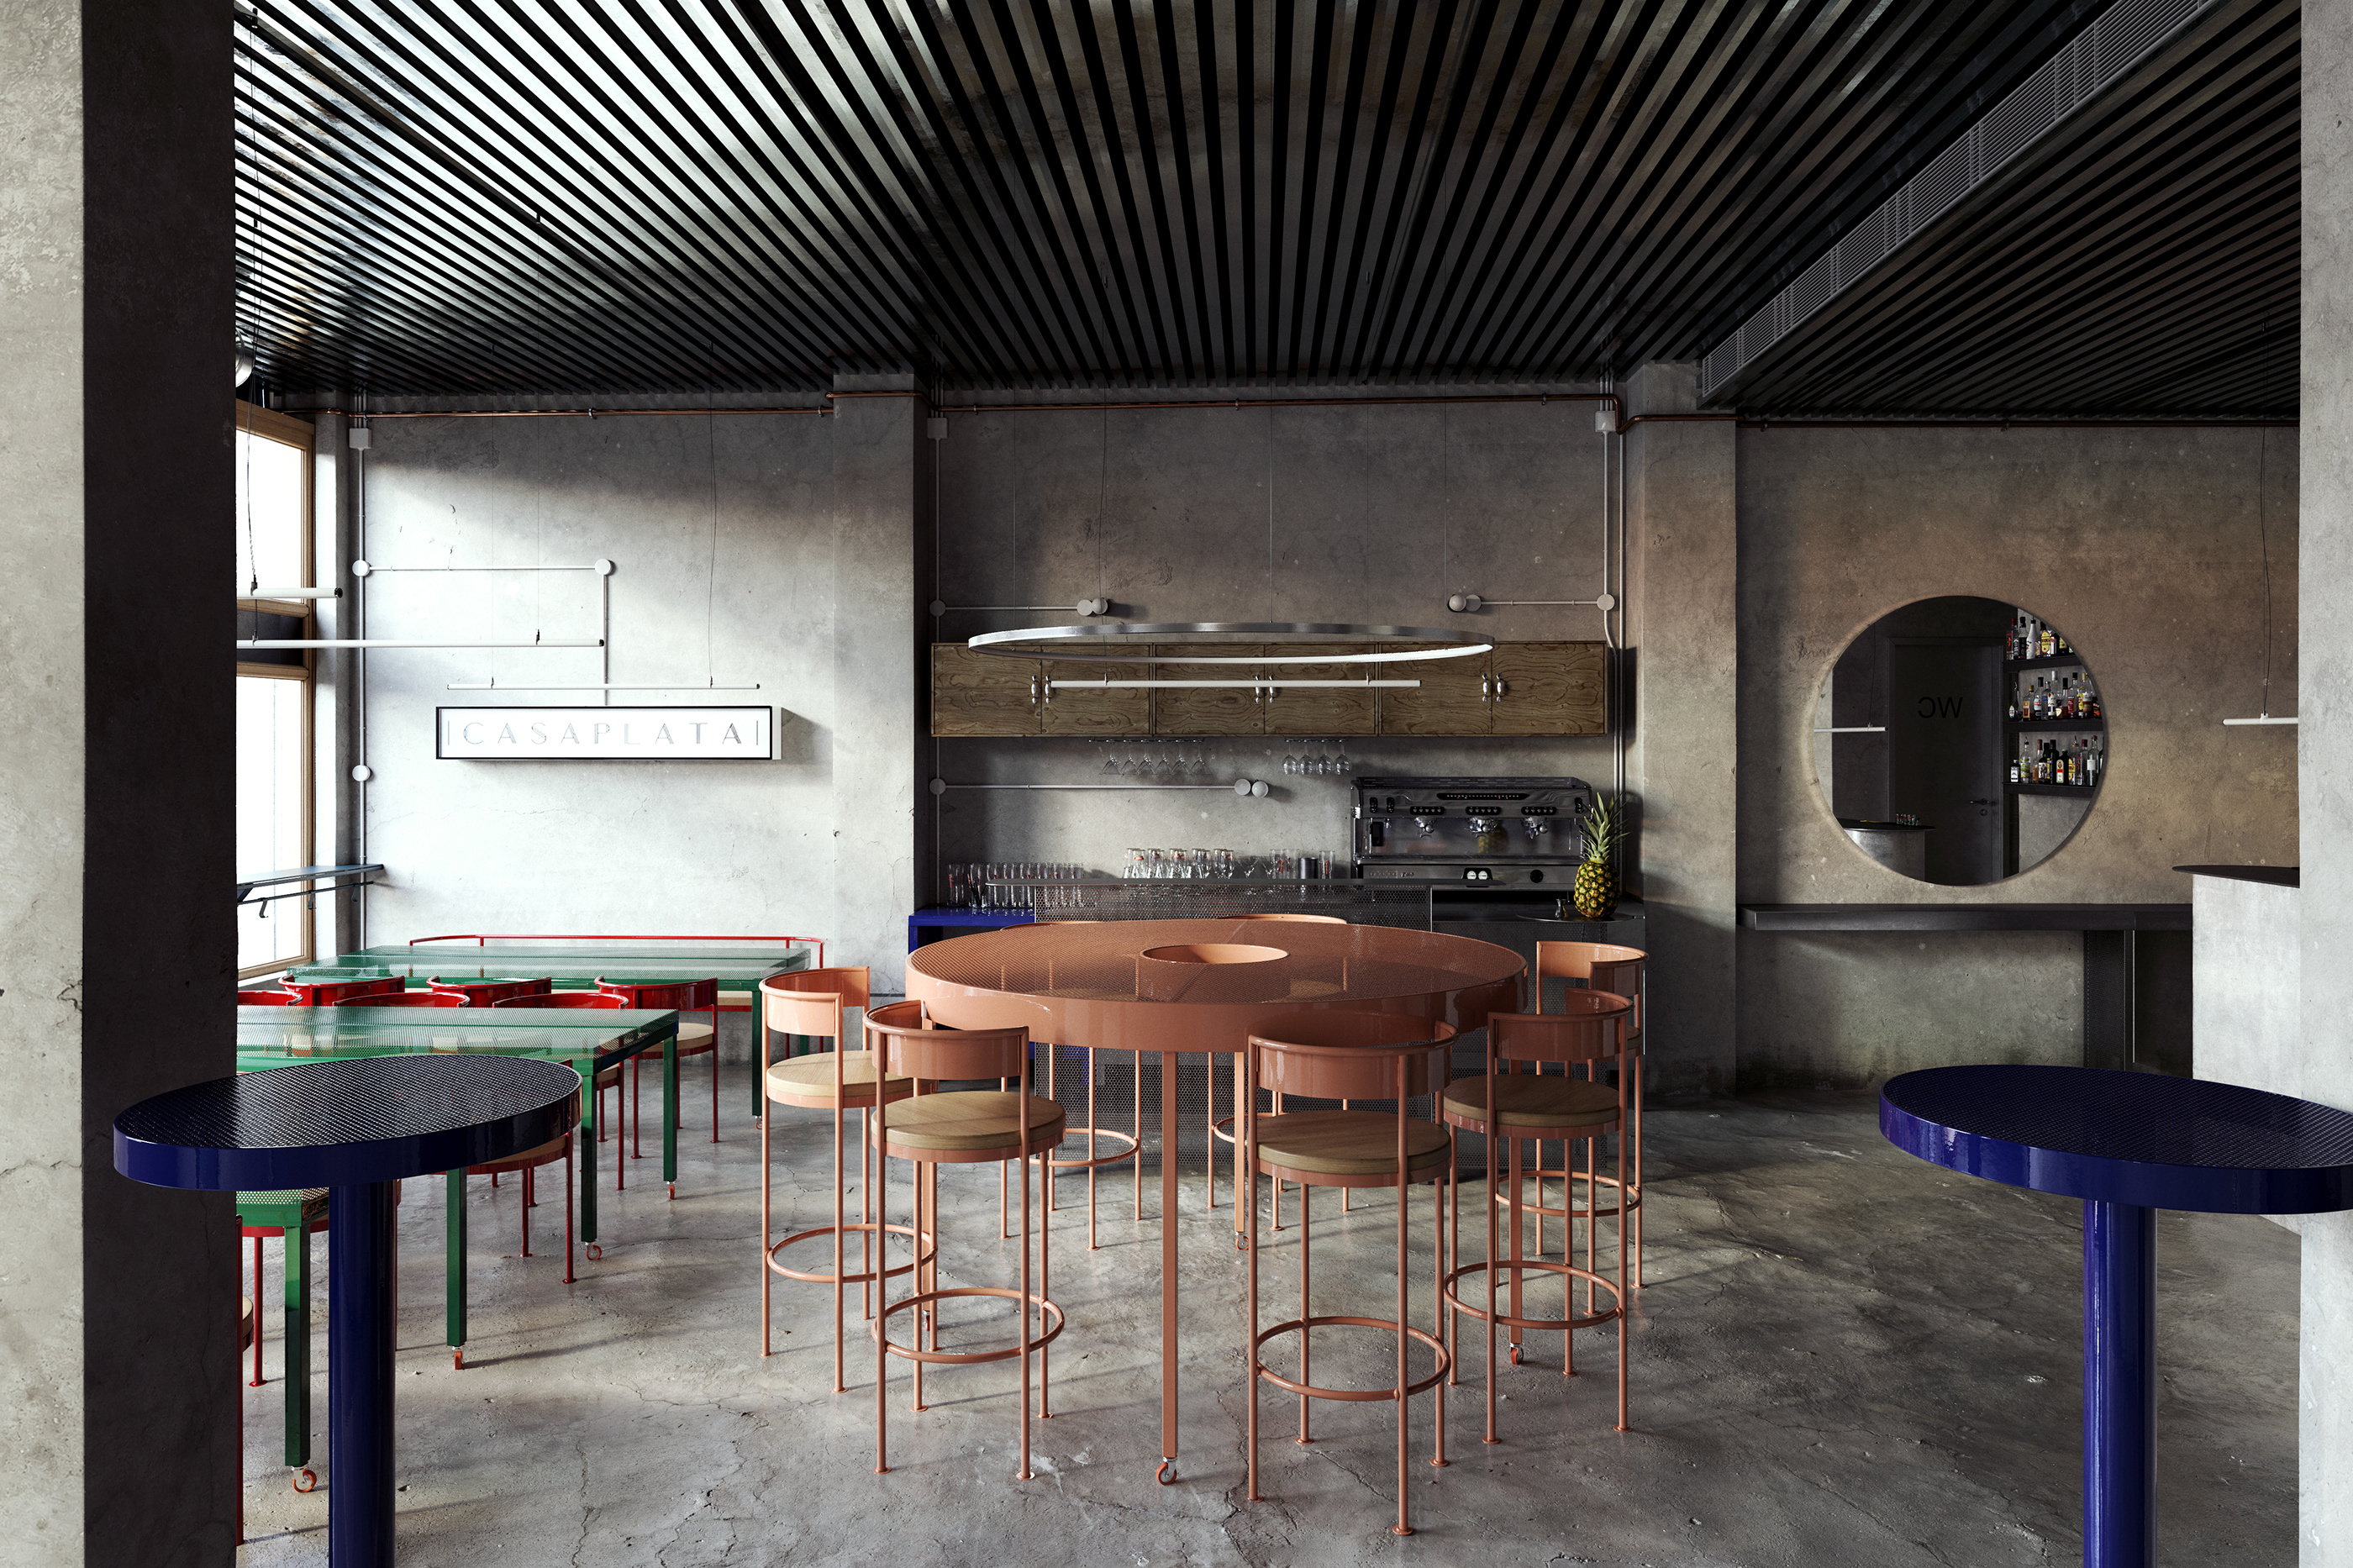
Here, Michael Fedichkin explains his process and inspiration for recreating, in stunning detail, the CASAPLATA restaurant and bar in Seville, Spain. Michael brings to bear his experience with materials, his expertise as a 3D artists, and his insights into photography to bear on this project.
In Michael’s words:
Hello, everyone! My name is Michael Fedichkin. I’m a 3D CG artist from Ukraine, and here is the making-off for my CASAPLATA recreation — realized using the awesome textures of Quixel Megascans.

I hold a masters degree in the field of welding, so I don’t have any profound knowledge of architecture, or exterior and interior design. I’ve studied 3ds Max for the last 8 years as a hobby.
Usually, I try to create something interesting, fresh, and authentic. There are a lot of artists and projects out there, but many are run-of-the-mill and too similar: similar 3d models, similar designs, similar materials, and so on.
And so I often take a long time to cultivate the ideas for my projects. I’m always monitoring a number of sources trying to find unusual scenes, and when the epiphany comes, I begin to create! Truth be told, very often I feel some kind inexplicable power guiding my hand to do my best work. Perhaps, my gut feeling (and some sense of taste) help me to create harmonious compositions. I feel when each object is in the best place and position in the scene, my skills in the field of photography helps me find the best perspective for the camera position.
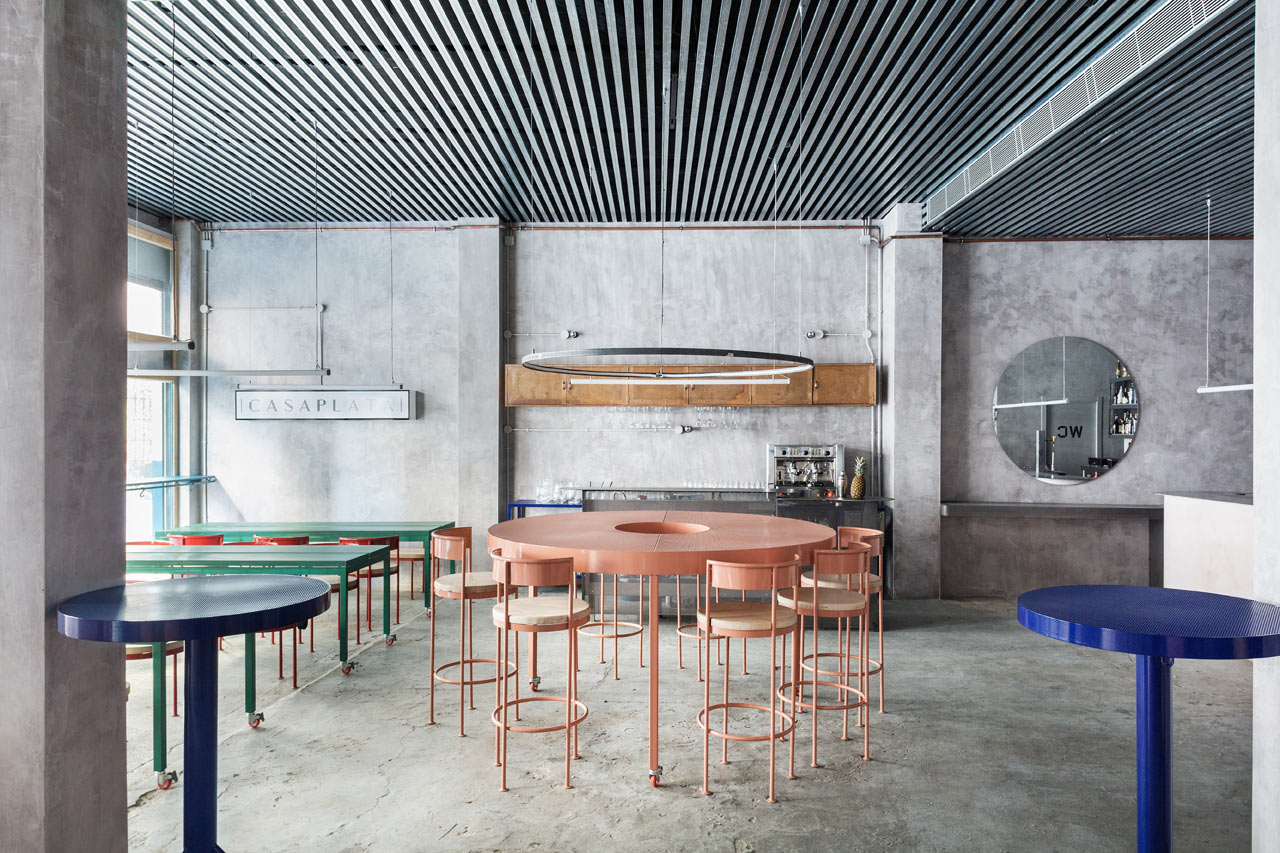
My main source of inspiration is Instagram. I follow a lot of unusual, creative, and aesthetic pages. I find many references from mysterious places, ancient houses, or unique items. And so when I first saw photos of the real CASAPLATA restaurant and bar in Seville — the inspiration to recreate it in 3D using photo references immediately came to me.
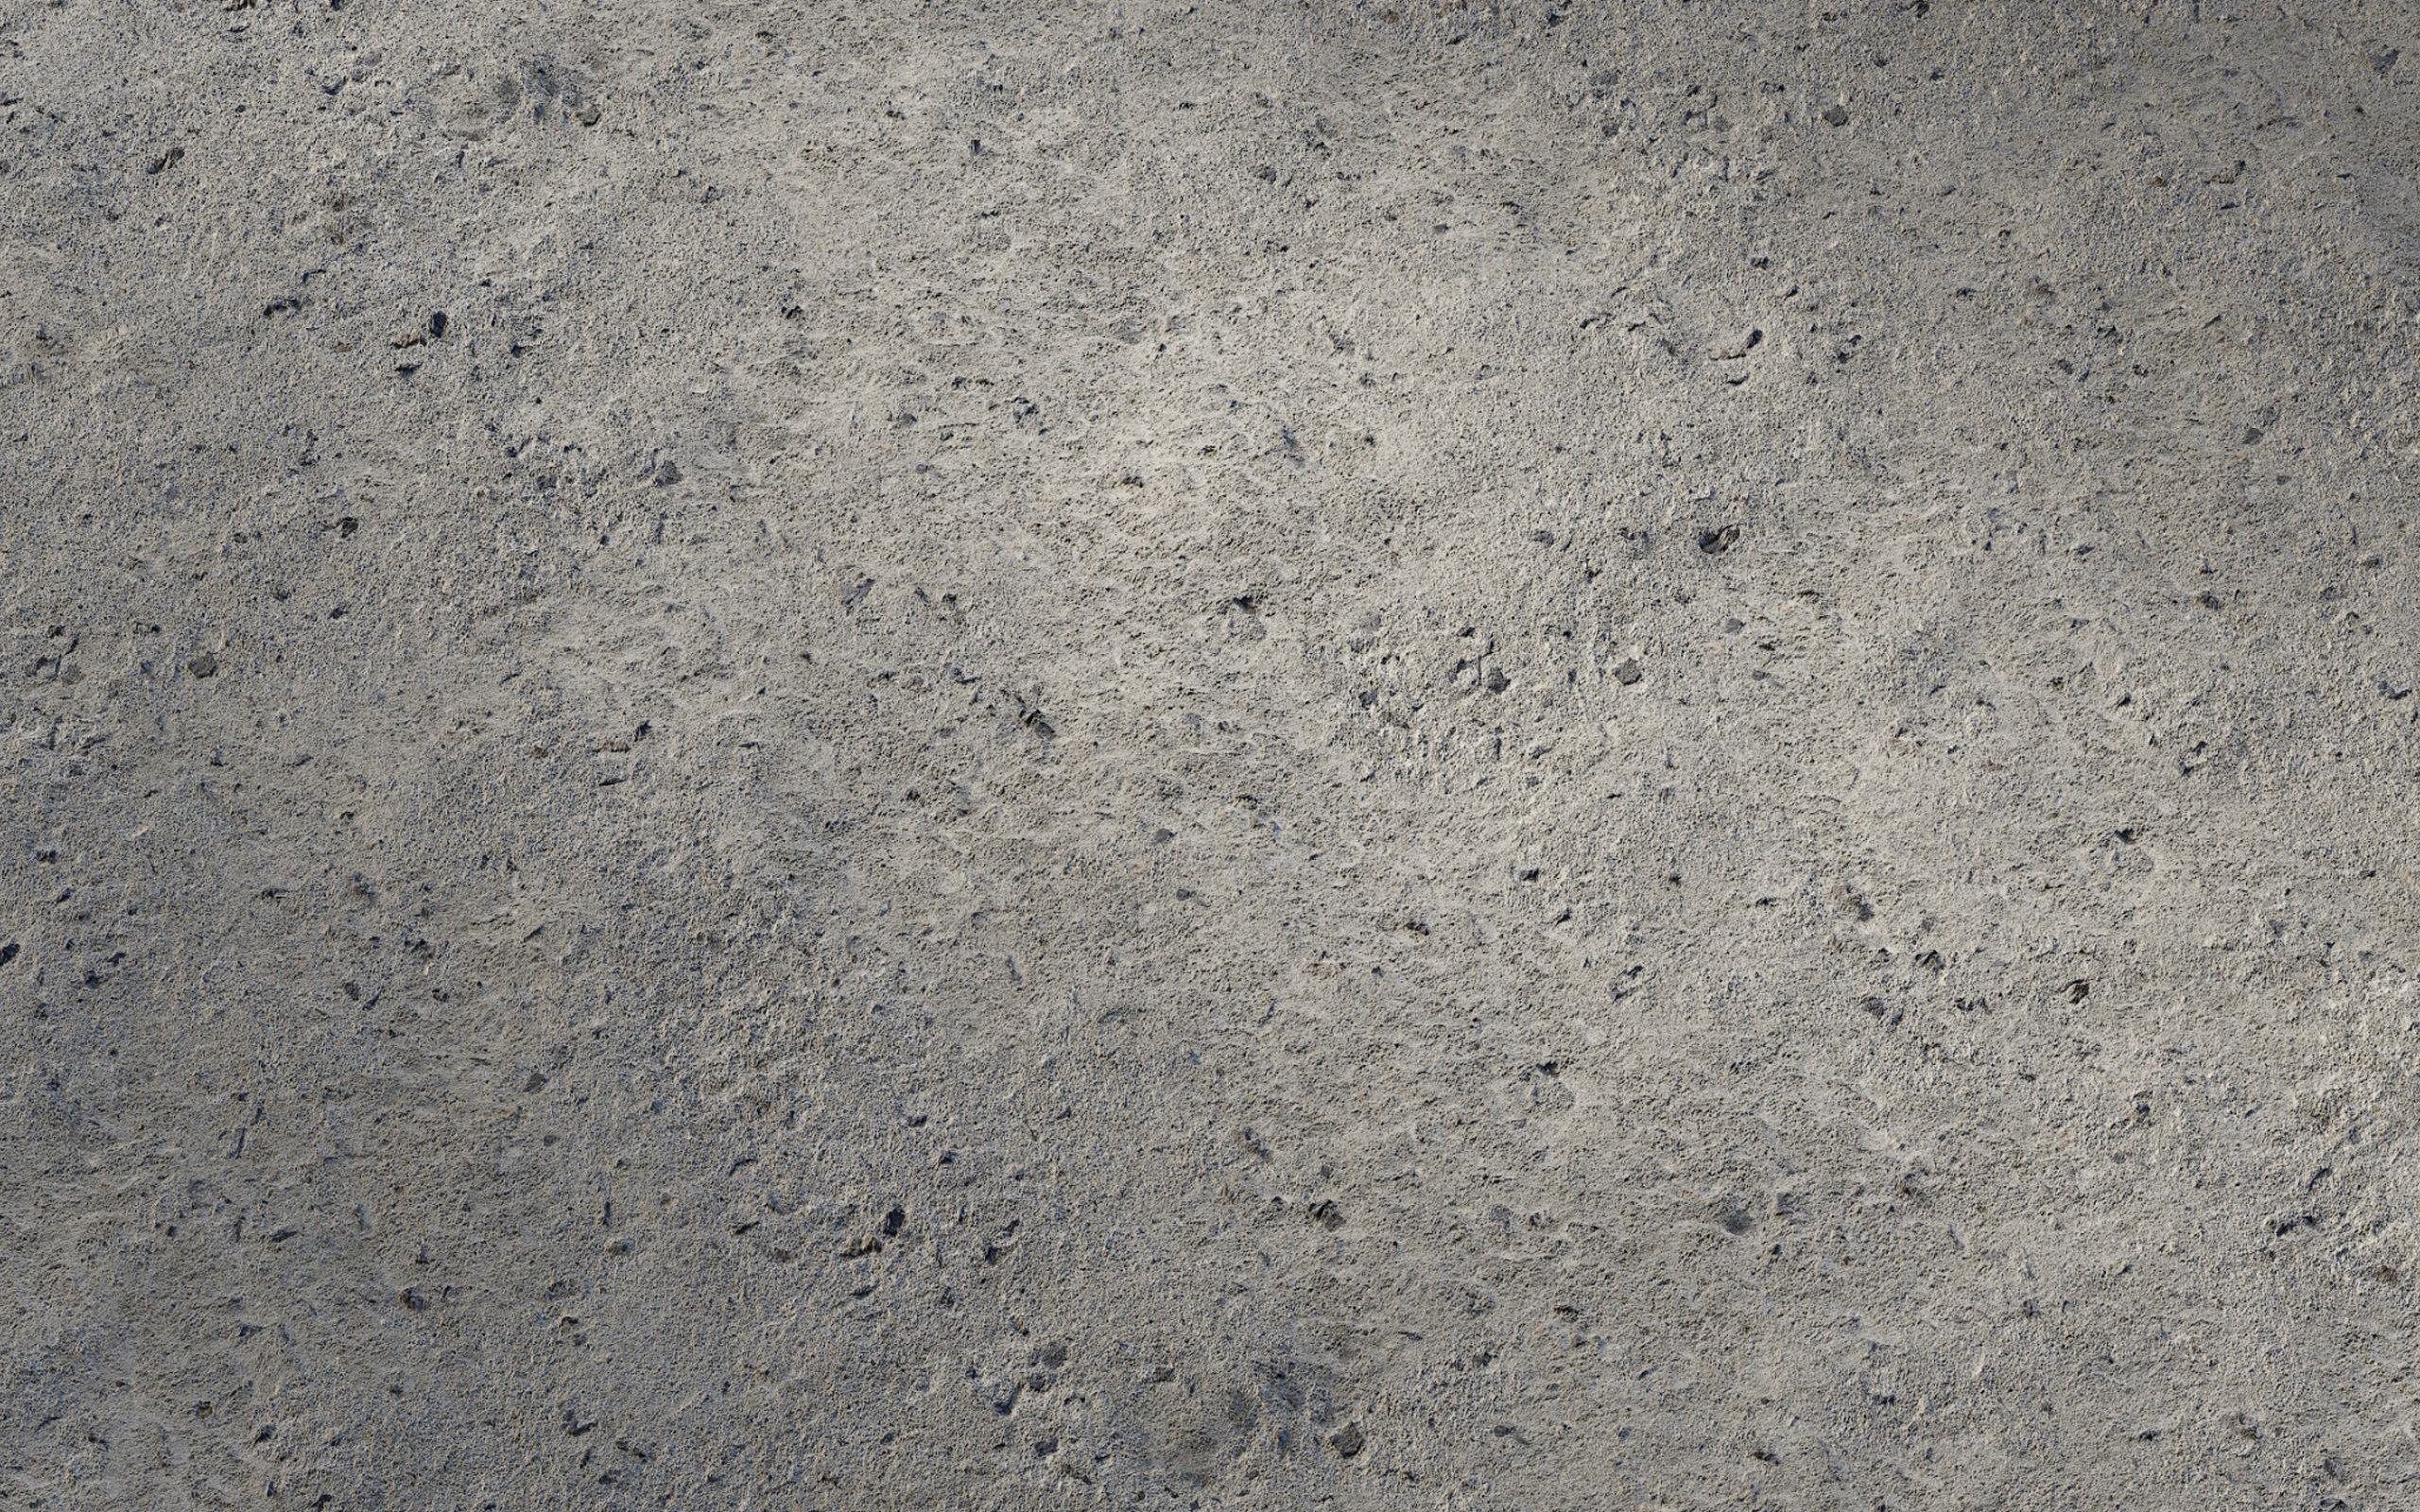
Why exactly did I choose the CASAPLATA? Well, I really love concrete. I adore this material in all its demonstrations. And also, I like the textures in the Quixel Megascans library. I think the Quixel team produces really cool content and are clearly leaders in this area.
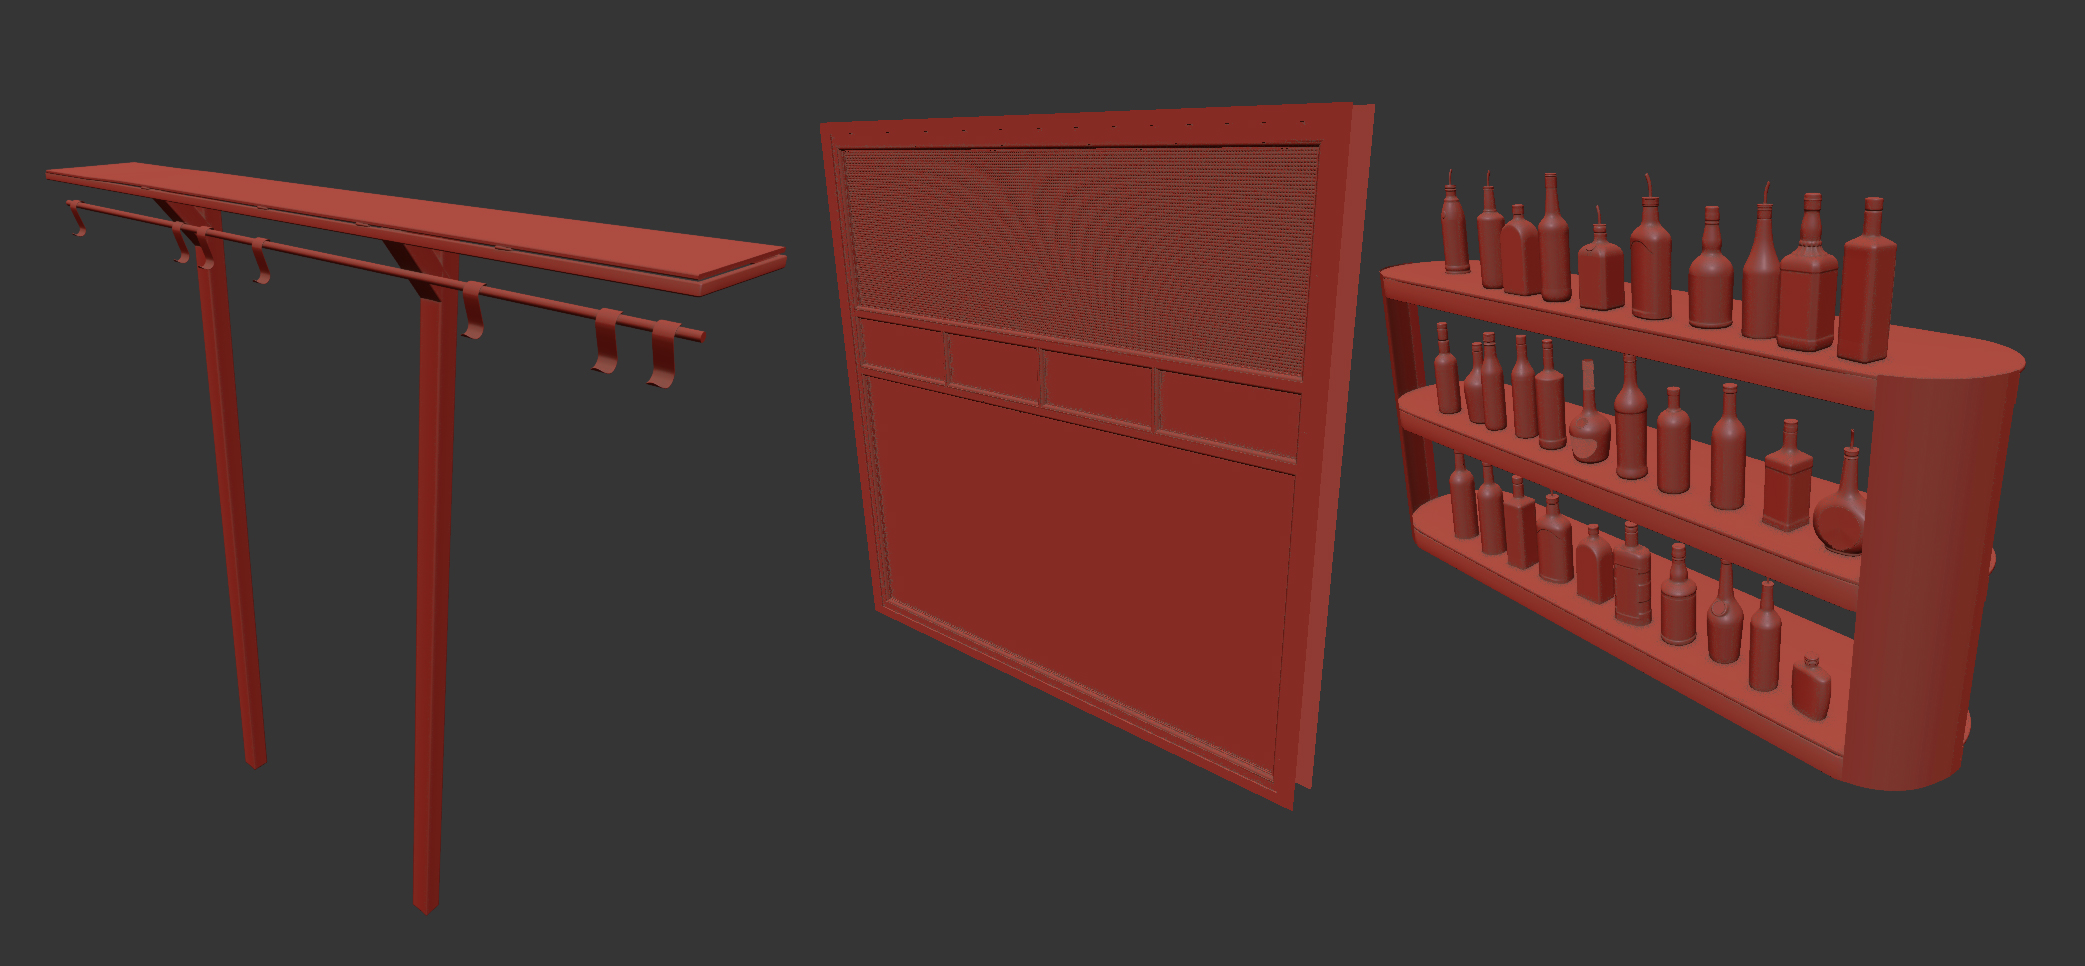
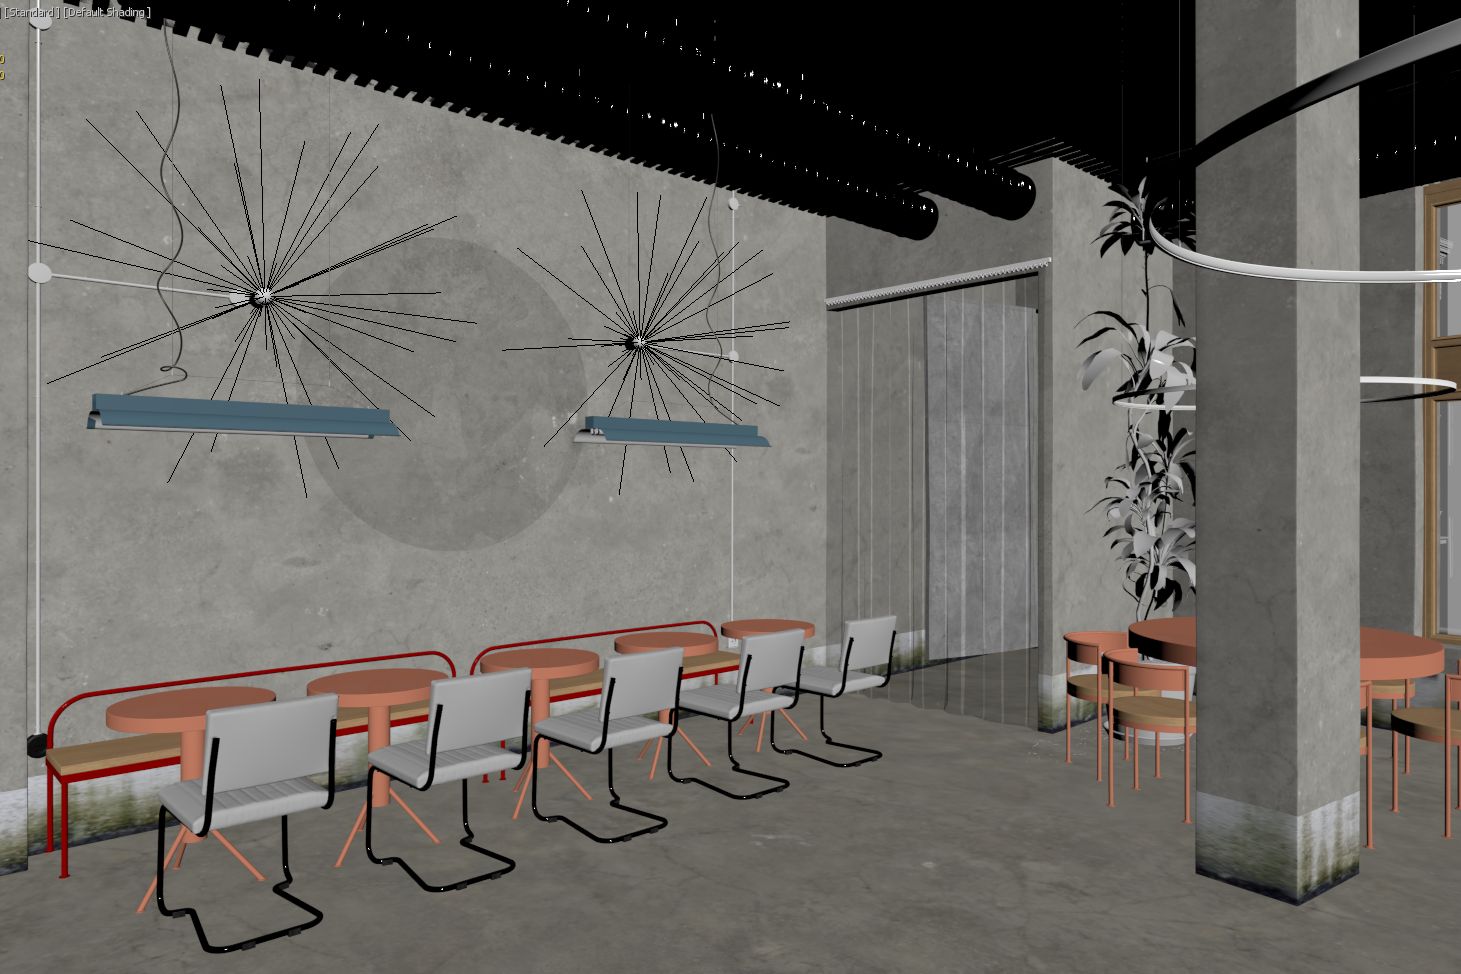
Modeling
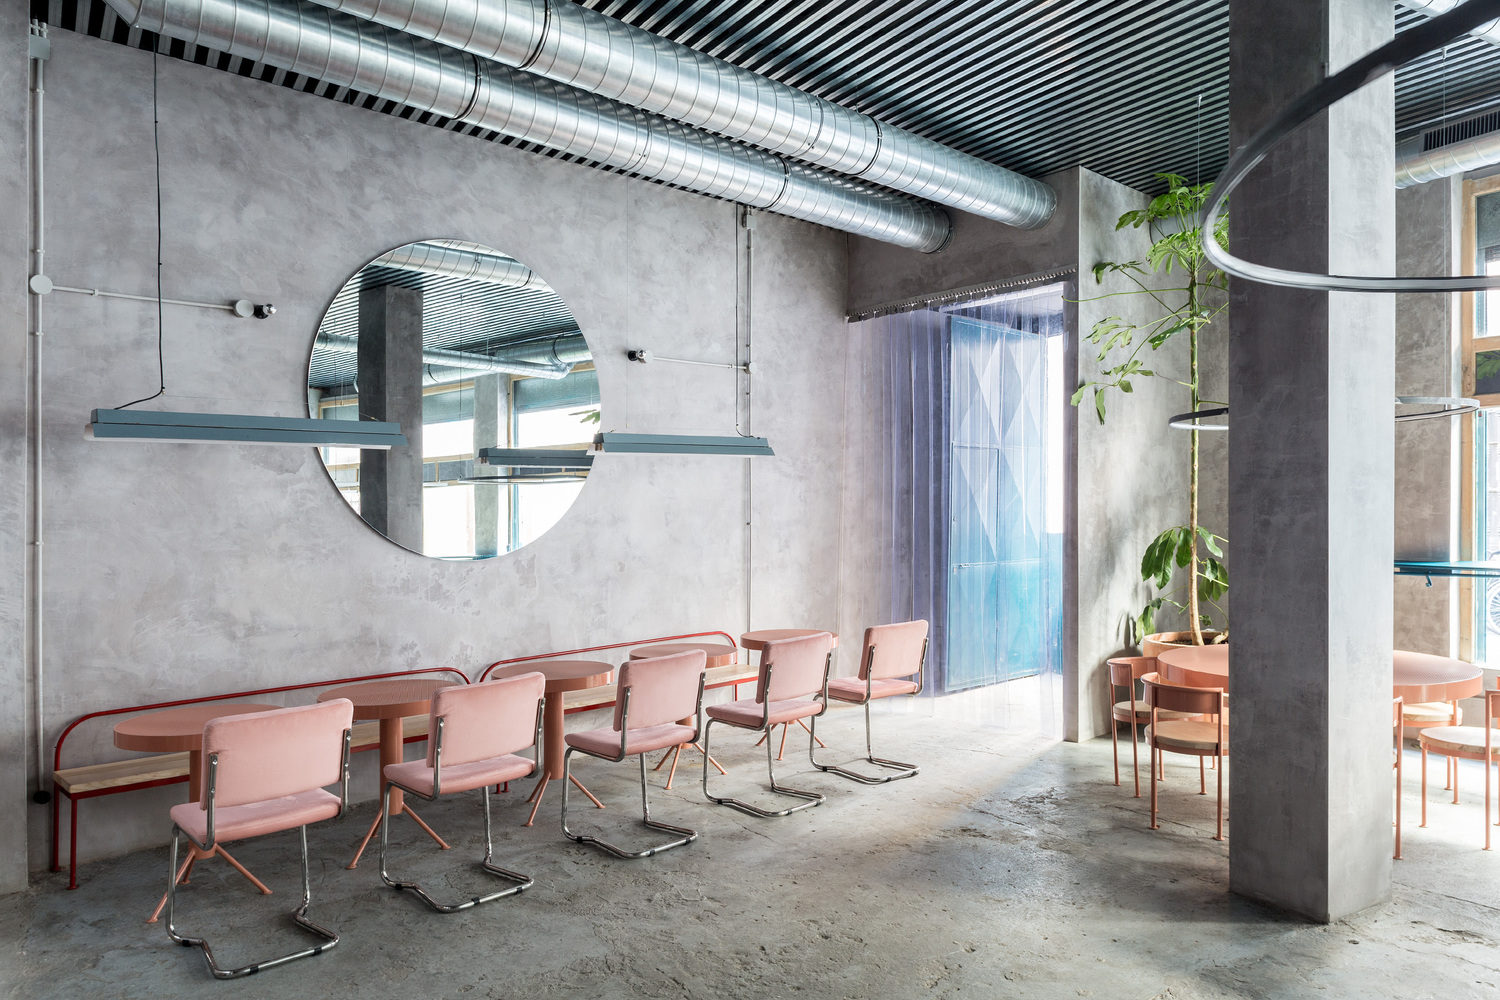
The first step was the modeling of the main space (walls, windows, ceiling, floor). At the same time, I was setting the right camera position/perspective and tinkering with setting such as focal length. It’s funny how long it takes to understand what focal length was chosen by the photographer when they took these photos. Usually, I use layer mixing in Photoshop of the real photos and screenshots from the viewport.
Details, details, details!
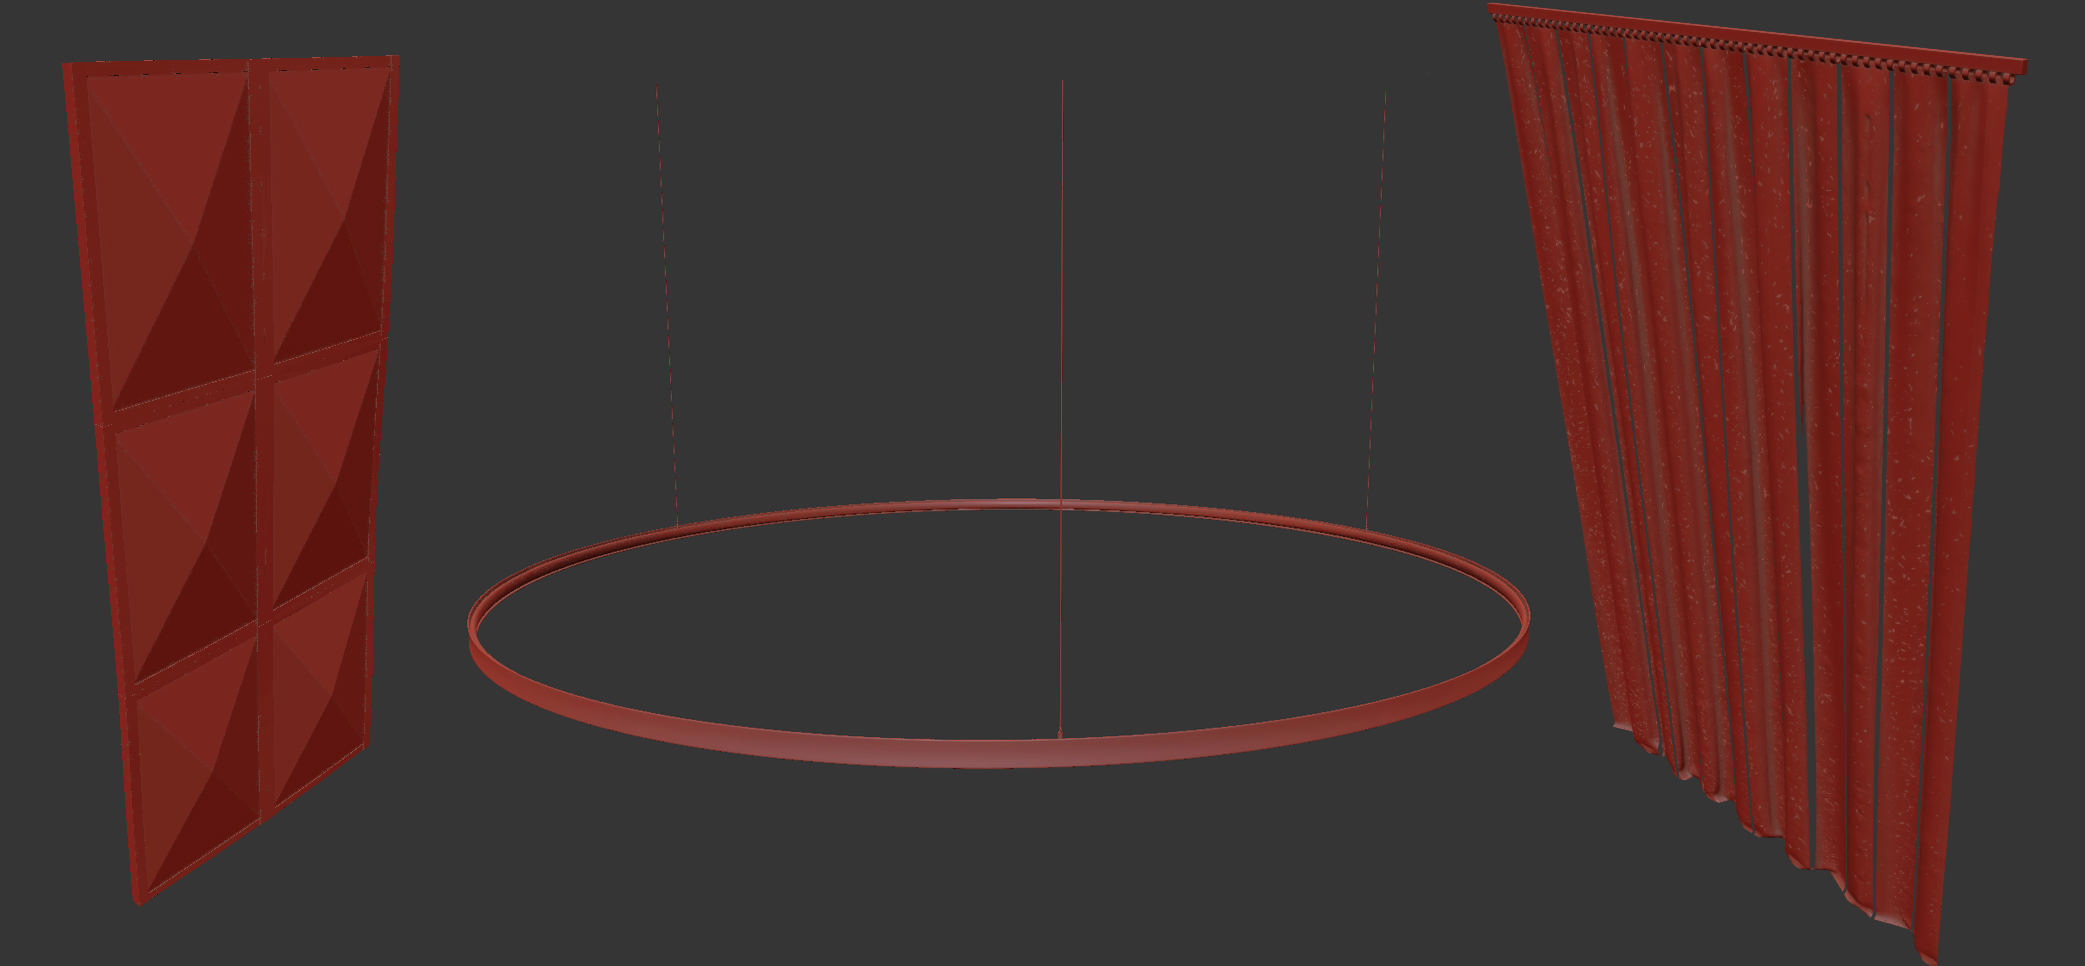
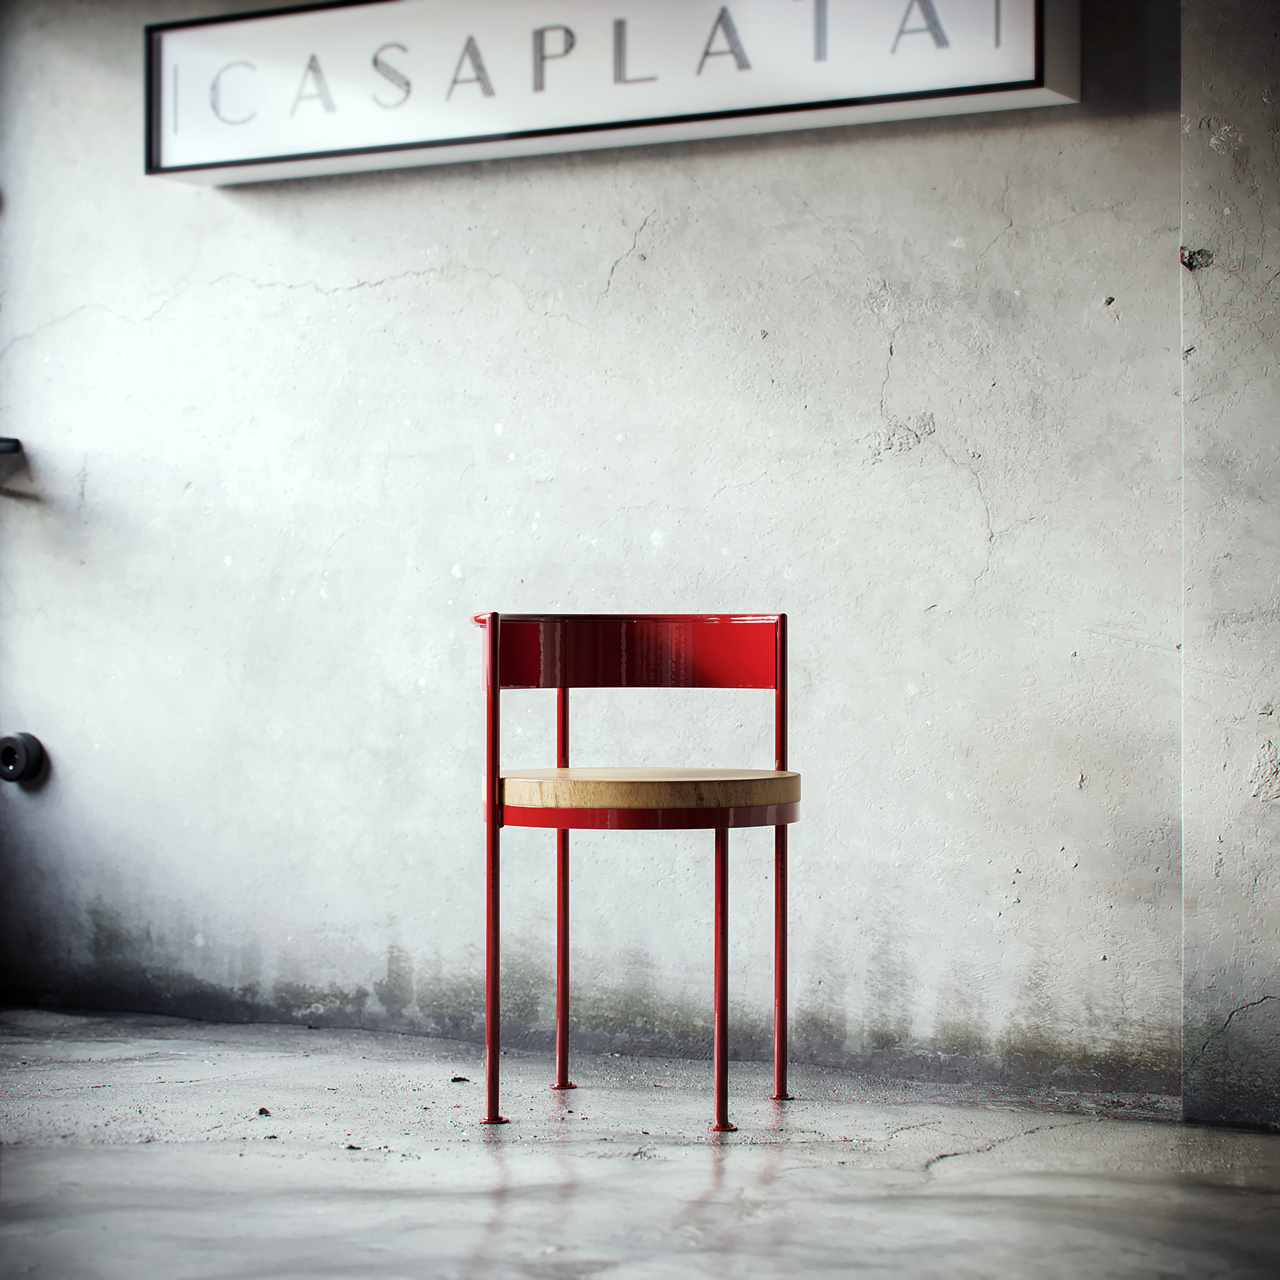
After that, I modeled all the other props, as well as some pretty cool chairs, tables, and benches designed by KRESTADESIGN.
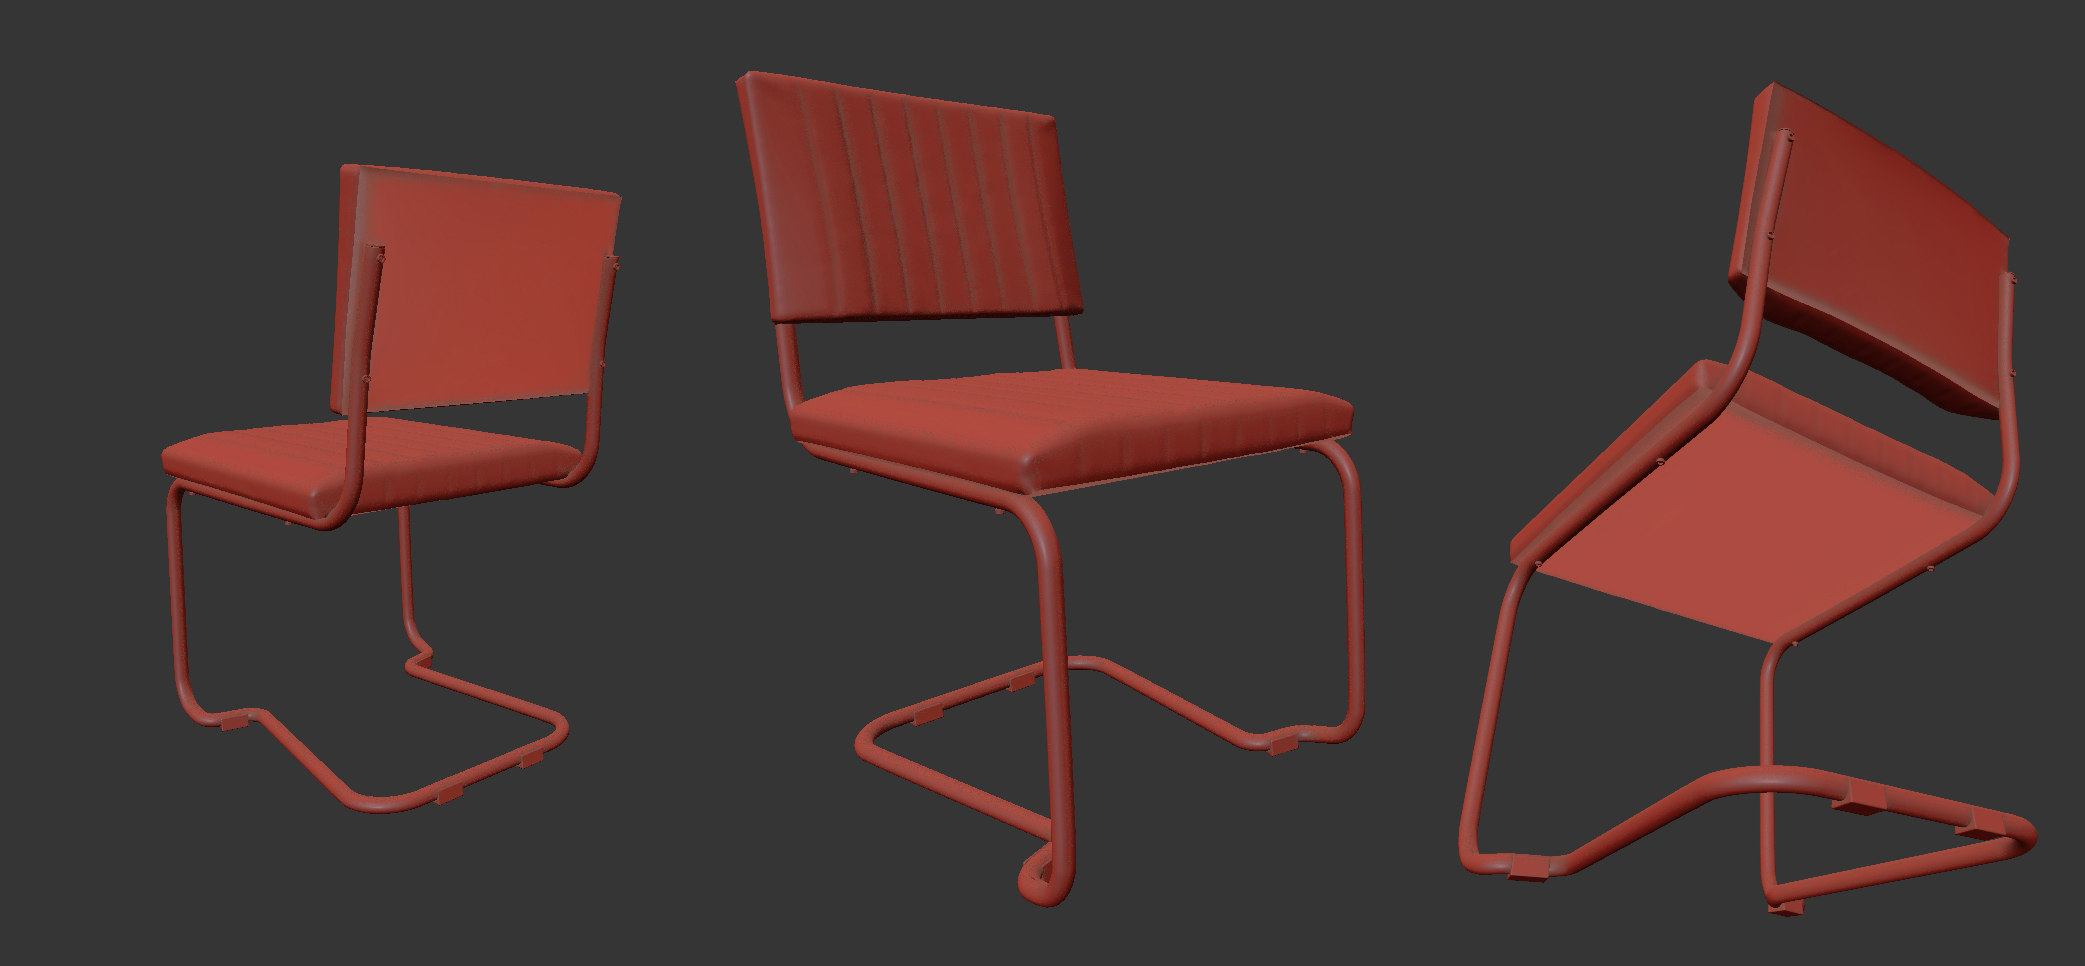
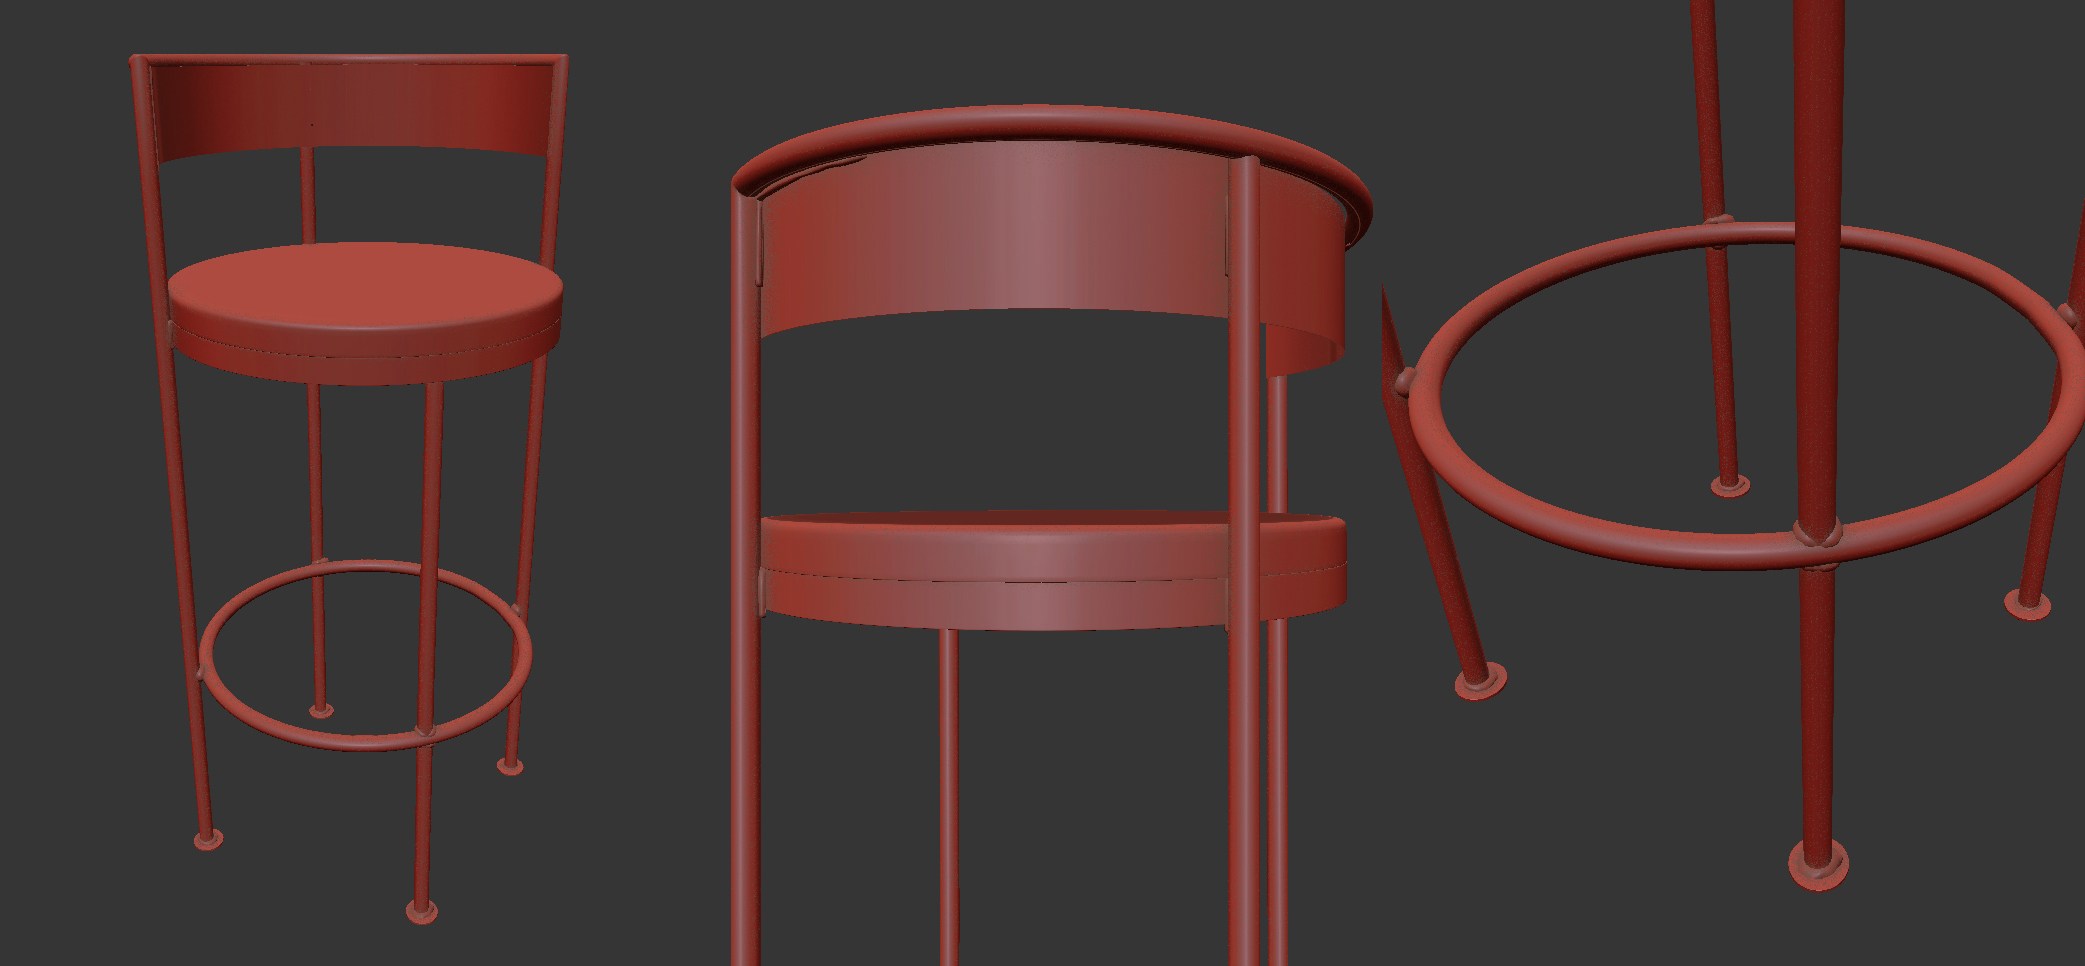
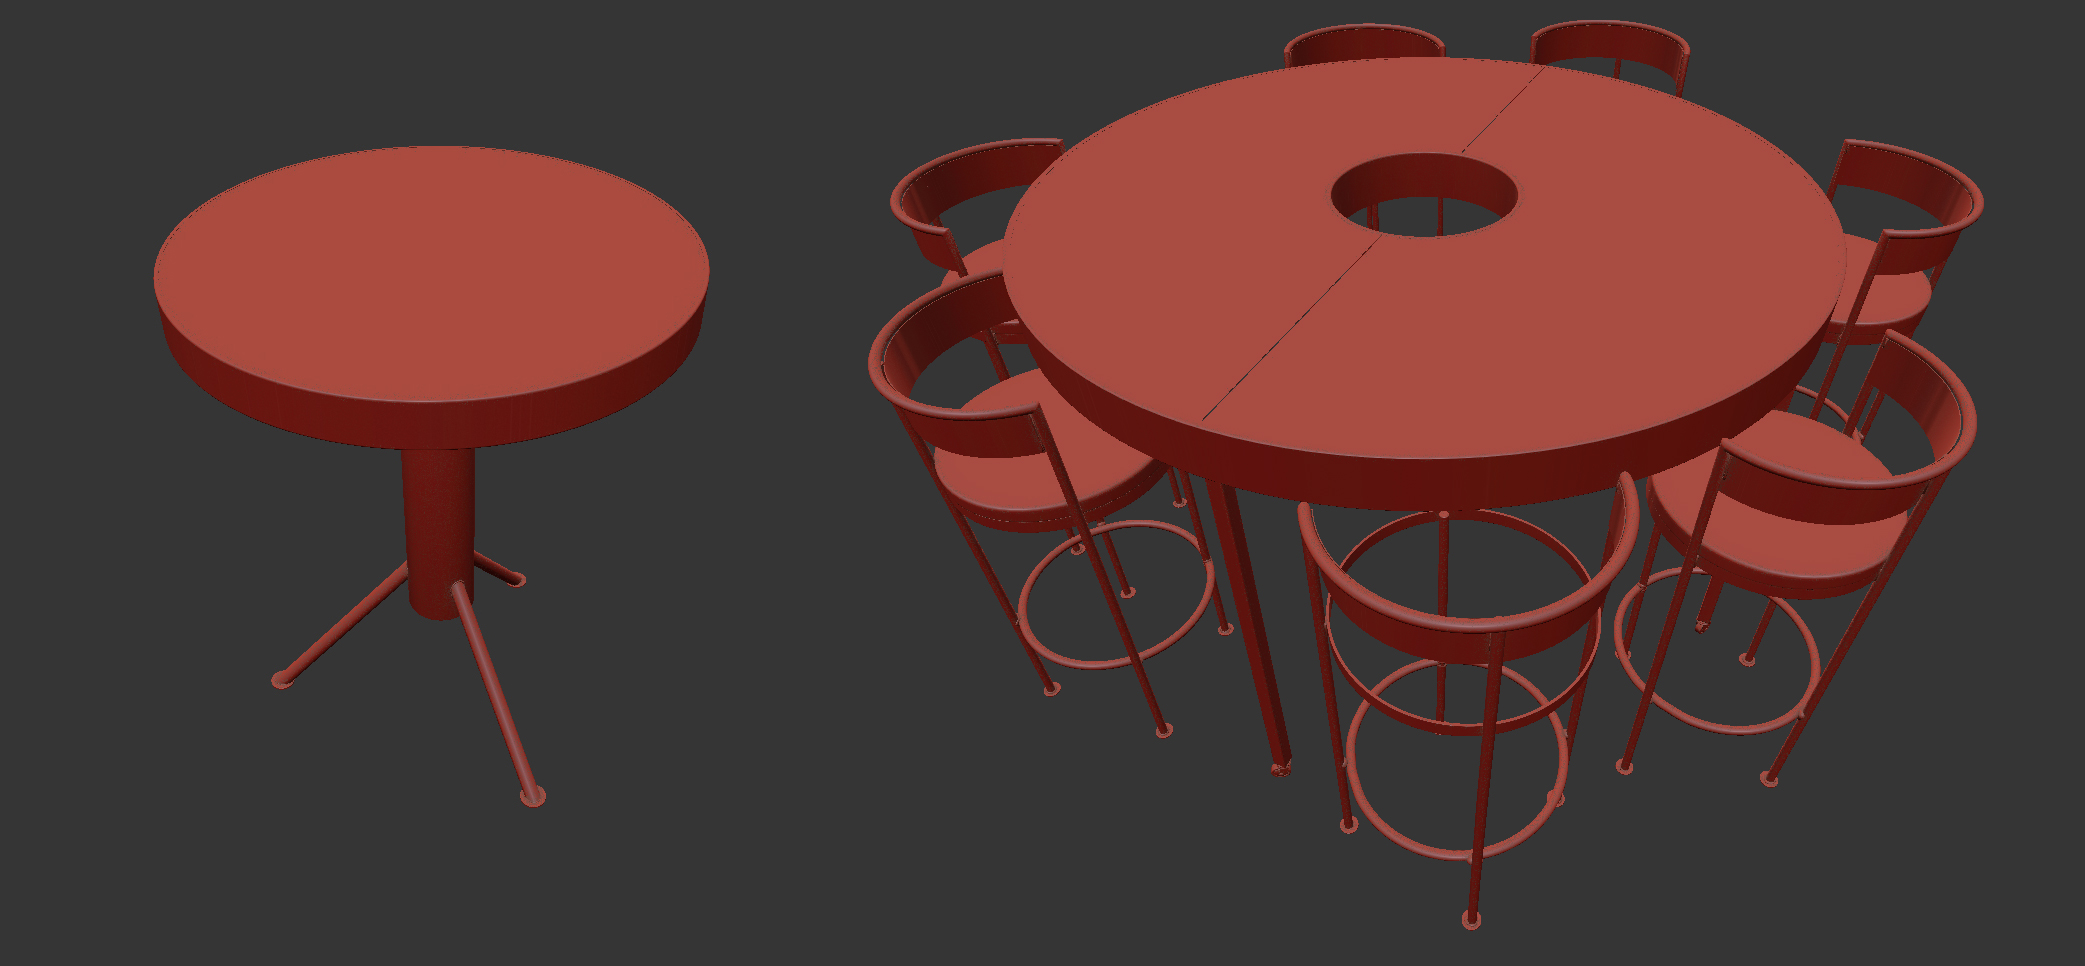
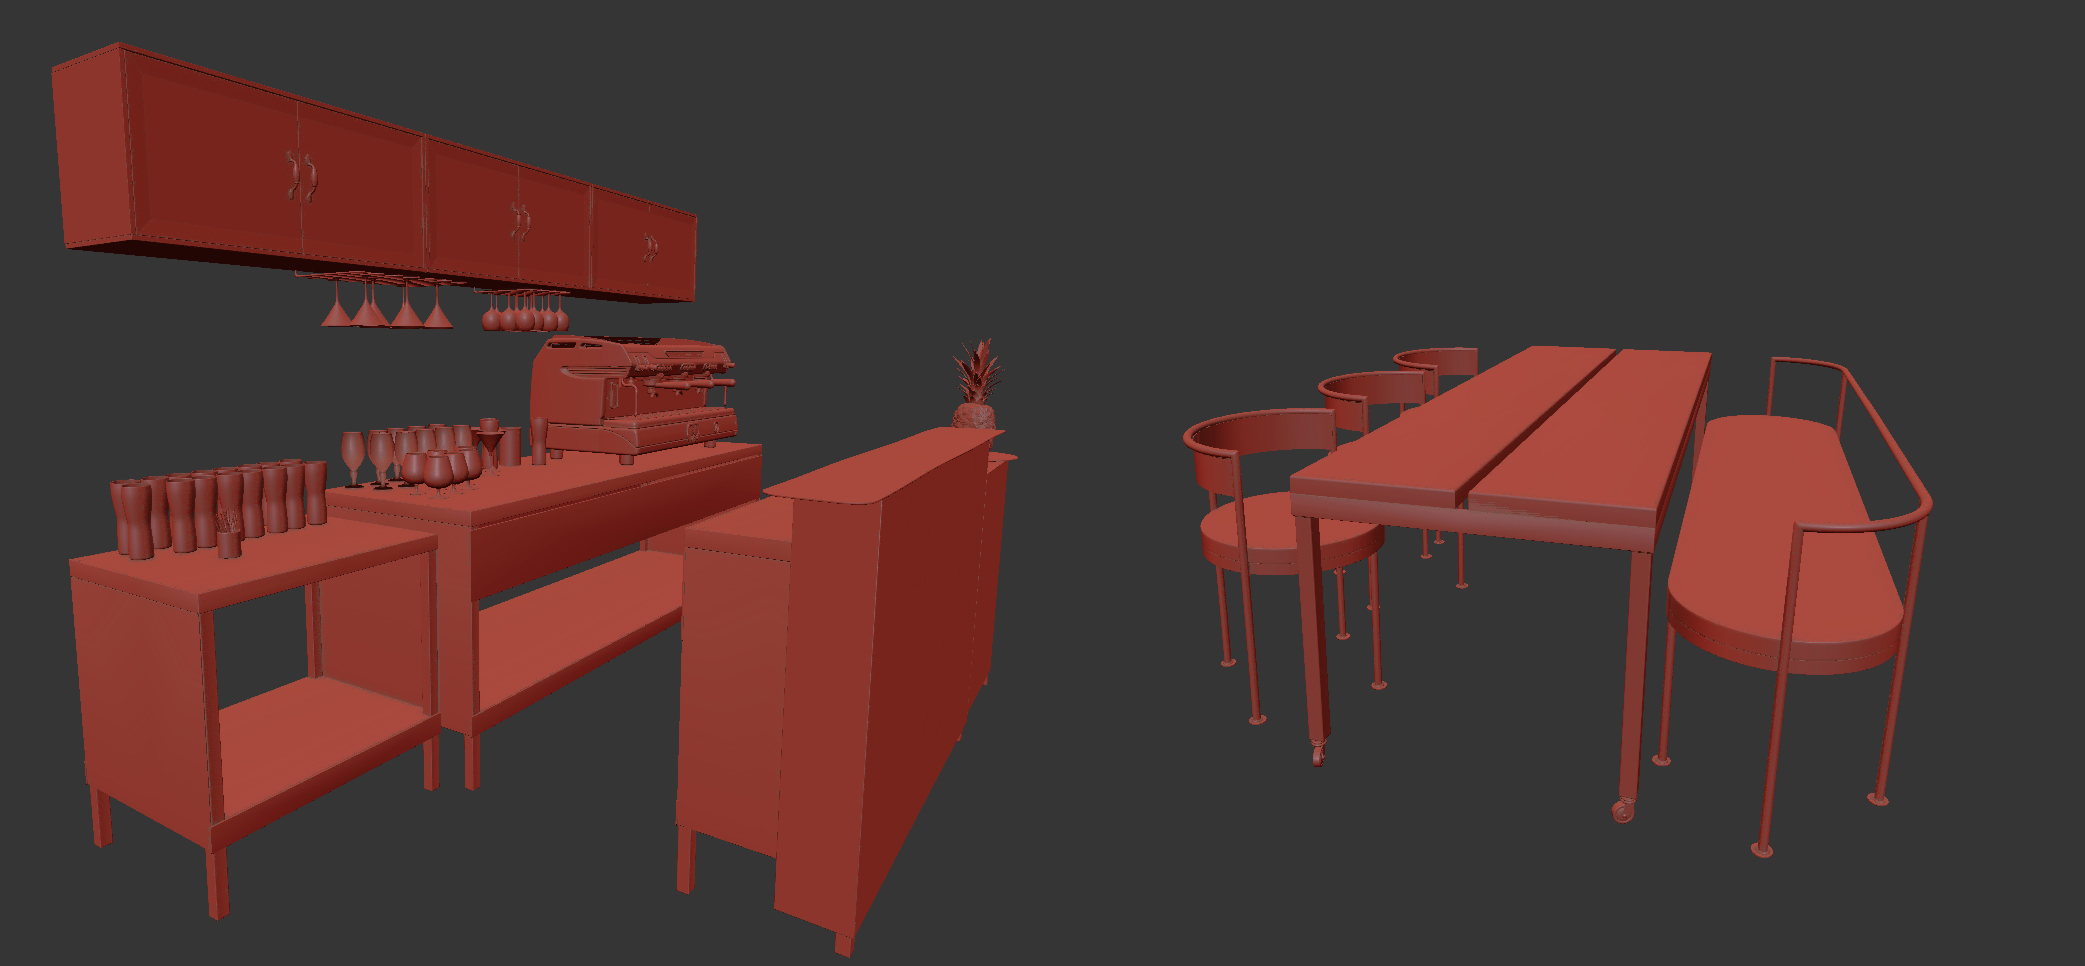
The devil is in the details! I always work hard on details, because I am sure that one of the key points in the success of the overall work depends on it. In such moments, oversights like the chairs appearing to levitate because they are not grounded properly are unacceptable. (Hence the welded joints you see at the base of the chair legs!).
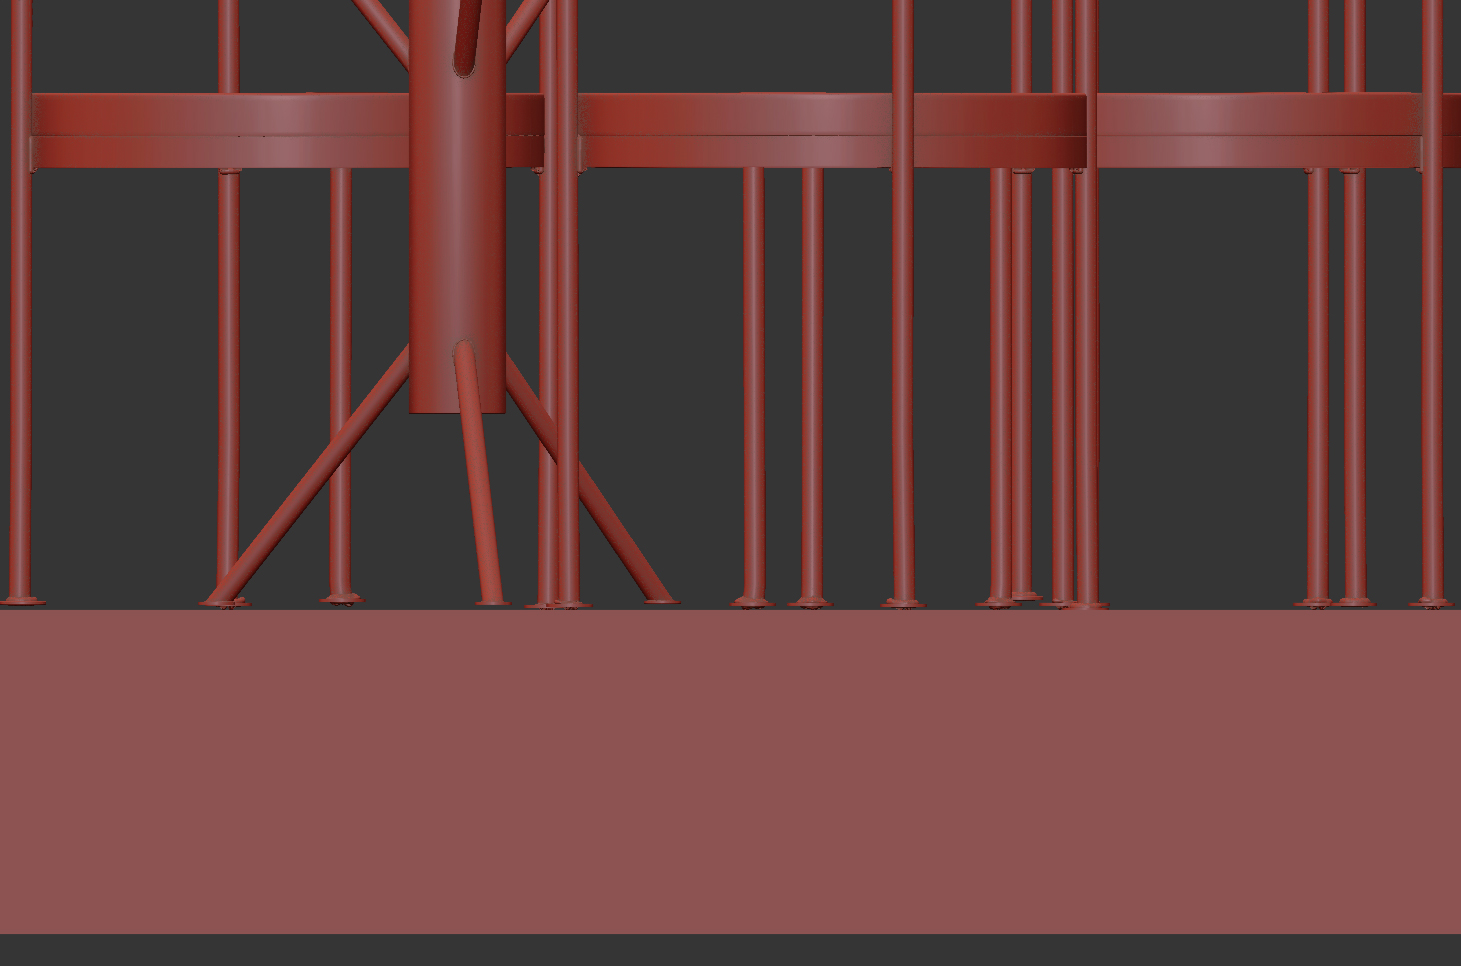
So for each chair, table, etc., I needed to set different heights for the legs. This took a lot of time, but such details make your composition more interesting and unique.
Materials and assets
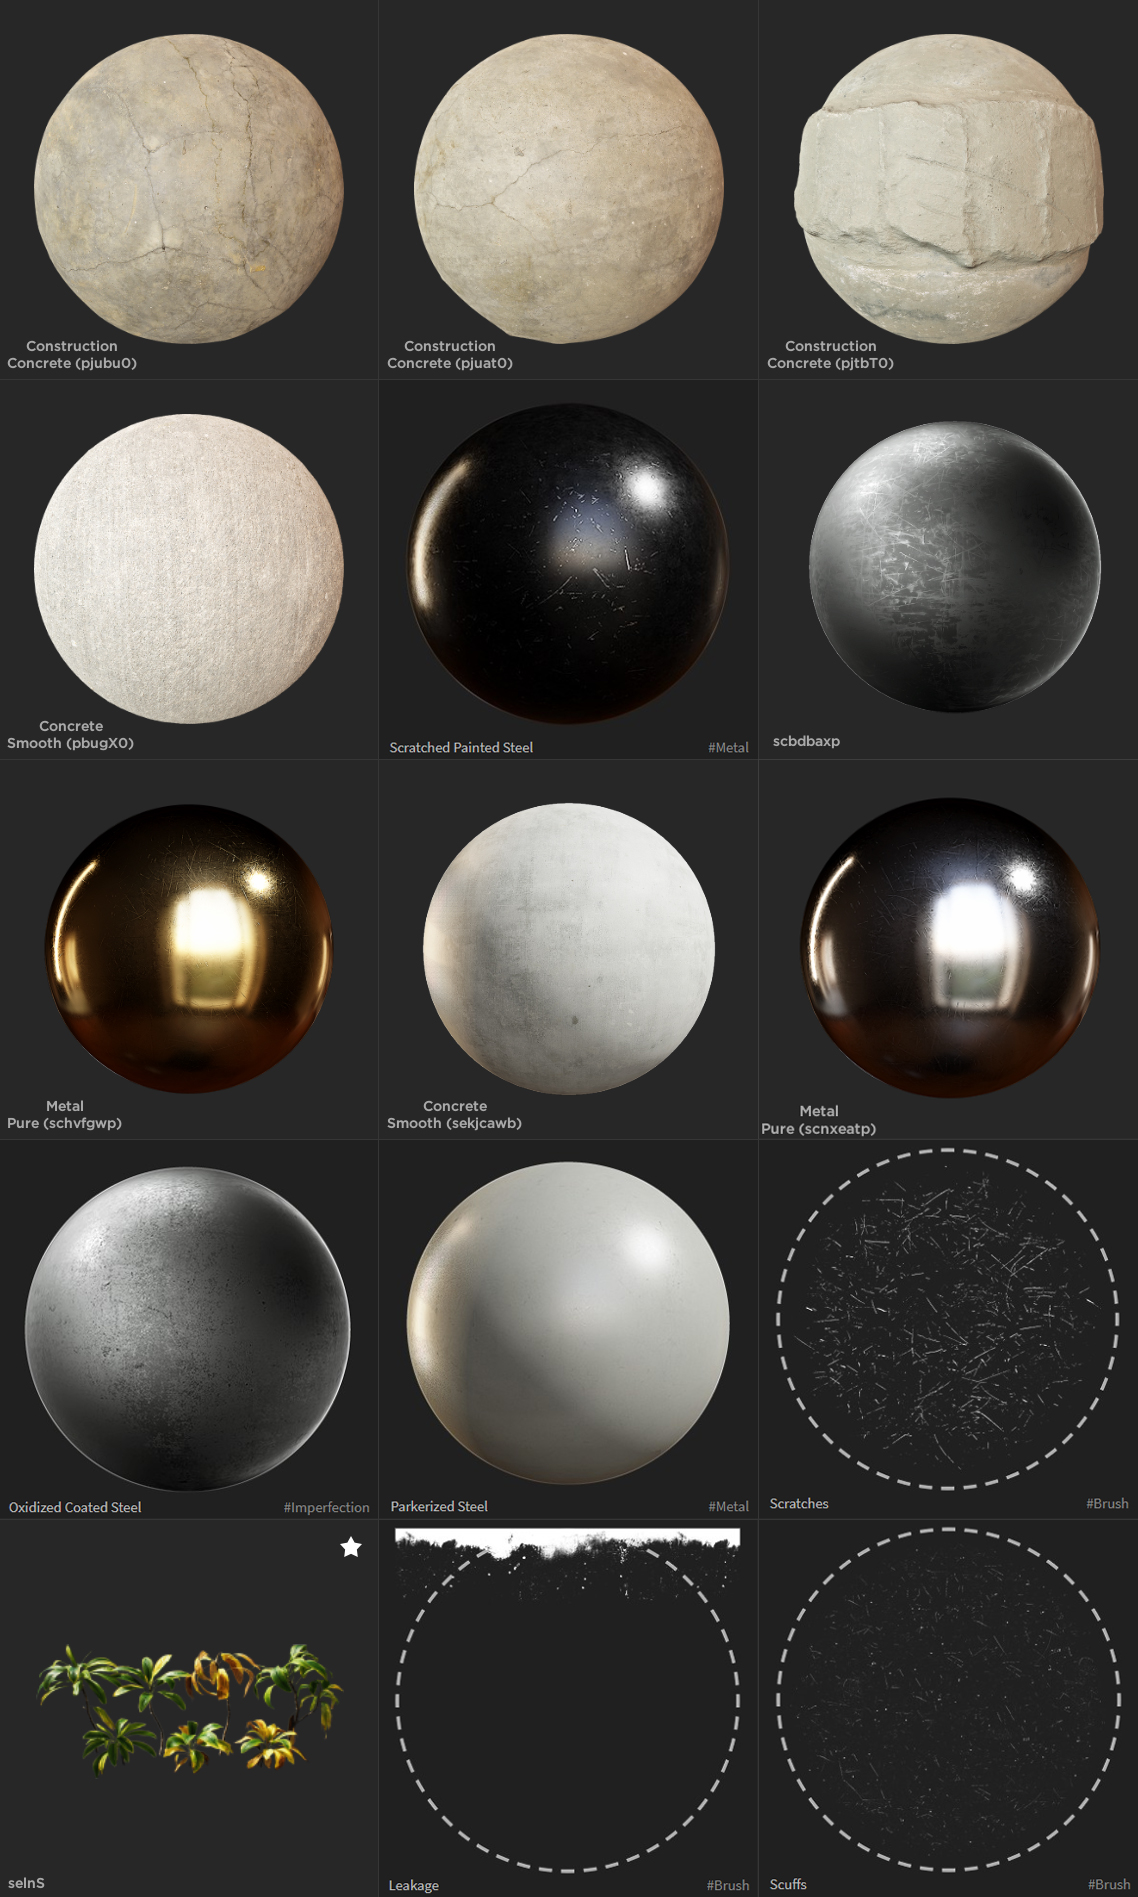
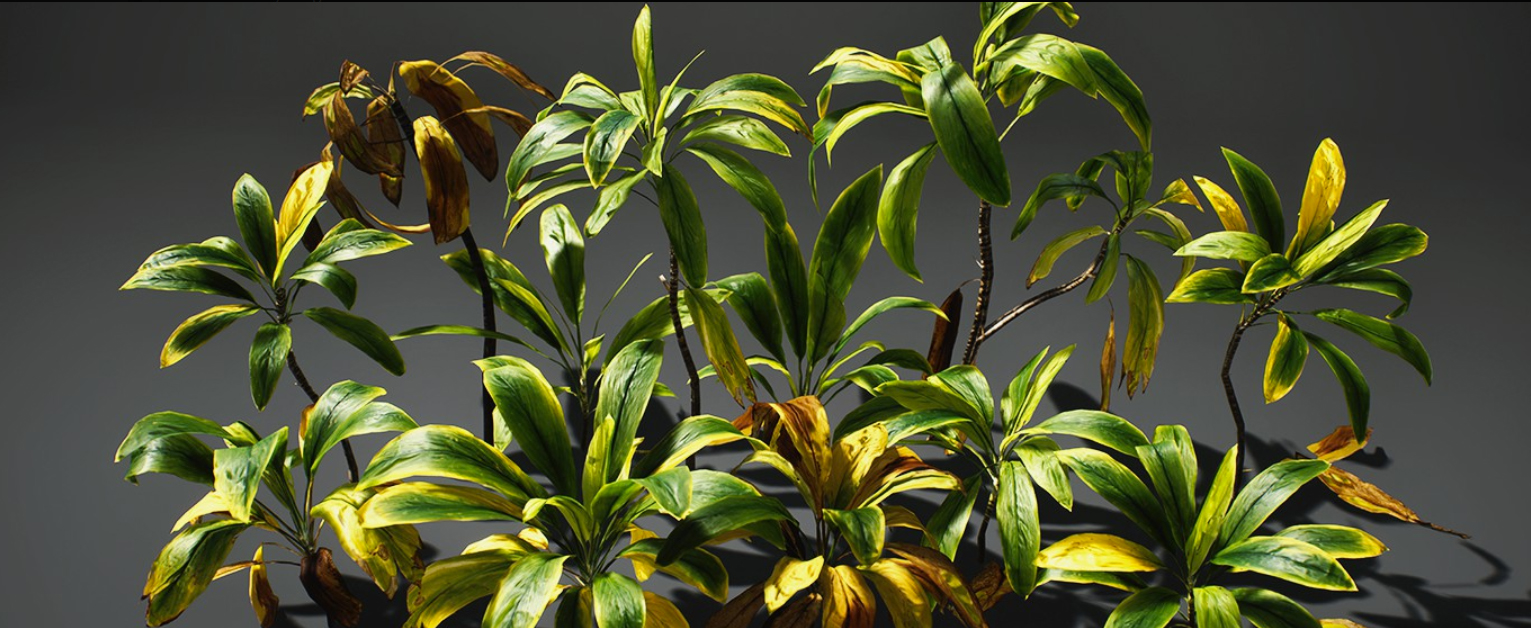
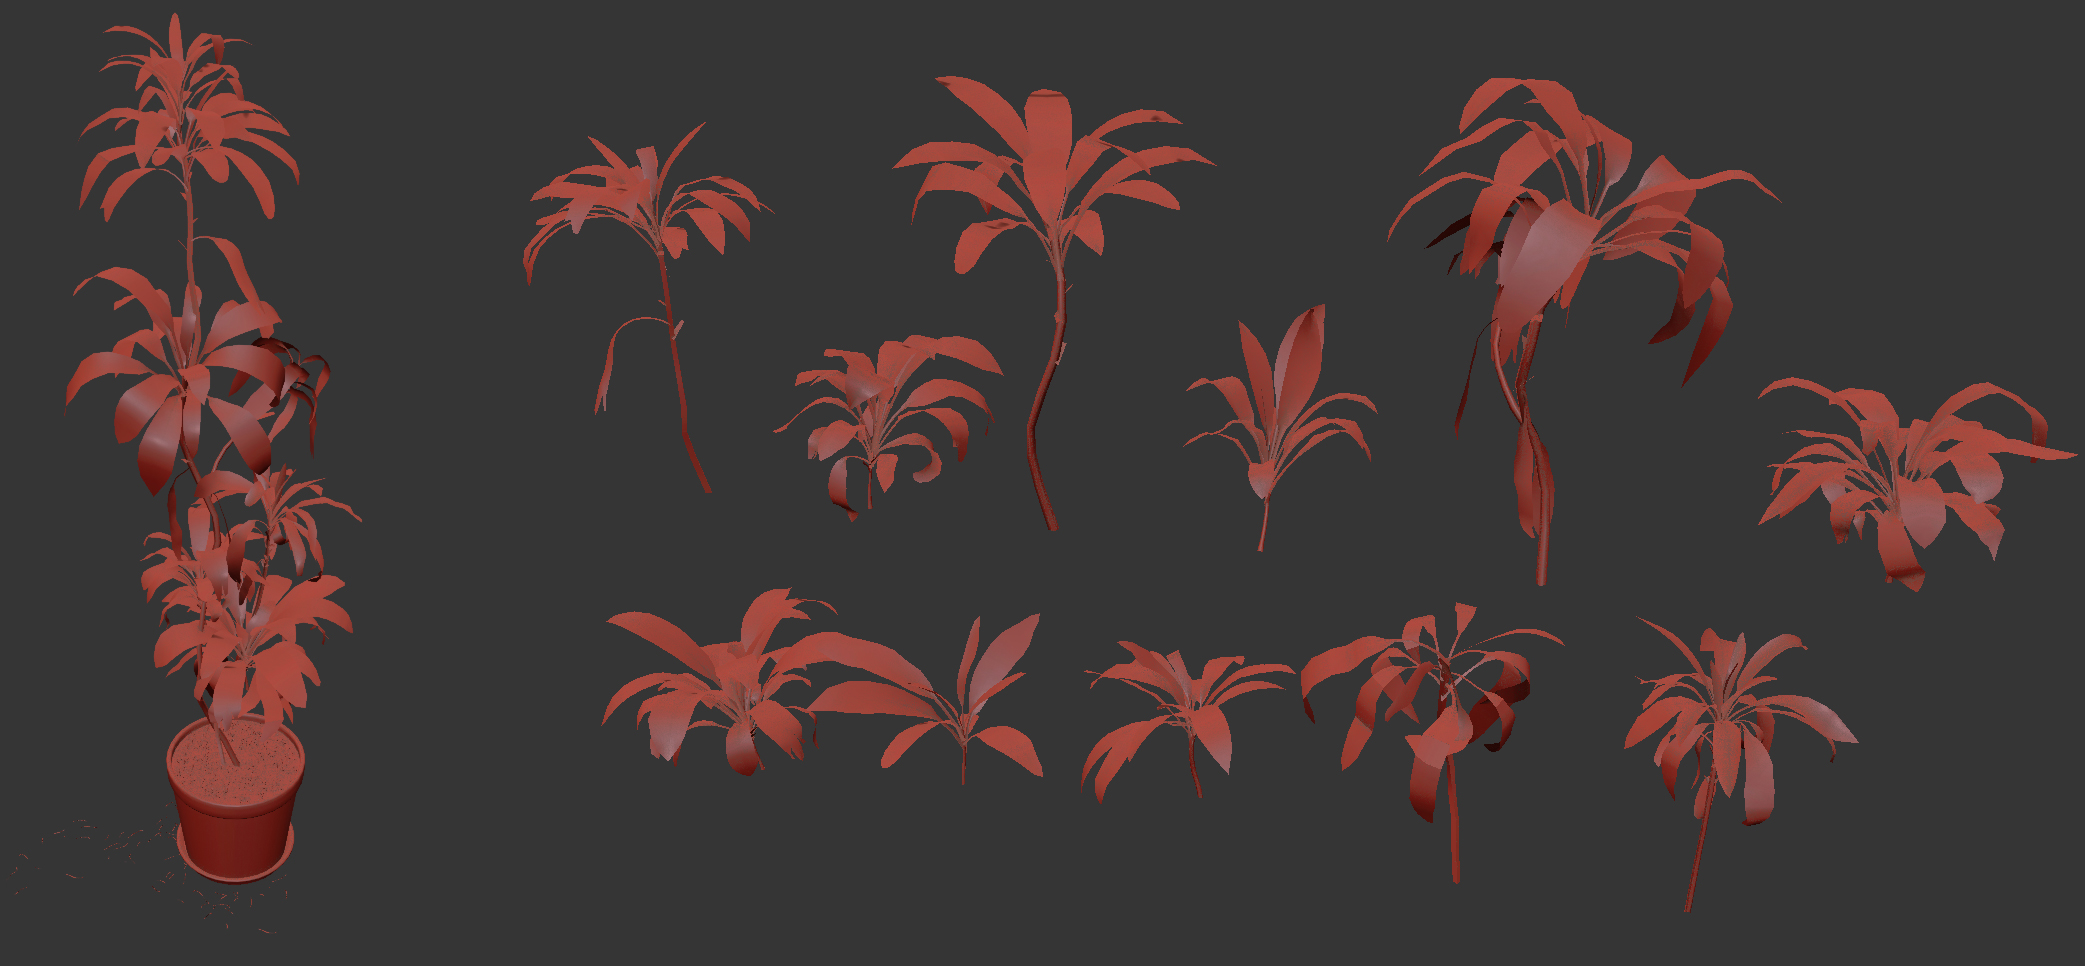
The tall plant was created using the Megascans Cordyline 3D Plant asset. It was exported from Megascans Bridge in 3ds Max with Corona materials. I’ve used 12 variations of the plant to create one.
For walls, floor, metal furniture, and lamps, I also made use of great materials and textures from the Megascans library.
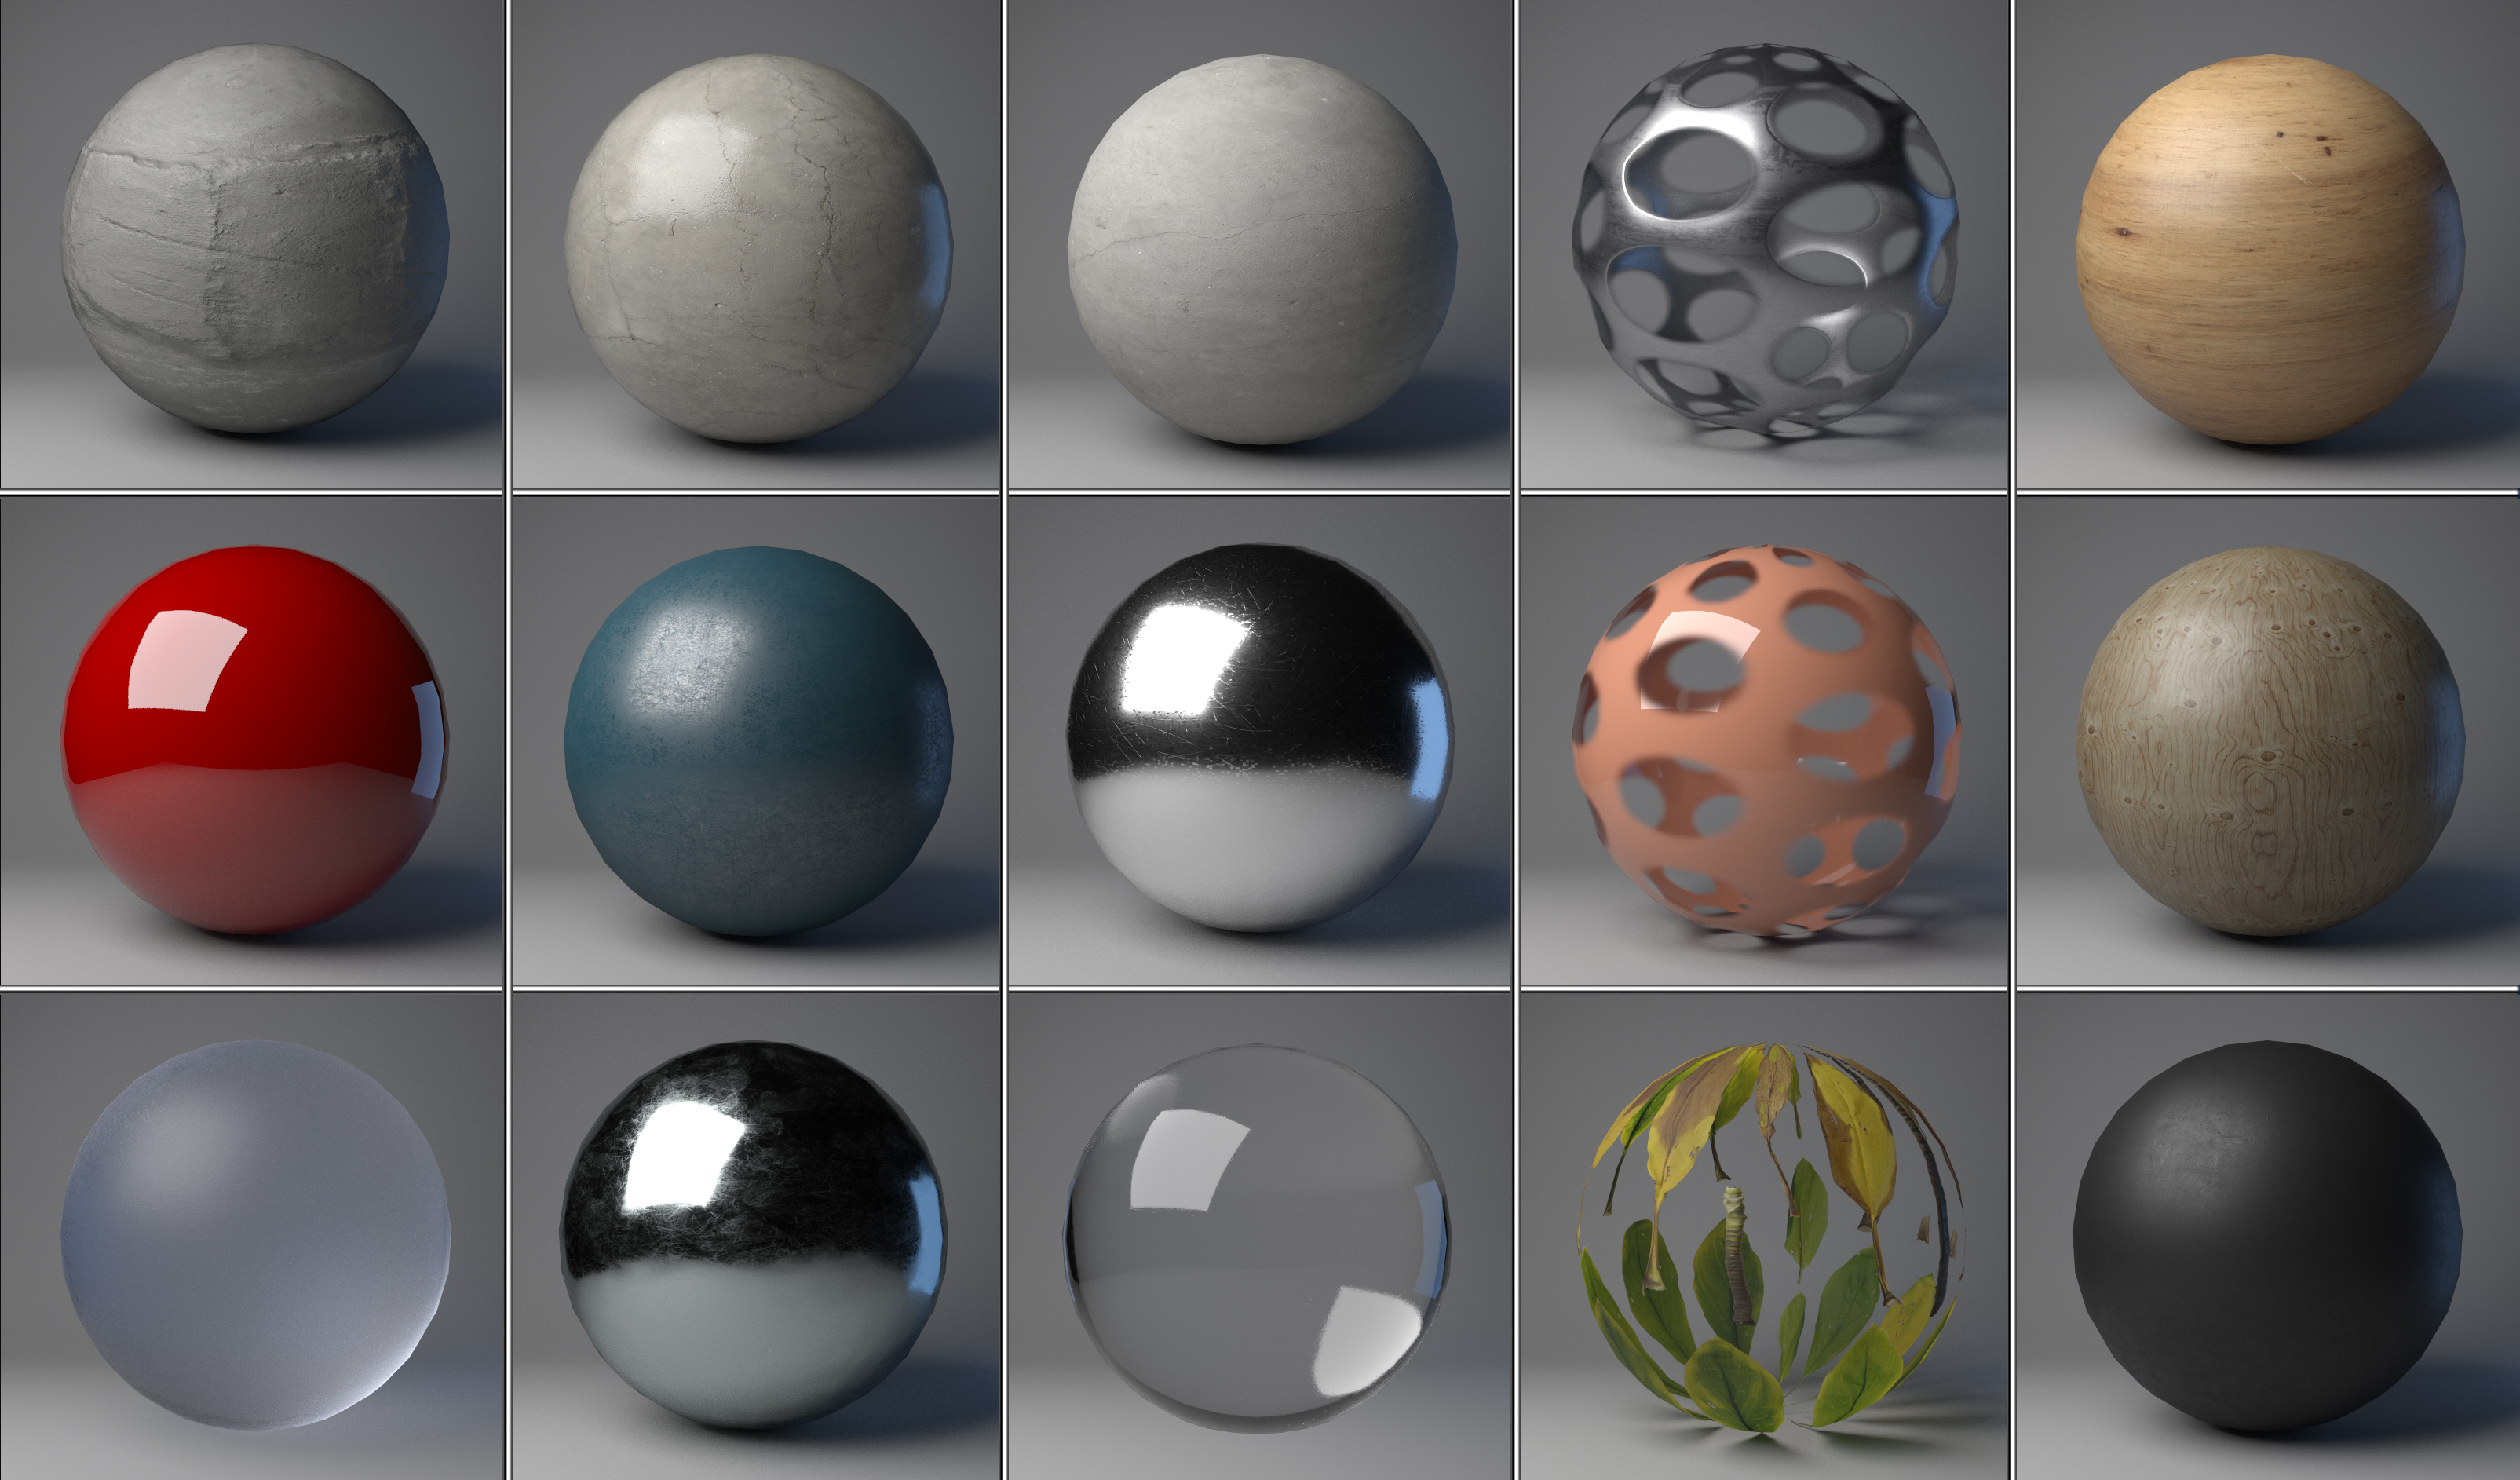
Generally, I’ve used the default material setting after importing them in 3ds Max from Megascans Bridge. But for concrete surfaces, for example, I prefer to use Color Correction map for Diffuse, Reflection, and Glossiness maps for greater fine-tuning.
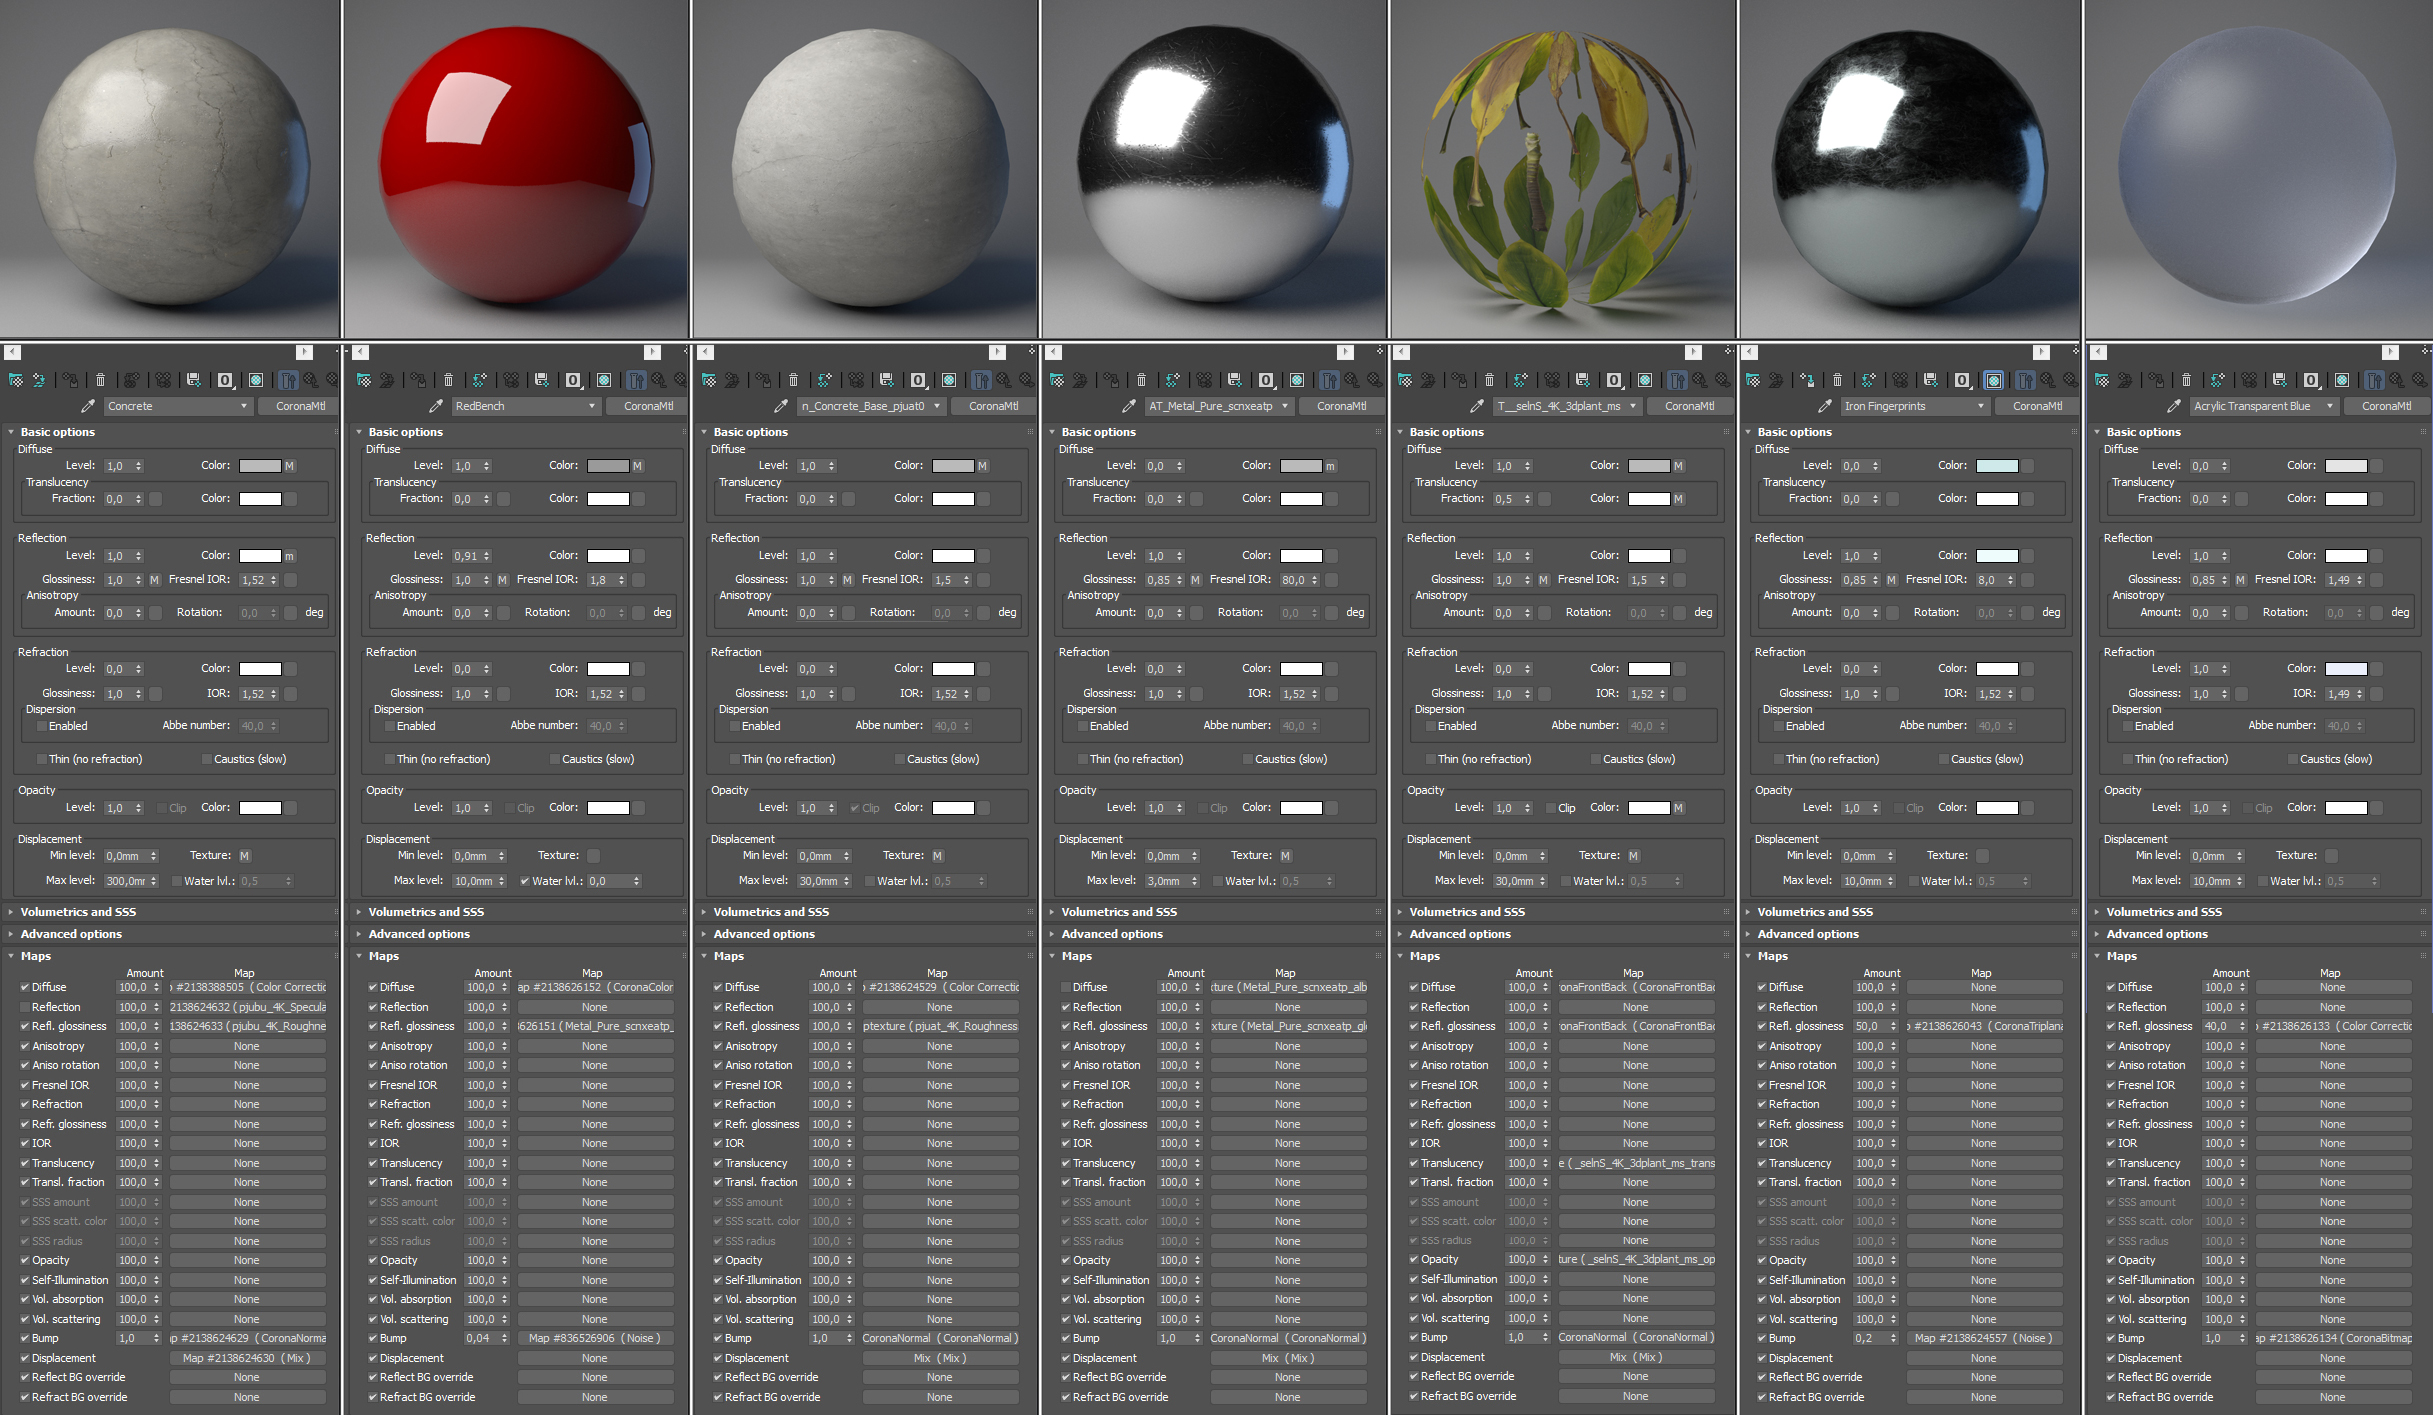
As for the shader set up, I experimented, as most of my materials for CASAPLATA were modified with Megascans scratches and dirt textures. Of course, the most interesting feature of all composition was the Rough Concrete floor. This is the first thing I guess you pay attention to when you see the images.
Usually, for the Corona Bitmap in Filtering Blur parameter, I change the value from 1 to 0.1. It makes a texture sharper, especially for high-detailed concrete textures.
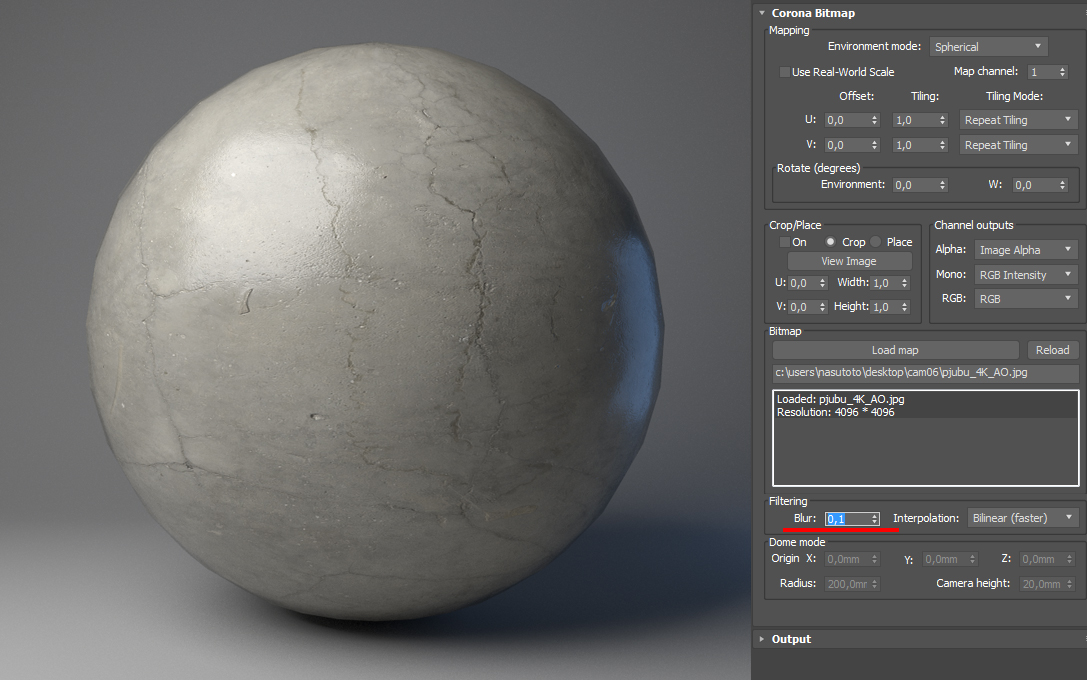
It was a very funny story with the concrete floor, because of the high Displacement level parameter in 300mm and normal map, the final floor had different surface relief.
That’s why I like to work on such kinds of projects, not routine boring work!
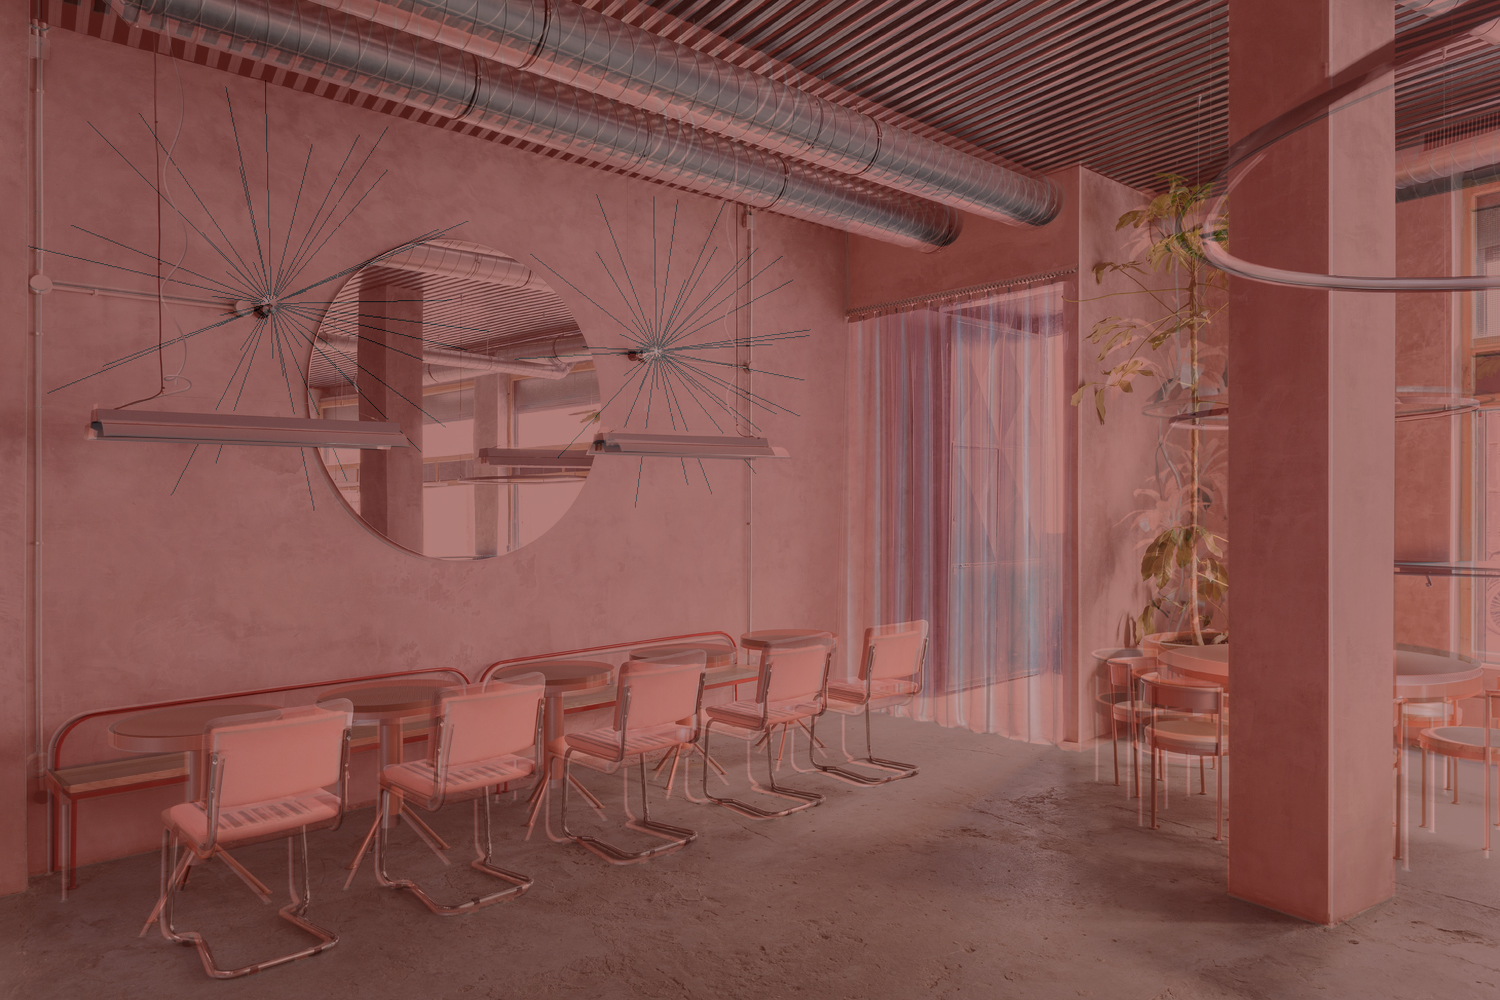
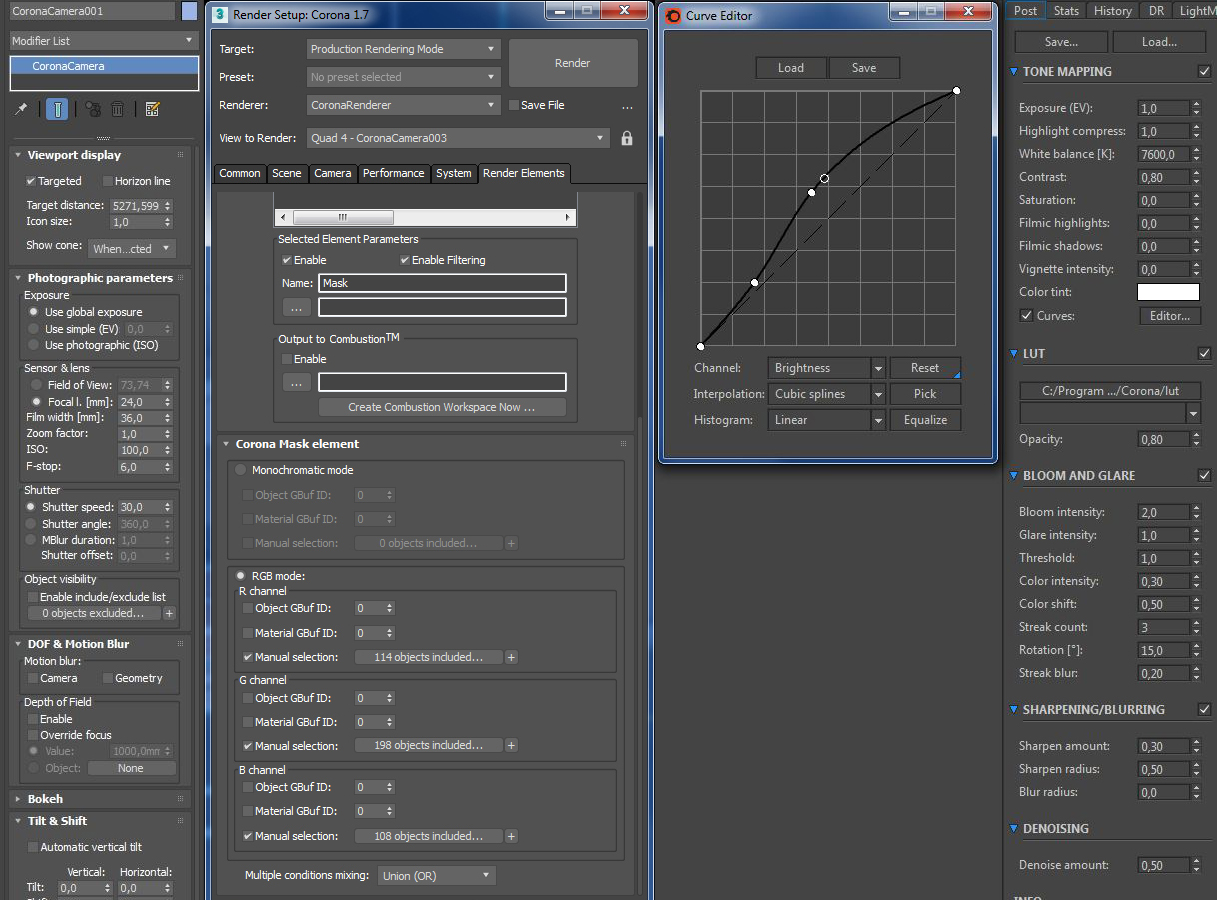
Lighting and post-production
For the lightning — I used nothing special, just an HDRI map. Post-production was done in Photoshop. I give a lot of attention to postprocessing, but this does not mean that you do not have to try to make your raw images any less qualitative.
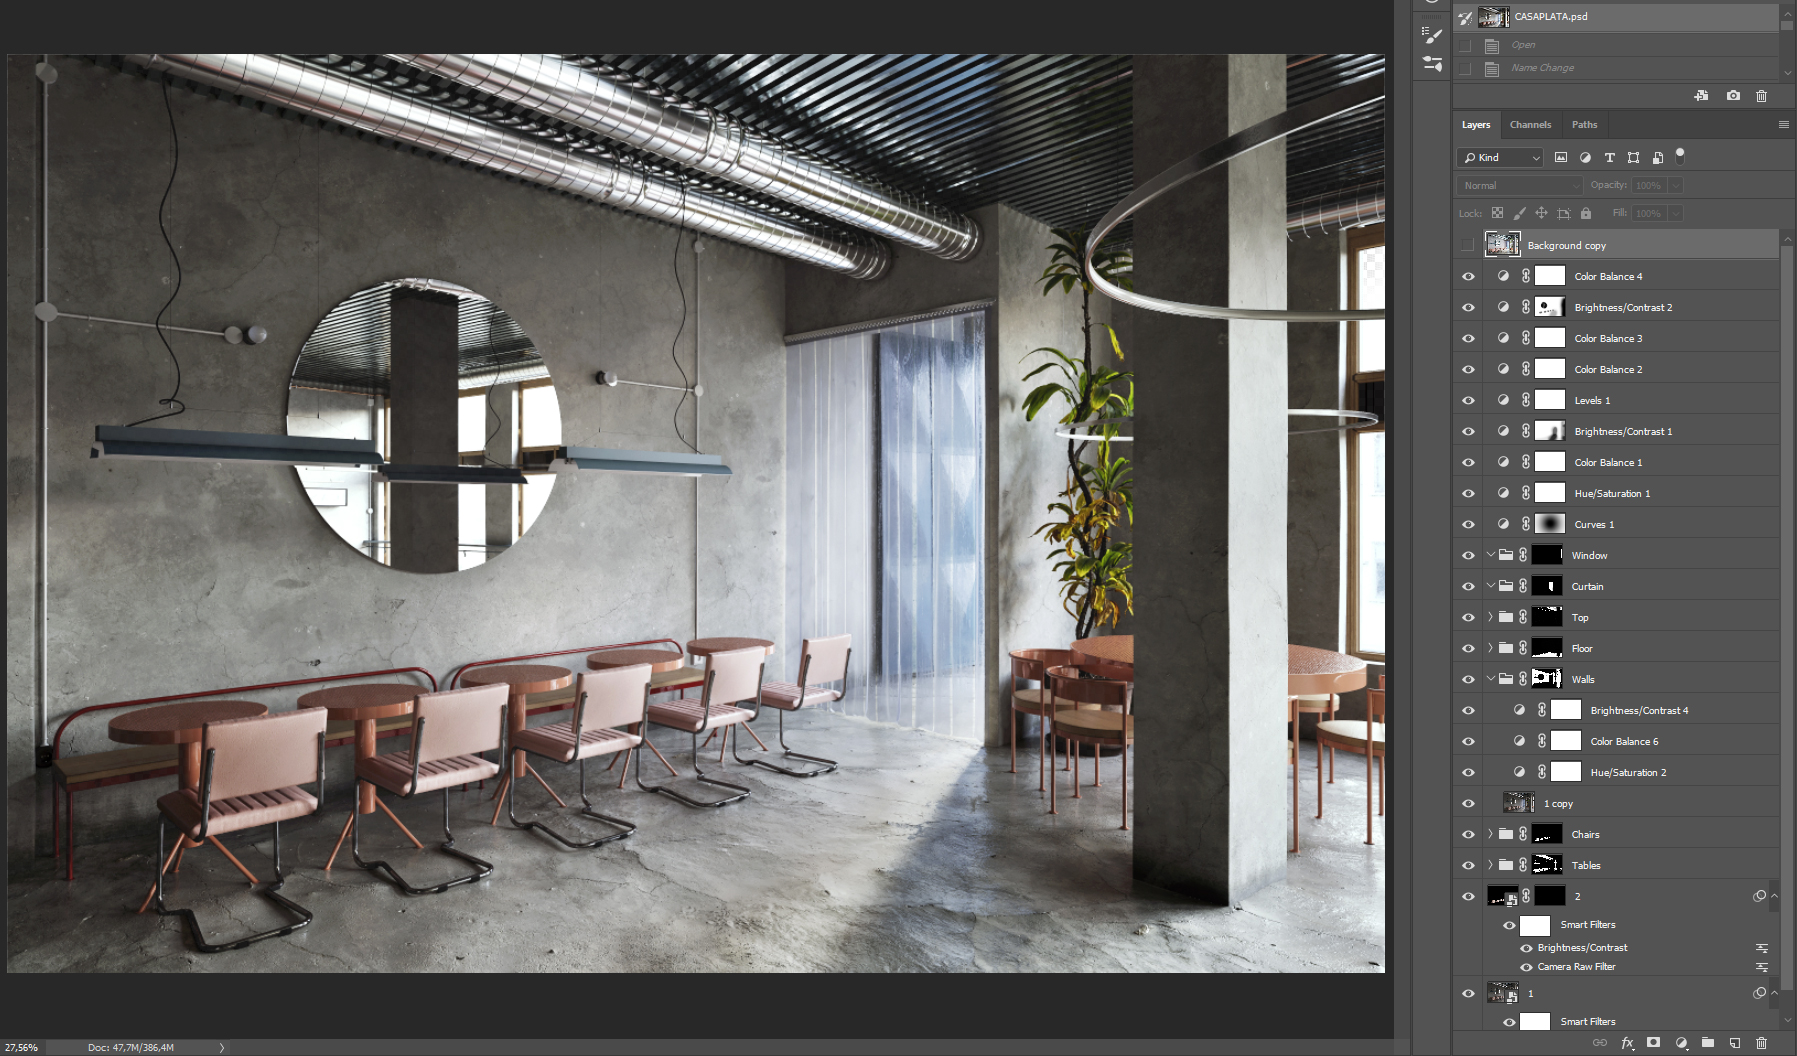
The first step is always using Camera Raw Filter. Also, I render RGB masks for each object in the scene. After that, I use them to make a production for each object.
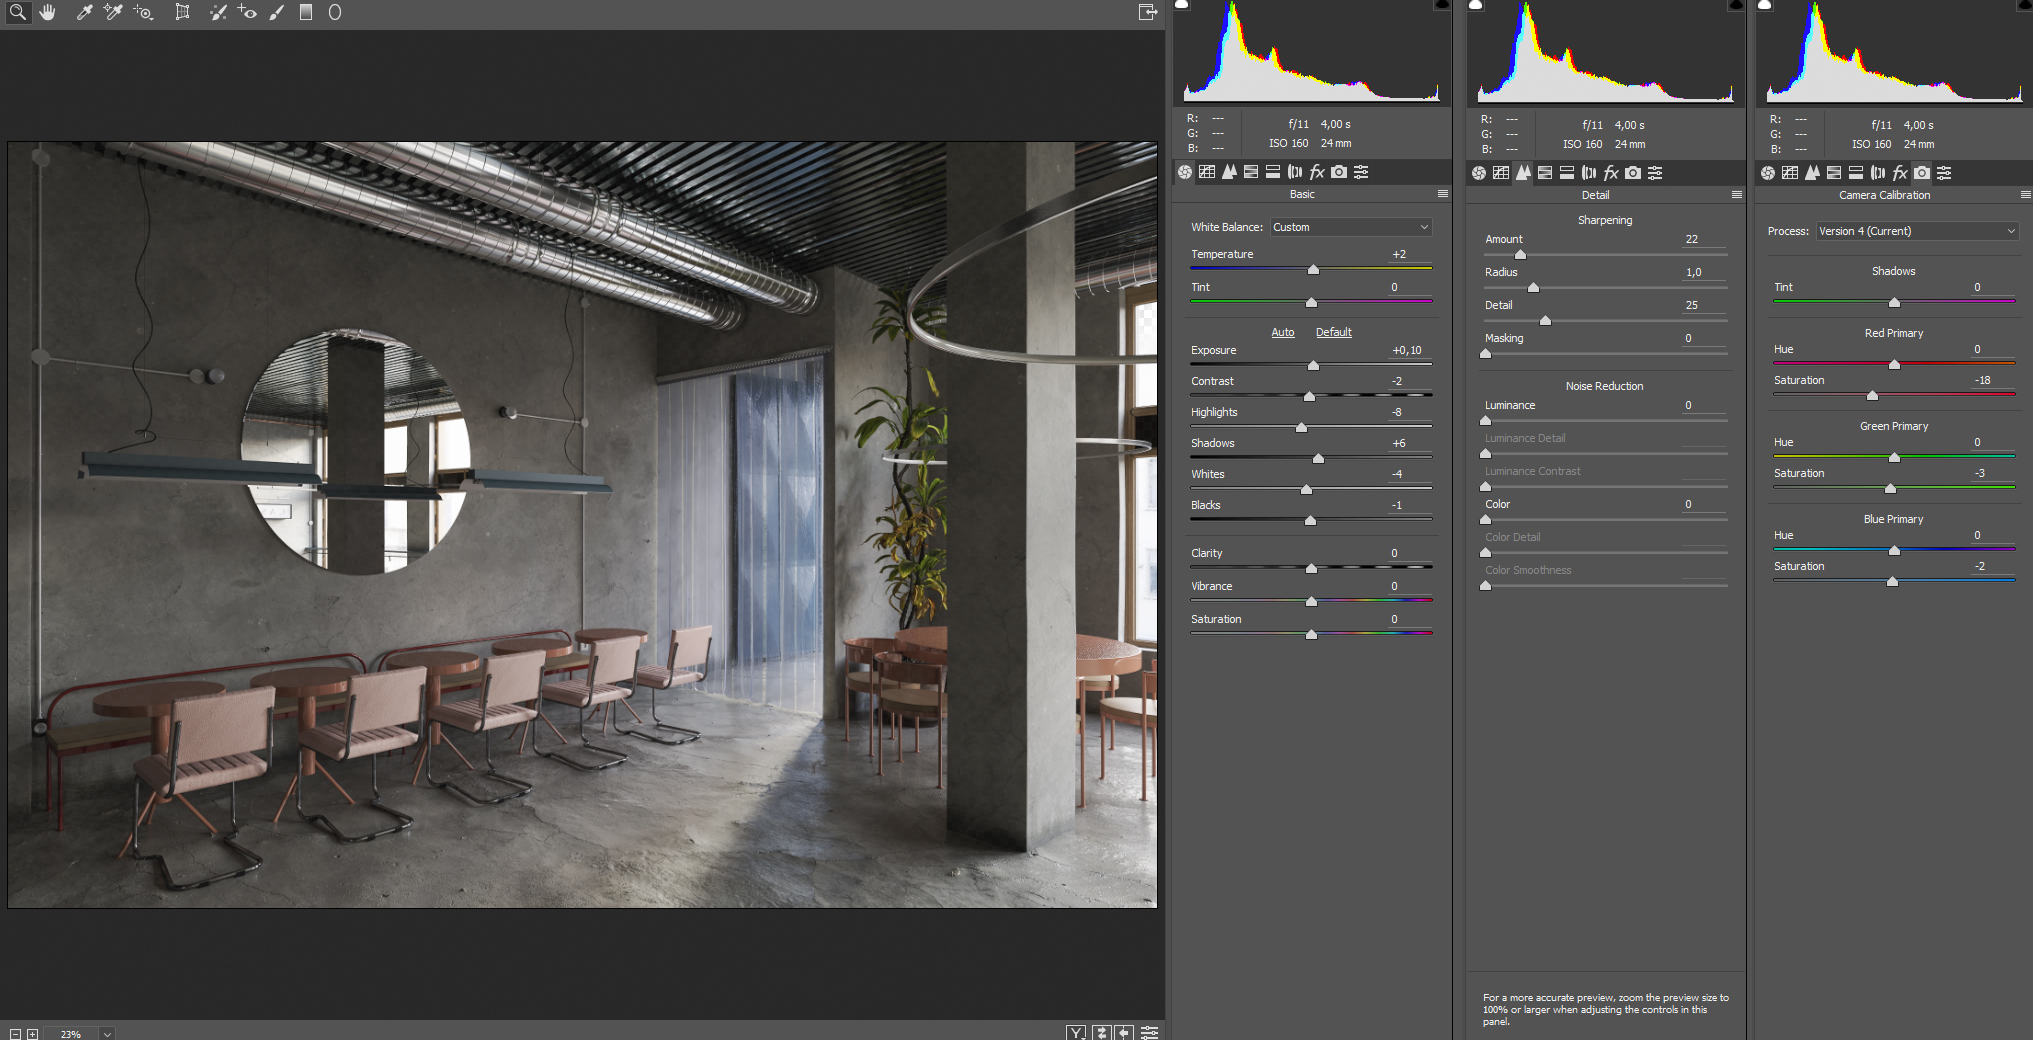
This is an important step because you can control every stage of the work.

Final renders
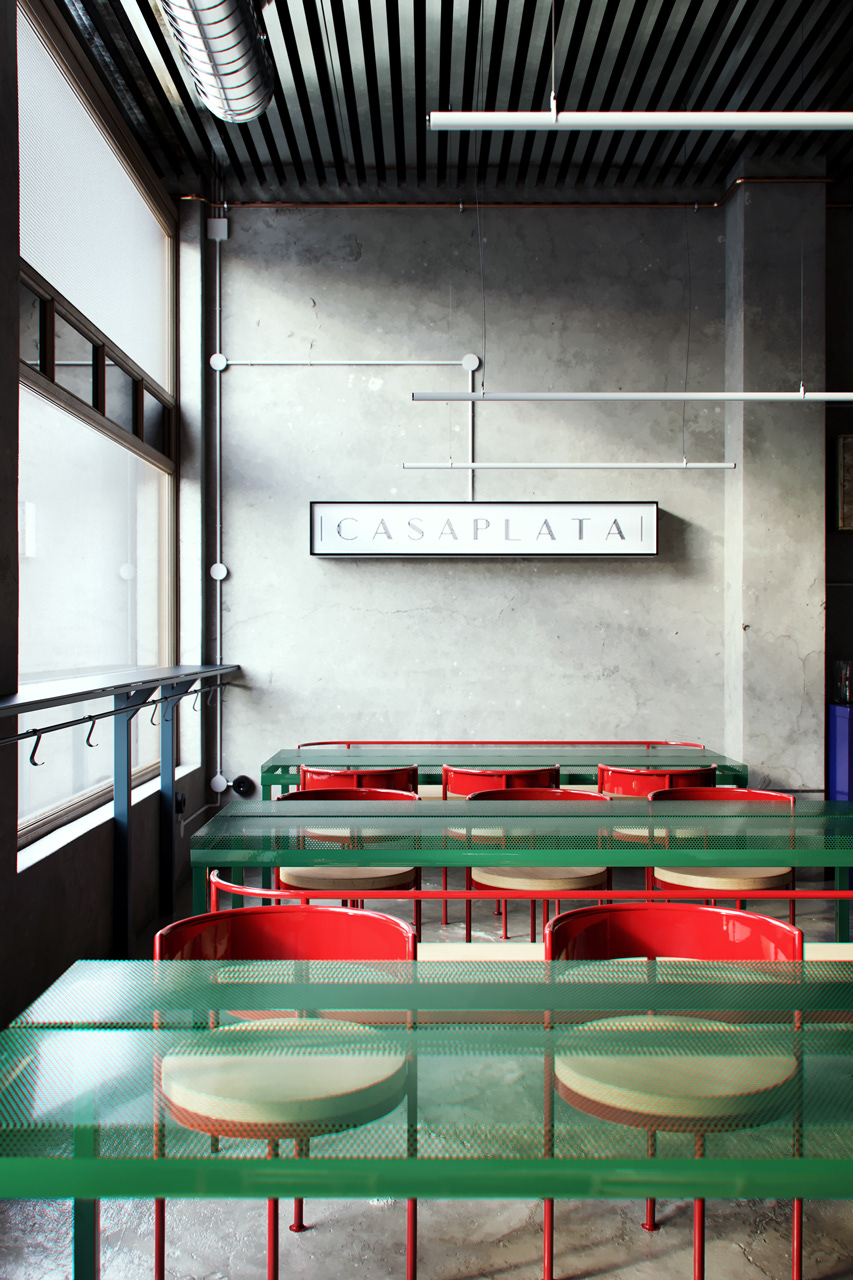
To my mind now, using Quixel Megascans is a great way to make your work more interesting, creative, and unusual — as it is very important to be unique now more than ever.
Thank you, guys! Many regards!
Thanks, Michael! Check out Michael’s stellar work on Behance.
Got a Quixel-infused project you’d like featured? Send your process breakdown write-up, bio, and hi-res images to blog@quixel.se.


