Create Realistic Moss with Megascans
Hey, Dan Woje here for Megascans. We have had a ton of requests to show how moss is created in our Megascans promotional renders. In this tutorial, I want to go over my process for using Megascans’ atlases with Forest Pack to create realistic moss using Redshift for rendering. I’m going to show how I make moss card quickly in Zbrush, how I setup a basic scattering system in Itoo’s Forest Pack, and how to build up layers of moss with some tips and tricks I have learned using the scans as scatter objects.
1. Importing Atlases using Bridge
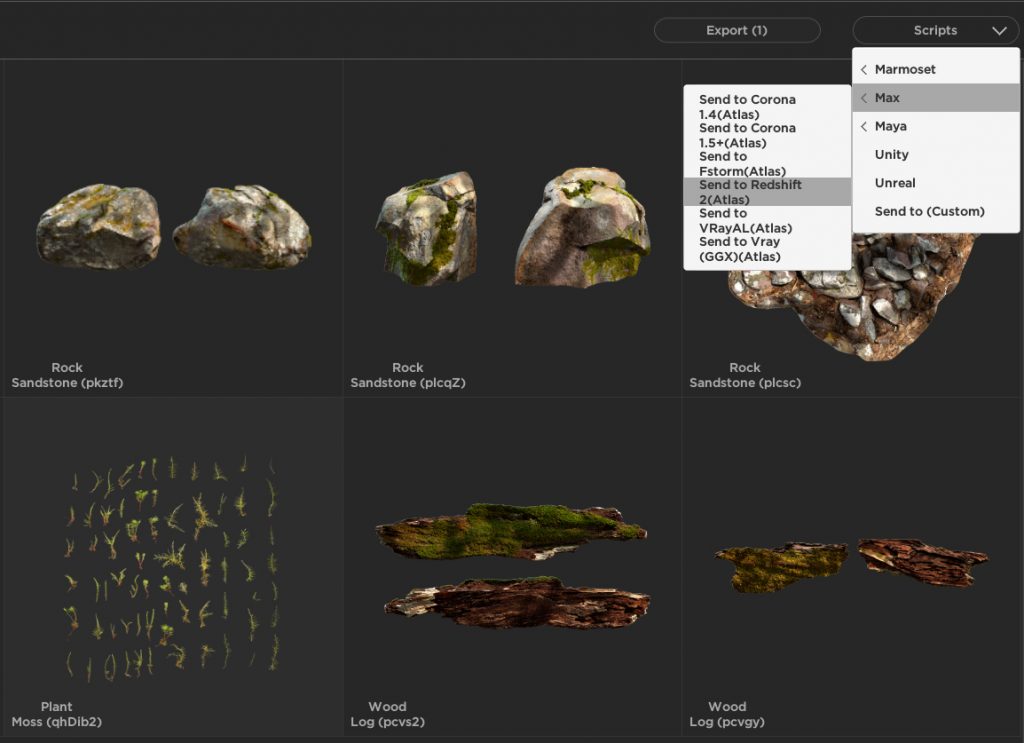
Importing Atlases is easy with Megascans Bridge. It’s similar to importing 3d assets but instead of geometry being imported the atlas shader is imported into the material editor and is ready to apply. I’m using 3ds Max and Redshift so I pick the “Send to Redshift(atlas)” Script. I check to make sure the shader has been imported and now I prepare my moss geo cards.
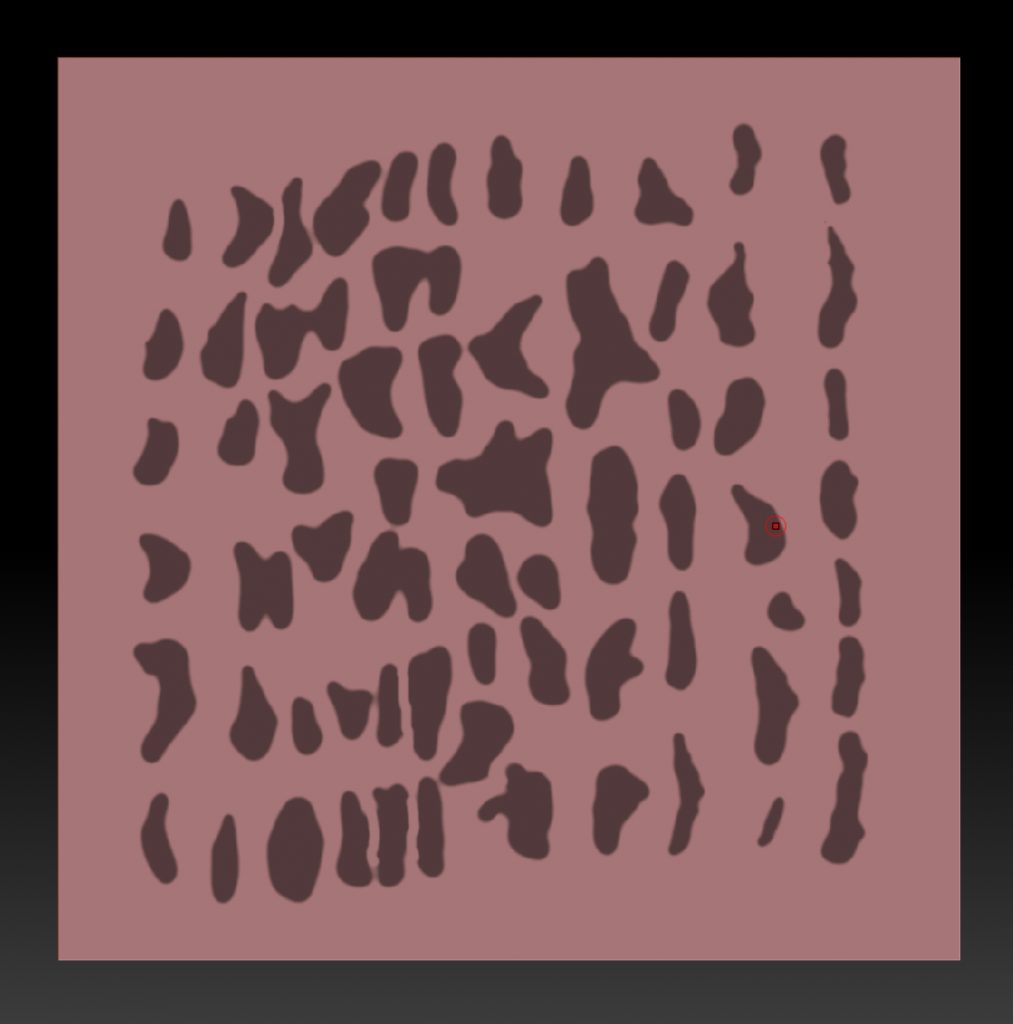
2. Cutting out Atlases
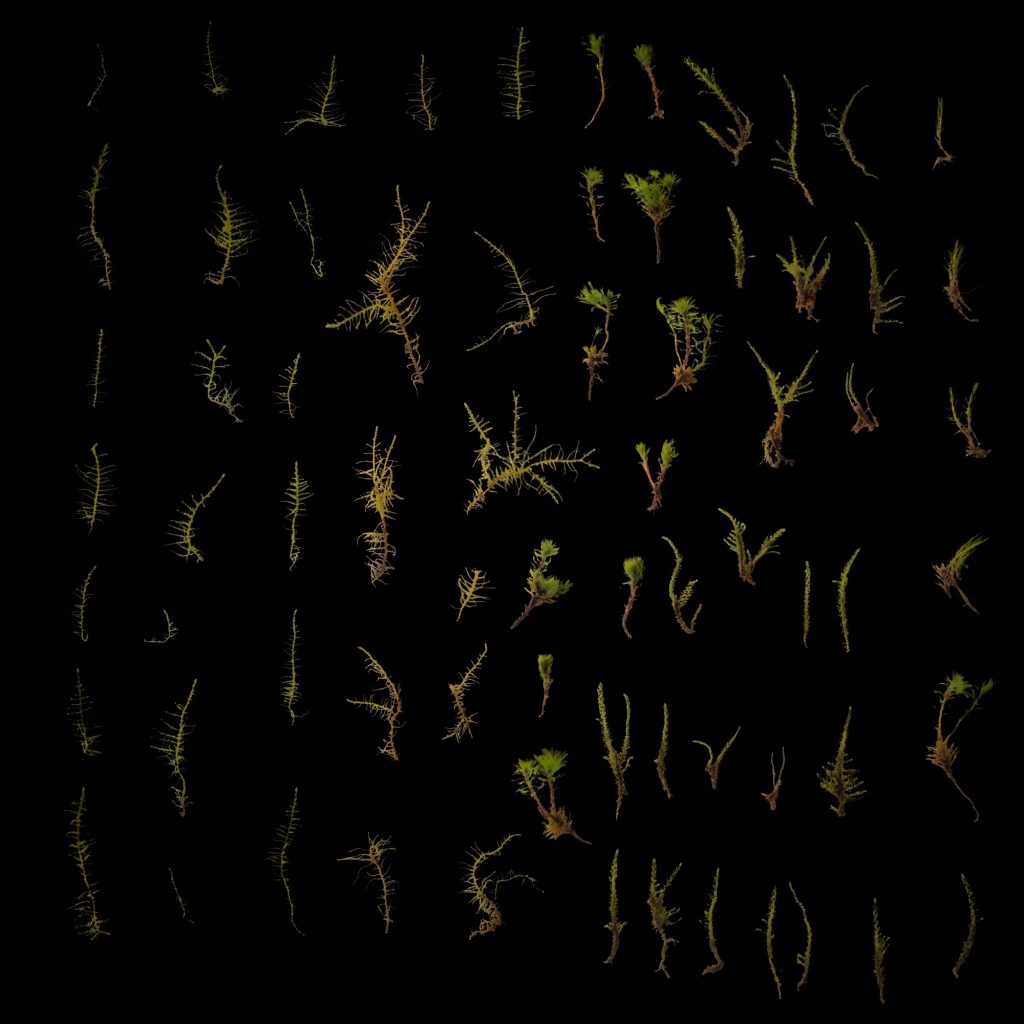
Preparing your moss cards can be done a few different ways; I personally prefer to cut out my atlases using Zbrush since there are so many individual pieces of moss. It is the quickest and most accurate way to get your moss cards.
- In 3ds Max make a square plane, 30x30cm in this case. Export, and Import into Zbrush
- Geometry tab, Divide with Smoothing turned off until it’s around 1 million polys.
- In the alpha section import the atlas Opacity map
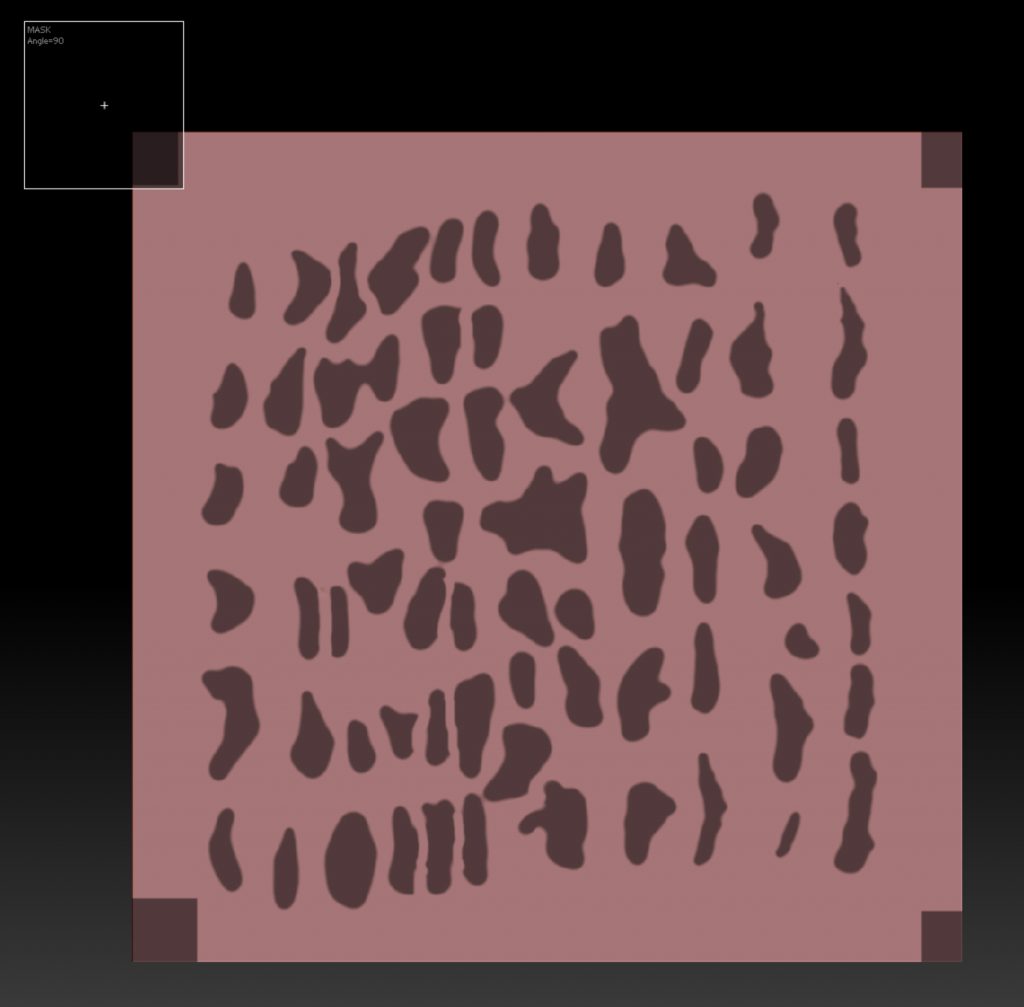
- Tools, Masking Tab, Click Mask by Alpha, this opens the tab, and click the button, Mask by Alpha.
- Still under Masking tab, click Inverse, then GrowMask to expand the masking anywhere from 6-10 times is good. We are looking to fill in the fine details and just get a basic shape. Then Click SharpenMask 2 times. You may notice sections of the masking being cut off or disappearing, simply fill it back in with your Masking brush(Alt+Leftmouse), it doesn’t have to be pretty, just enough to fill in the area. Usually a combination of growing and sharpening will cover enough area to make the moss cards.If two masked areas bleed into each other use ctrl+alt to separate the areas.
- The next step is very important because it will align our UV mapping. Hold ctrl and click in space and drag onto the plane in each corner to draw nice neat squares in each corner.
- Tools menu, Make PolyMesh3d. Do not be alarmed that the masking disappears.
- Open the SubTool Tab, Open Split, and click Split Masked Points.

- Select the cut out geo (2nd tool in the list) and Export.
3. Importing and creating the cards
- Import the plane into max or equivalent 3d software.
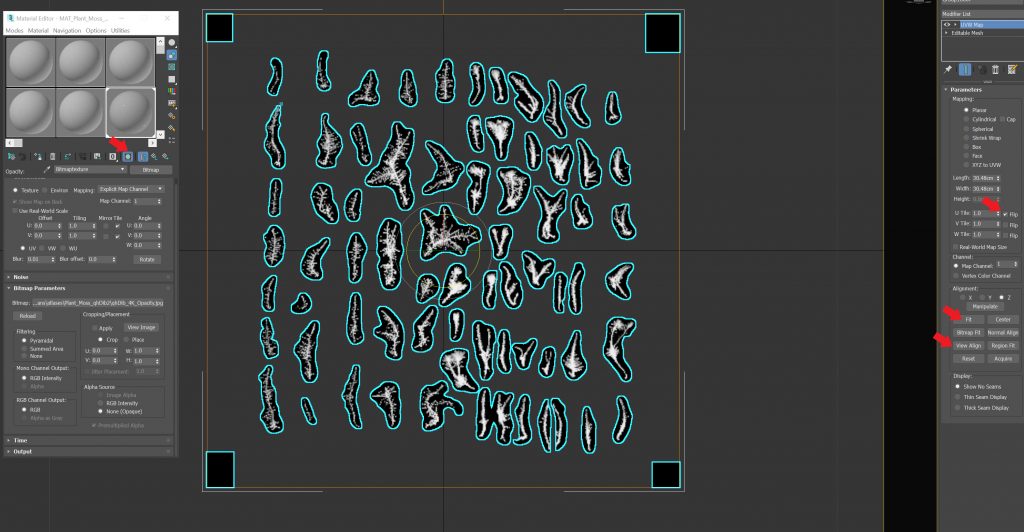
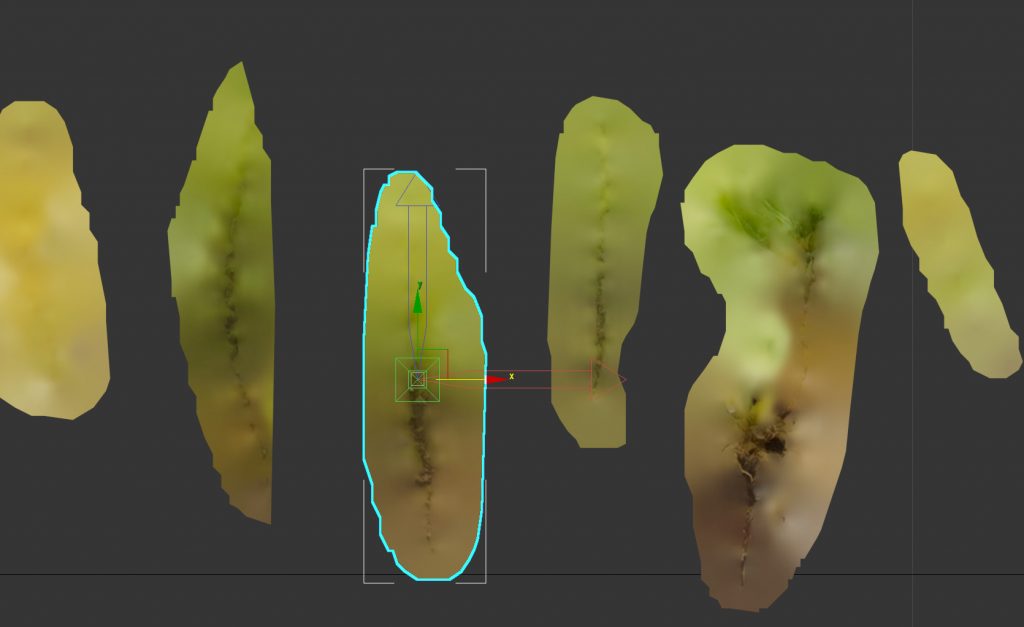
- Apply the shader, go to the opacity map and click on show shaded material in viewport. Apply a UV modifier so we can check the masking. Go to front view, click on view align and then click fit. Usually the UV map needs to be flipped in either and U or V direction so play with those check boxes until it is aligned properly. The reason for doing this is to check if we need to paint some better masking in brush and re-export our card.
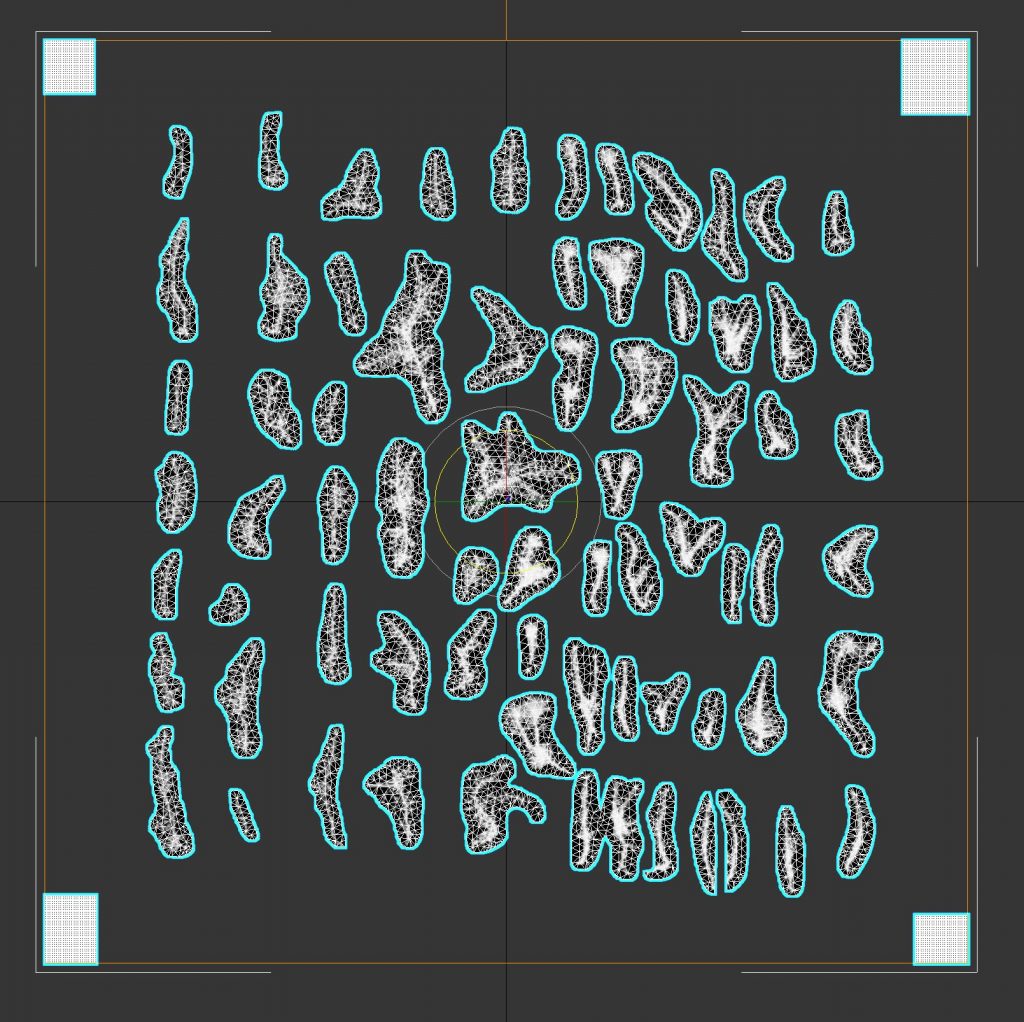
- Once we are happy with the masking its time to optimize the cards. Go into element mode and select our UV Guides and detach them (do not delete, we need them for later).
- Select the Moss cards, Apply a pro-optimize, Check Keep textures if you want, but it’s not necessary because will re-apply the uvs again later. Click on Calculate, once it’s done set the % from 1-3% depending on the shapes of the cards. We want to avoid over-simplifying or the Opacity maps will start to get cut off. Collapse the modifier and apply a Subdivide Modifier set 0.25cm. This gives us enough geo to custom bend the cards if needed later. Collapse modifier stack.
- Select your moss and re-attach the UV Guides . Apply the UVW map and align it like in the previous steps, and collapse.
- NOTE: This is slightly redundant if you kept the UVs, but there is a reason for it. If we need to add live displacement for instance we need the guides, but for our purposes making moss we don’t need live displacement. This whole method can be used to make leaf cards too so having live displacement is very important.
- Detach or delete the guides.
- Test render with a default redshift sun system, Environment turned off, Looks good! Lets prep the moss for the scattering!
4. Prep for Scattering
- First the shader needs to be tweaked by setting it up as a Redshift Sprite, this will help cut down on our render times. Click on Redshift material and select Redshift Sprite, select Keep old material as sub material.
- Under the stencil section navigate to the opacity map. Leave all the settings how they are.
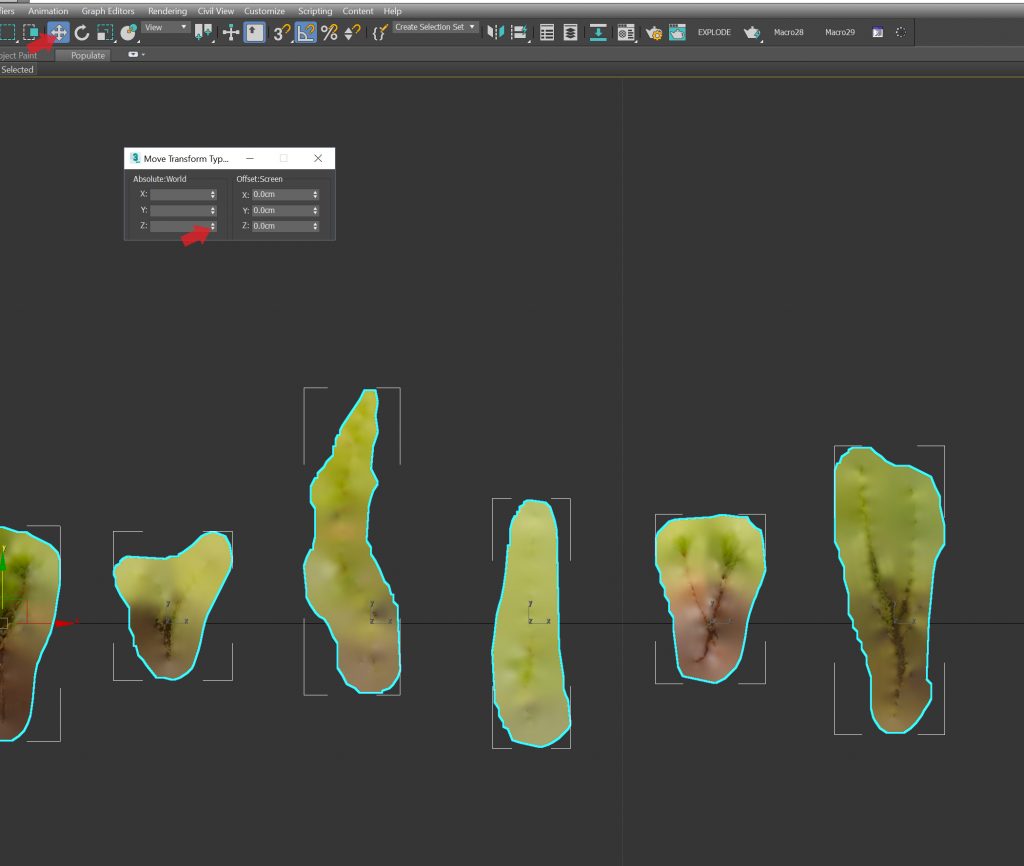
- Select the cards and explode them into elements, I use this script, http://www.scriptspot.com/3ds-max/scripts/elements-to-objects
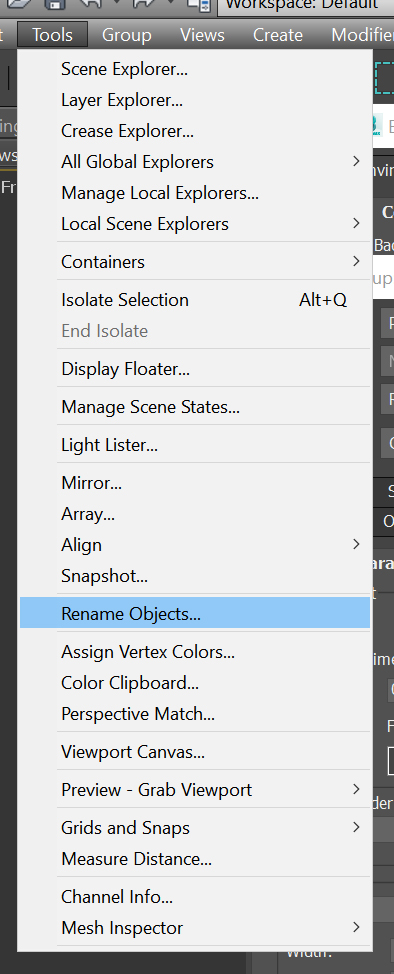
- Select all the new objects and navigate to Tools->Rename Objects. I rename mine to Moss_ and number them via the check box.
- The next step is setting up our pivots.This step takes a little elbow grease and can be achieved many ways but it’s very important in obtaining the right look of a scattering solution.
- Under the Hierarchy tab select pivot, Affect Pivot only. Take the time to align the pivots where the end of the live moss terminate and the roots start. It’s ok to have a little of the roots above the pivot. If you need to see your texture more clearly click on the PLUS symbol in the very top left of your viewport window and go to configure viewports, set your texture maps to 2k or 4k. Note: Swap between Alpha and the Albedo to help see where to put pivot placements.
- Use this script to align all of your moss in a row to help organize the moss cards. –https://jokermartini.com/product/get-in-line
- Once the pivots are done, select all the moss, go to the Select and Move button, Right click on it and right click again on the Z axis arrow spinners, This will 0 out the pivots.
- Bonus round: Organize and group the moss into their different shape/categories i.e. Long tendrils, short fluffy moss, dry moss, yellow moss, brown moss, green moss., this will help build up the scattering solution more accurately when needed.
- I place all my Forest Packs scattering assets in a layer called FP_Assets using 3ds Max native layer manager, the moss cards are nested in their own layer inside.
Note: At this stage I save the moss in its own file for future use and just import it into the scene I’m working in.
5. Setting up Forest Pack
- Im going to show how to get a basic scatter to work on an asset. Later in the tutorial I’m going to backtrack a little and breakdown how to make the moss look more natural and realistic.
- Grab the asset you want to scatter on and import it using Megascans Bridge.
- Merge the moss from your Master file
- Set up your camera and basic lighting, in this case I set up a Redshift Sun system.
- Lets build our first layer of moss in Forest Pack. Create a Forest pack and click on the asset you want to build it on, also name it. I like to name mine as accurately as possible so it’s easy to find and edit in large scenes, for example FP_DeadMoss_Brown or FP_Moss_Green.
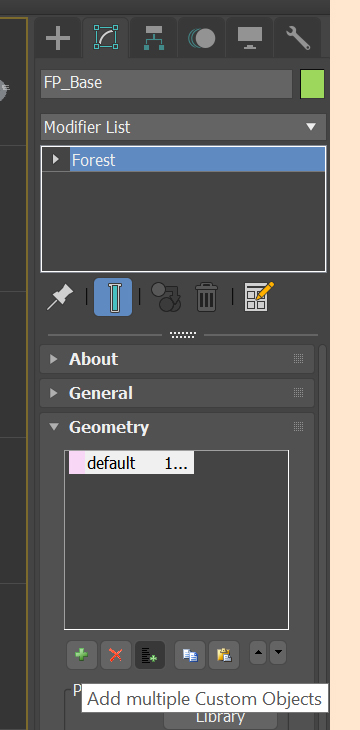
- In the Geometry section of Forest Packs menu, click on the 3rd Icon below the geo list, Add Multiple Custom Objects. Add your moss cards and delete the first item in the list name default, click on the second icon with a red X.
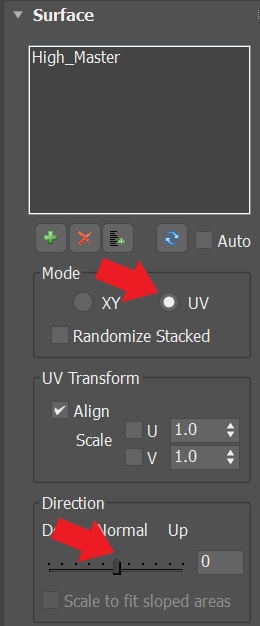
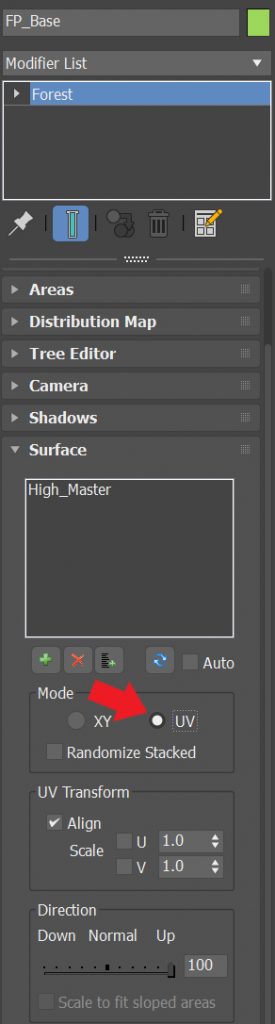
- Surface section. Change the Mode to UV and Direction to Normal 0.[P6.2]
- Distribution Map section. Under Map navigate to the Fuzz map. Under units set to around 100cm for testing.

- OK we have something working, so I’m going to mess with the Density(via Distribution Map section, 50cm this time) and Check Translation, Rotation and Scale in the Transform section. Also Make sure Mirroring is enabled.
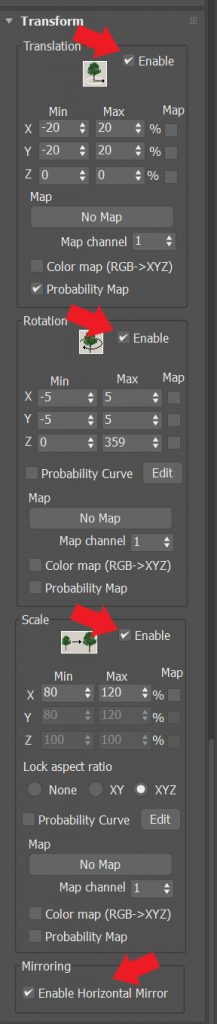
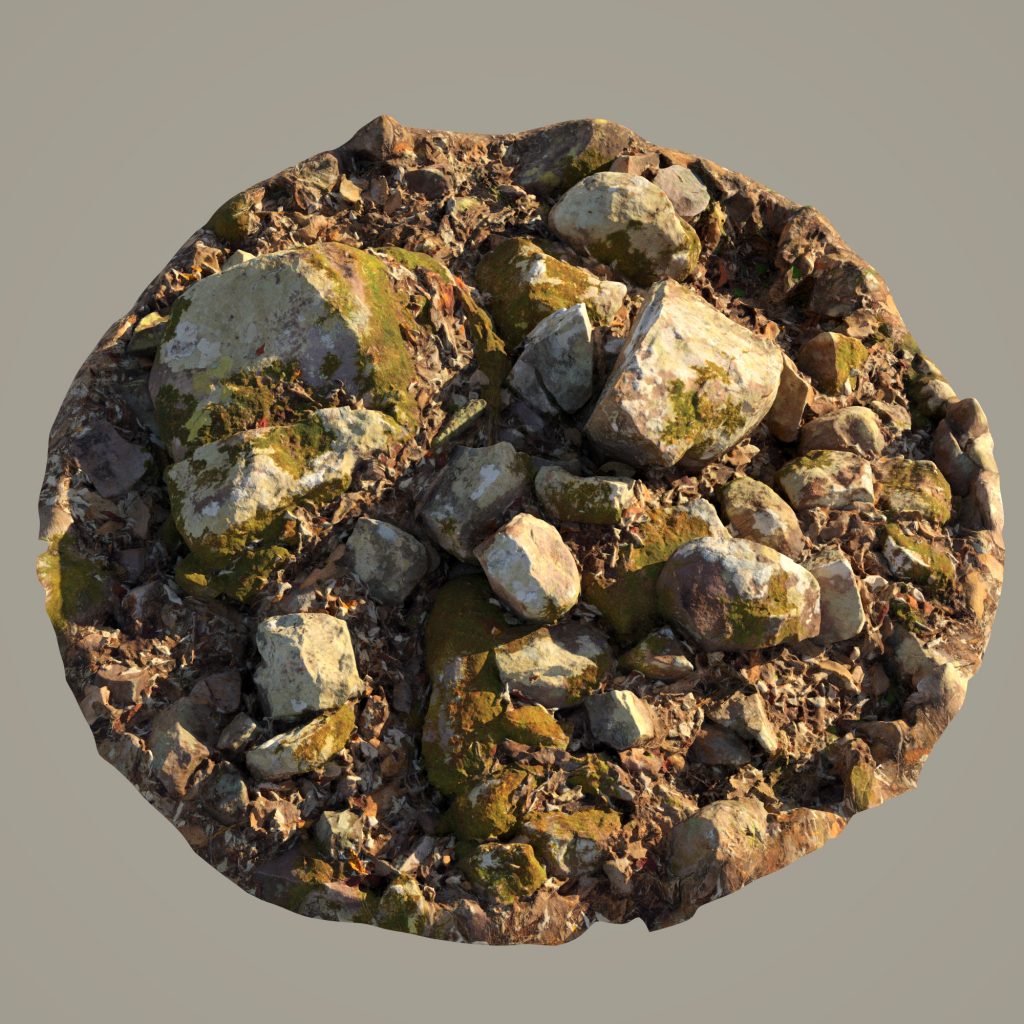
Looks cool but there is a bit more to do to make it feel like real moss. Right now it’s generally too large and only one color and sticking straight up but you can see how quickly you can get a decent result. Time to start refining a bit.
6. Customizing Forest Pack
- So a bit of a Caveat about Redshift. As of the writing of this tutorial a key feature/shader in Forest Pack does not work with Redshift, but can be used with other rendering software. The Forest Material can be set up in such a way that the assets albedo can help drive the color of your moss. What this achieves is the moss scattering to match your asset accurately. Don’t fret though because even though The forest material shader is handy to have, I still end up doing a bit of custom work to get exactly what I want which applies directly to how I work with Redshift. Let’s move on!
- Next what I want to do is match some tones and colors of the moss to the asset. I’ve achieved this a few ways over different projects and both work fine, It just boils down to how you prefer to work. You can adjust your color via a Color corrector with your albedo or you can edit your Albedo in photoshop how you see fit. In this example I’m going to use a Color Corrector
- Copy out the Moss shader and add dead or dying to the name so the original shader is preserved.
- Add a color corrector to the Albedo map. Click on Hue Tint in the color section under saturation. Use the eye-dropper to color pick some dead moss on the rock. (must have material color enabled under the display settings).
- To double check your Dead_Moss shader is applied to the correct Forest pack, In the Geometry Panel select all the moss (shift clicking or drag selection) and drag the shader into the material slot from the material editor. Re-drag the material from Forest pack into the material editor and make sure it’s instanced so you can edit live.
- Clone your current Moss Forest pack and rename it to FP_Moss_Dead. Note: One day I hope iToo will add more robust masking and shader options inside of one Forest pack system so managing several systems won’t be necessary but for now it will have to do. Render to see how it looks. This will be our dead dry moss.
- Now we will isolate the dead moss by making a custom mask in photoshop. I do now want to get too nitty gritty into details of making a basic mask, just use your albedo as a guide, isolate the color of moss you want to drive using a mask and replace the map under the distribution map.
- The dead moss was adjusted to 30cm density and the rotation transforms adjusted as well to add variation and get rid of the “spikey hair” look. I also turned the translucency weighting in the shader to .50 instead of 1.0 to help it read more dead and less glowy.
NOTE: I usually iterate this step depending on how close the camera gets to the moss, i.e. I make 2-3 dead moss forest packs with different shades of brown and different levels of distribution and transforms. For medium shots I’m just looking for minor breakup in the color so 1 or 2 works just fine.

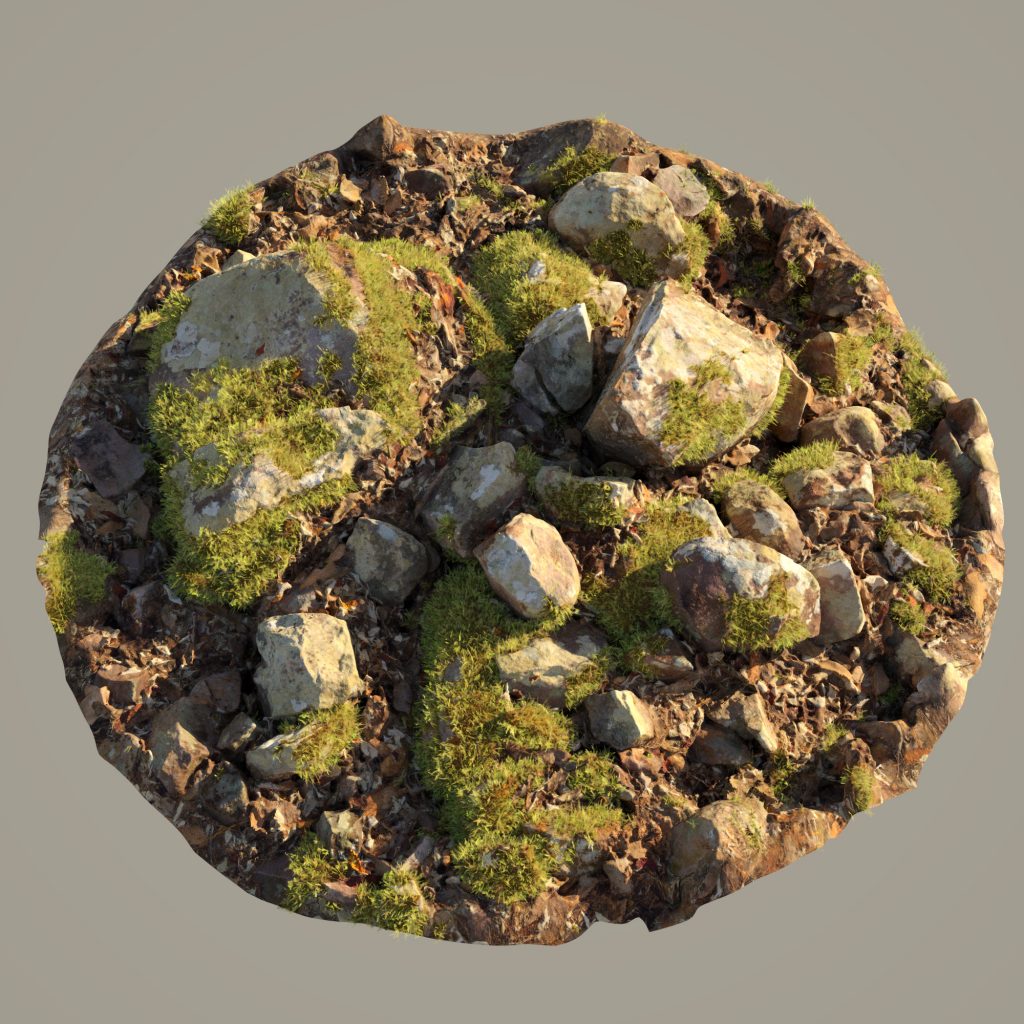
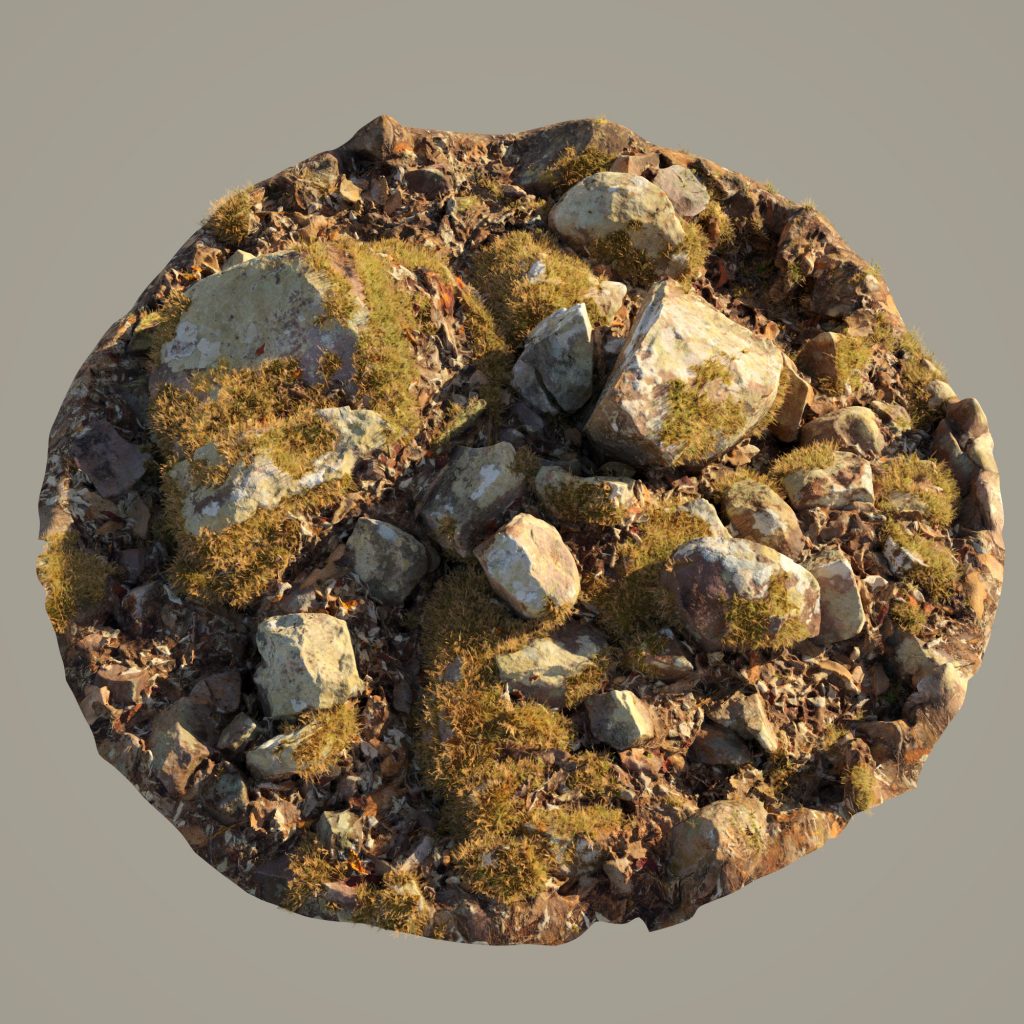
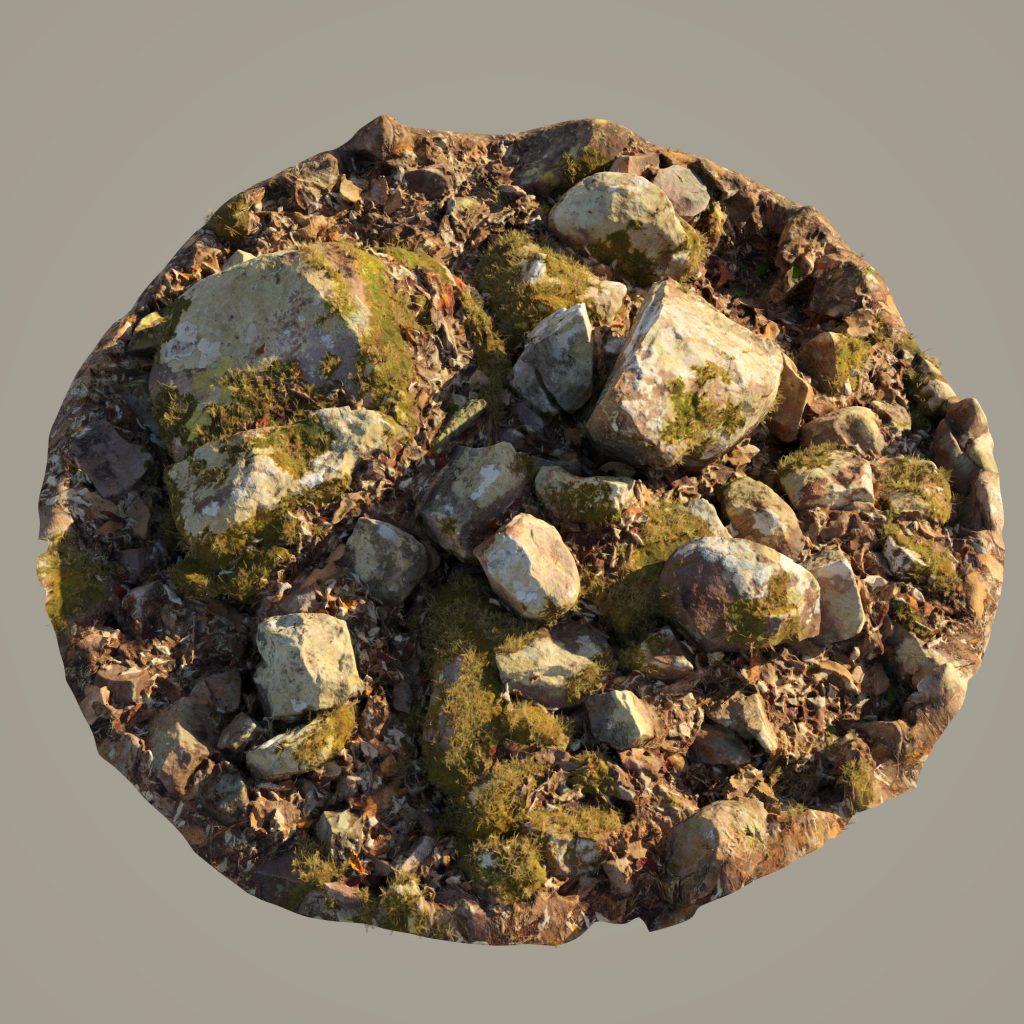
- Repeat the same process of adjusting the masks for the green moss and transforms to get a natural look.

- Still too spiky and fuzzy, So I adjusted the size and added more rotation giving a more matted down appearance.
- Adjusting some density settings, color tweaks, size variations
Conclusion
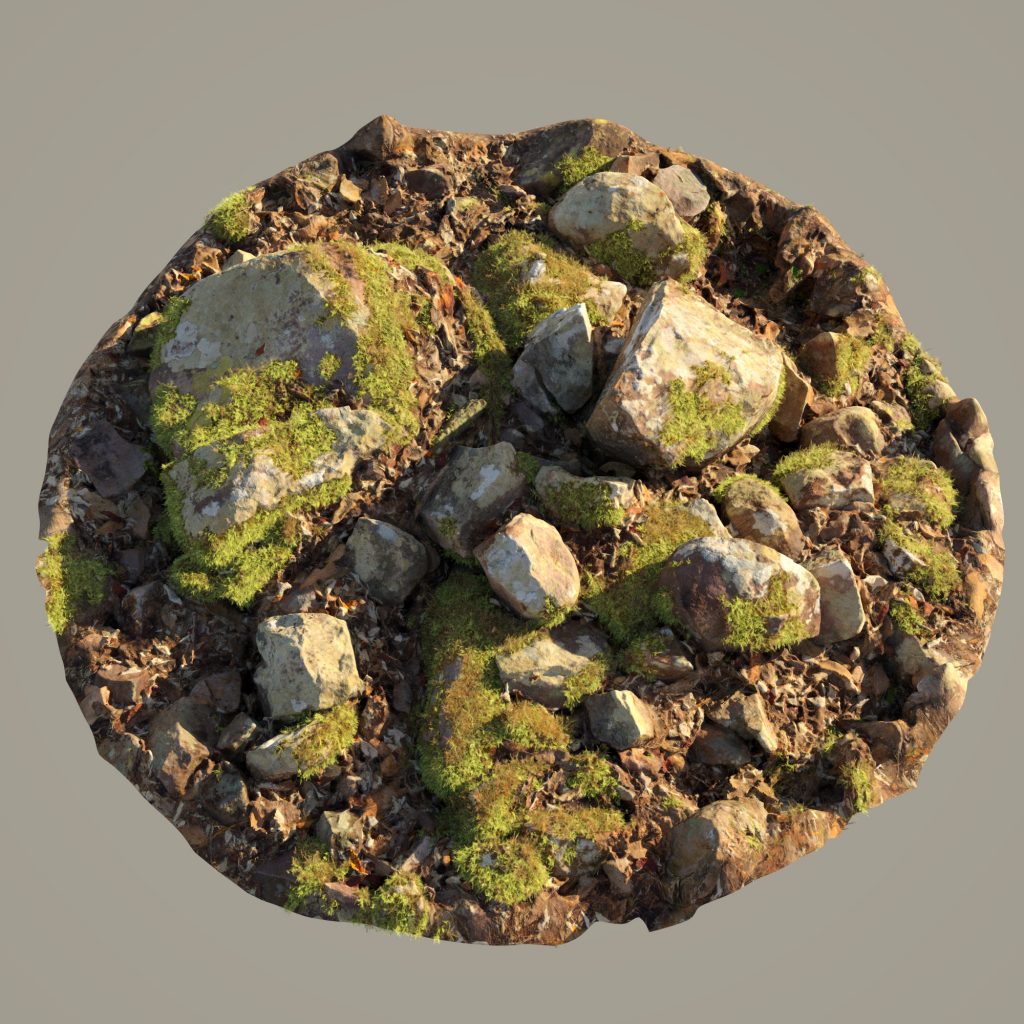
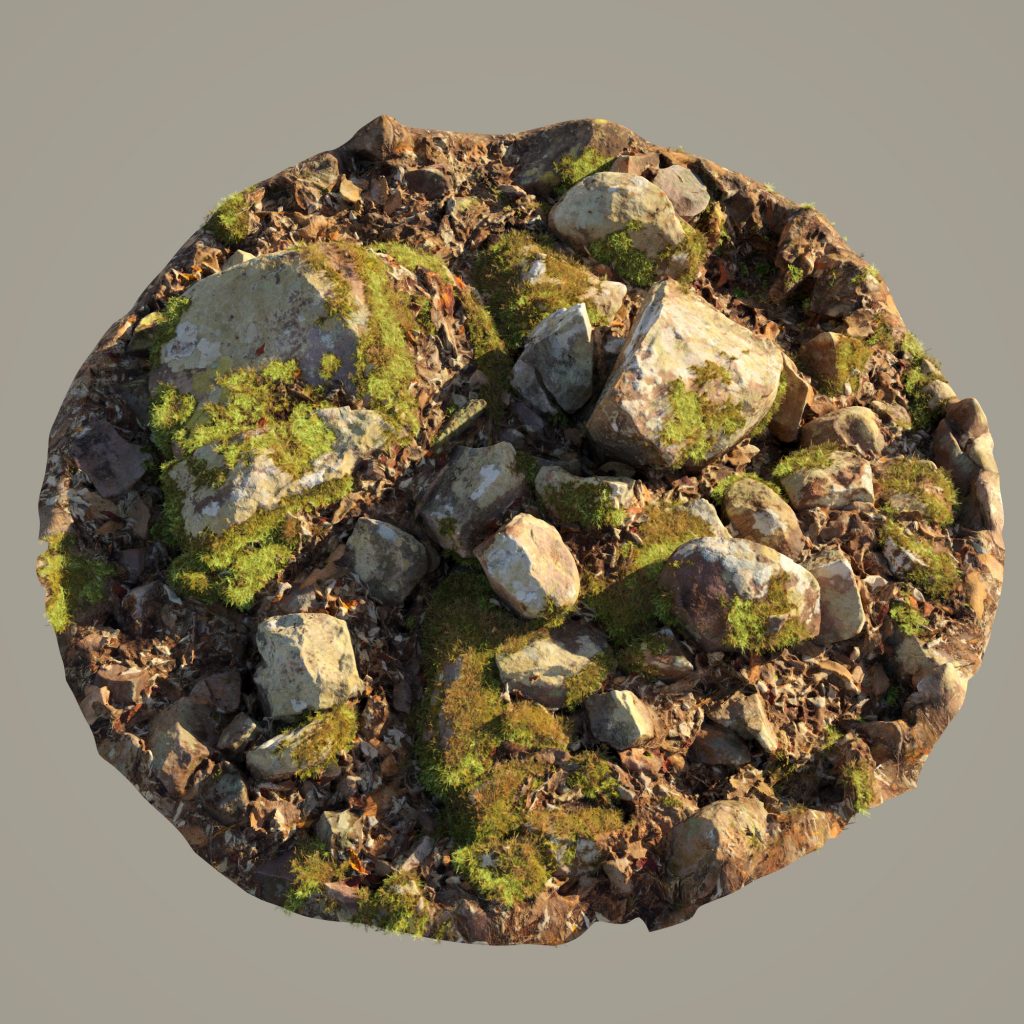
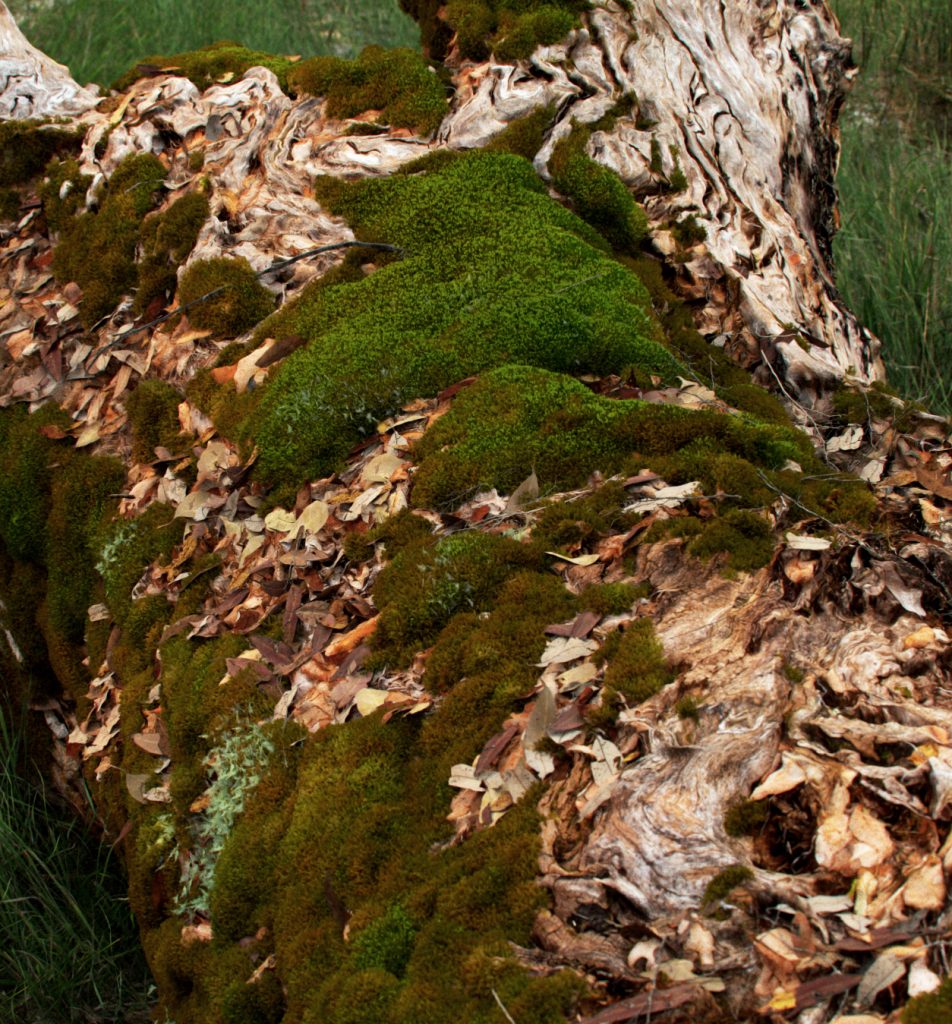
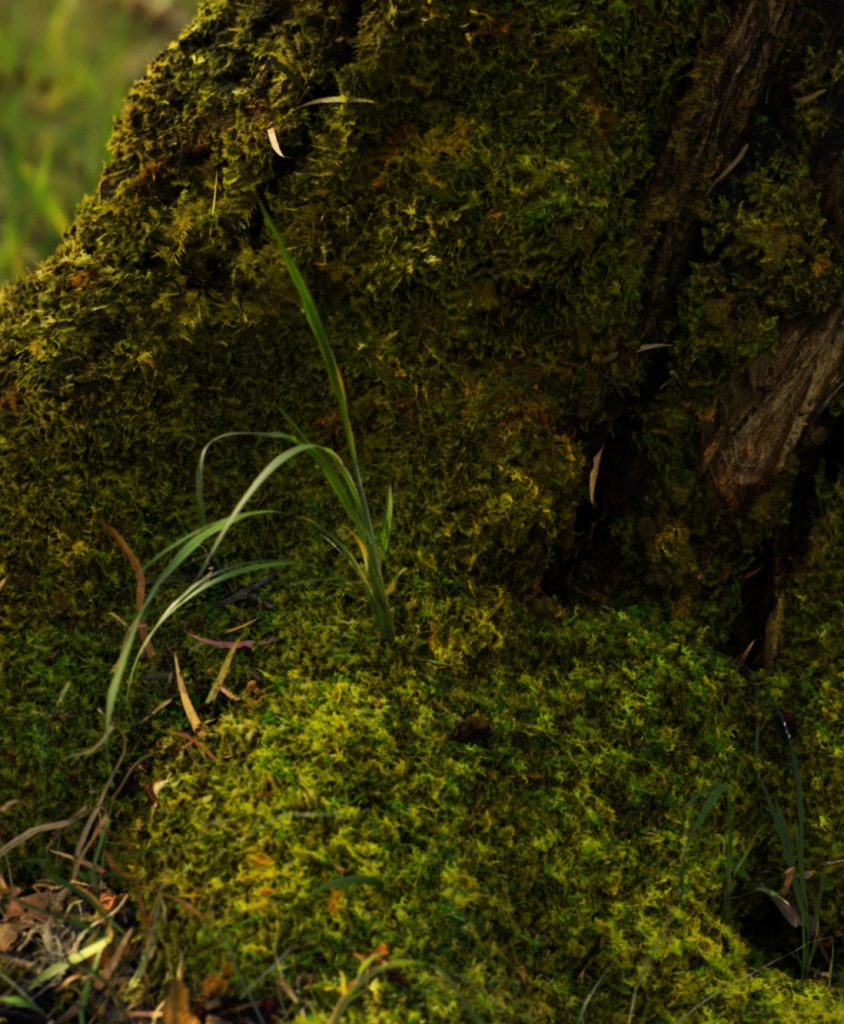
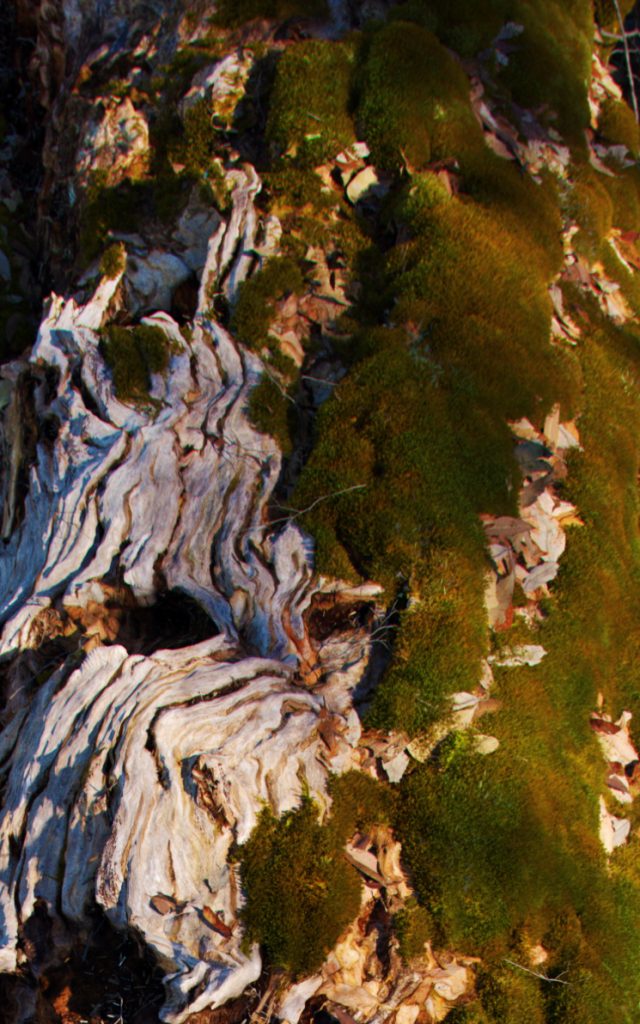
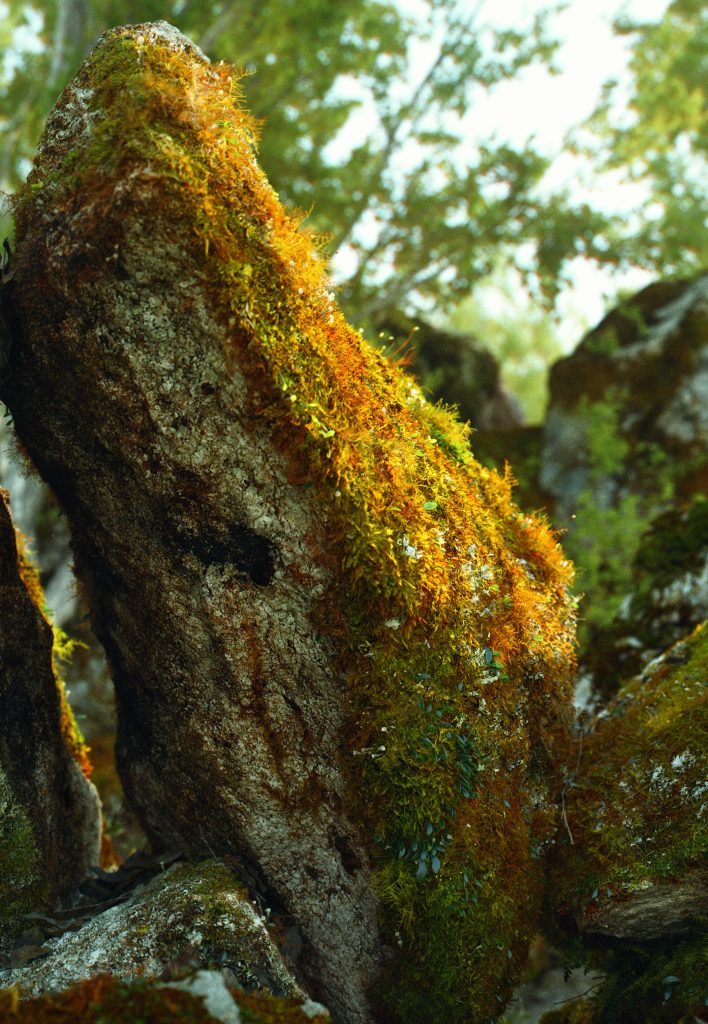
The moss at this point is life-like and natural. With the 4 forest packs created I would call this my base set up and apply it to other assets and customize from there. Pushing it further is just a matter of time and observational skills to make it outstanding. Also what will determine how much effort moss needs is how it will be used, in other words how many shots is it in, or how close does the camera get? Here is a check-list of ways to enhance the look and feel of the moss.
- Accurate color variation
- Taking the time to use the transforms in such a way that dead and live moss rest and grow off the asset accurately.
- Adding dead leaf bits and small twigs (both available on megascans.se)
- Adding other small plants living within the moss.
- Taking the moss the scattering the dead pieces without scene can help marry the moss to the environment as well.
Thank you for reading! Have fun making some amazing renders!