ARTIST SPOTLIGHT: Mateus Kurzhals and the great Canadian outdoors
The Megascans library aims to make it easier for artists to achieve cinematic, photorealistic results rapidly without the granular tedium traditionally associated with 3D world building. The combination of Megascans and Unreal Engine takes this a step further, enabling life-like environments in real time, and perfectly showcases just how much a single artist can achieve with today’s cutting-edge art tools available to everyone.
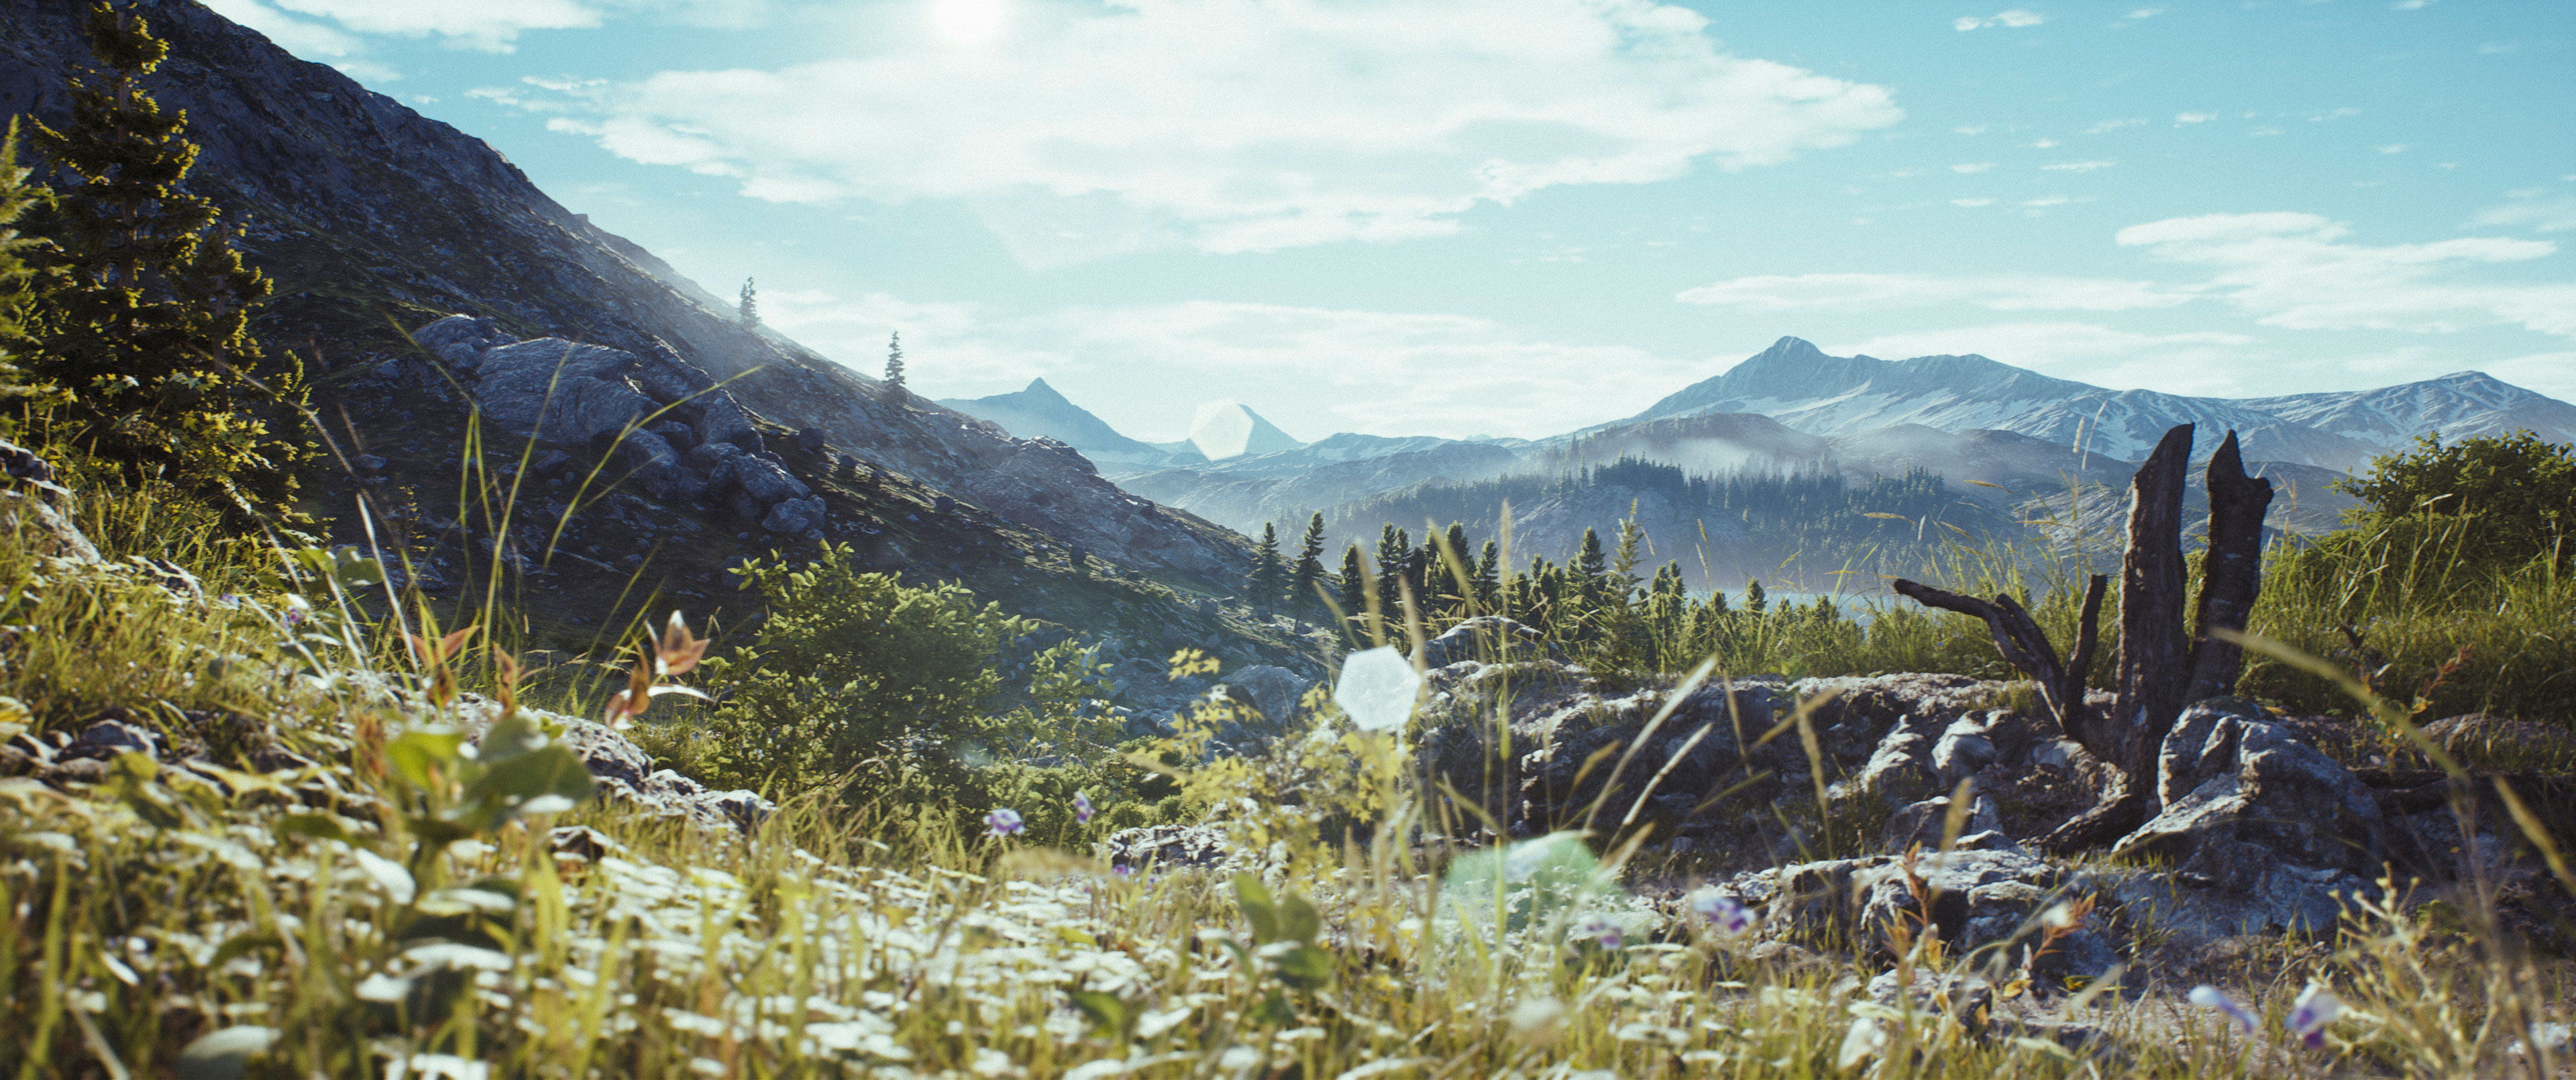
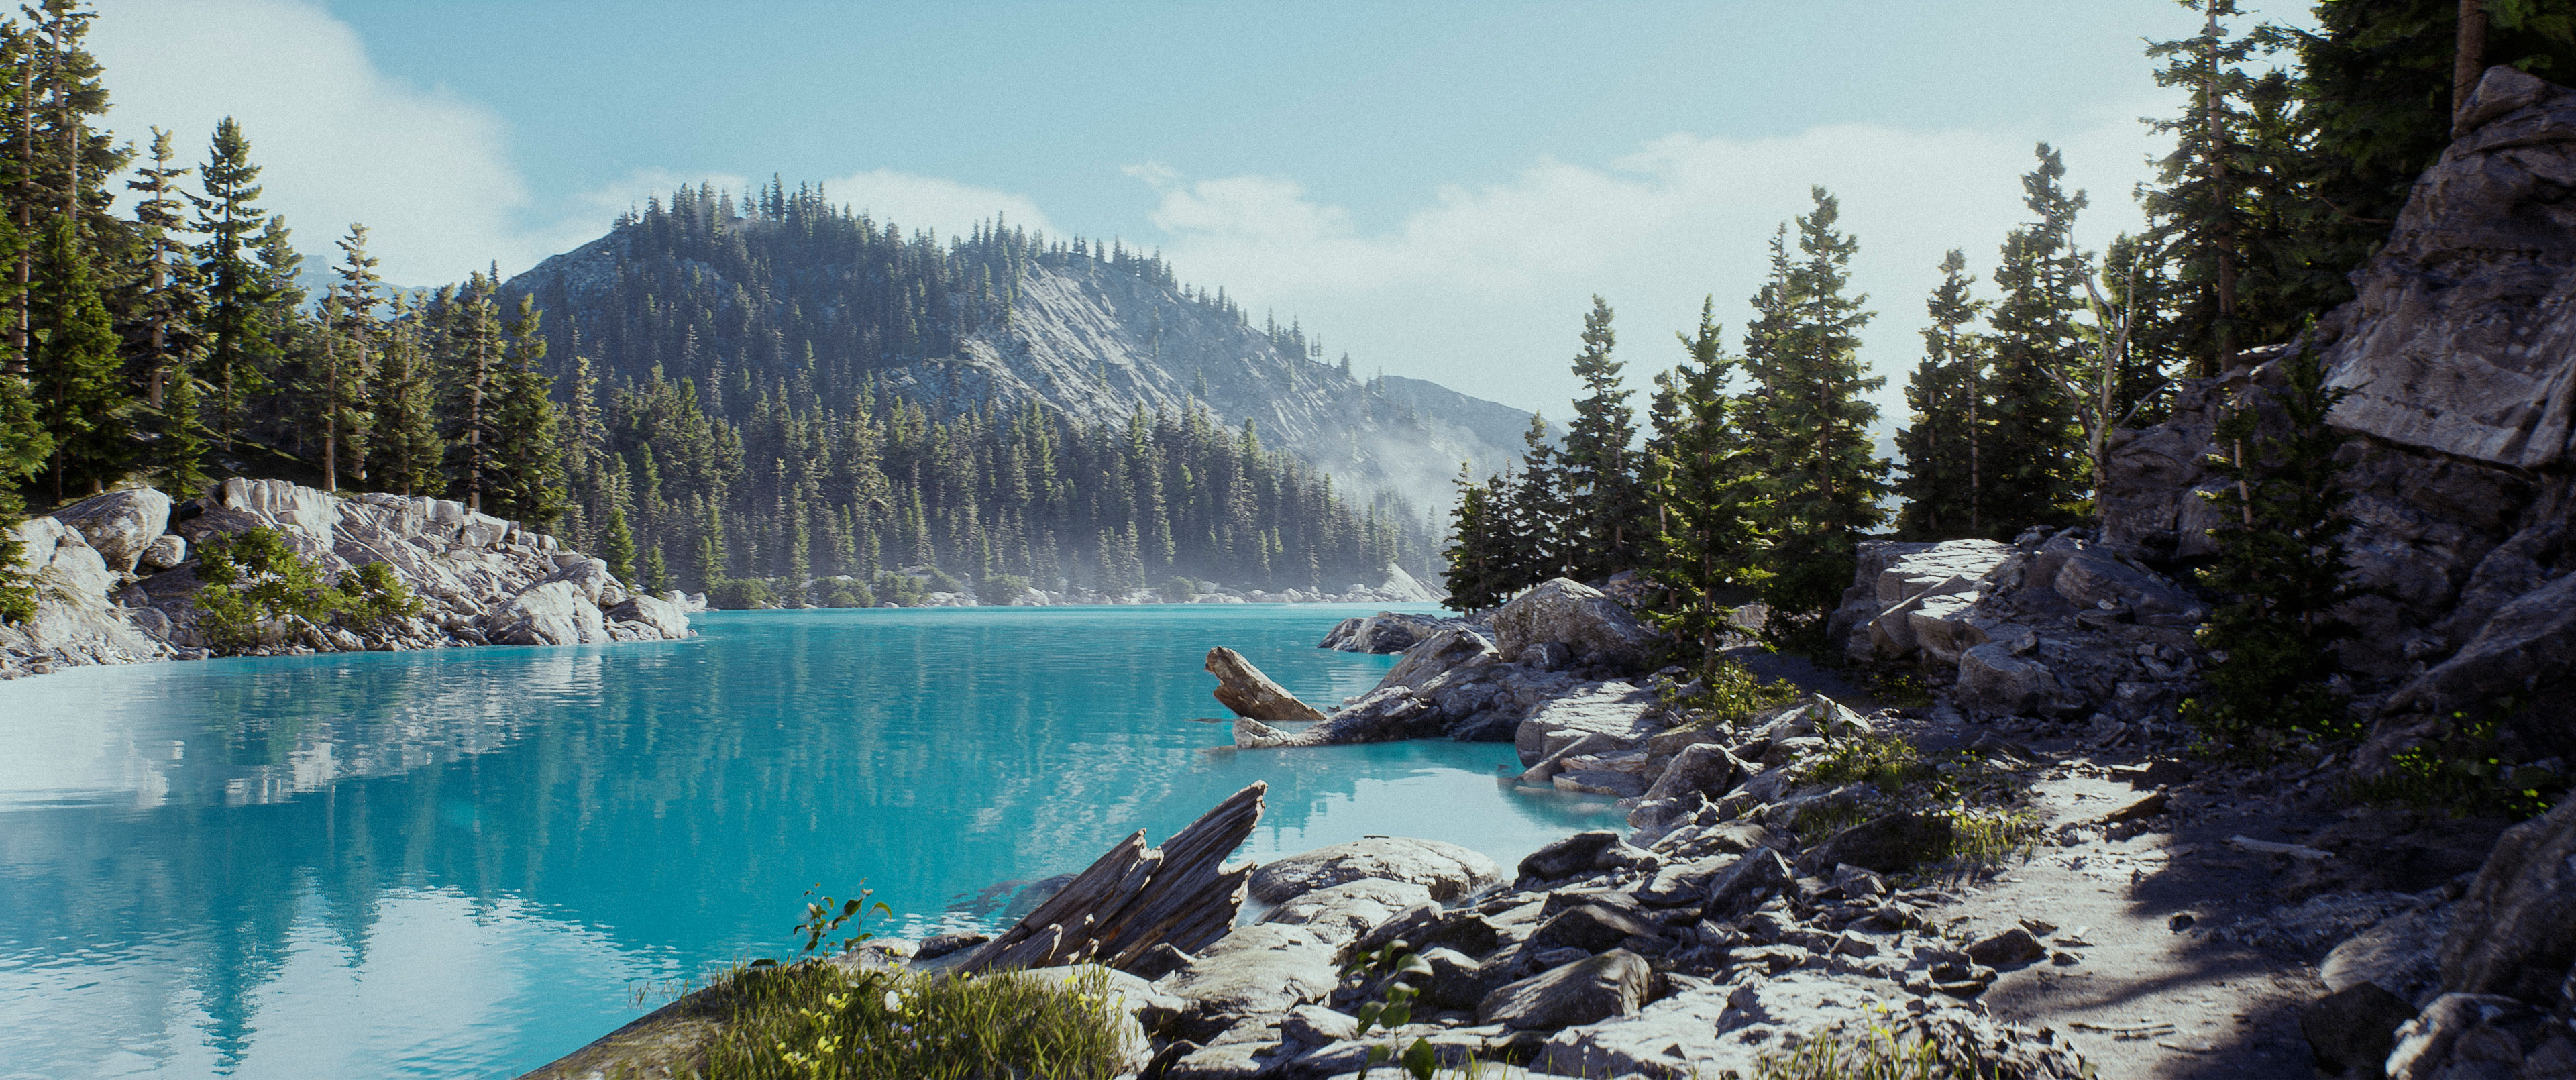
One such artist is Mateus Kurzhals. We were blown away by how he was able to capture the essence of Canada’s scenic beauty with Northern Lake.
We were able to chat with Mateus and have him walk us through how he went about creating Northern Lake, how he brought the best out of the Megascans library, and his use of Unreal Engine’s lighting systems.
In Mateus’ words
My name is Mateus Kurzhals, and I am a 3D artist from Brazil. Thanks for inviting me to share a little bit about my latest project. I must admit that it was kind of unexpected. That said, I feel honored to be able to share a bit of my process and inspiration. While this was my first time with Unreal Engine, I’ve been working as a 3D generalist for movies and television for many years now.
As an artist, I’ve always aimed for realism in my personal and professional projects. But that always comes at a cost. Usually, the render times with the software we use is pretty heavy, and a lack of real-time feedback during the lookdev and lighting processes can make our life miserable. Because of that, most of my personal artworks are only still images.
Software used
Unreal Engine 4.26 – Quixel Megascans – Quixel Bridge – Quixel Mixer – Maya 2019 – Gaea – SpeedTree – Substance Painter – DaVinci Resolve
Inspiration
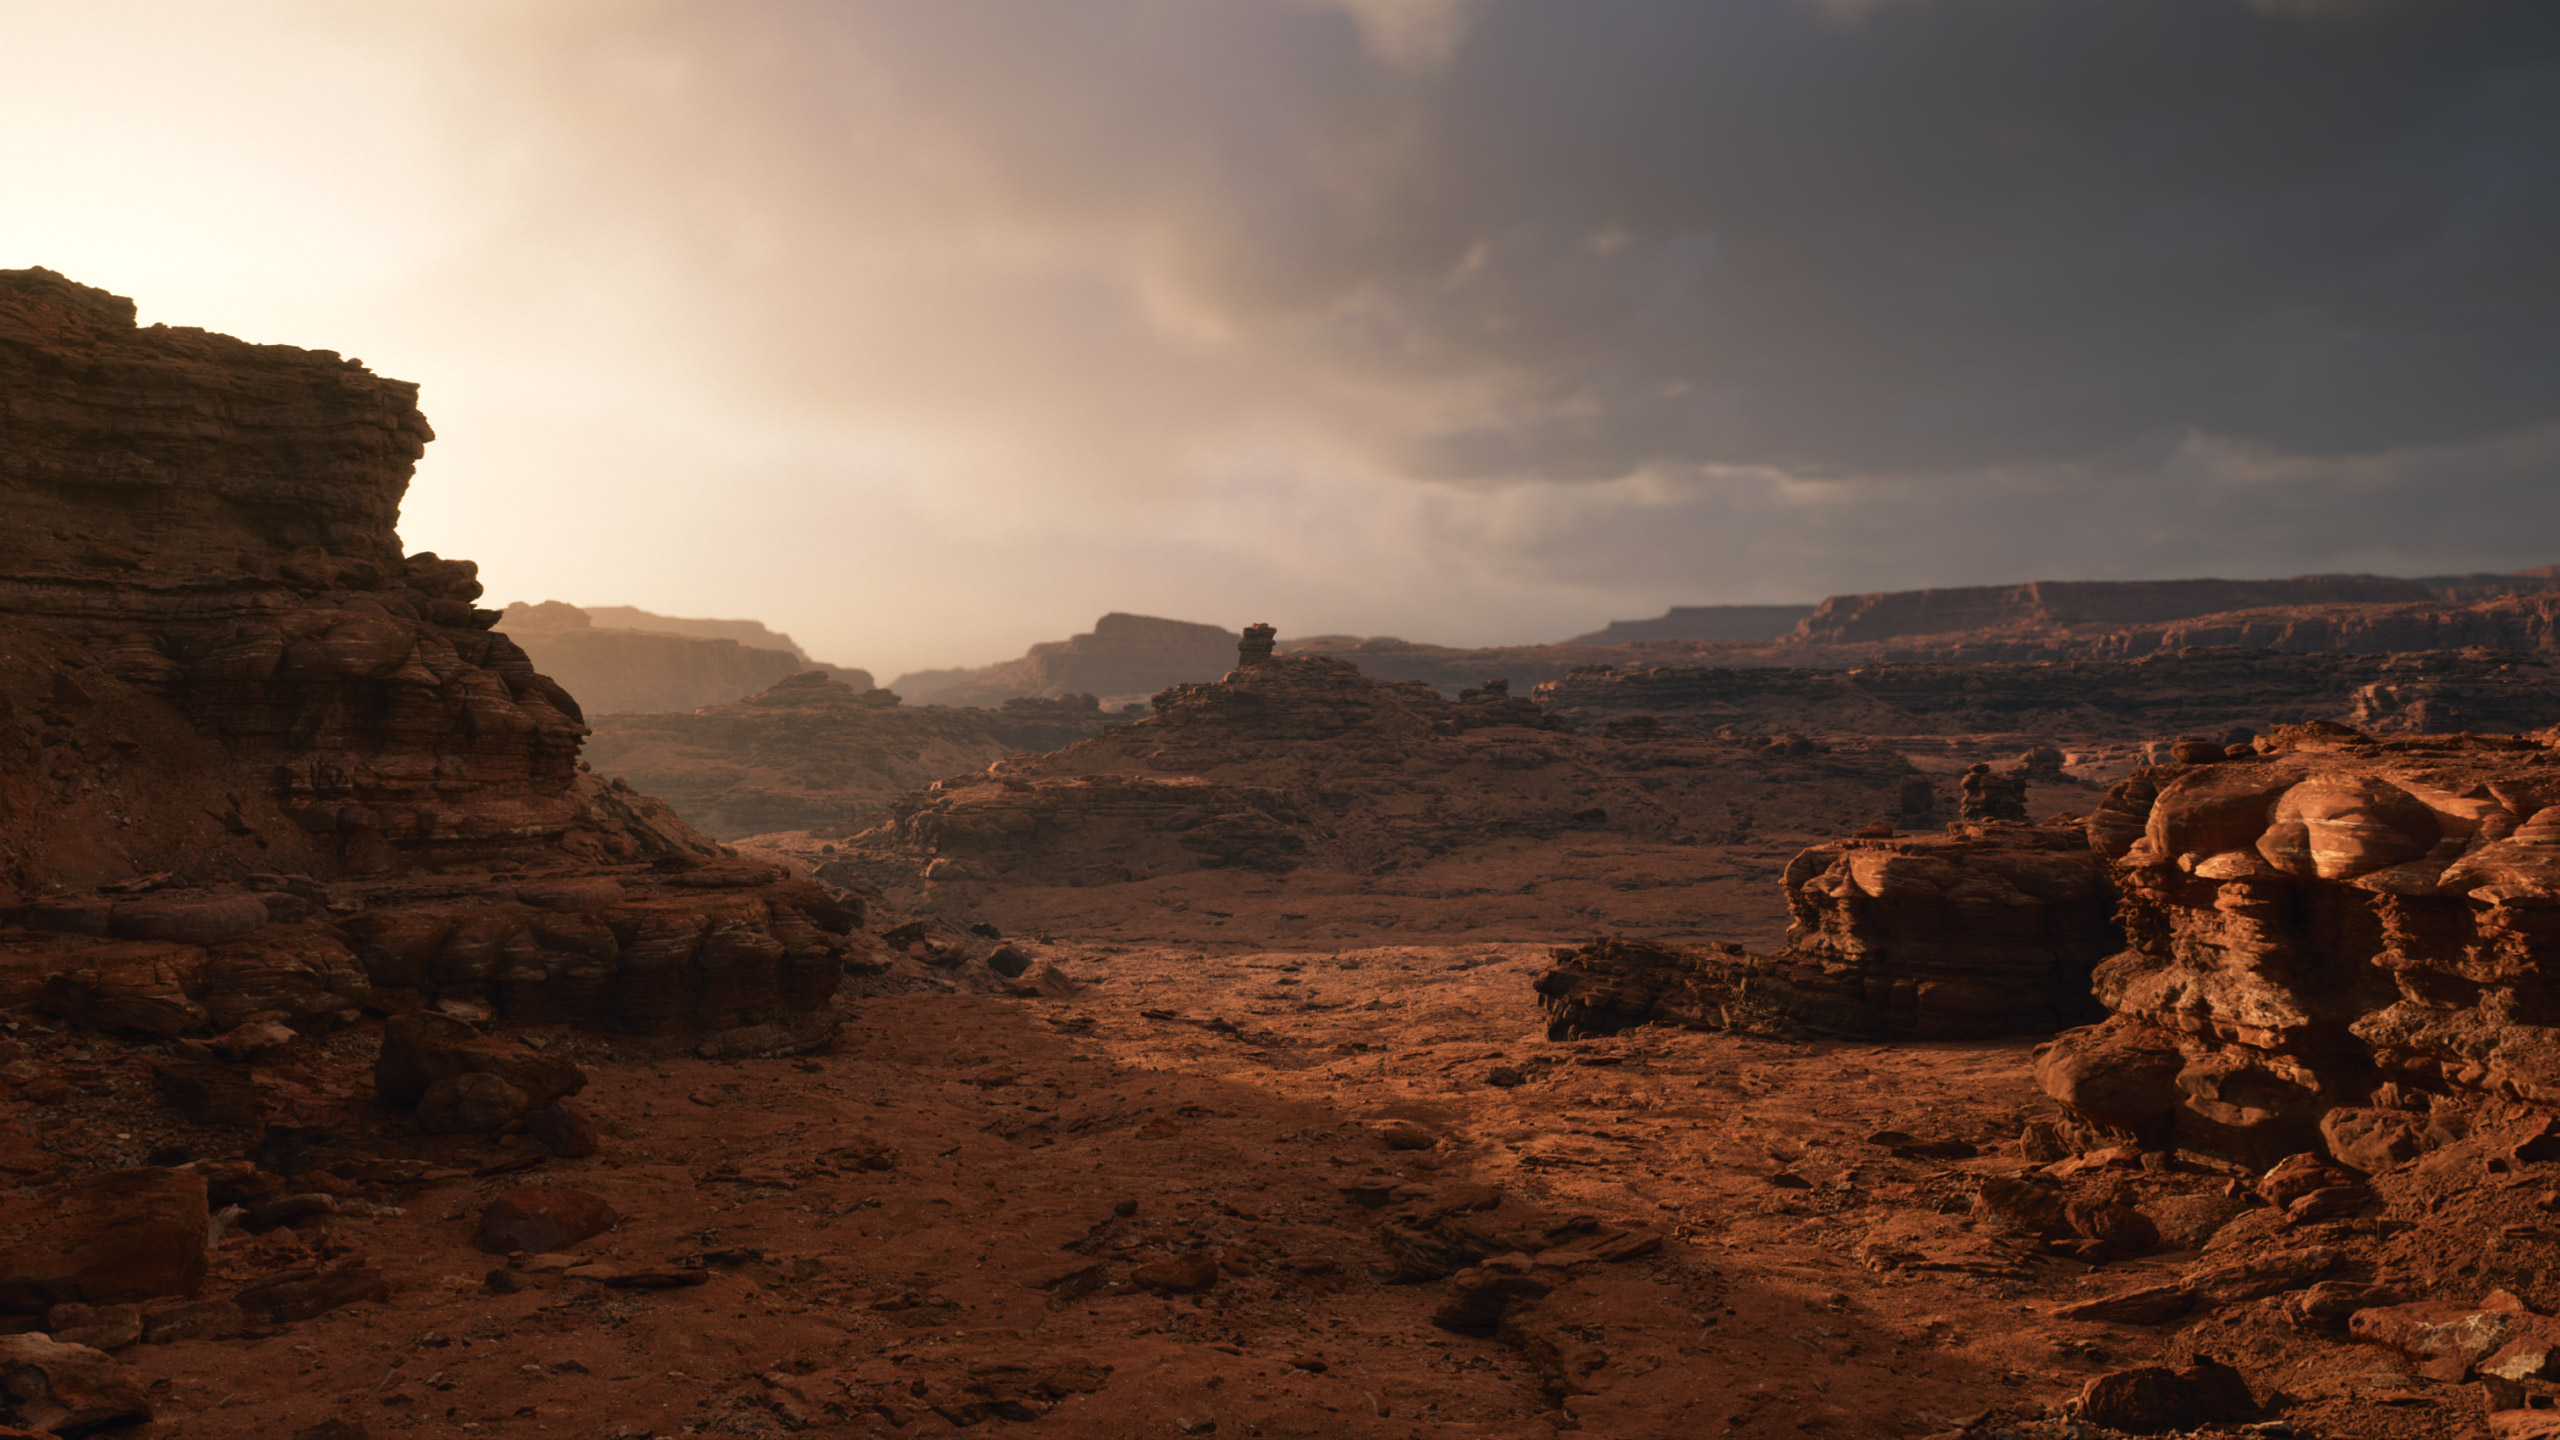
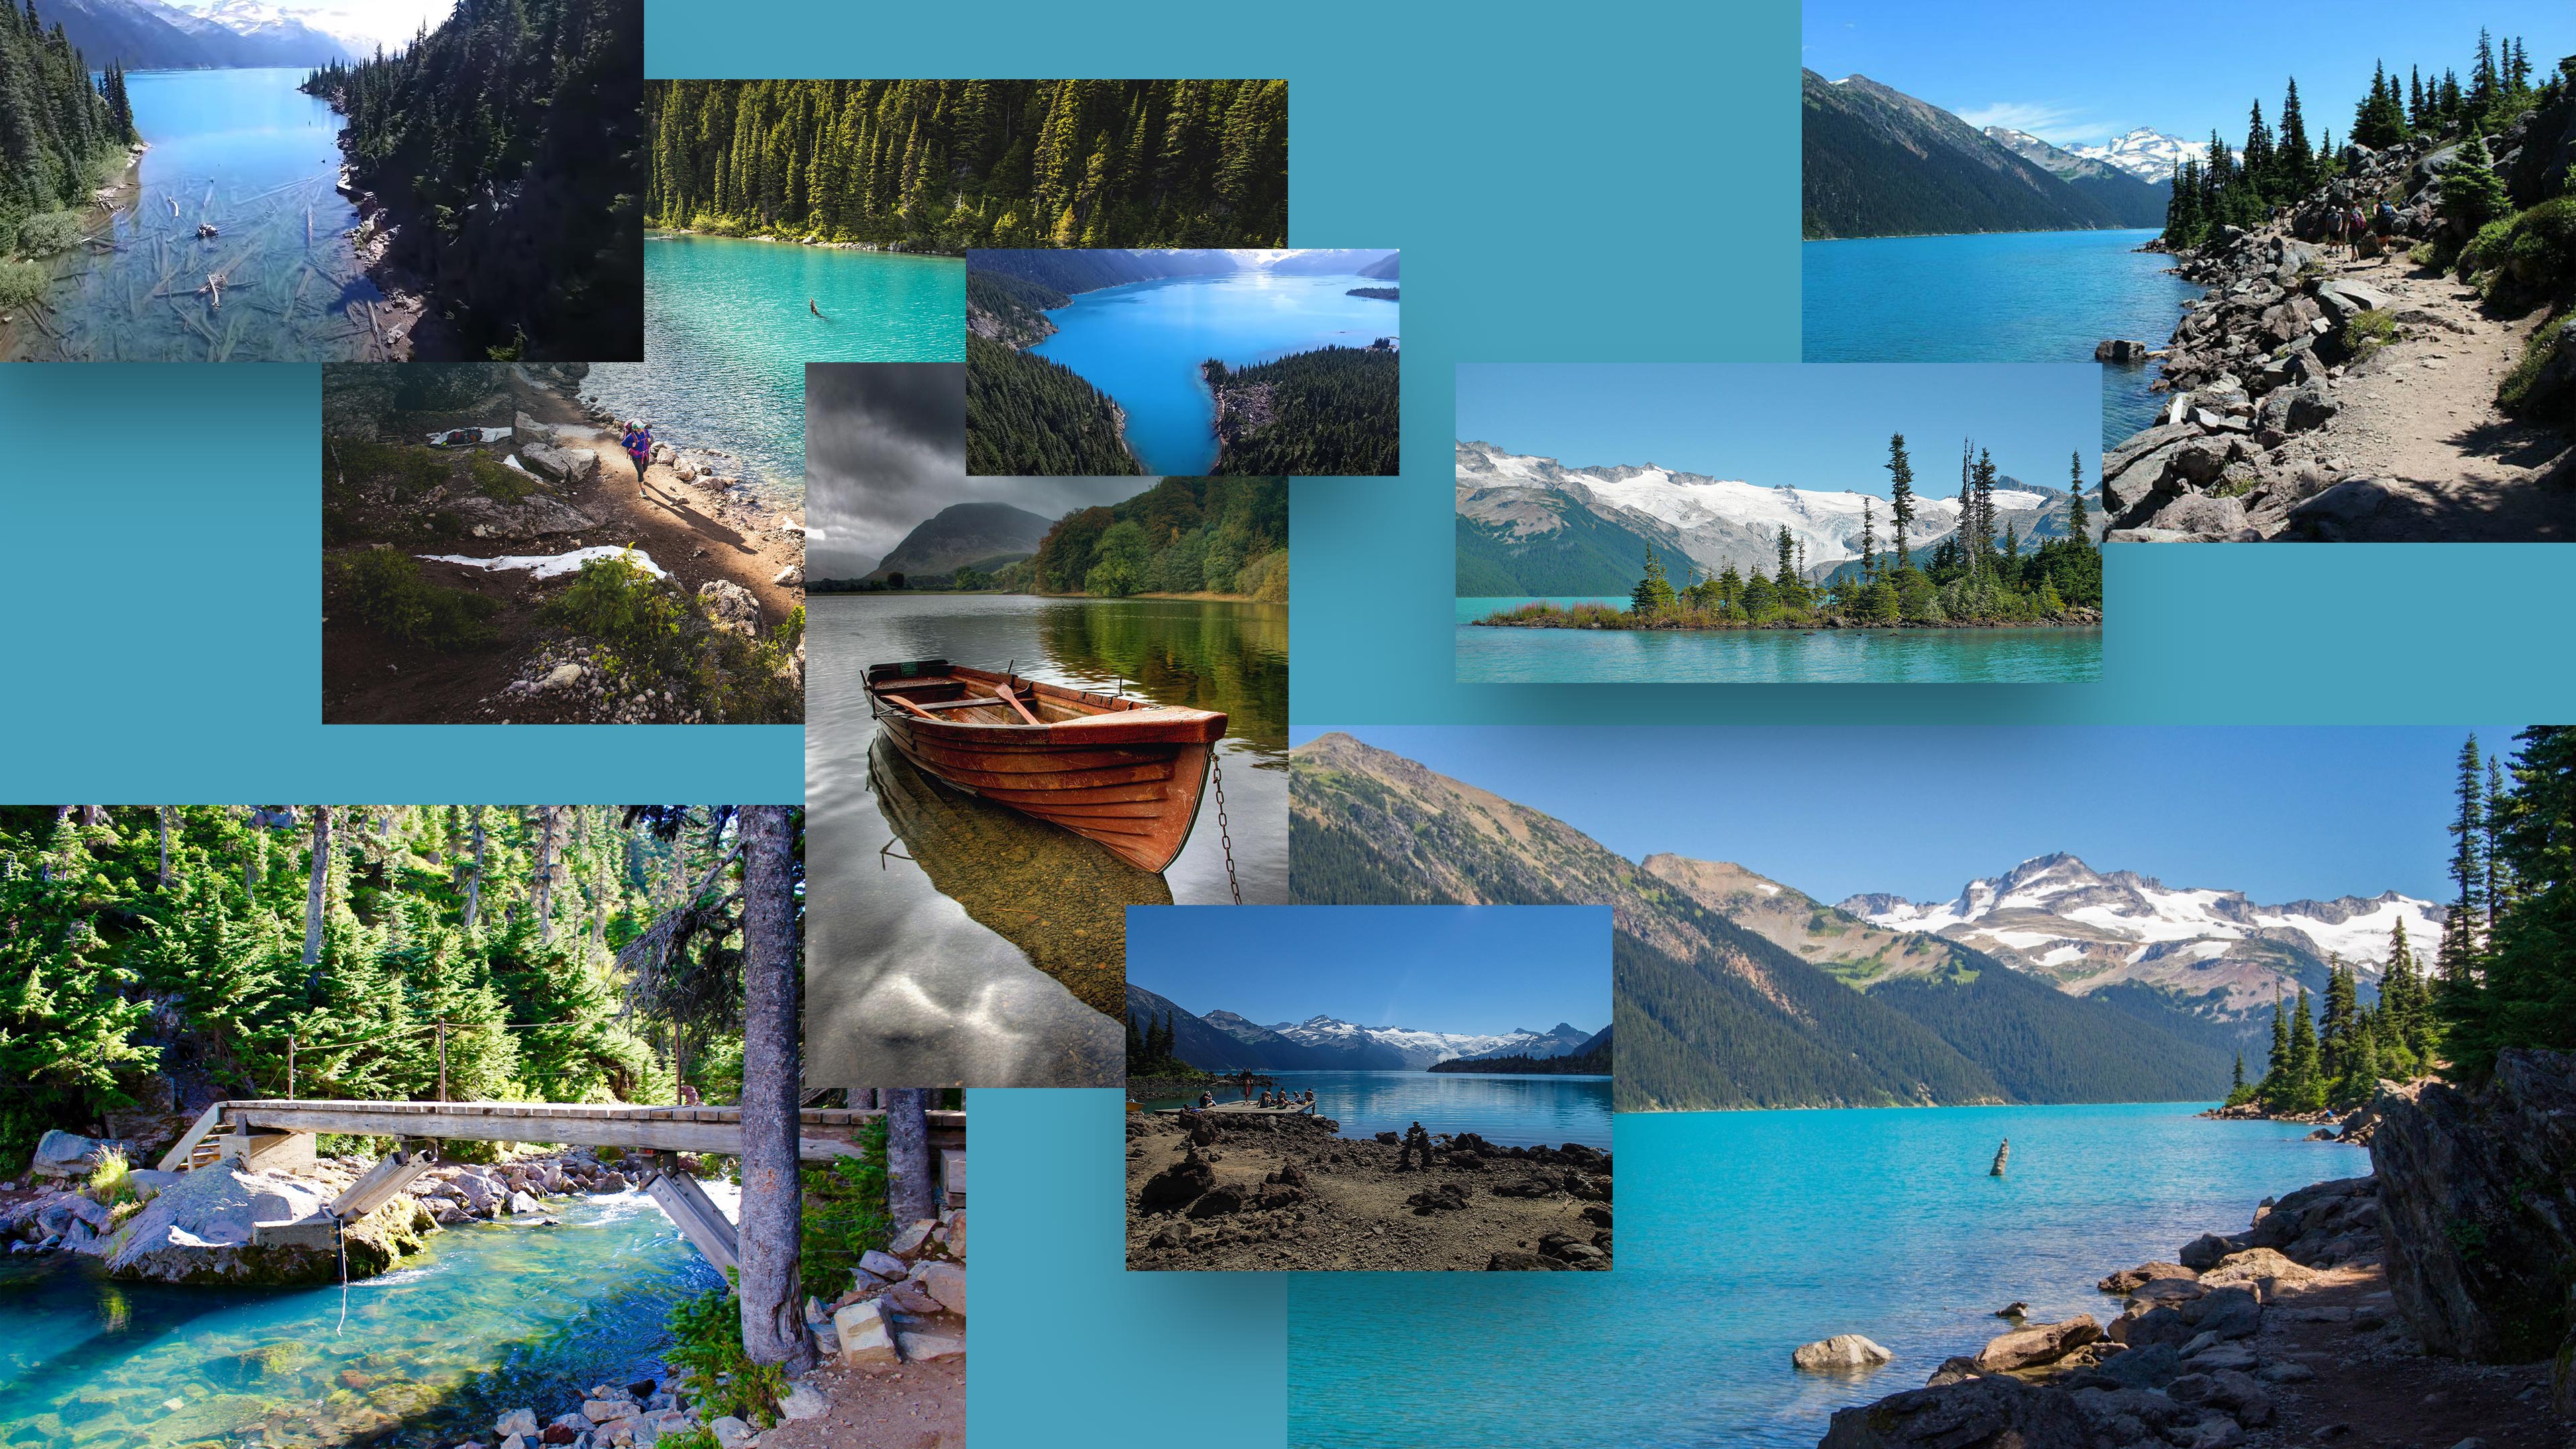
It was mid-2020 when I decided I was going to do a personal project that is a bit different from what I usually do. I wanted to create a short video this time. And it had to be fully CG. I already had an idea of what I wanted, even before deciding I was going to do it in Unreal Engine. My idea was to bring back my memories of the time I lived in Canada. I spent about 3 years of my life there, and I wanted to relive it by recreating the remarkable experience I had when I visited the great lakes in the province of British Columbia.
Most of the environment was based on a real lake I visited when I lived in Canada. I wanted to create something that I had experienced, rather than something from my imagination. So most of my references were from that particular place.
In the beginning, I was still unsure about what software I was going to use. I had Unreal Engine on my mind, and it was also on my list of things to learn. I believe it was about October or November when I first saw Memories of Australia by Andrew Hamilton, a beautiful video created in Unreal Engine. I was both moved and impressed by it, and it convinced me to try Unreal. For me, there is no better way to learn than having a clear goal in mind and heading towards it. From that moment on, it was a “learn as I go” kind of experience.
Approach
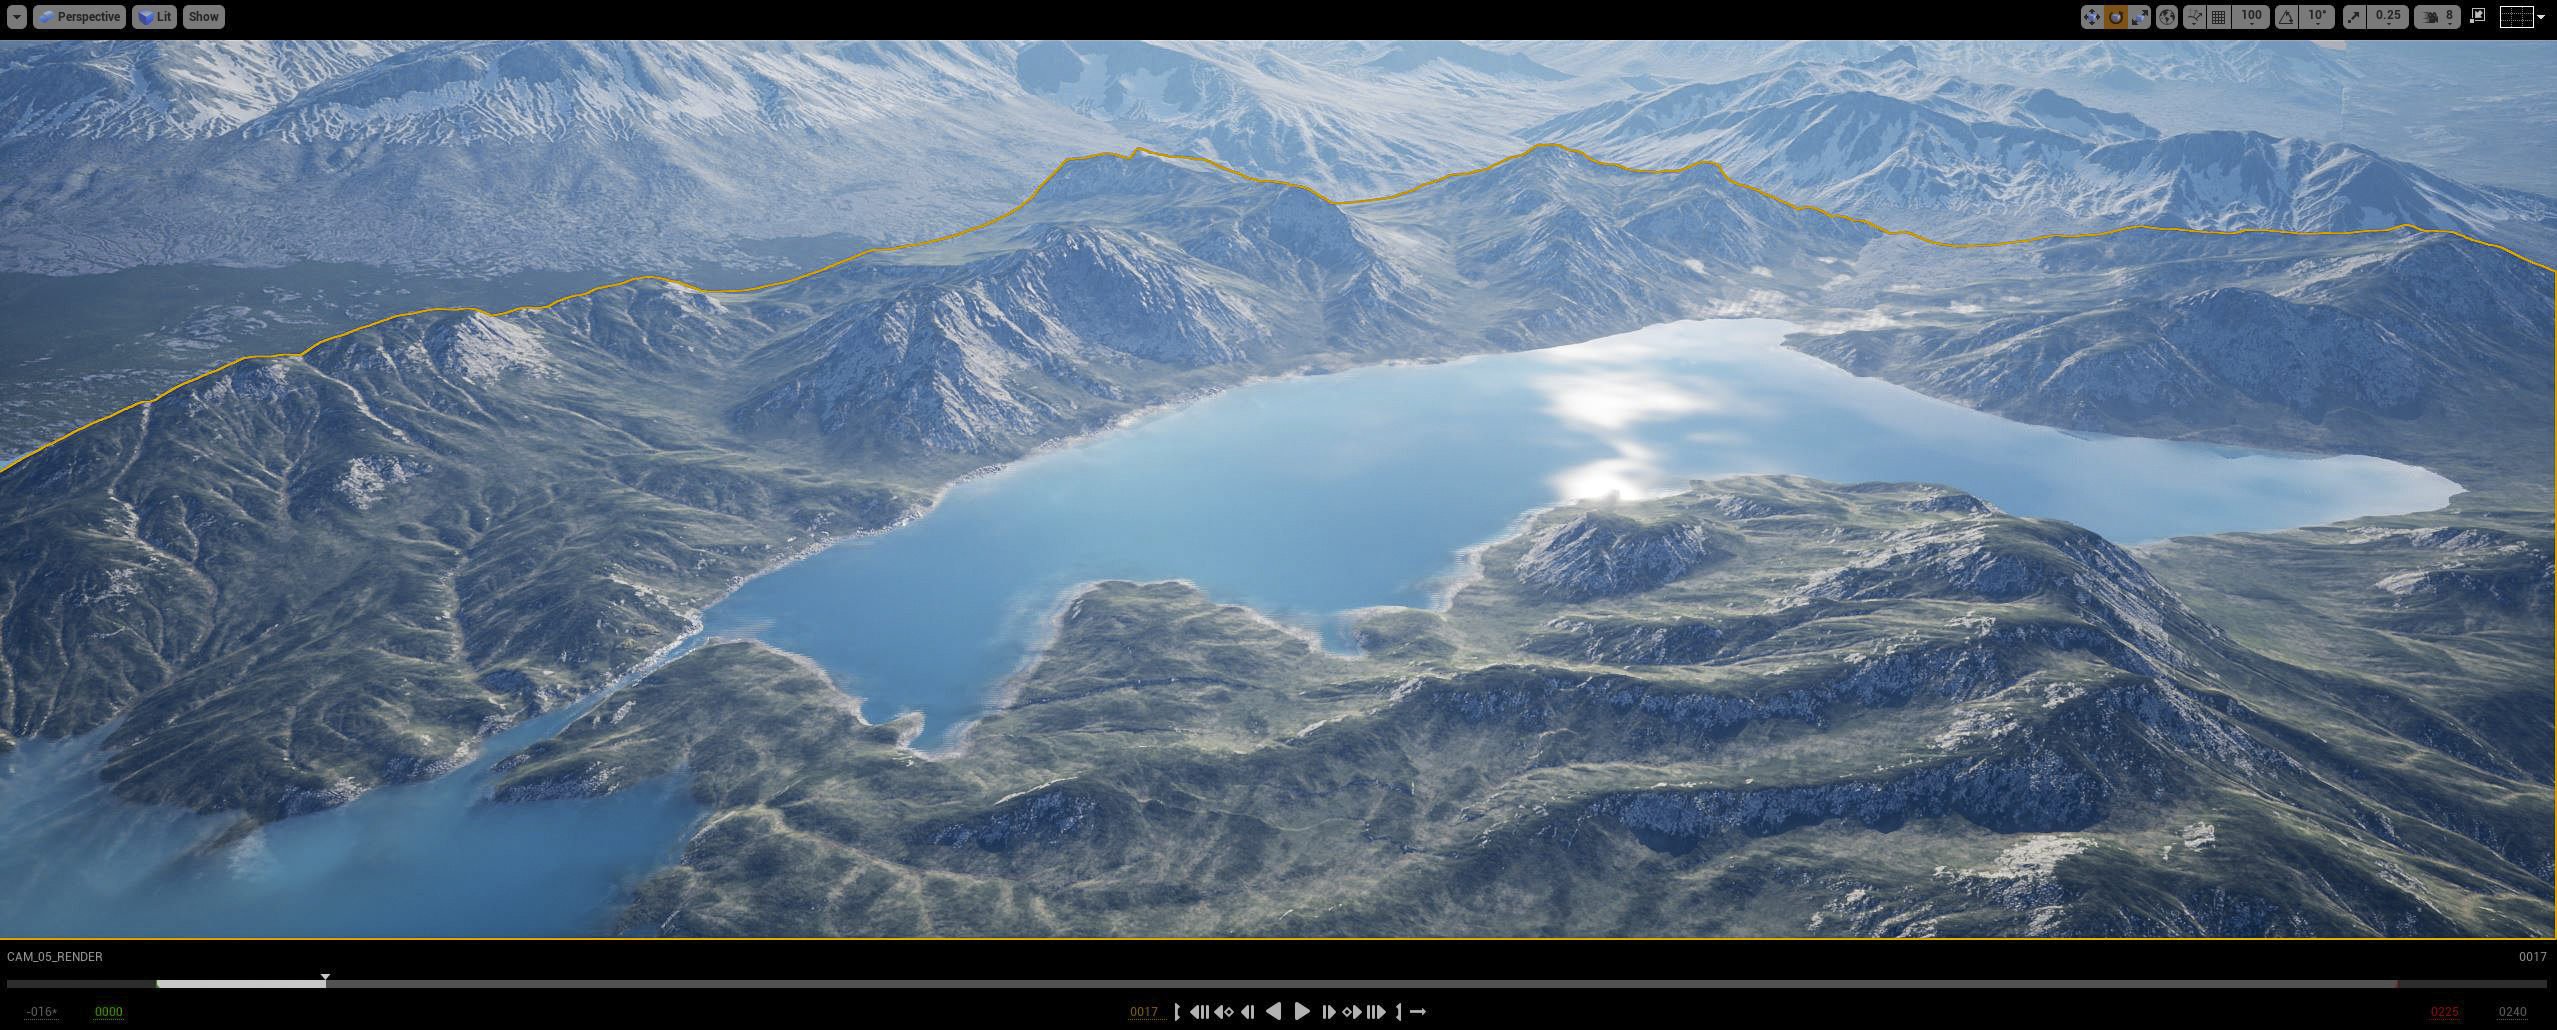
My goal was to create the whole landscape in a single map with terrain, the background mountains, and the lake. And then, after I had the whole environment to explore, I would choose some locations to put my cameras, split into different maps and start the set dressing with my own assets and Megascans.
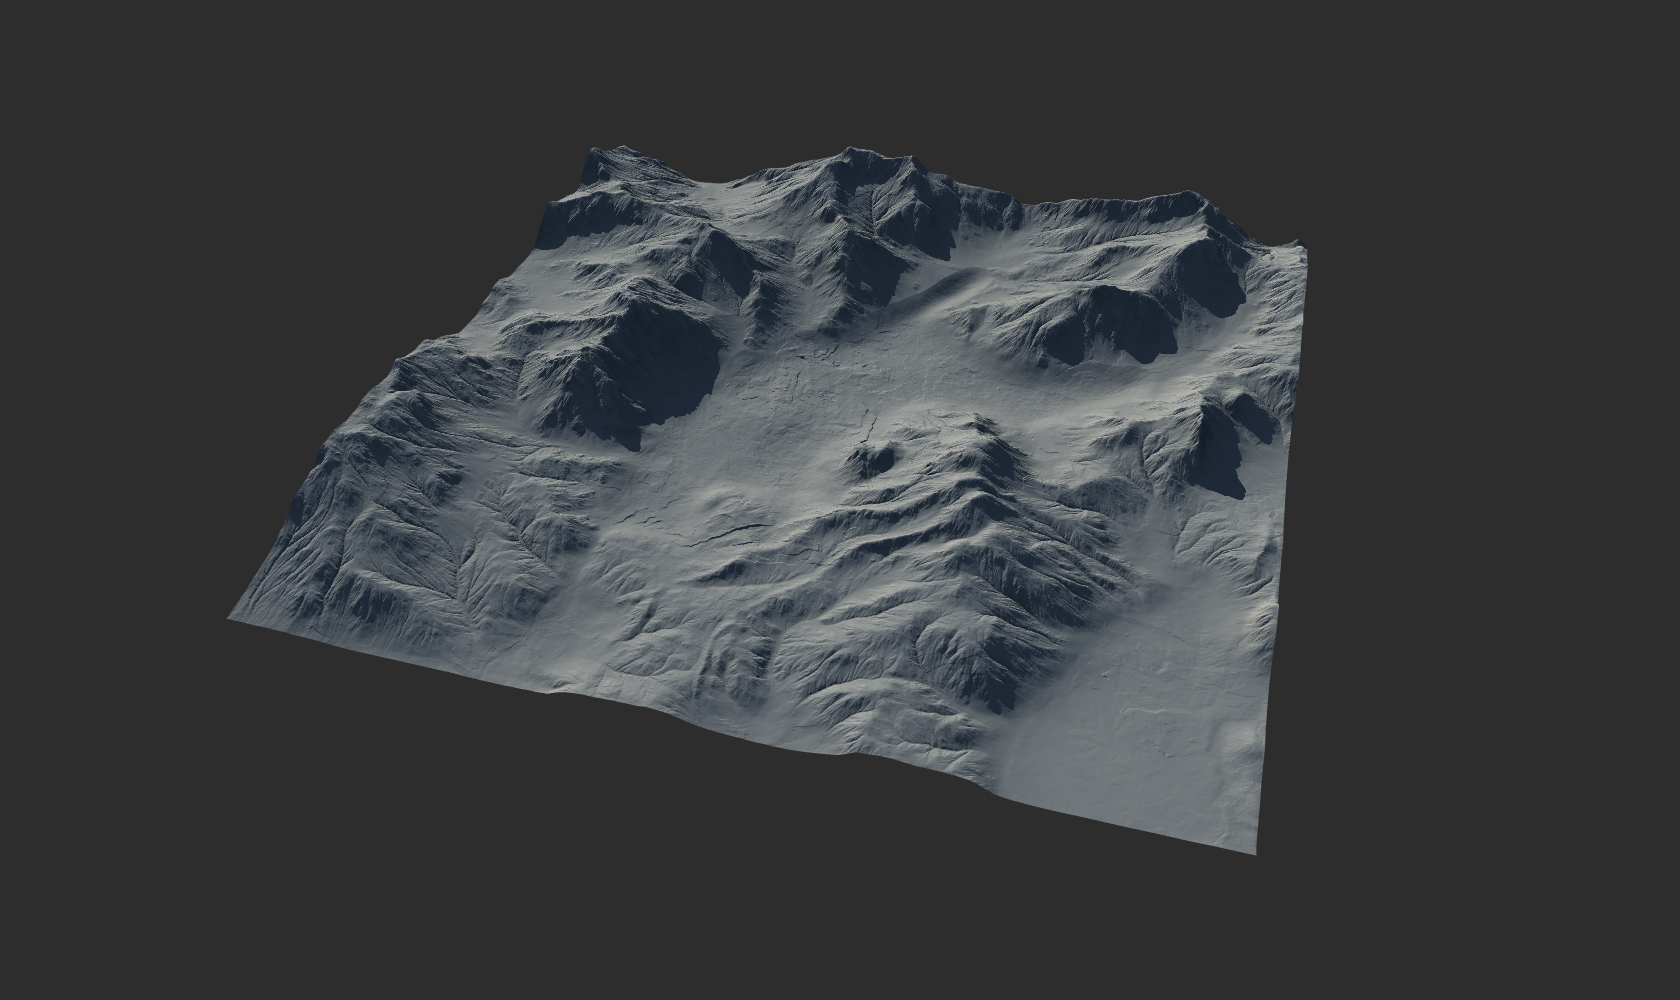
When starting work on the landscape, I decided to get my hands on a heightmap of the lake’s location from satellite data—just to get the general proportion and scale right. The heightmap was good enough for a start, but it lacked the regular details we usually see in real terrain. So to fix that, I brought the satellite data into Gaea, a node-based software for creating landscapes, and started to refine it.
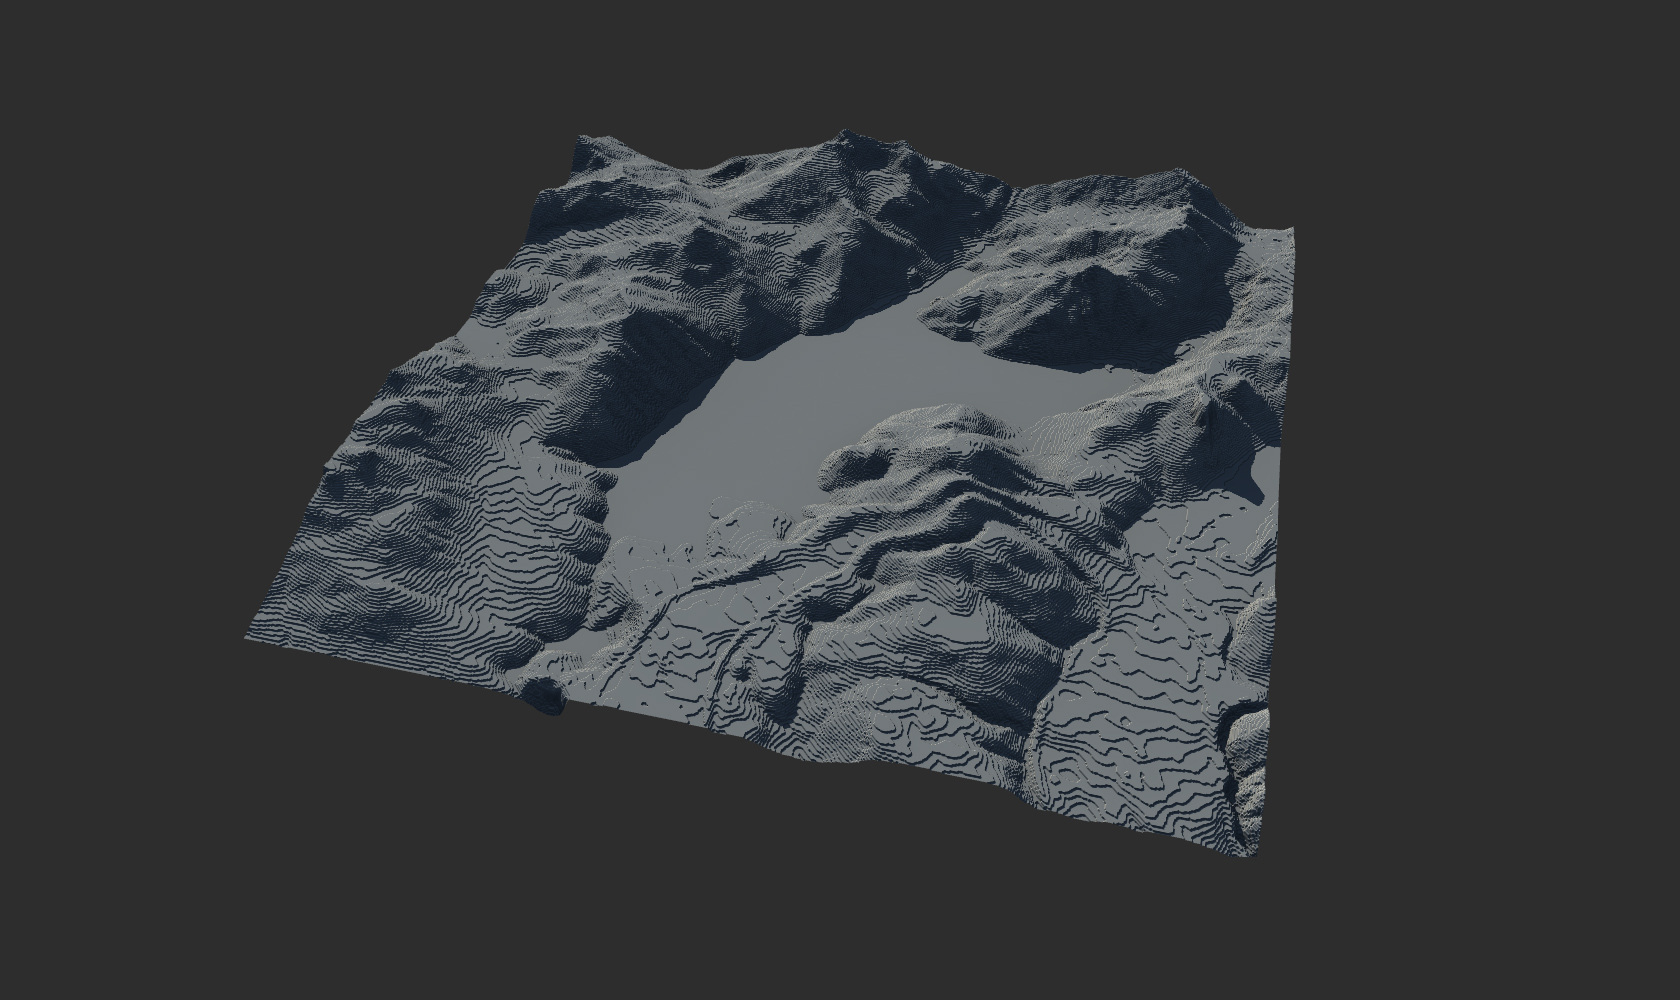
After I was satisfied with the result, I exported a heightmap and imported it into Unreal Engine to create the landscape terrain.
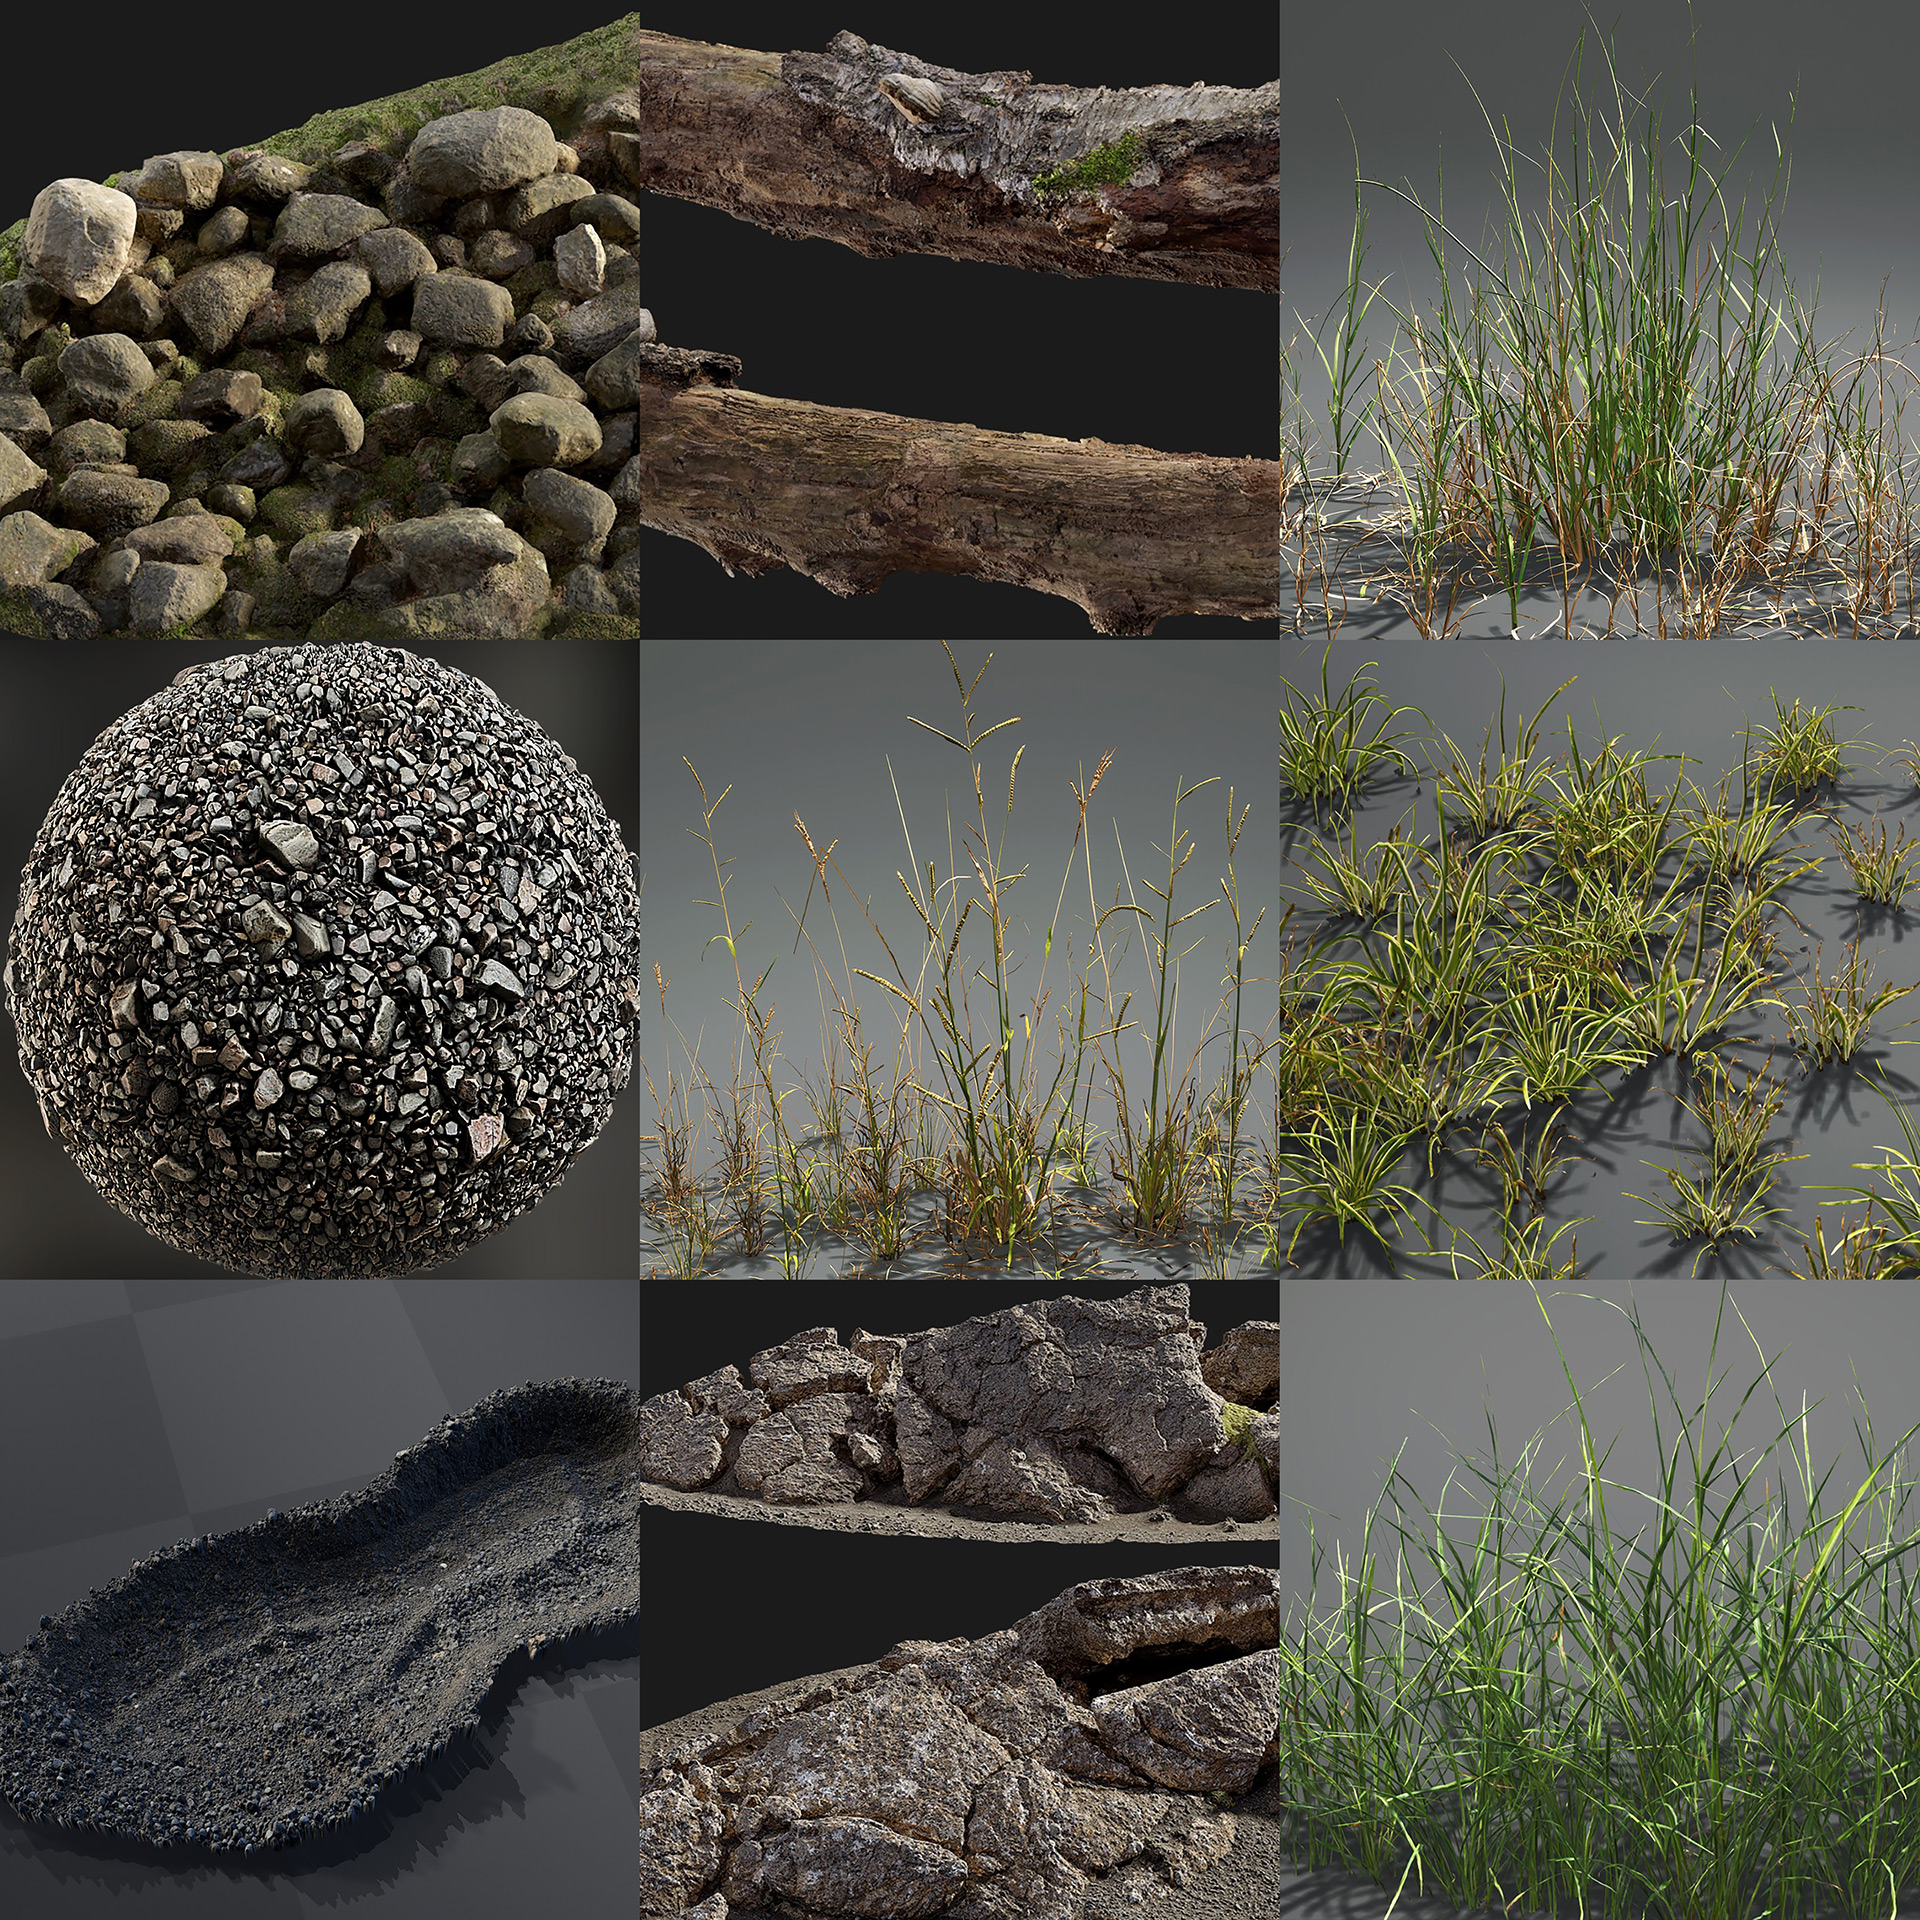
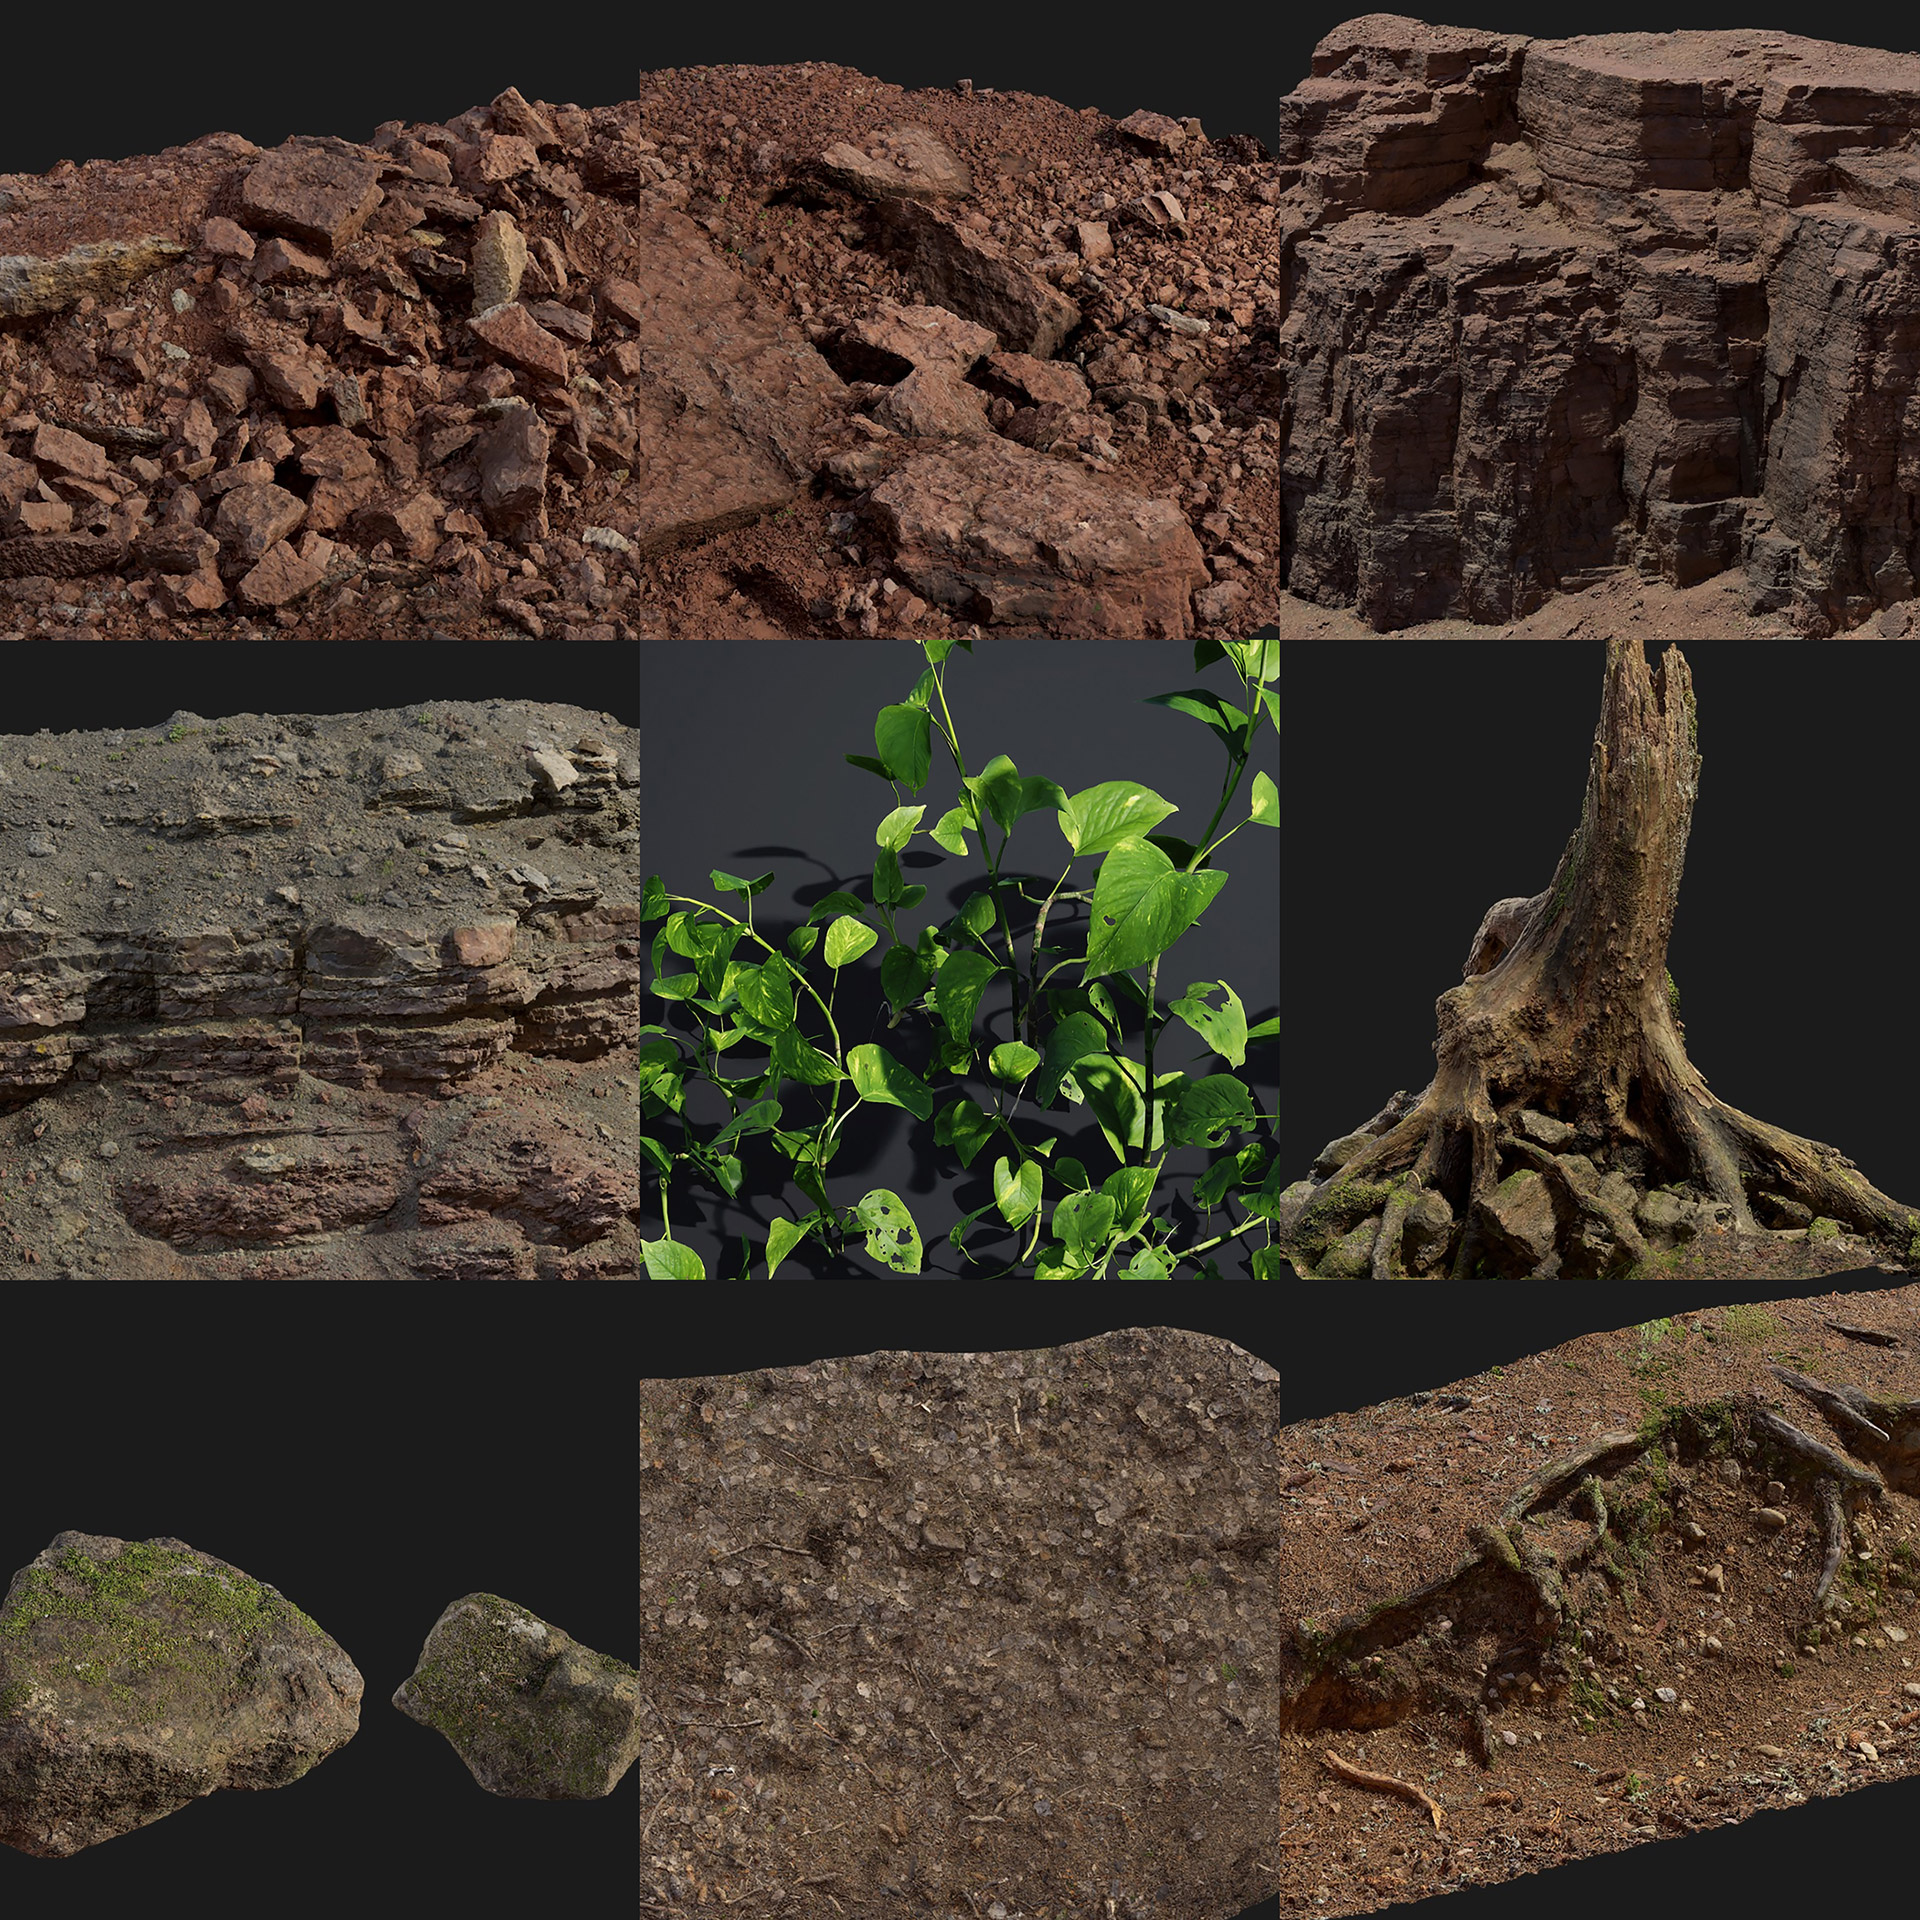
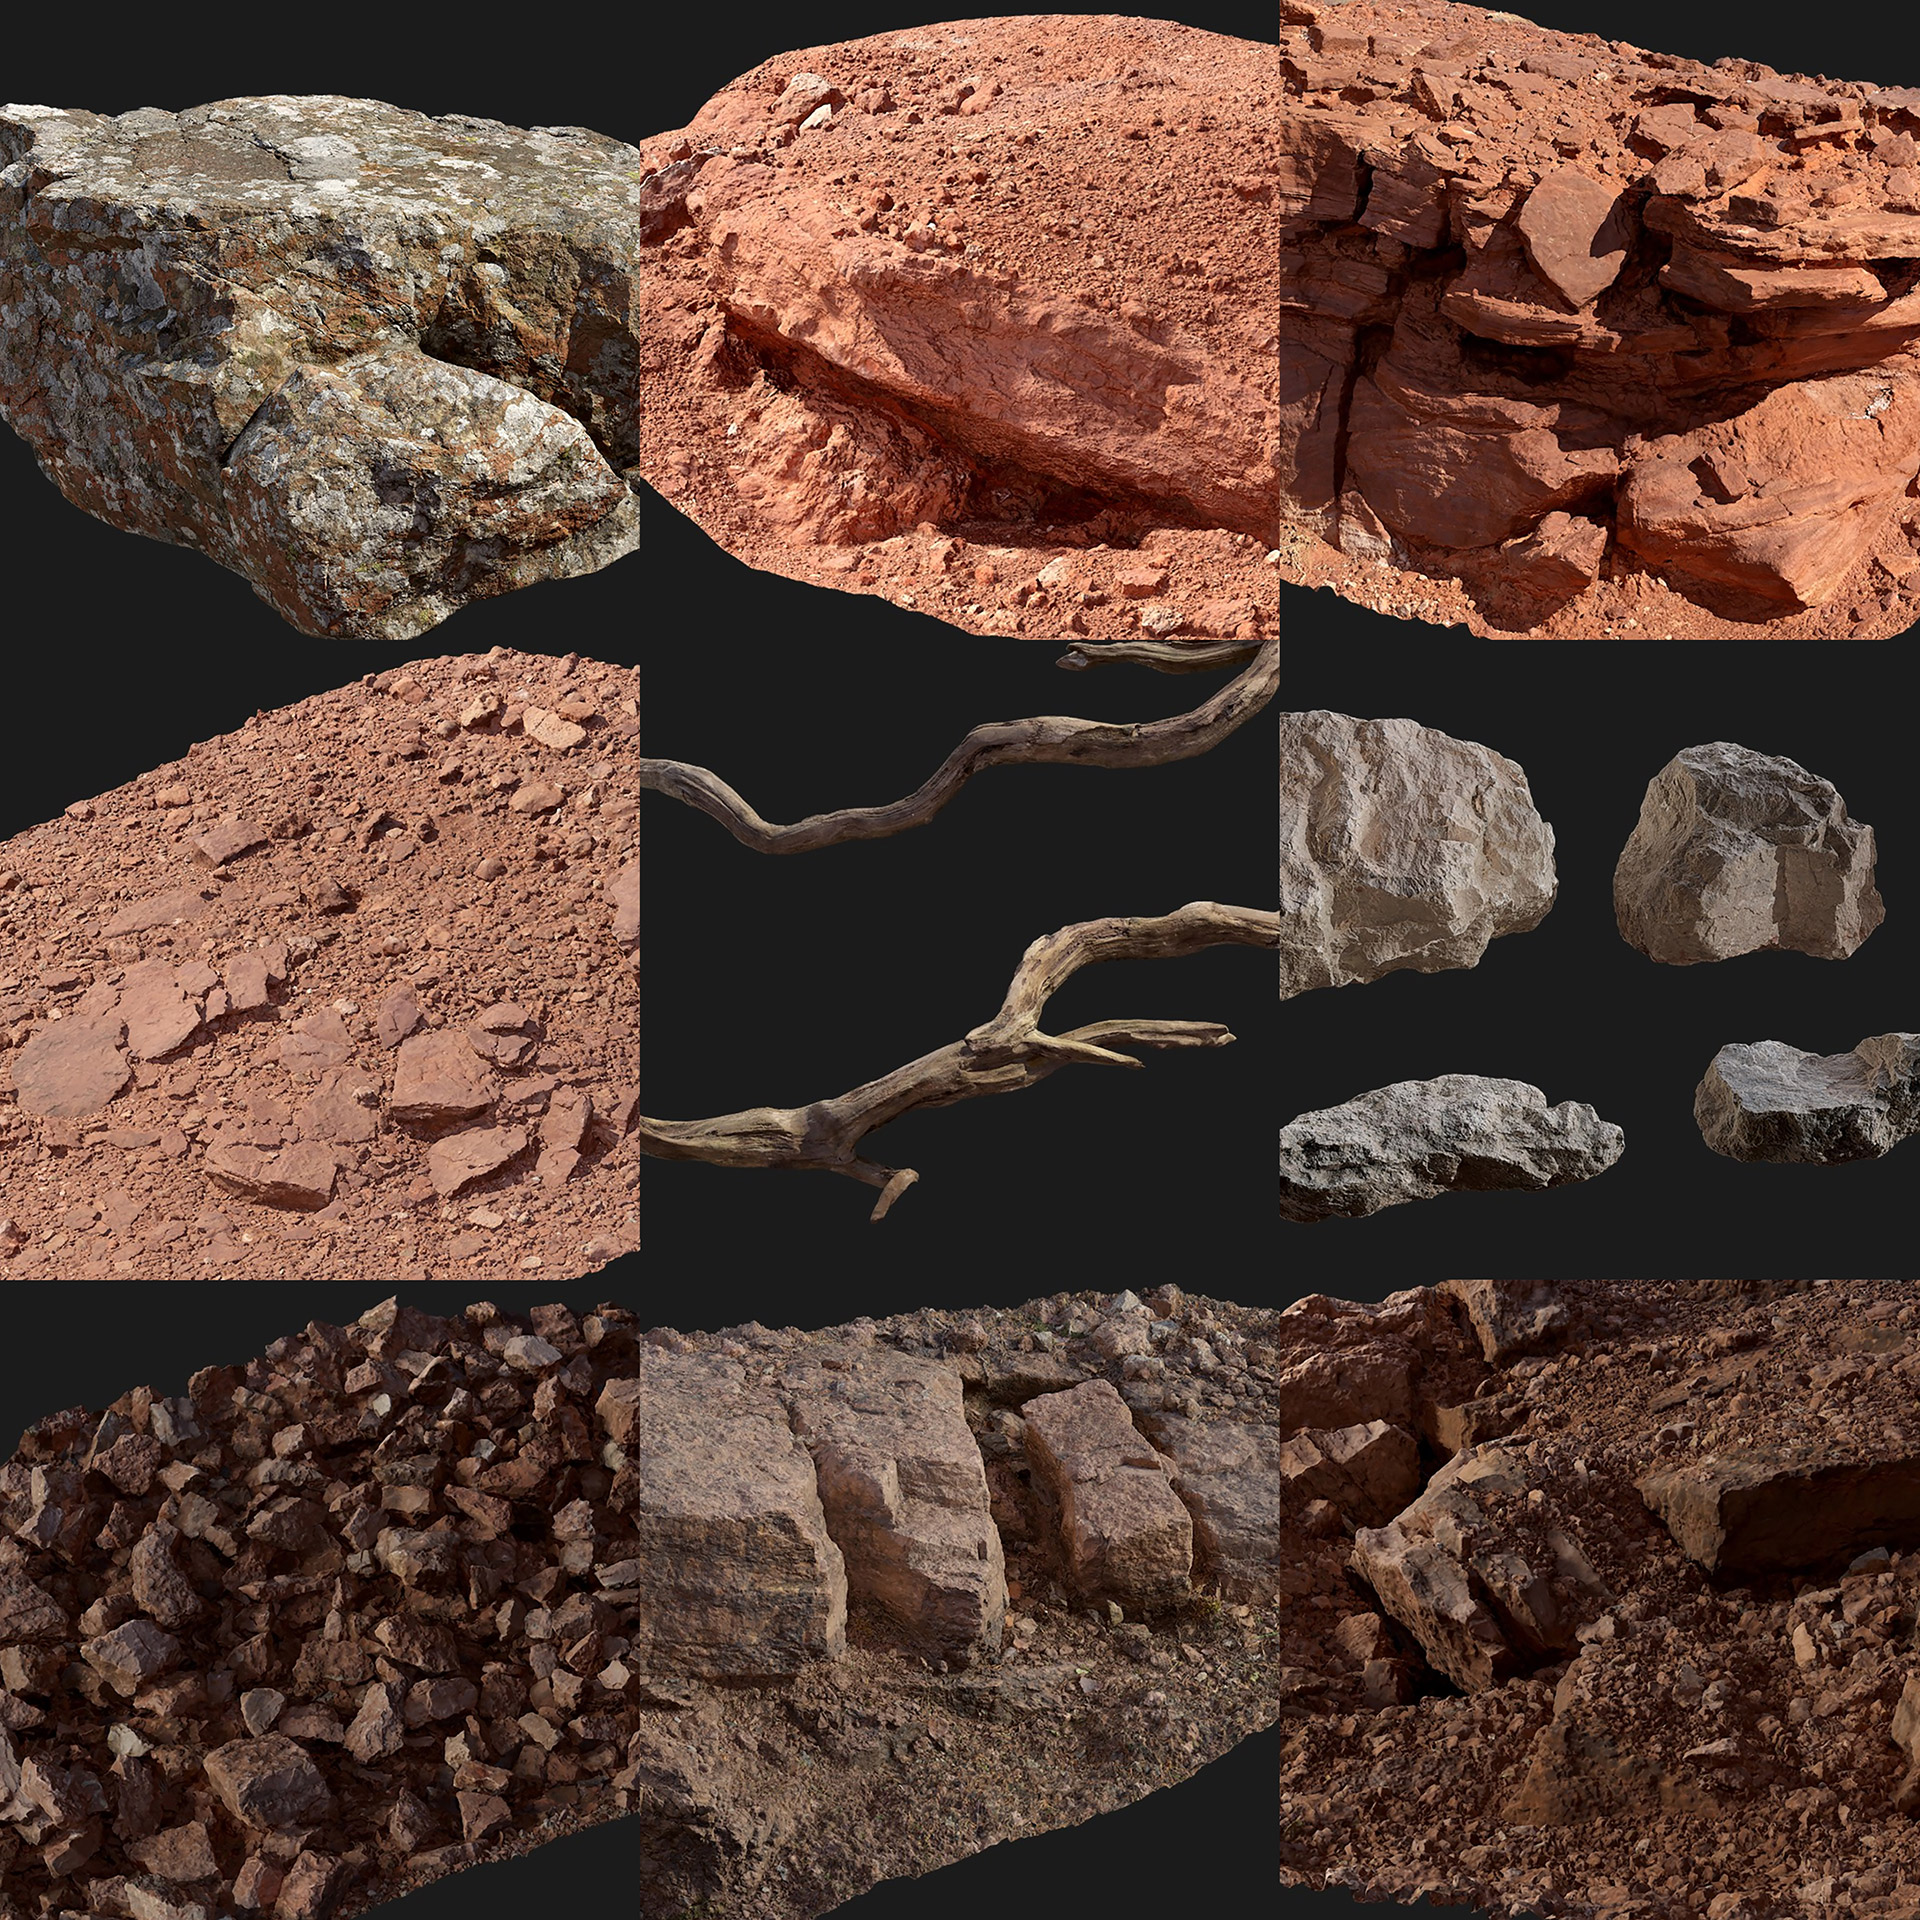
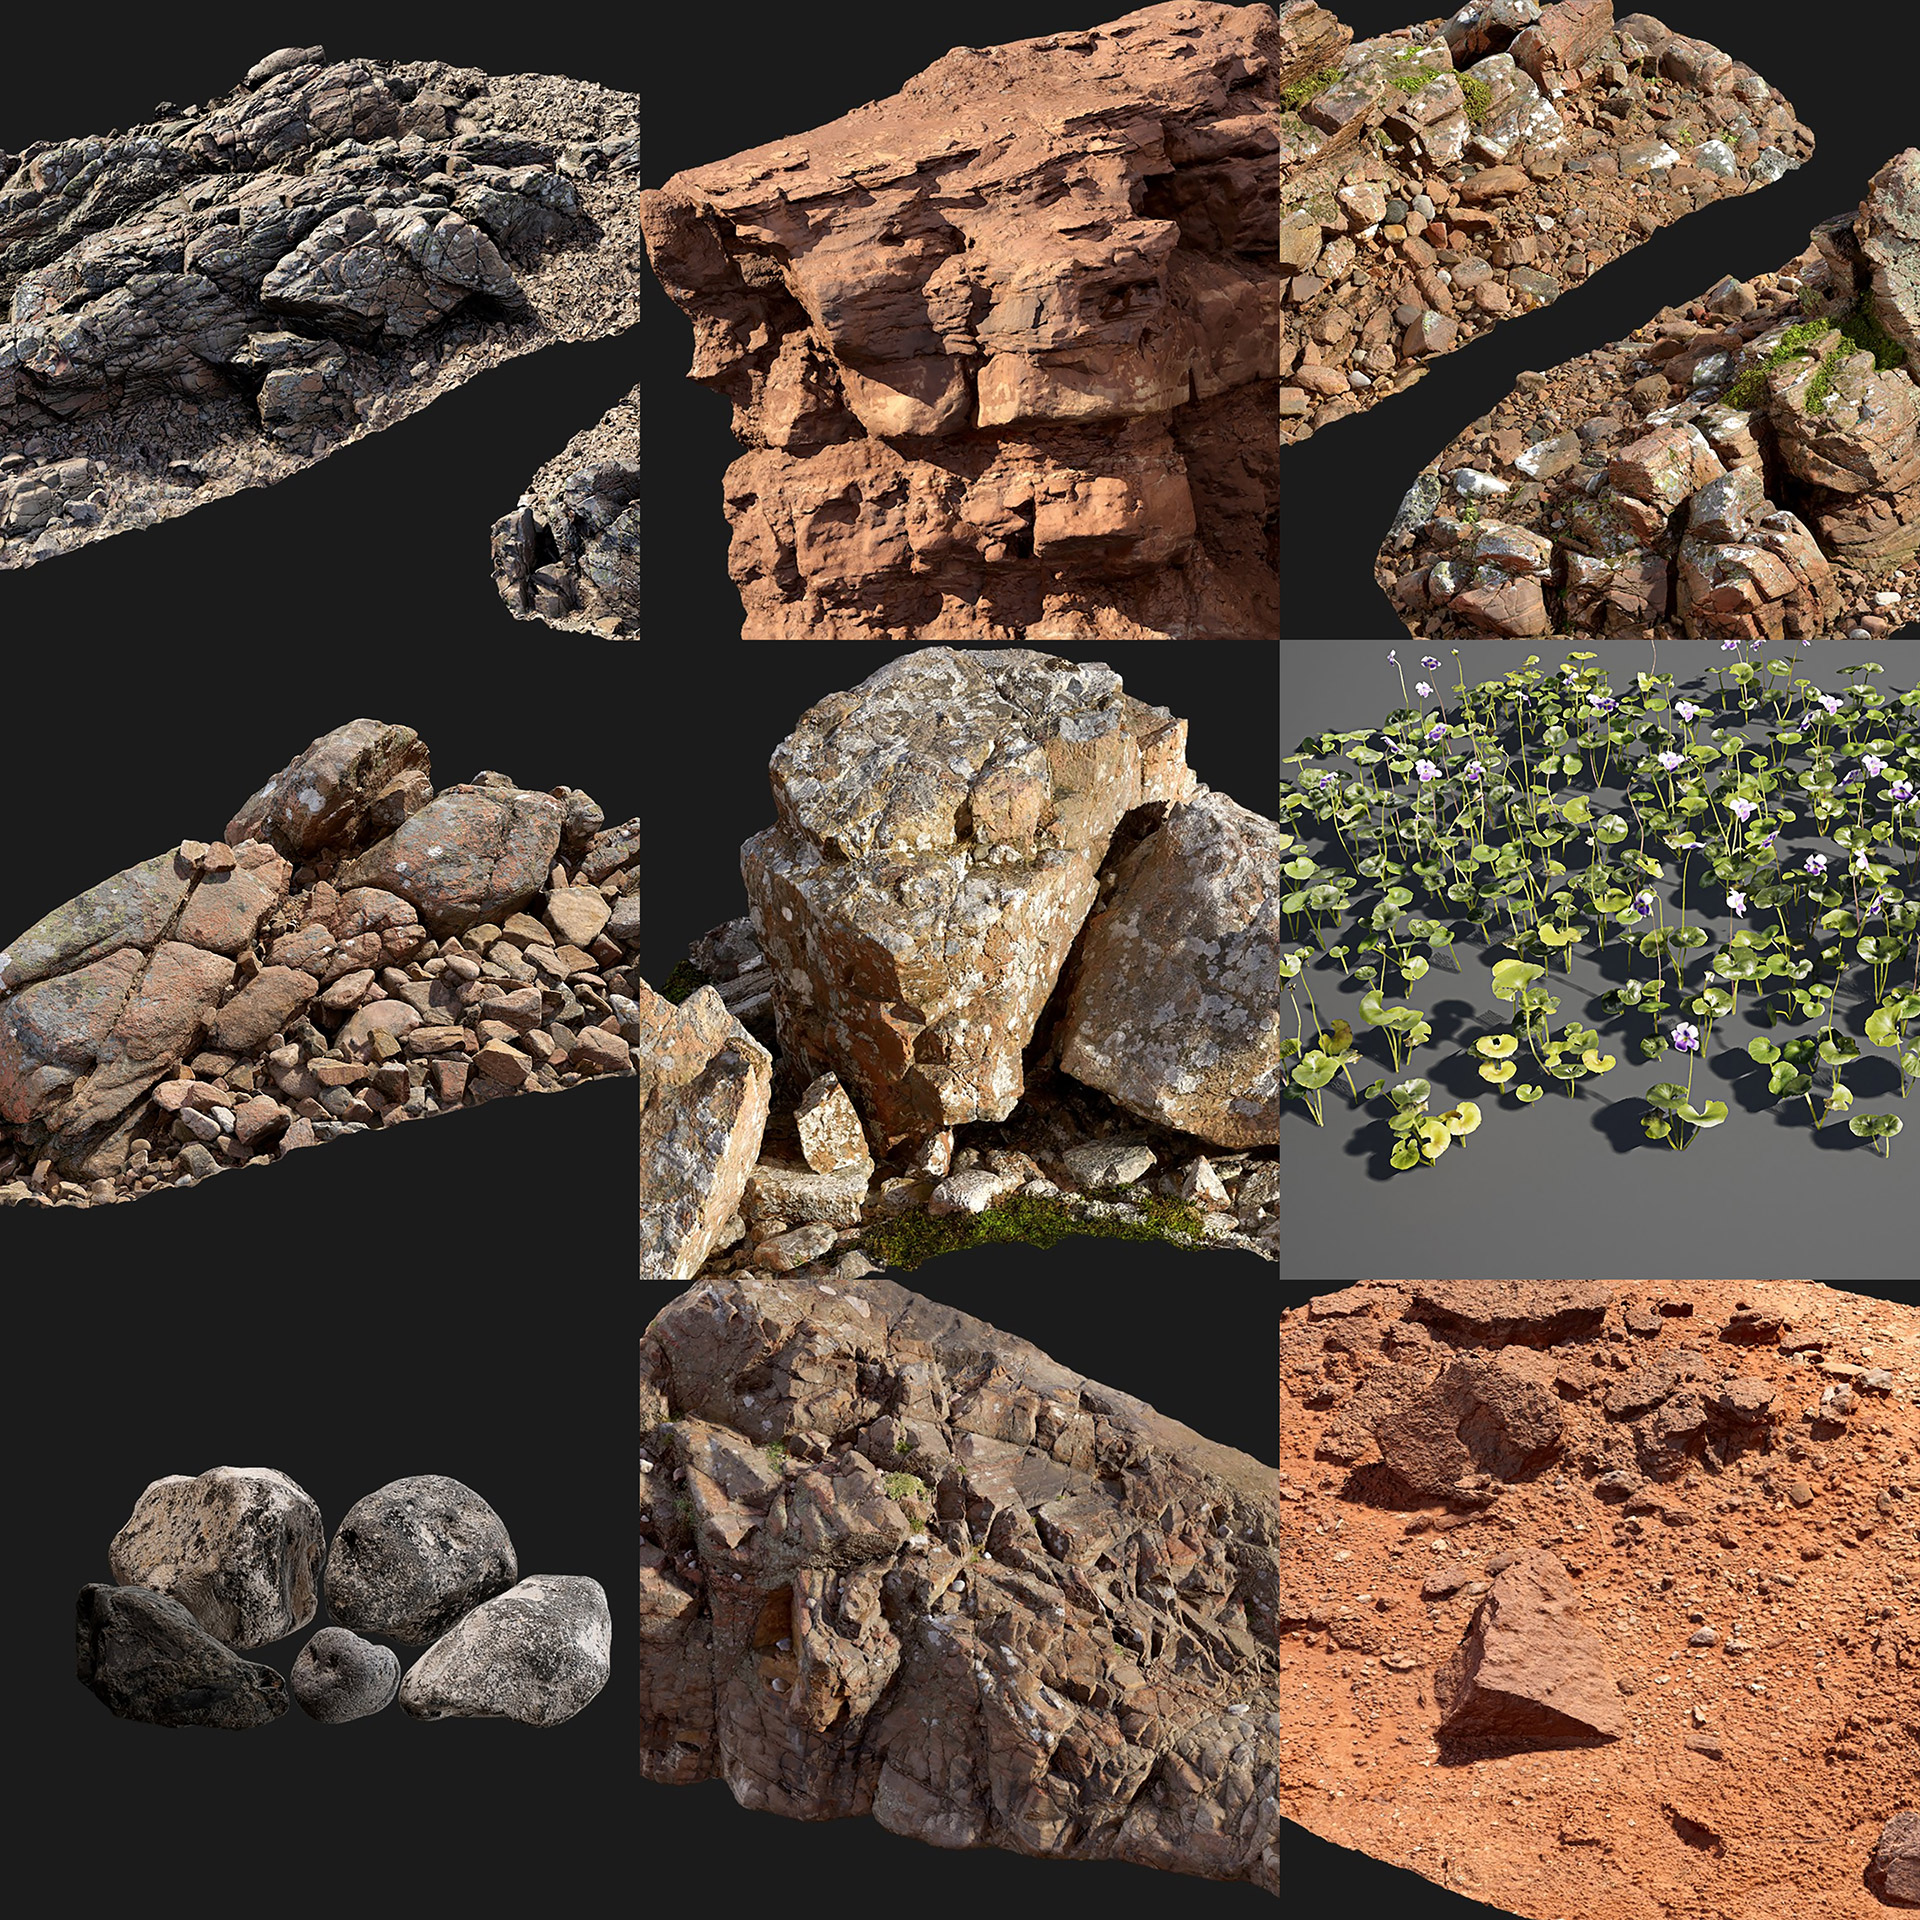
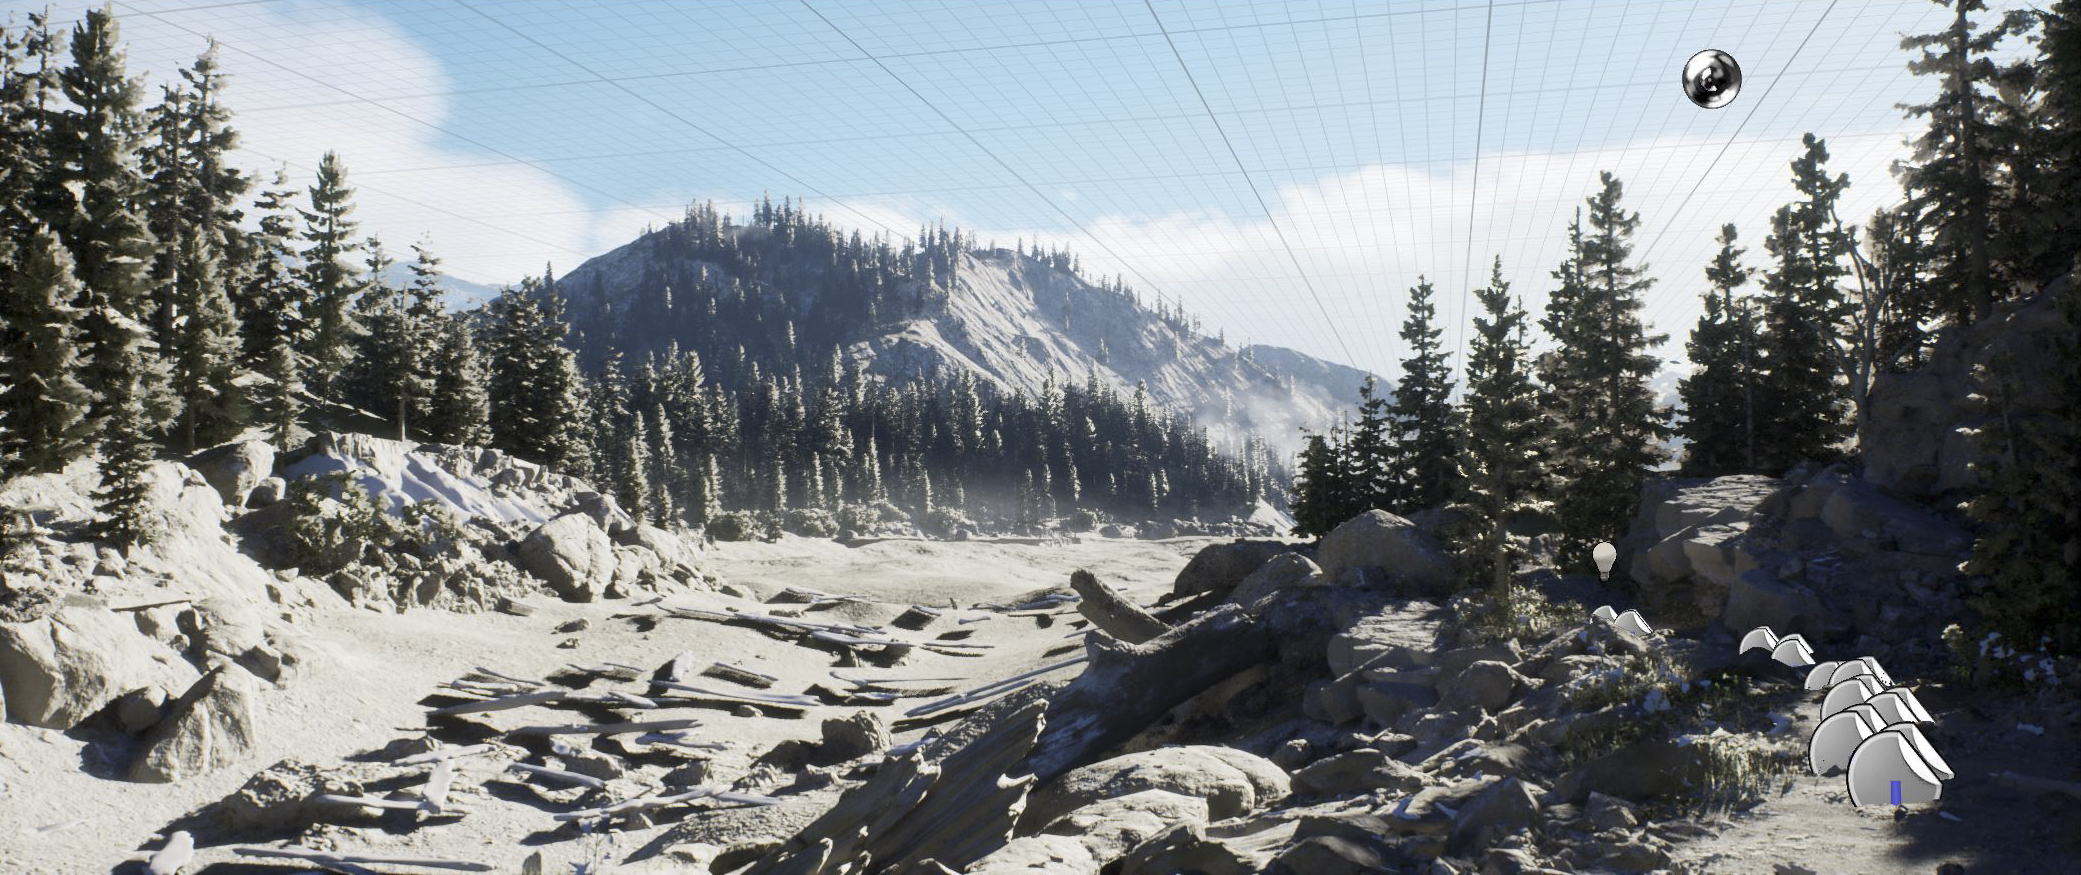
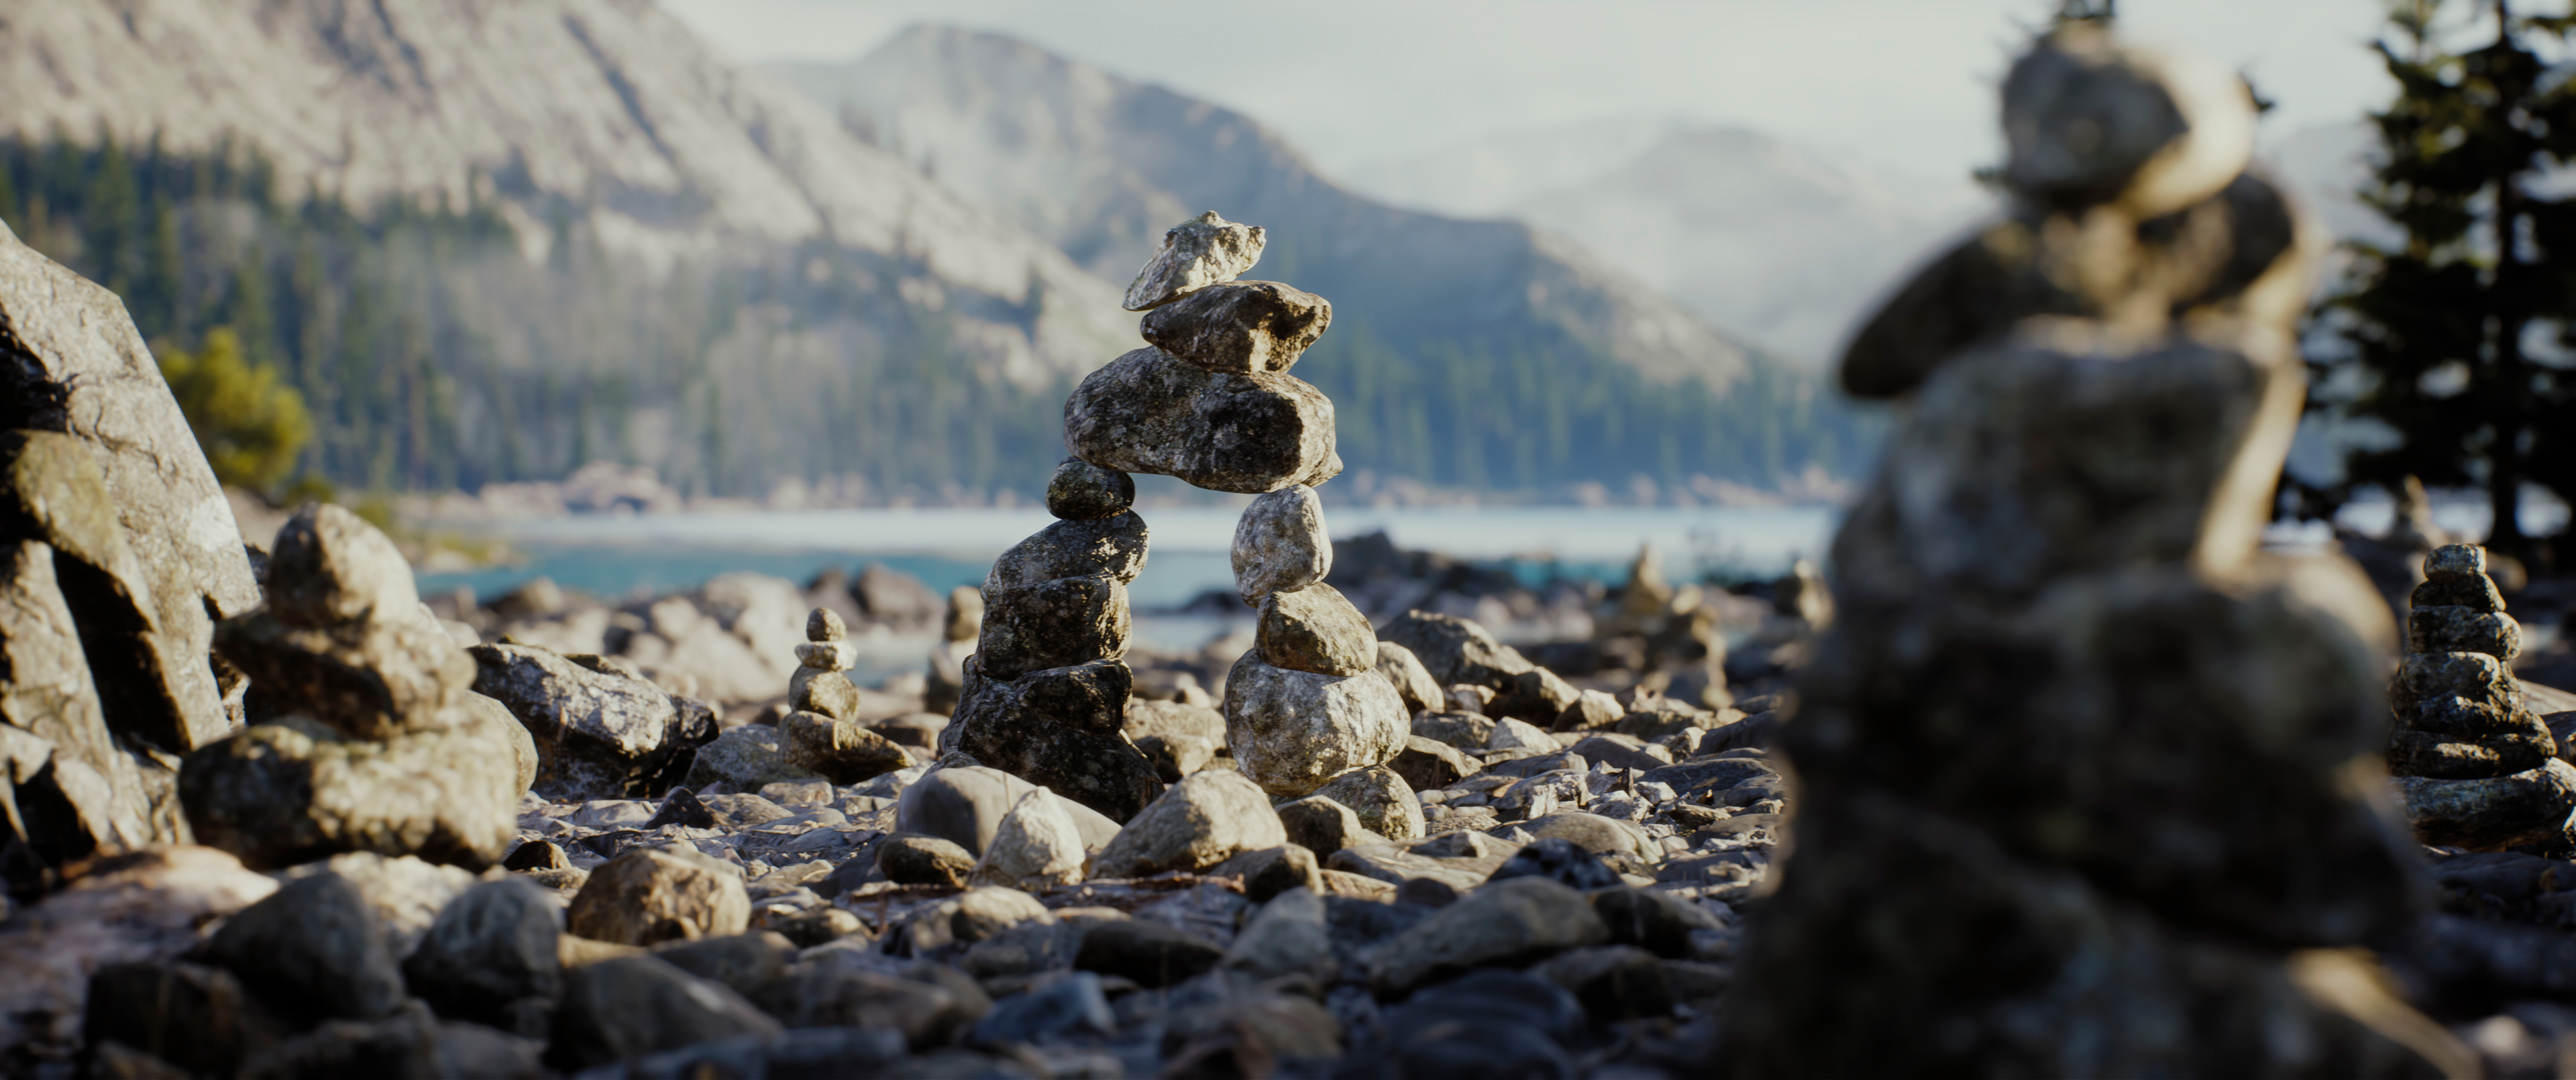
For the set dressing portion of the project, I heavily relied on Megascan assets. Although it was my first time using Unreal Engine, I was already familiar with the amazing library we have to explore with Quixel Megascans. I’ve been using it for a while now, both for professional and personal projects. Since I was aiming for a realistic environment, I knew I would need lots of assets, like rocks, stones, cliffs, debris and vegetation.
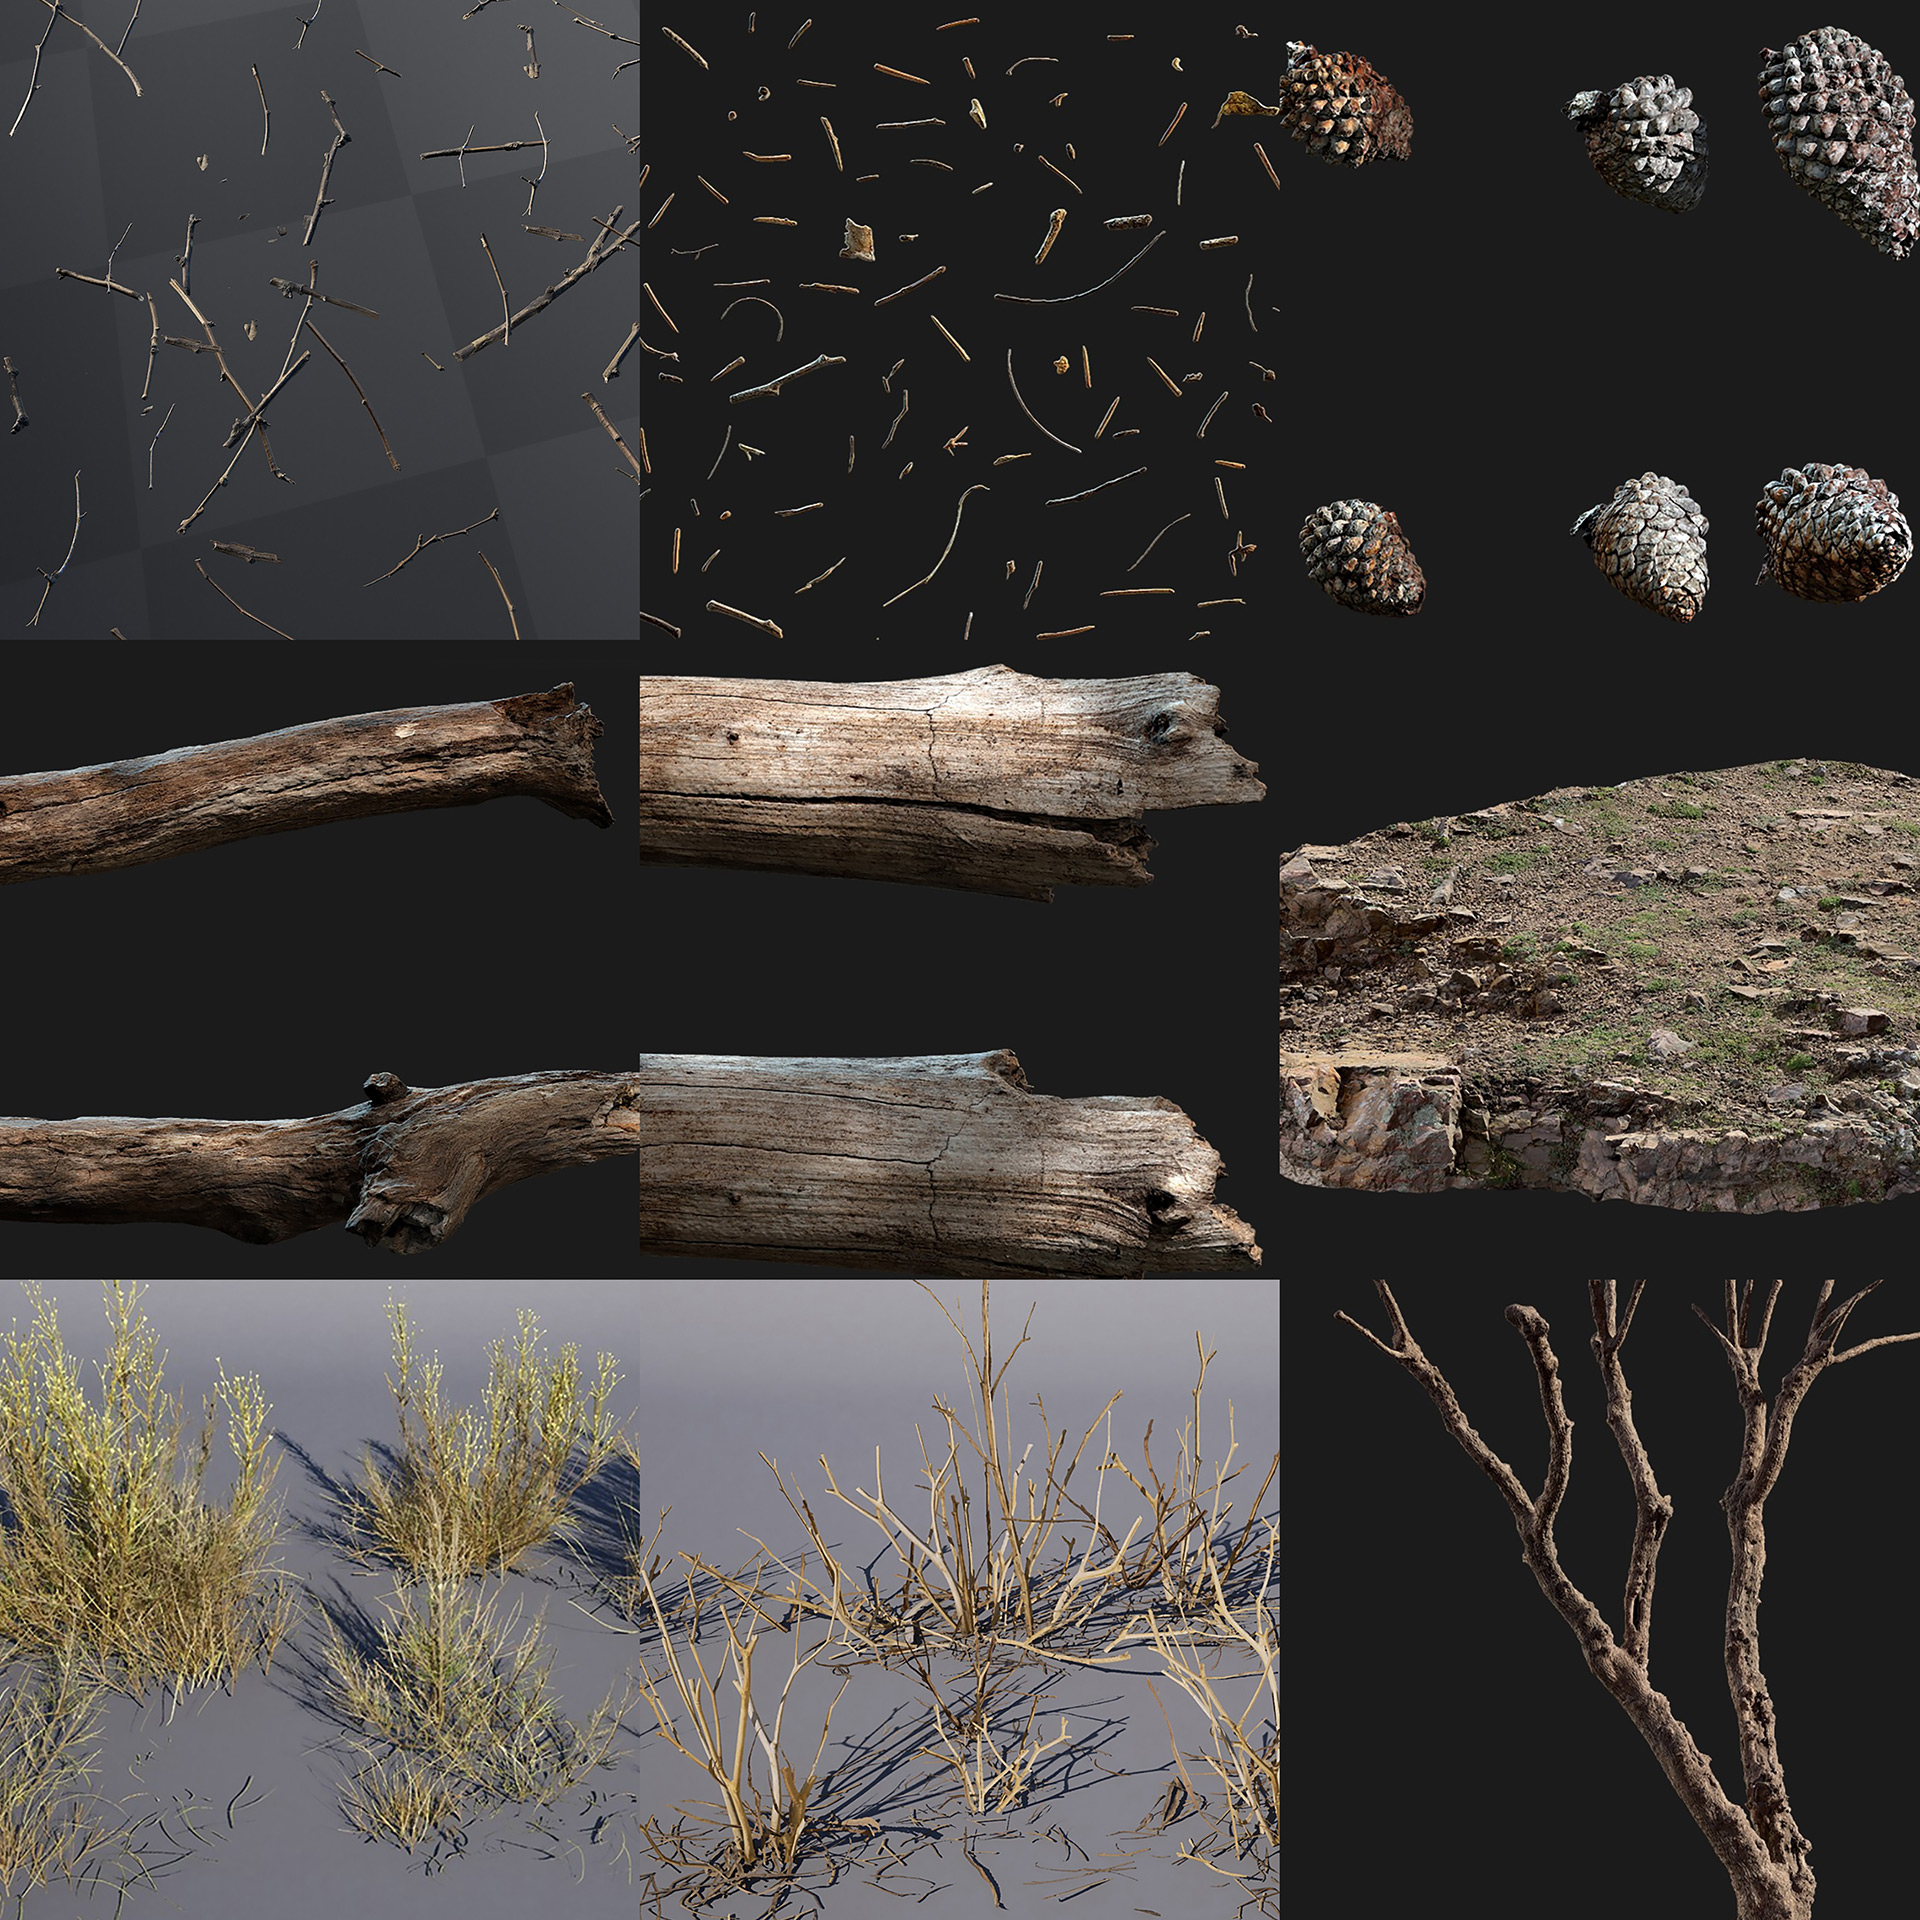
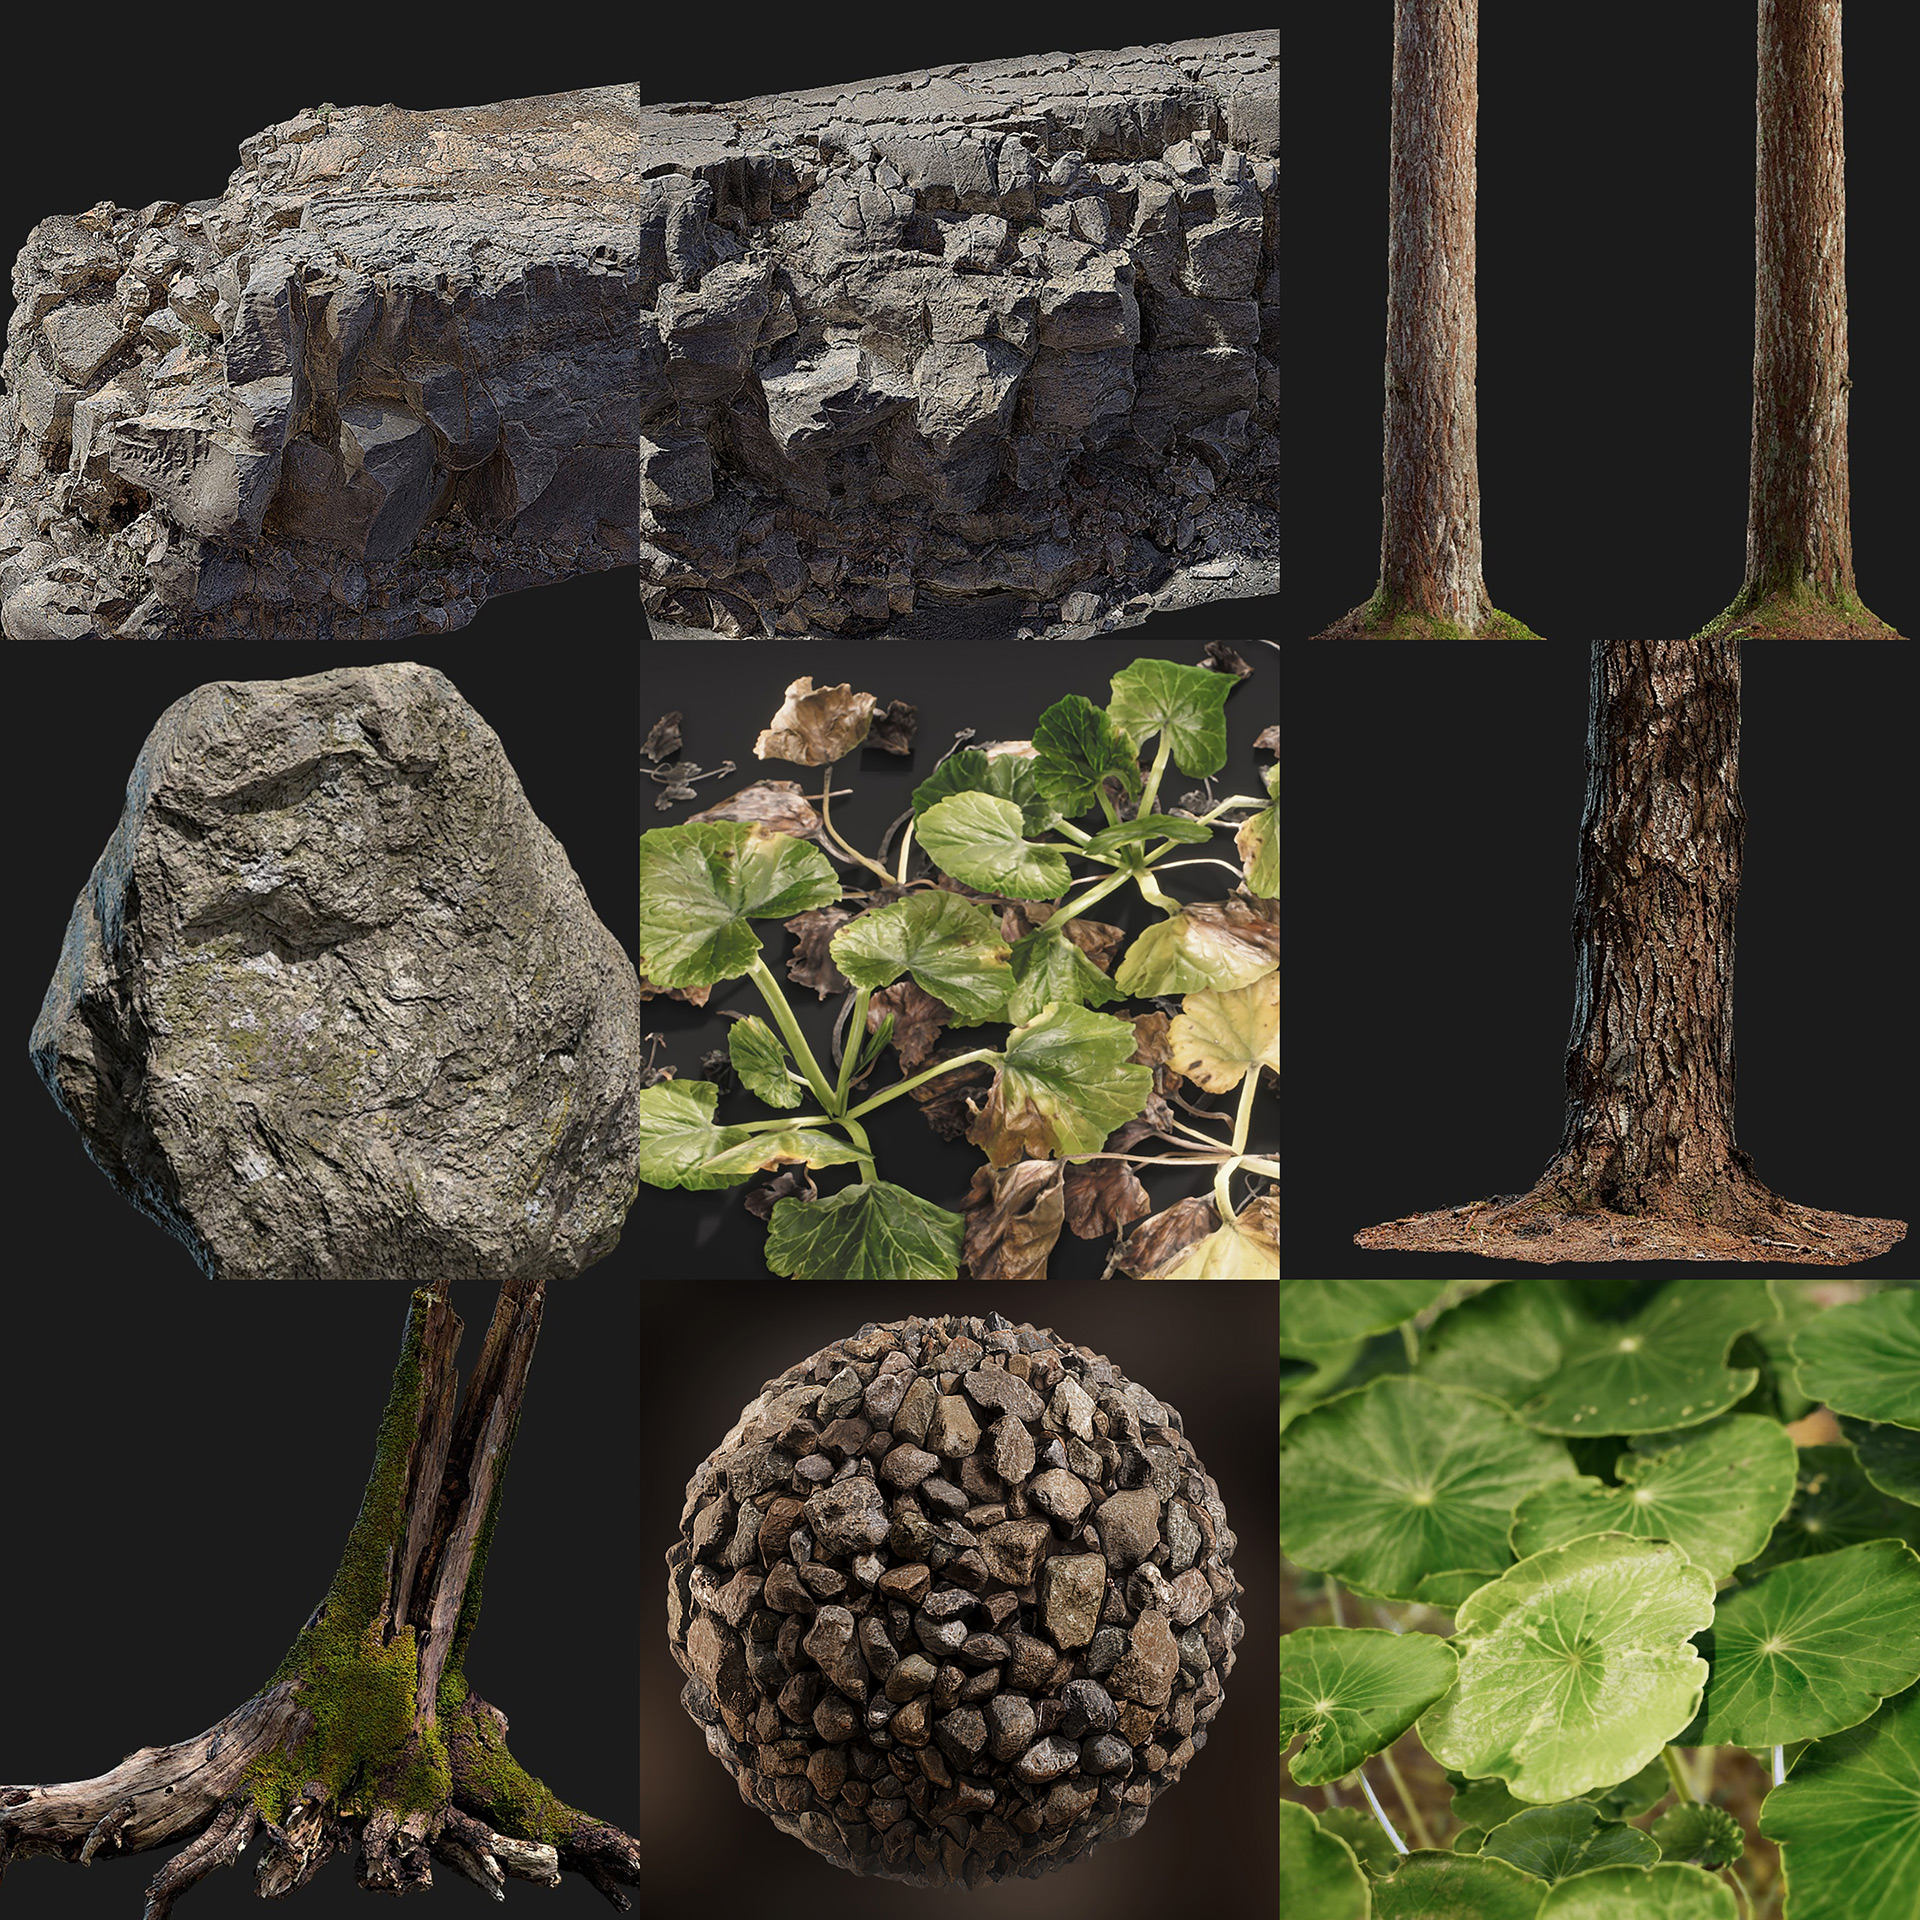
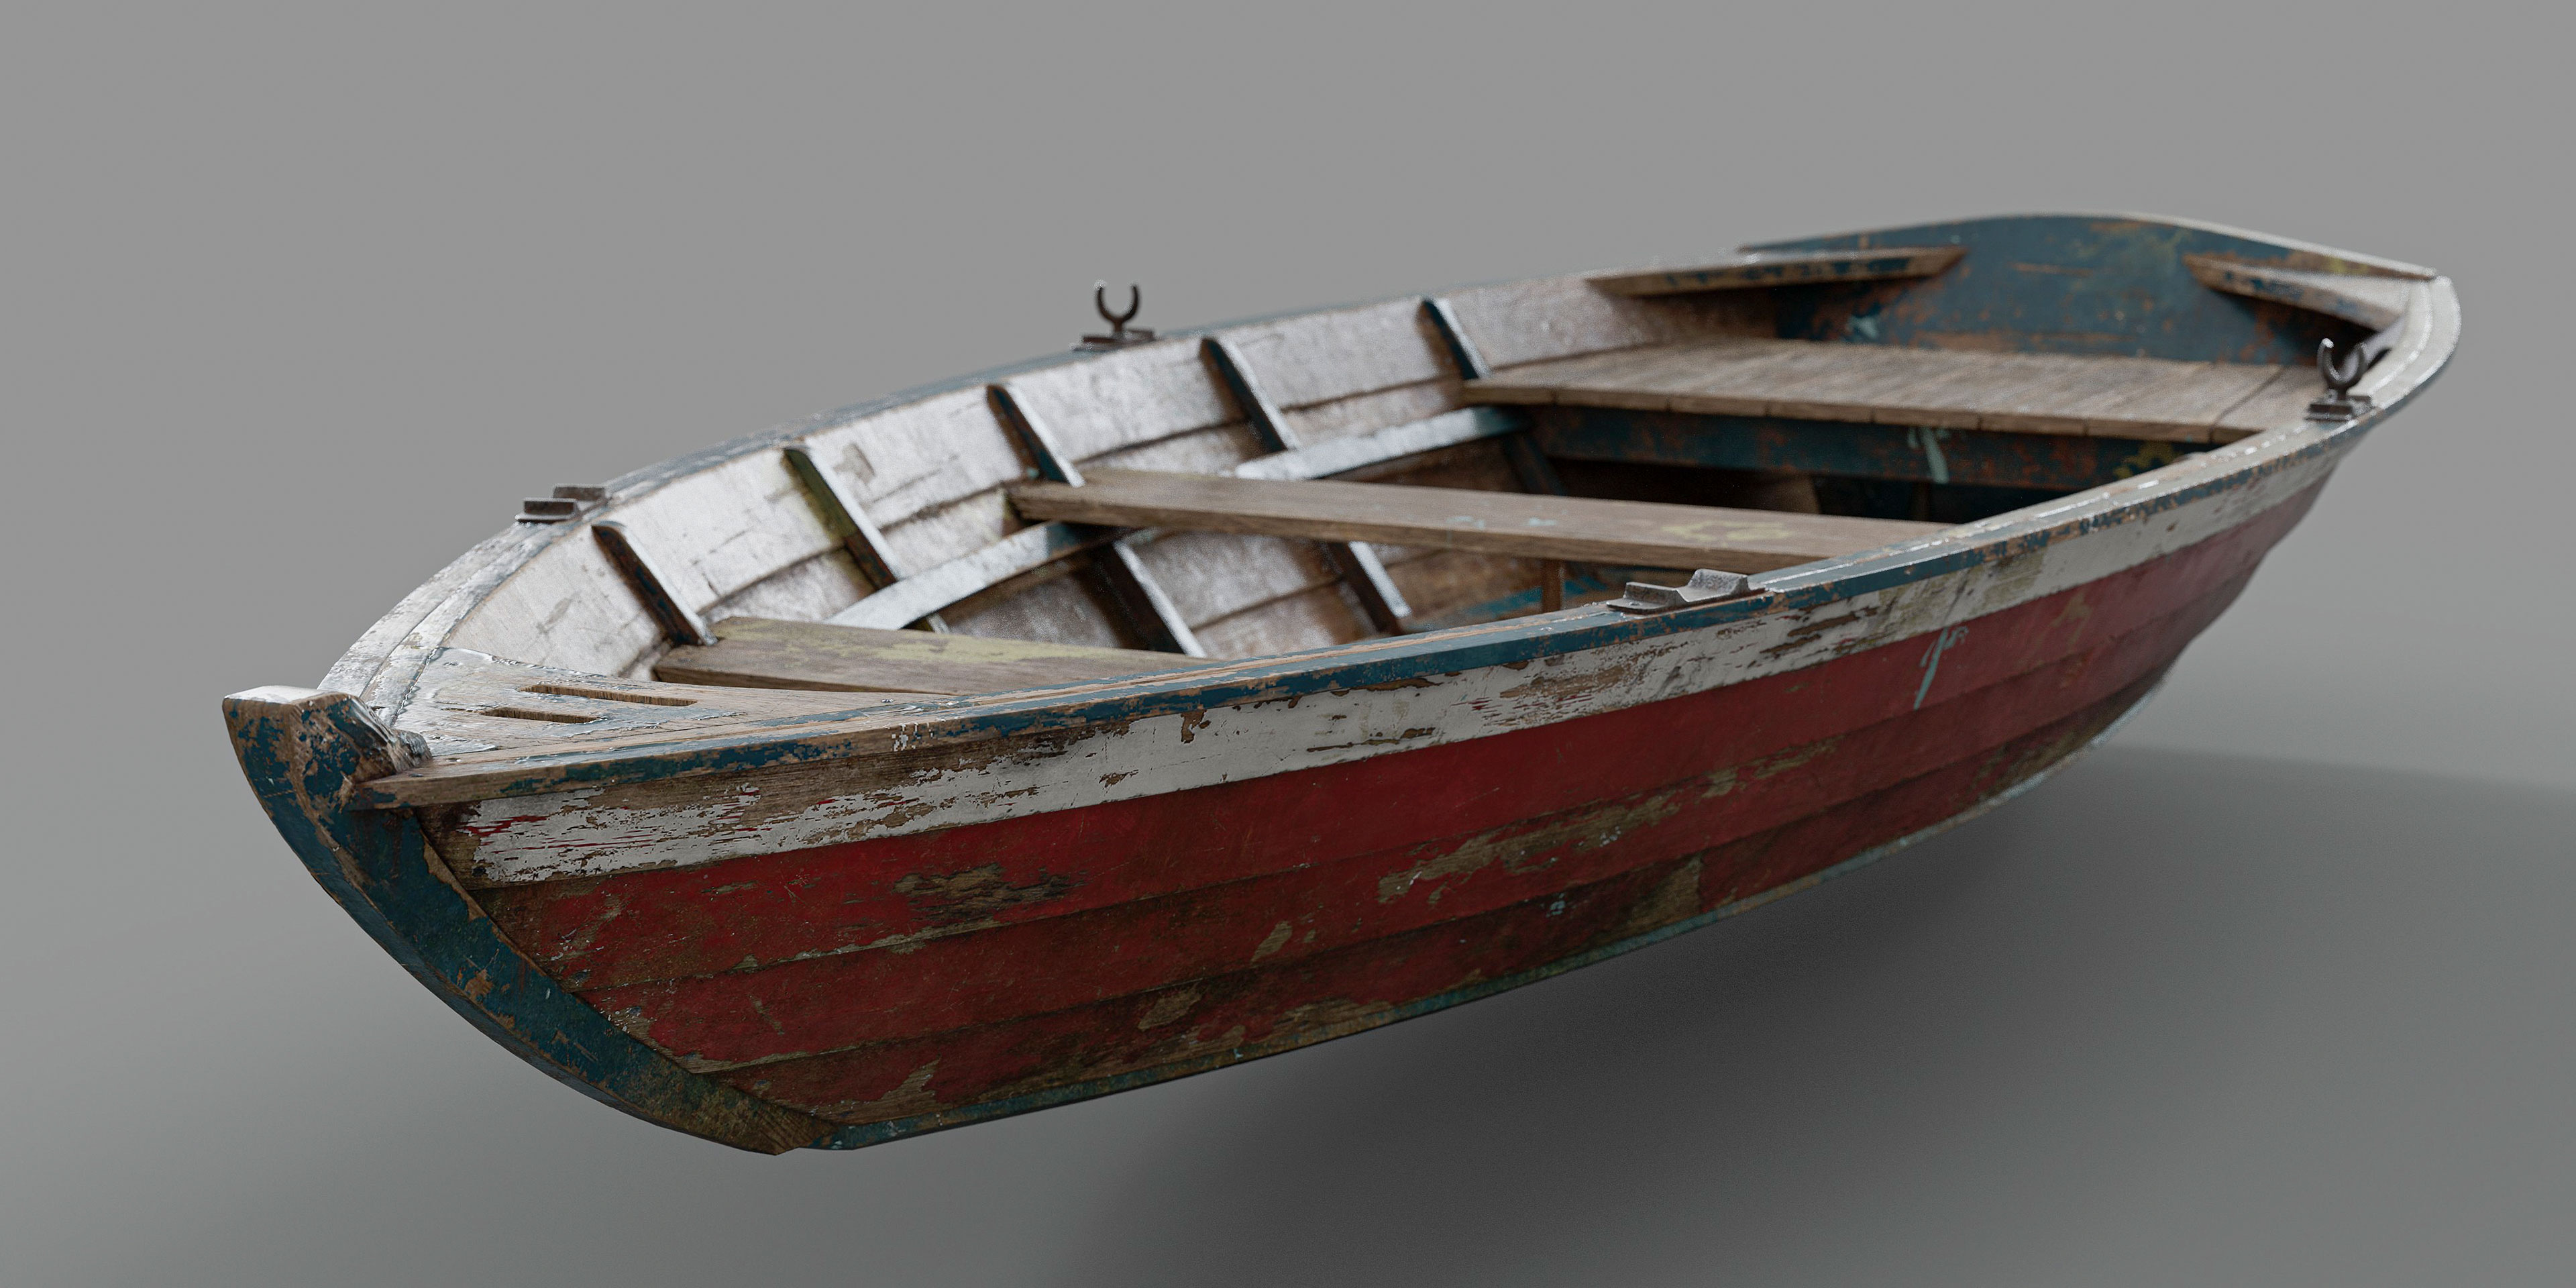
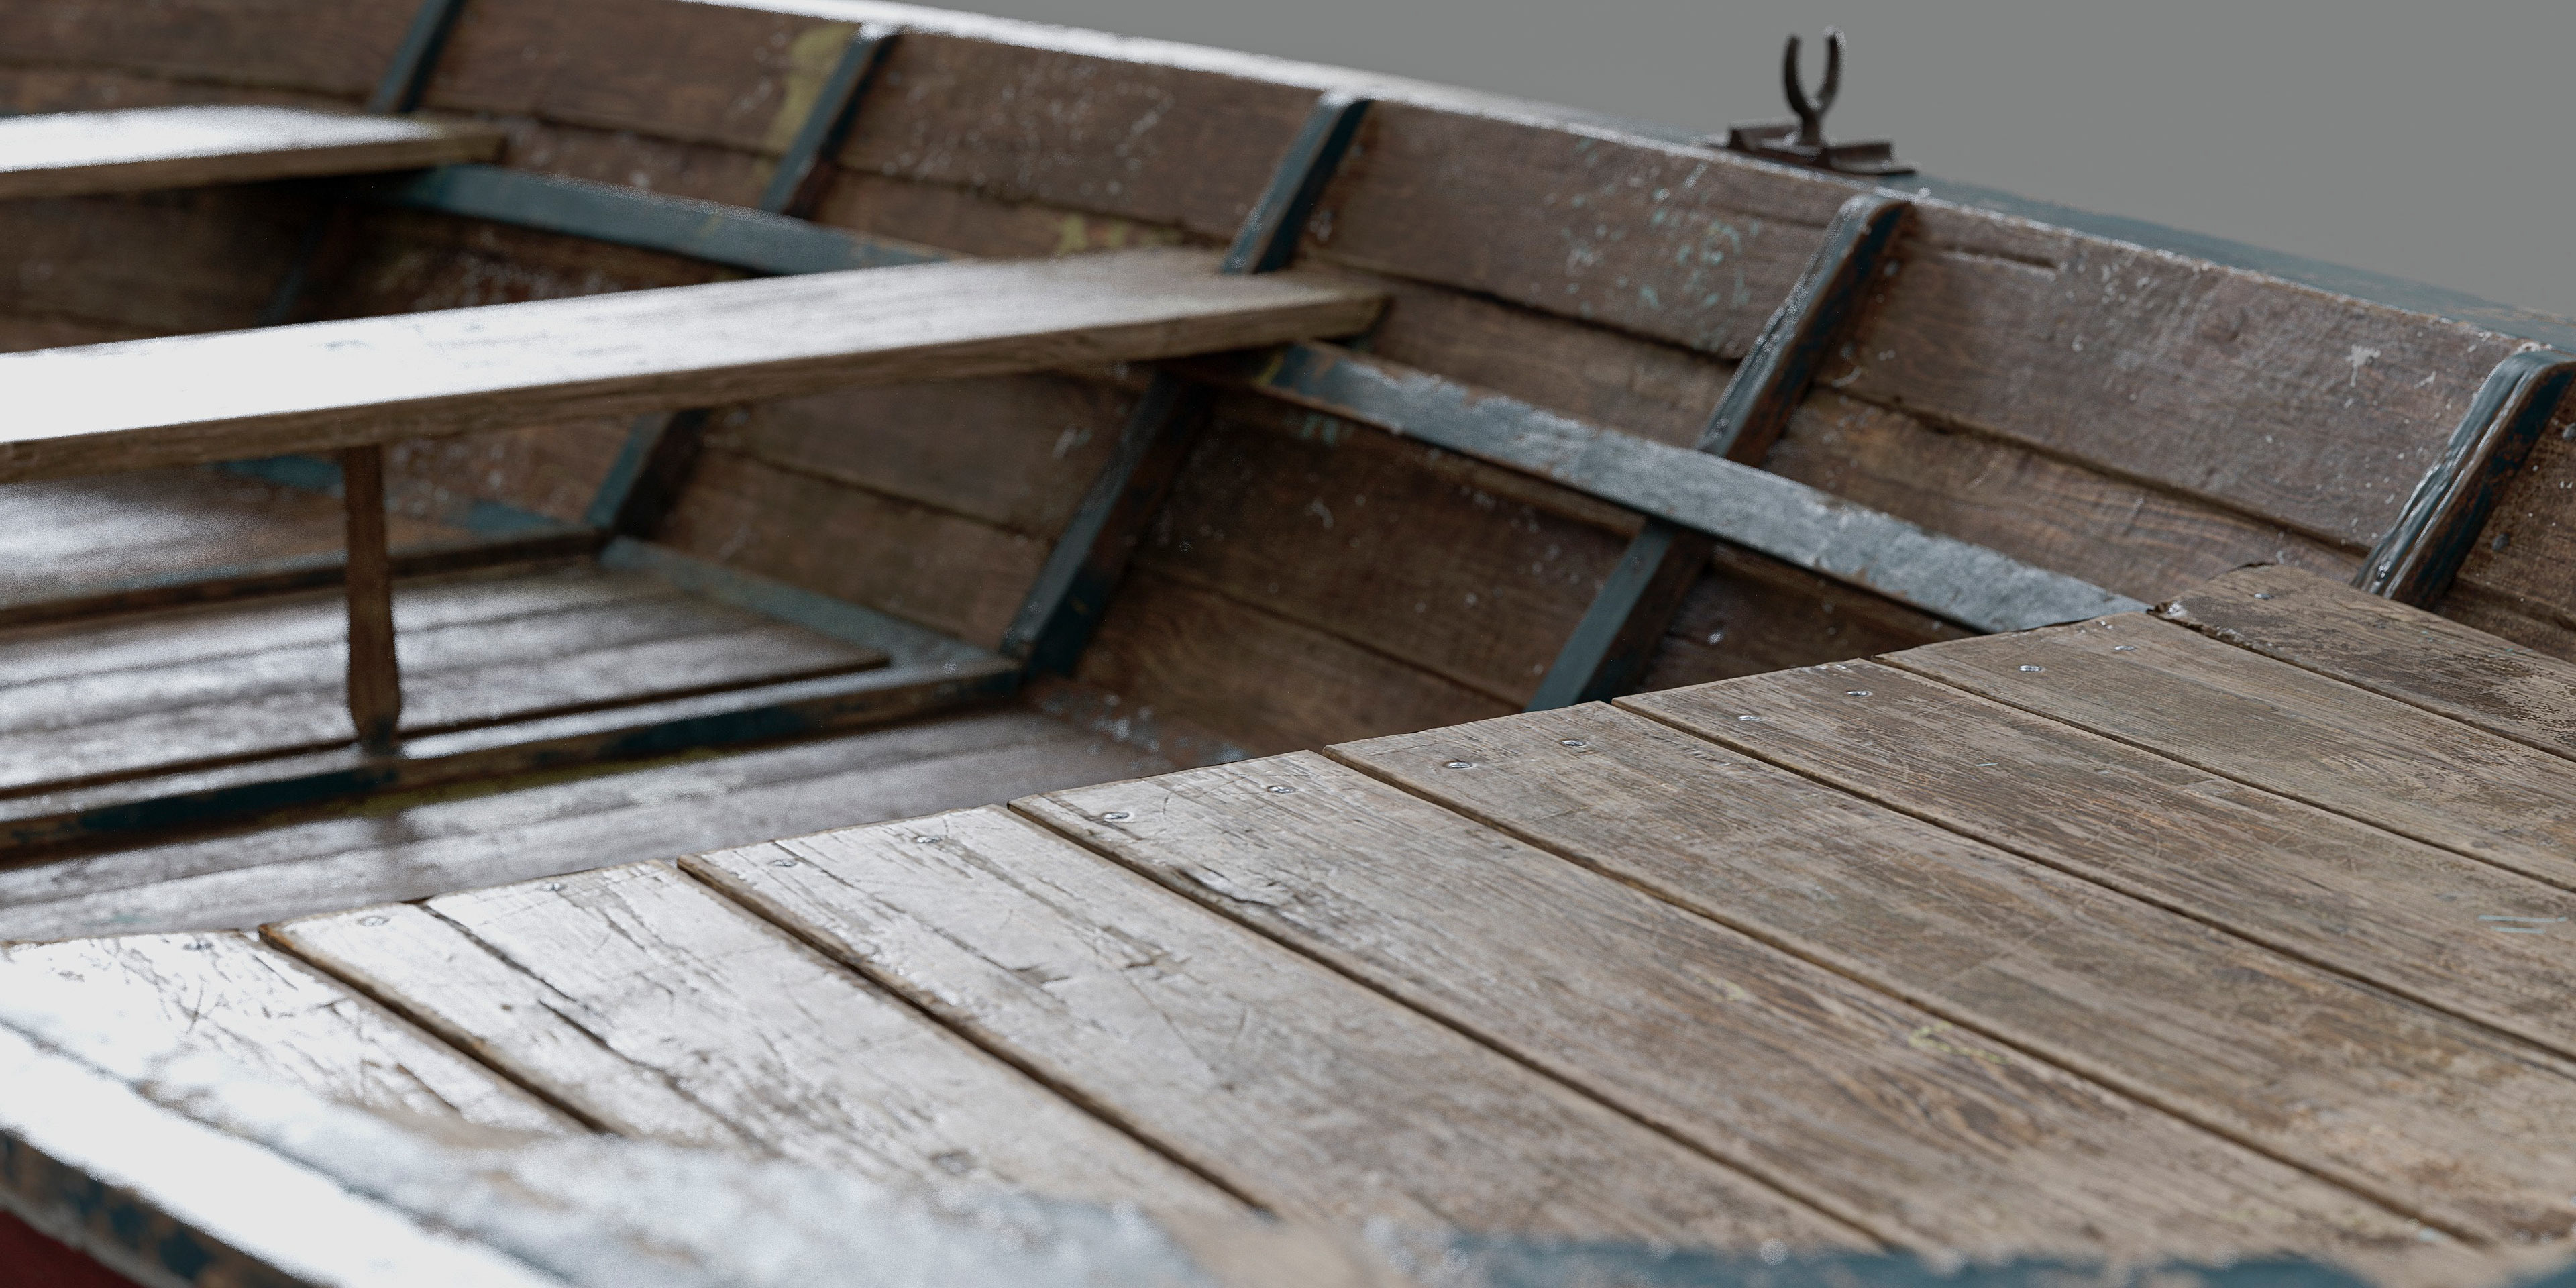
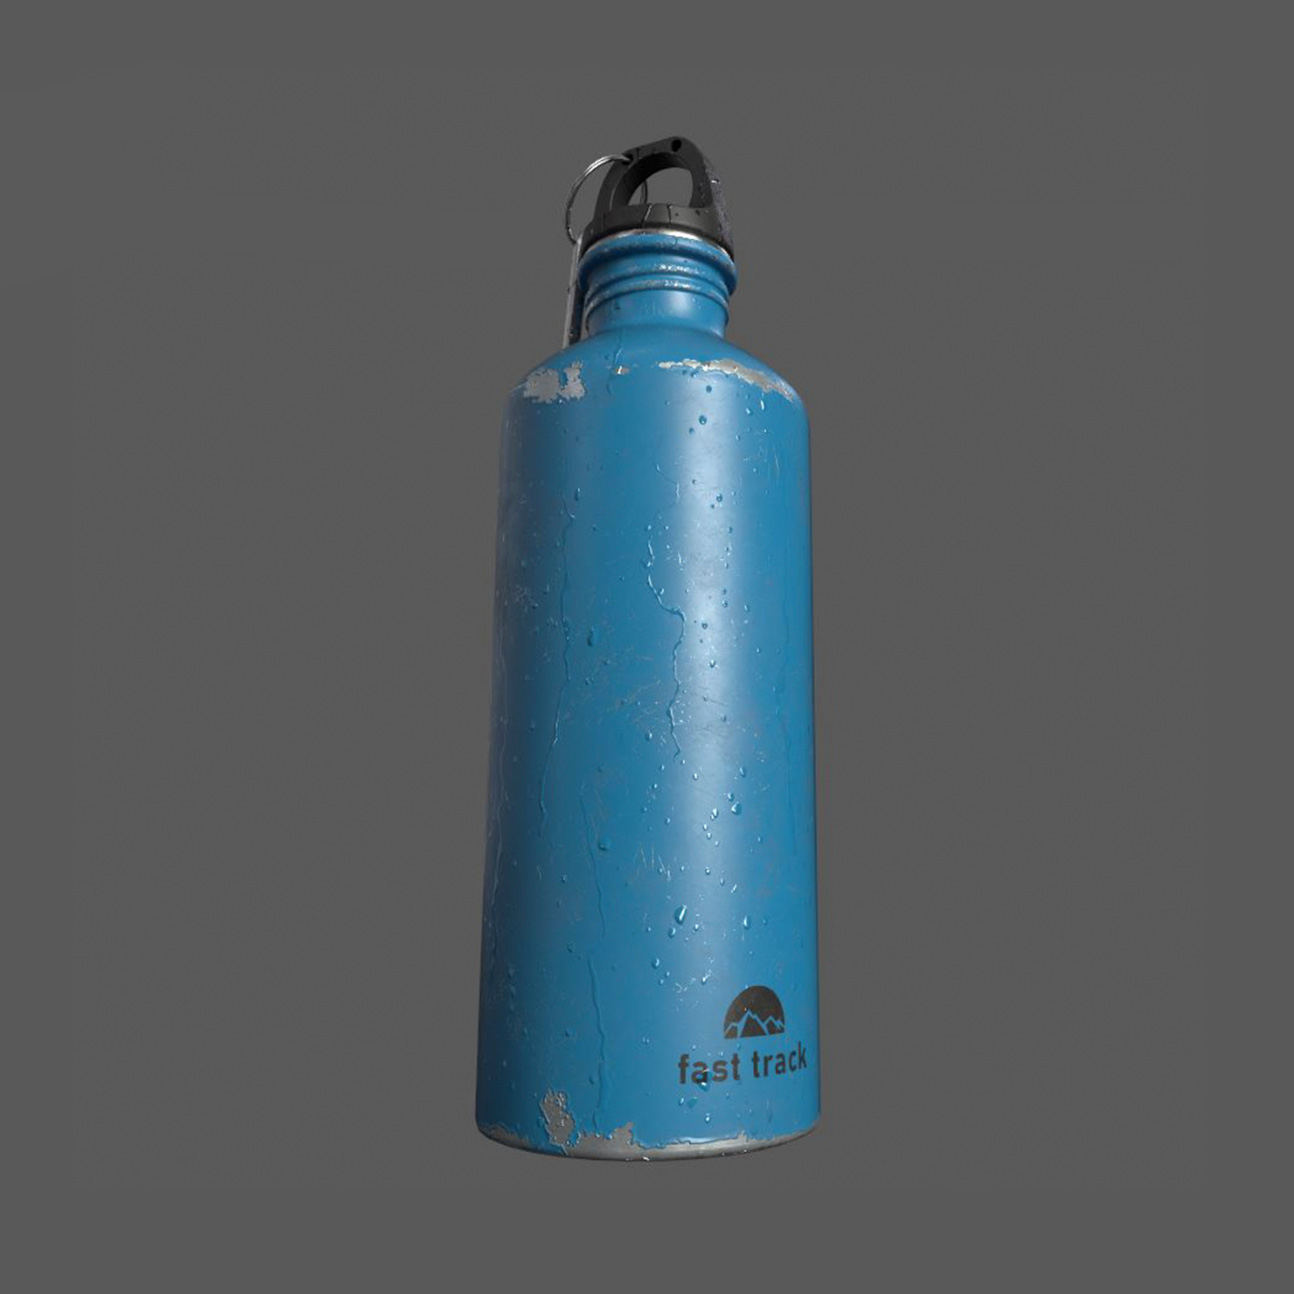
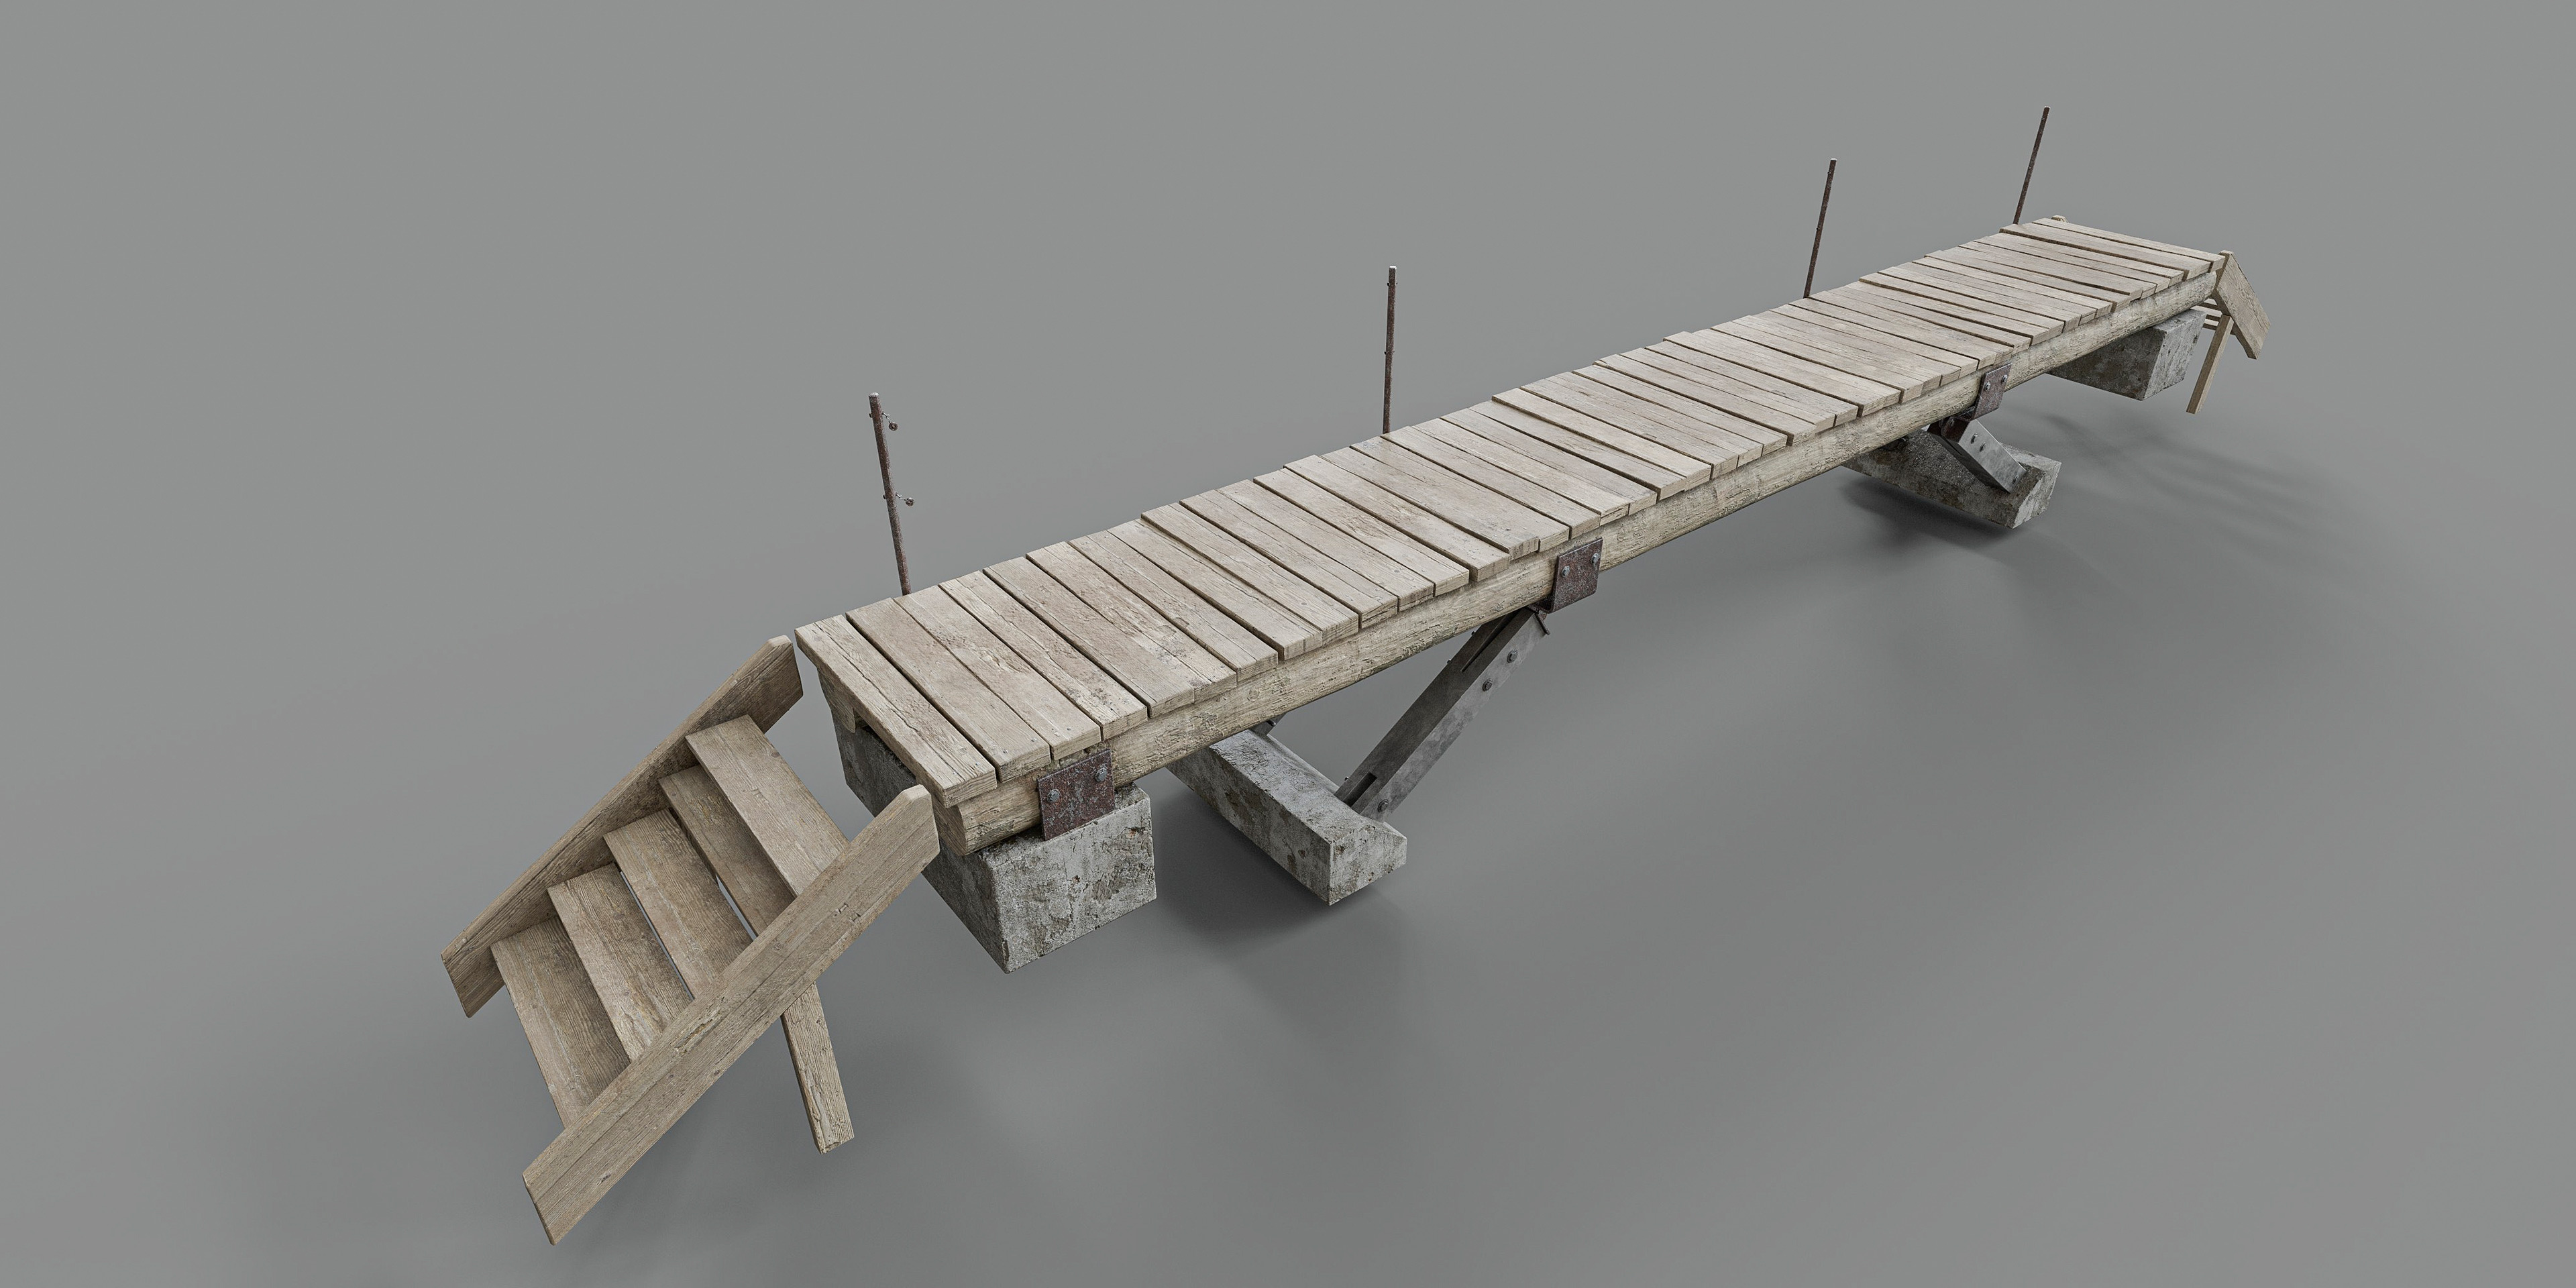
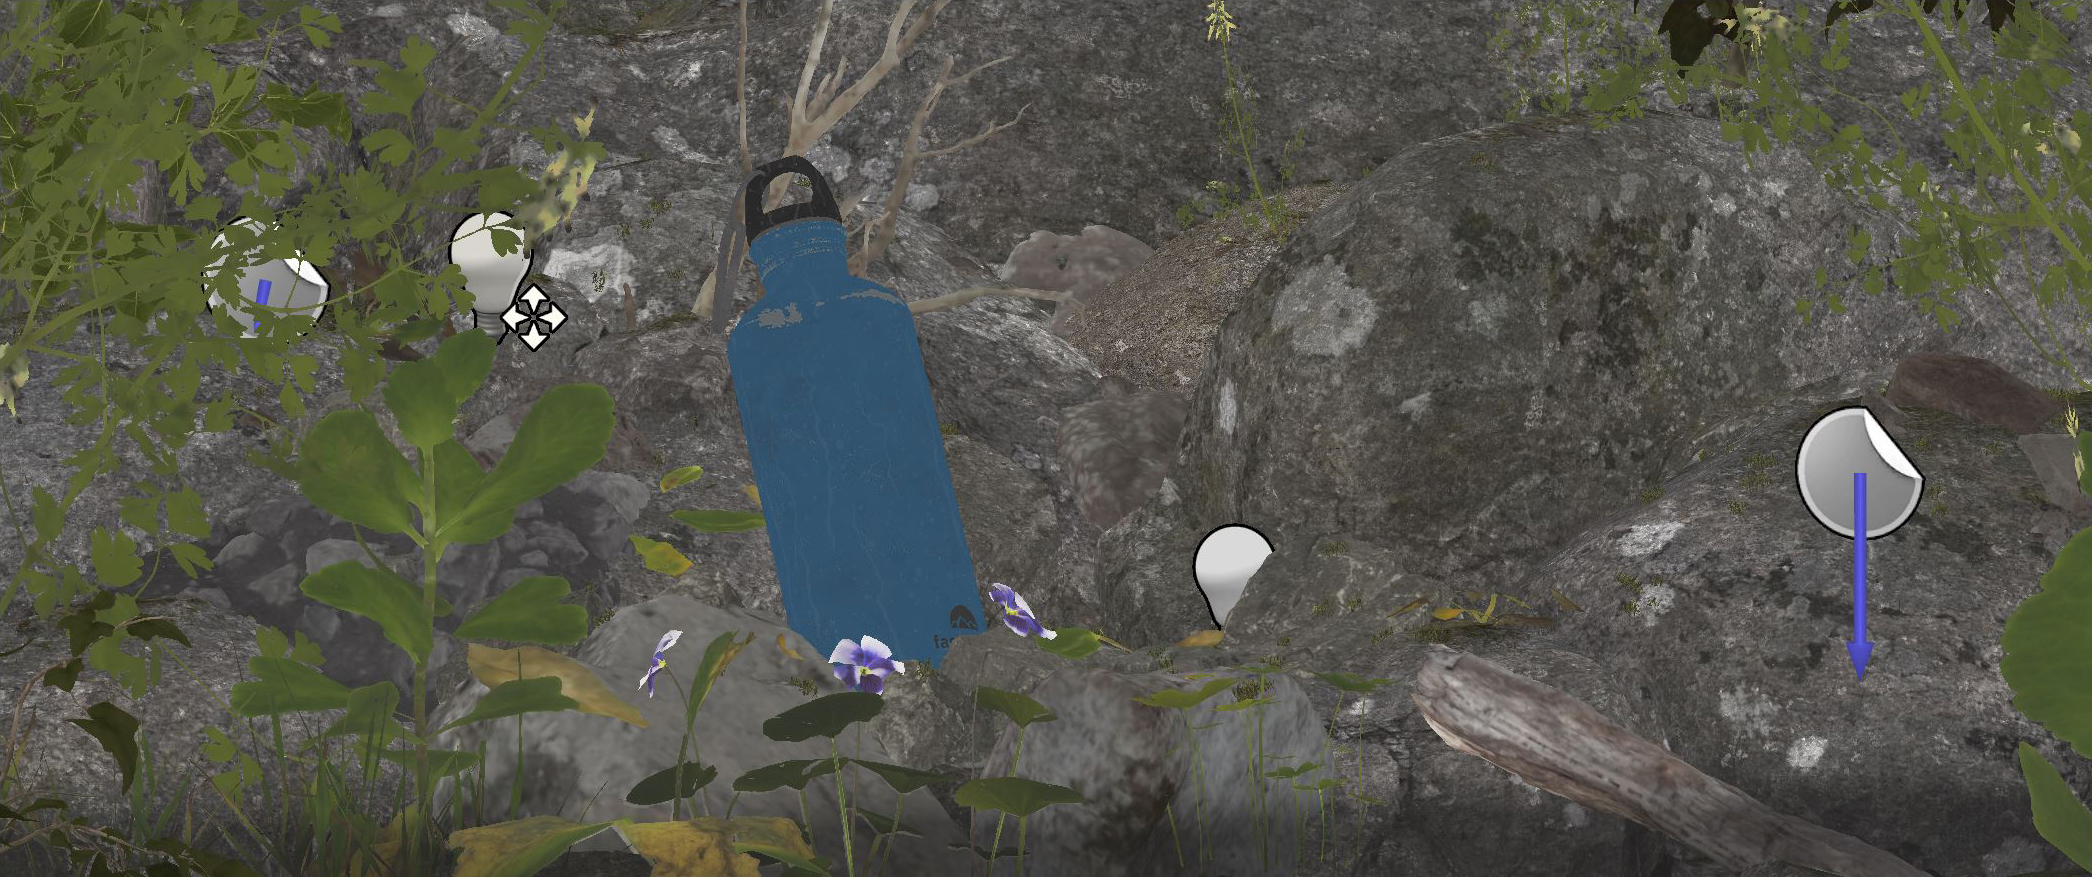
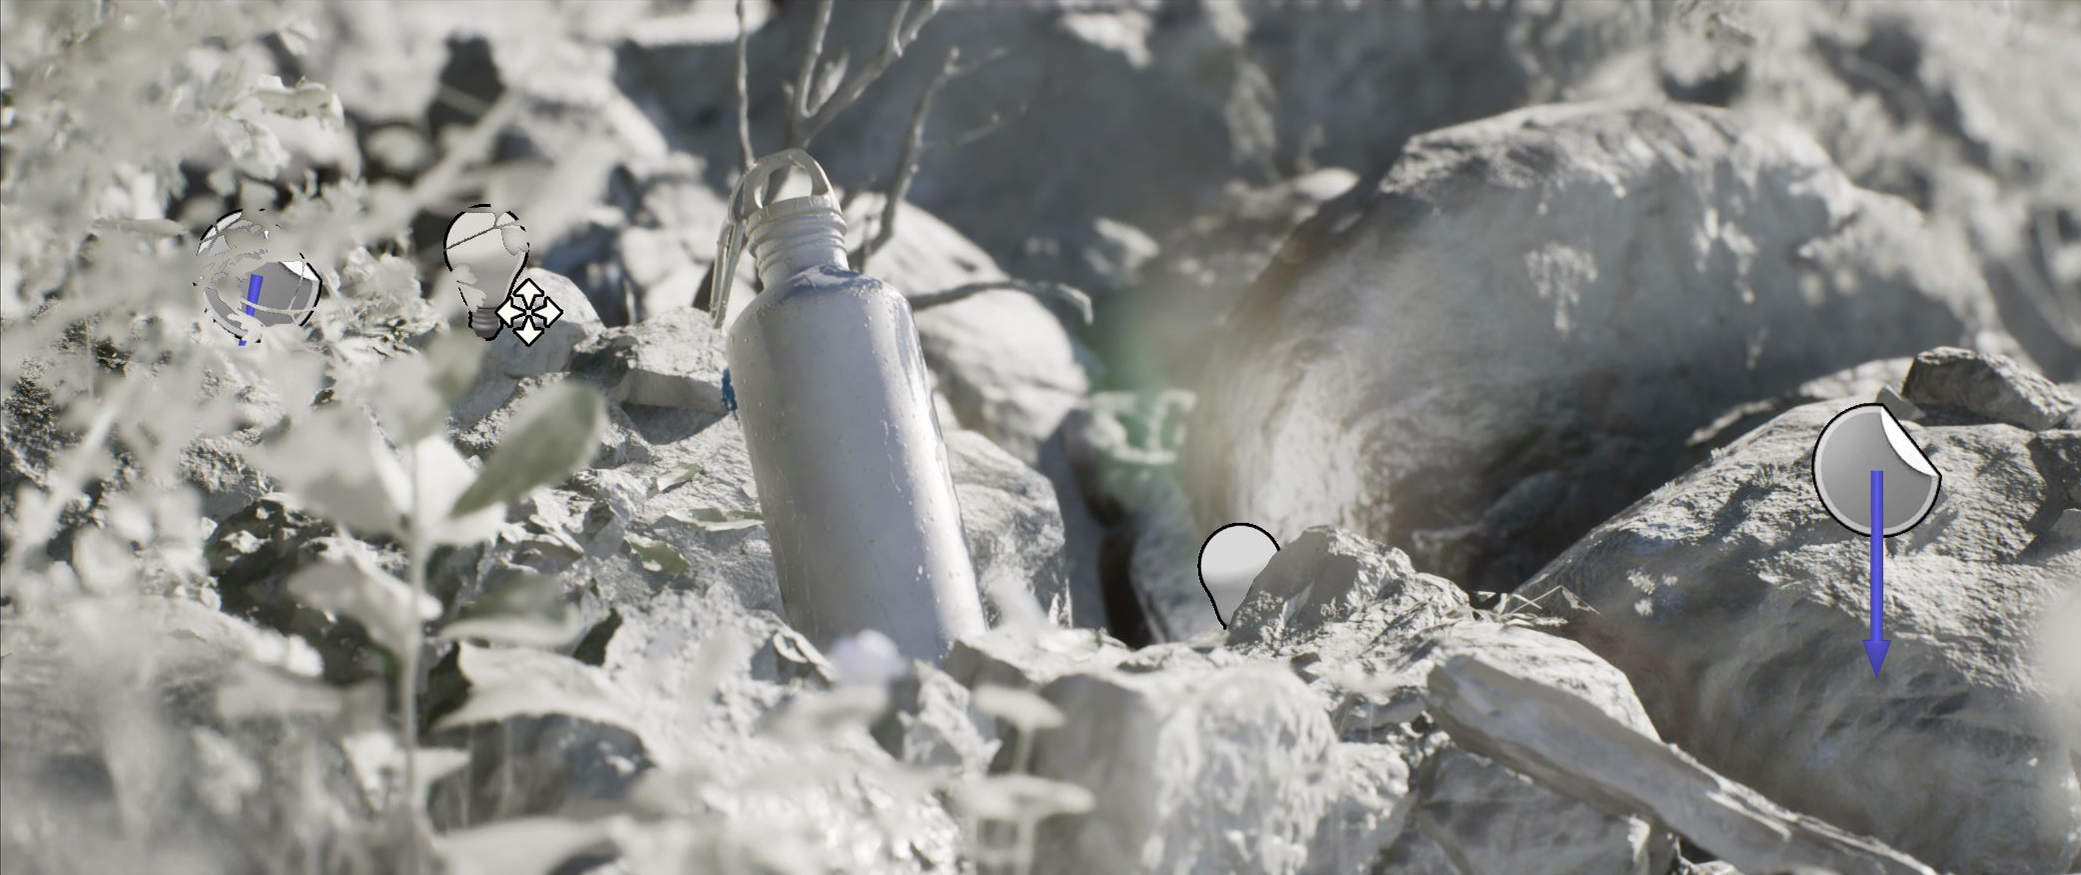
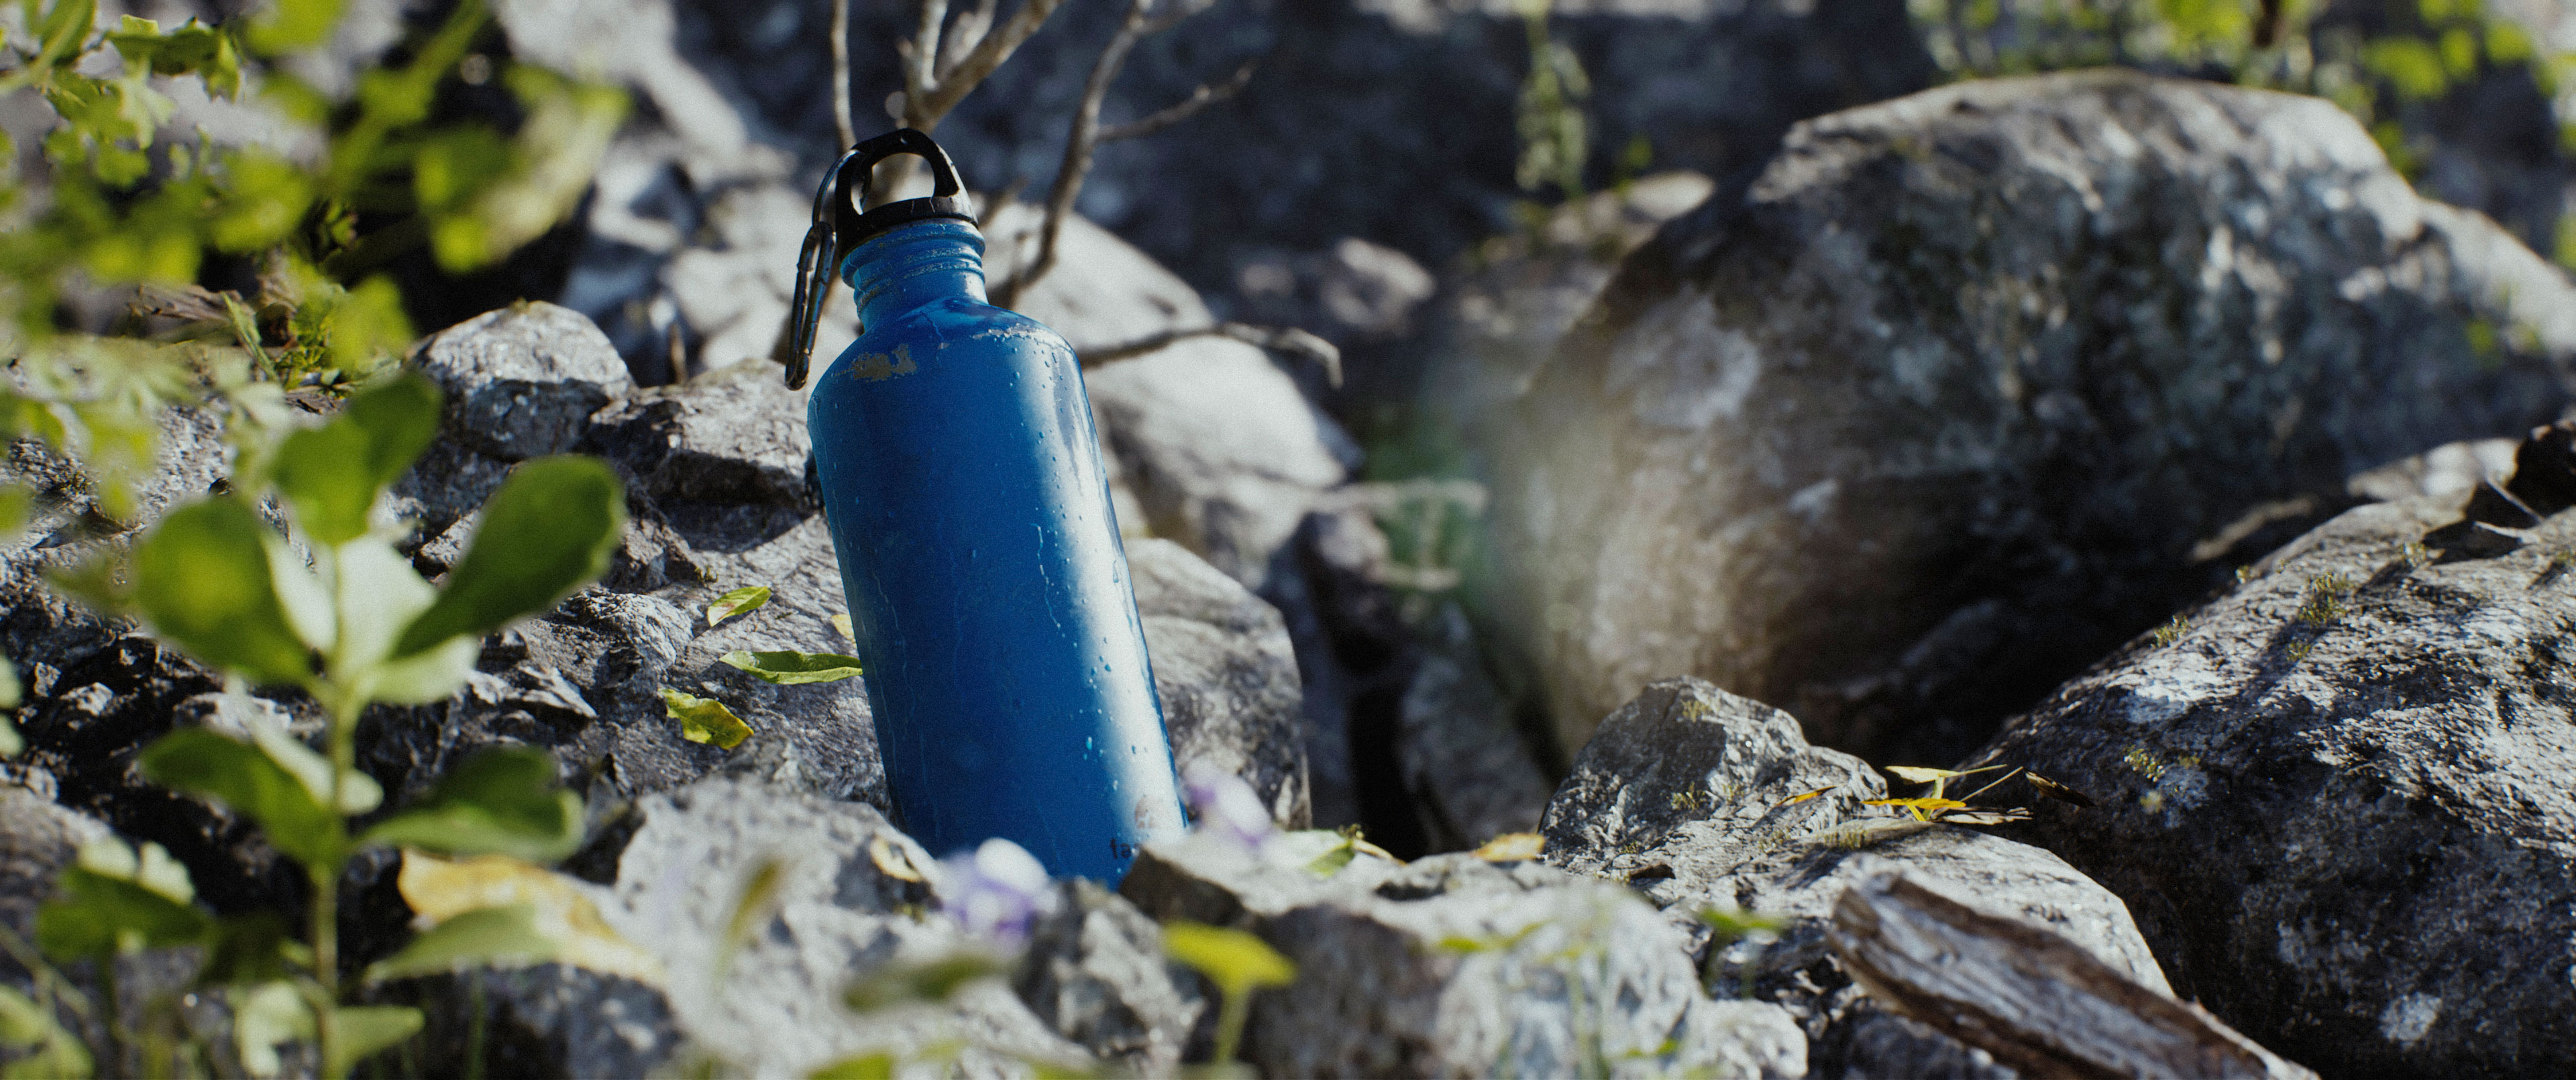
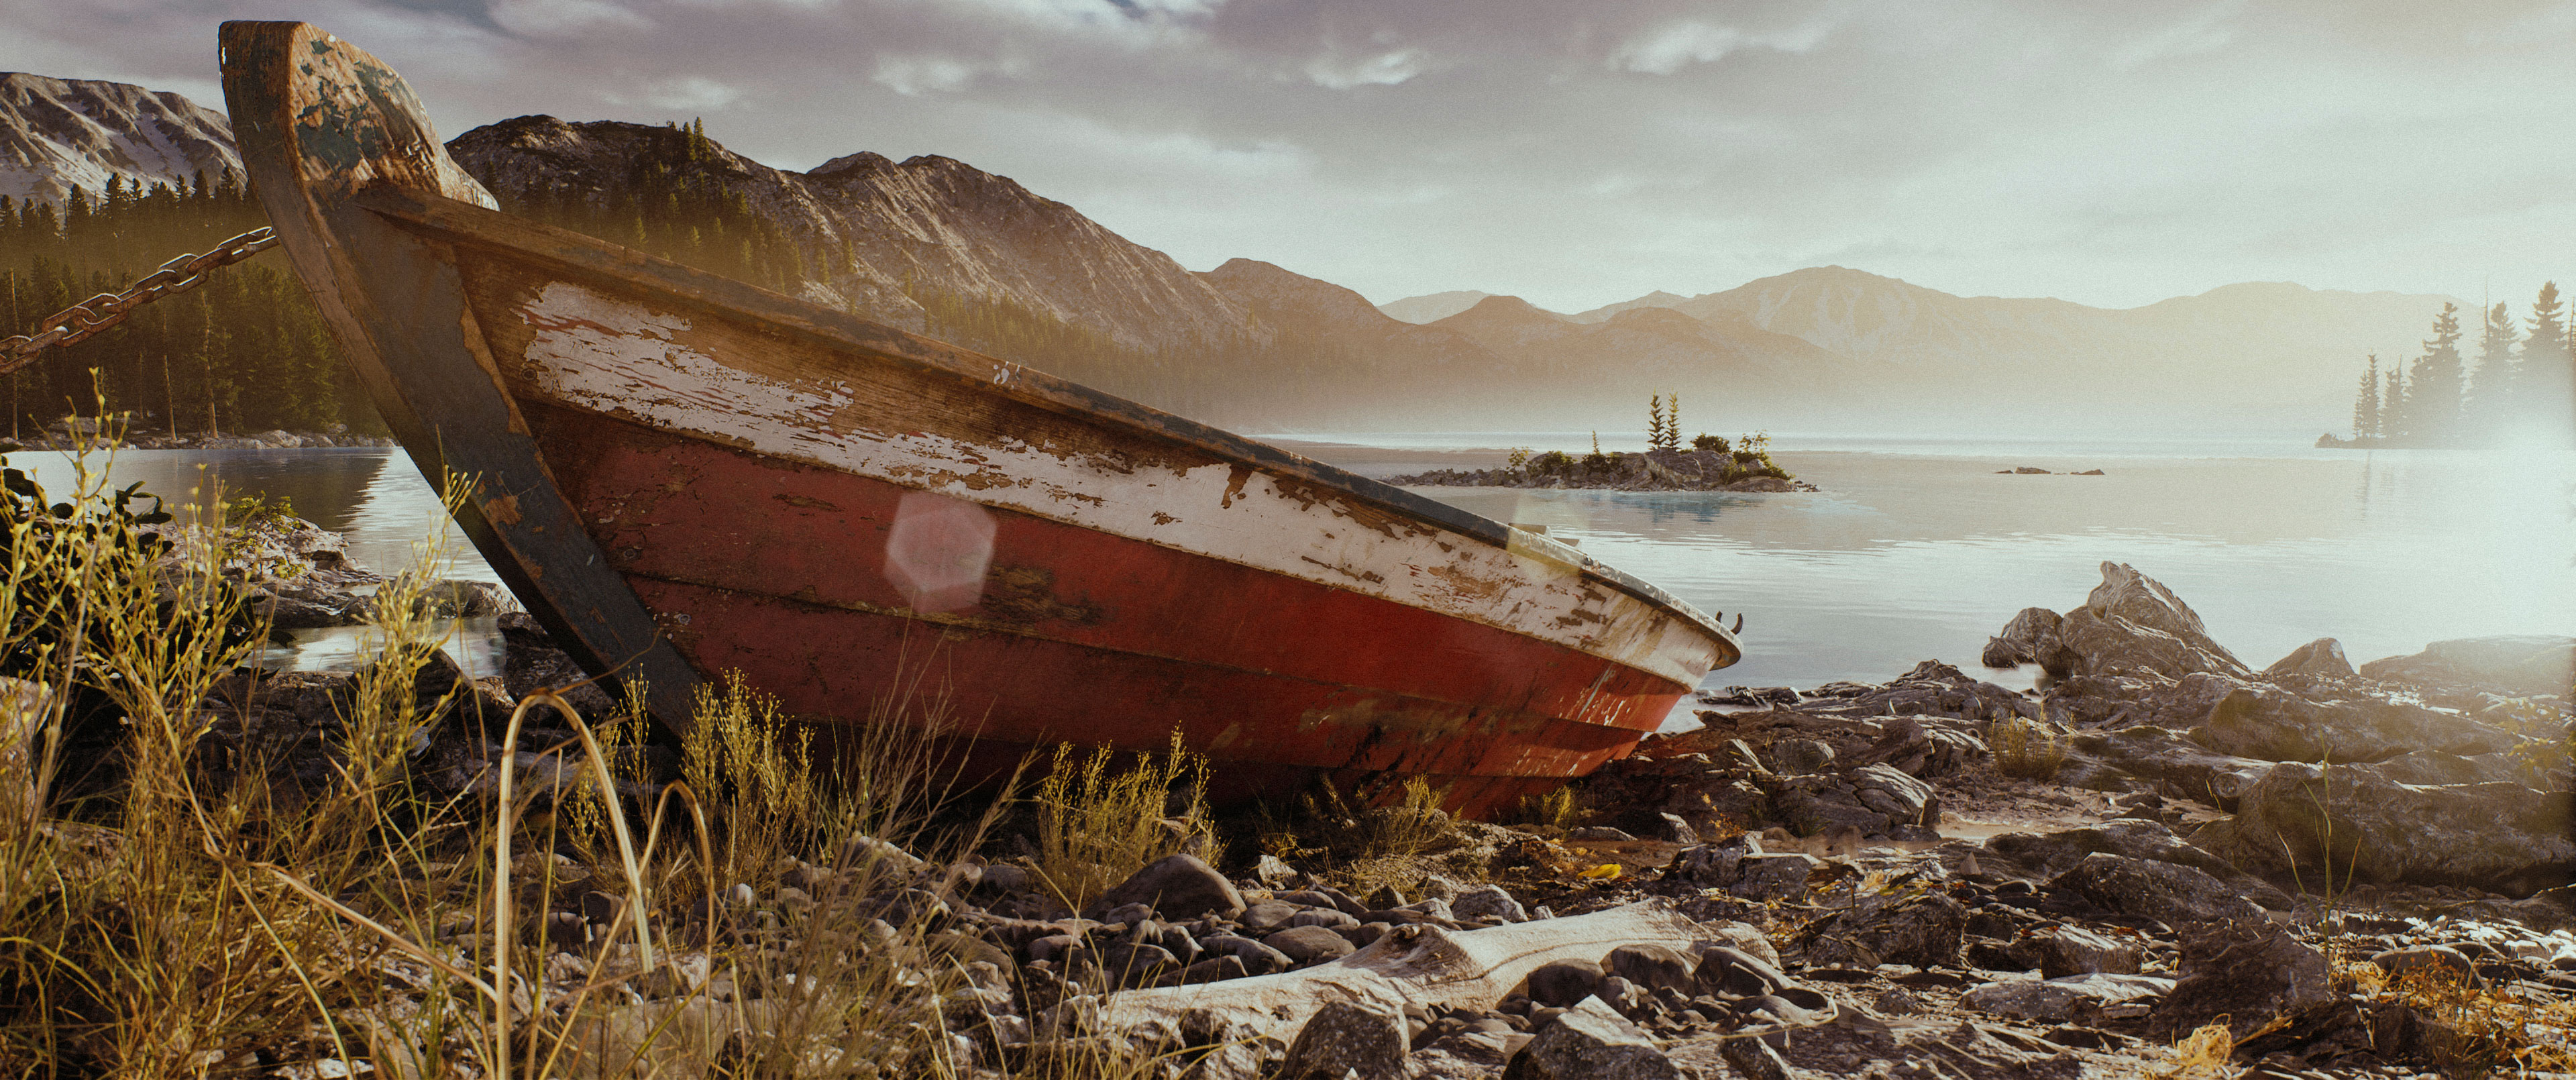
So every shot is composed of the landscape, a few handmade assets, like the bridge, the bottle and the boat, and Megascans assets. Also, the big vegetation, like the trees and the bushes, was created in SpeedTree.

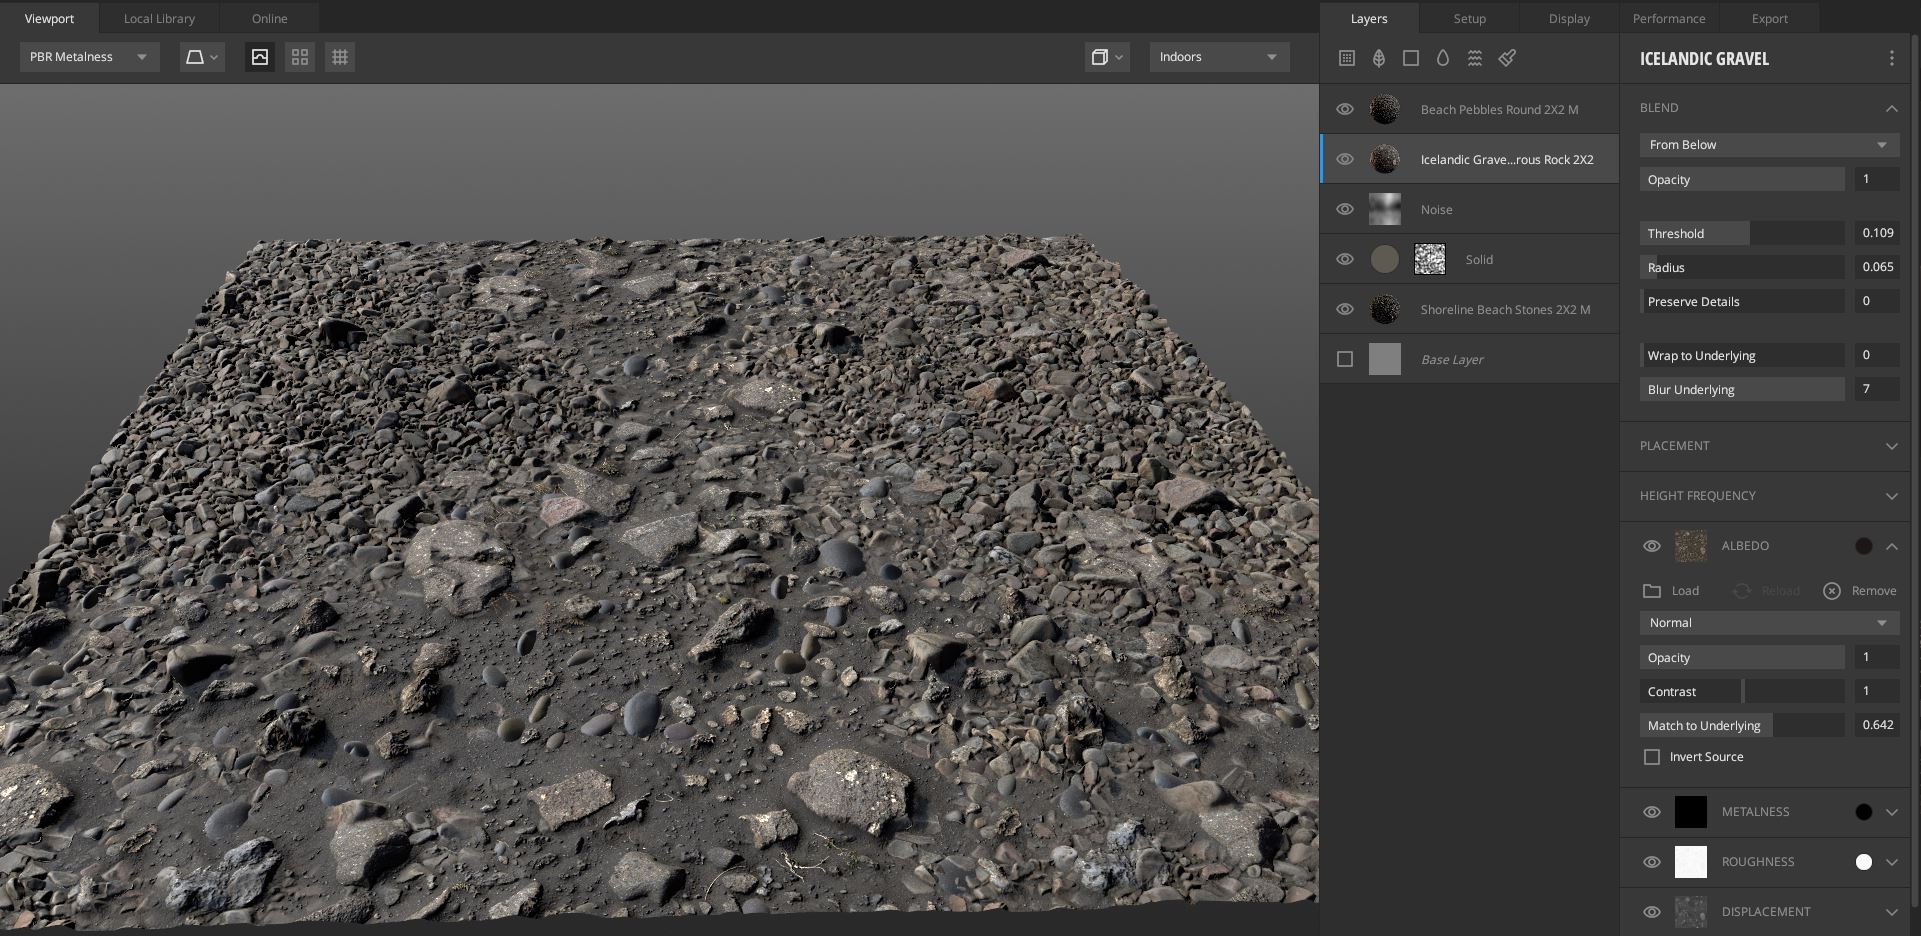
For a few shots, where I had a close view of the ground, I used textures created with Quixel Mixer and blended it in Unreal Engine with vertex painting. It was my first time with Mixer as well, and I was impressed by how accurately we can mix materials to match references. It was extremely helpful in the process.
The handmade assets I made were modeled in Maya and textured in Substance Painter.
I think it is important to point out that I was learning Unreal Engine in line with what I needed for this project. Since I had a clear idea of what I wanted, it was only a matter of research and exploration to get the right results. One of the best ways to learn, in my opinion, was to explore the projects available for free on the Unreal Engine Marketplace. I learned a lot by dissecting projects such as the Goddess Temple, and the Meerkat Demo.
Lighting and Rendering
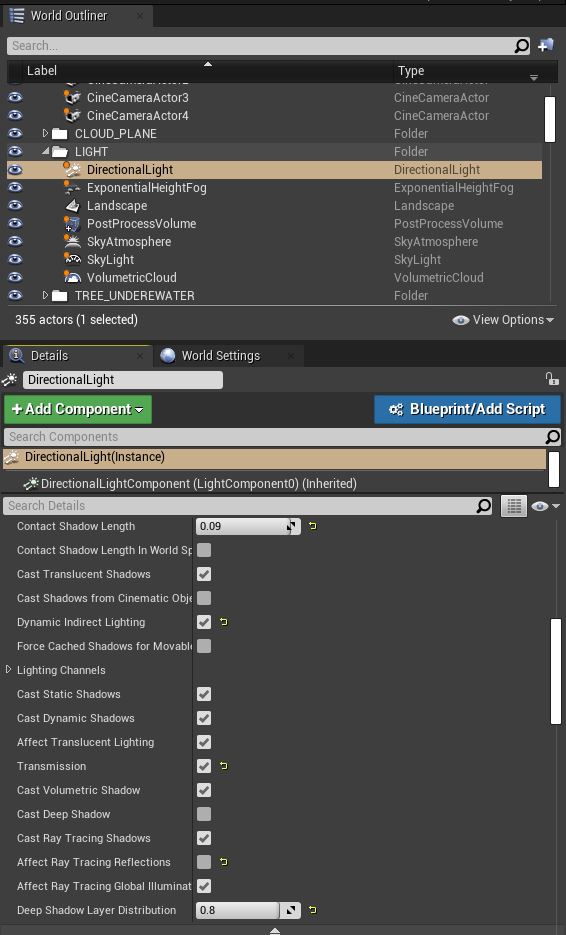
One thing that impressed me a lot was how quick the lighting process in Unreal Engine can be. I only used dynamic lighting for this project, and most of the shots are composed of directional light alongside Exponential Height Fog, skylight, Sky Atmosphere, and some post-process volume. I used ray tracing for the shadows, the global illumination, and the ambient occlusion.
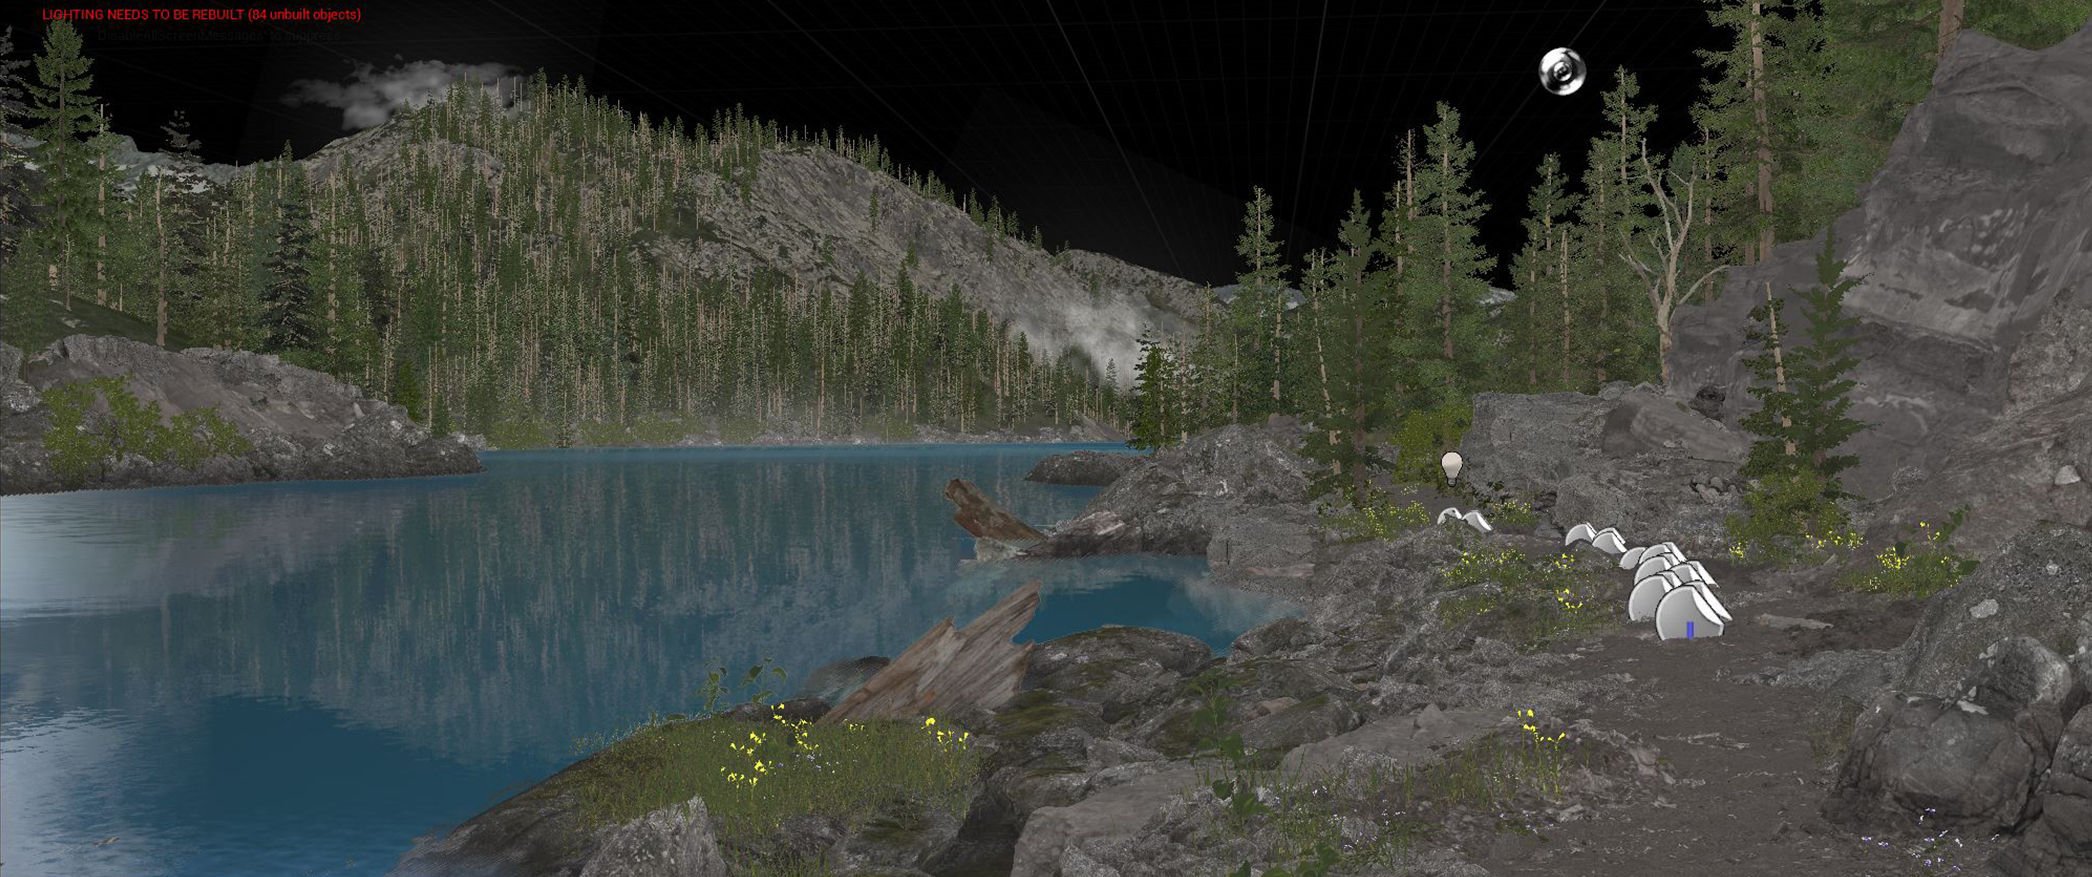
I made sure that my directional light and my skylight were set in a fully dynamic way so that I only needed to change my sun position for each shot and know that the atmosphere would match it perfectly. To do this is pretty simple, I only had to enable the Atmosphere Sunlight box inside the directional light properties and make sure I had a Sky Atmosphere actor in my scene.
Having this dynamic light set correctly, it was now only a matter of adjusting some attributes for every shot to get the right mood. Also, I didn’t go too crazy with the post-process volume attributes. Since I was planning on color correcting my renders in other software, I only played with the settings I needed, such as bloom, lens flare, and chromatic aberration.
Since all of my shots were external, I did not need to explore more complex lighting scenarios, nor venture into baking lights. Also, I never intended to make a playable game, so FPS was never a concern.
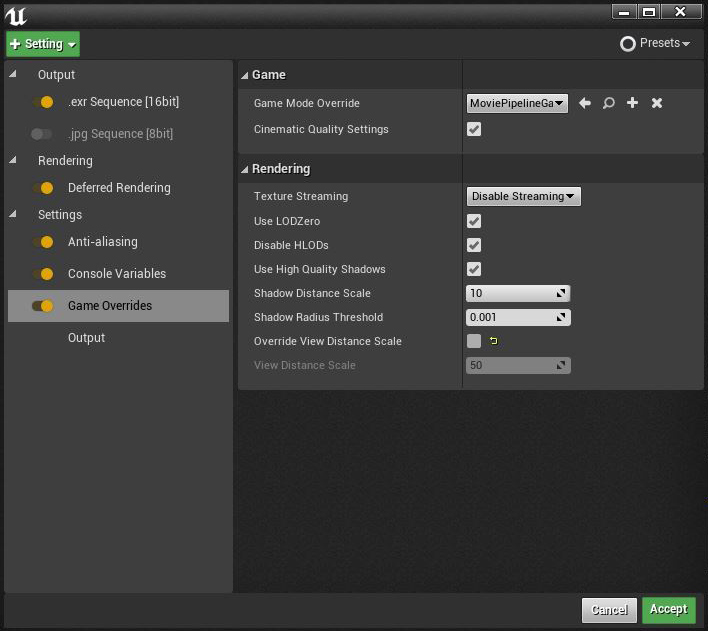
For rendering, I used the Movie Render Queue. I played with the anti-aliasing settings for each shot so that I had the best balance between quality and speed.
I also enabled Game Overrides to make sure I would have the most accurate level of detail for each Megascans asset used in the project. Finally, I chose EXR 16 bits as my format.
Final results

Closing
I am very happy with the positive feedback I’ve been getting on this project. Although I did it with passion, I didn’t expect to get any kind of recognition for it. The entire process was kind of therapeutic for me.
I honestly think I would not have been able to do this project without Unreal Engine and the Megascans library. The fact that I can render a three-minute-long 4k video in my home without needing a monster computer is impressive. Also, how easy it is to bring Megascans assets from into my scene in Unreal Engine using Quixel Bridge. This speeds up the process in a way that allows me to focus more on the creative side of things.
I am sure that this whole learning experience will change the way I create personal projects from now on.
Thank you so much, Mateus! See more of Mateus’ work on ArtStation.