Creating a Quarry using Megascans in Redshift
Hi there,
My name is Darryl Johnson. I am an artist and pipeline manager for Quixel’s Megascans. I come from an automotive background working on car commercials as a 3D generalist back in Detroit. Since then, I have worked at Blur Studios as a scene assembler, and also at Blizzard as a lighter/compositor on the recent Overwatch cinematics. This eye candy, I completed using Megascans, was a lot of fun and a great study of environments, using photo reference. I would like to walk you through my process for completing this piece.
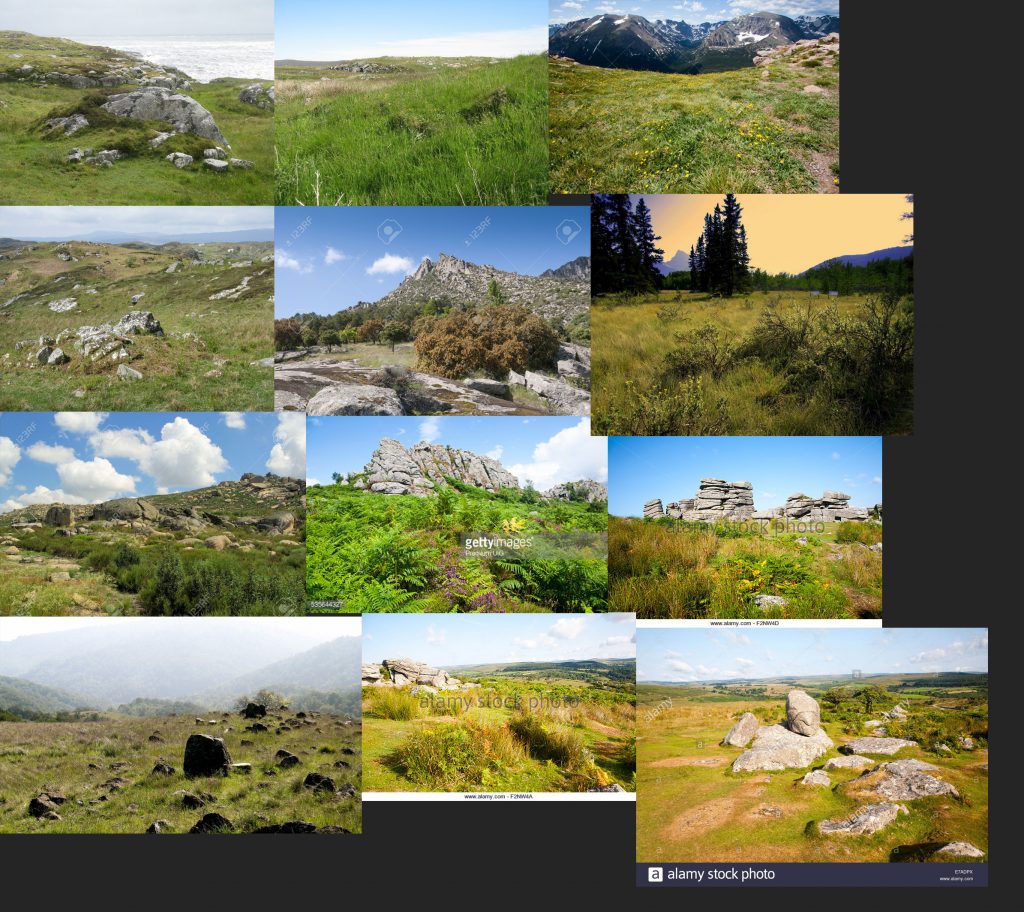
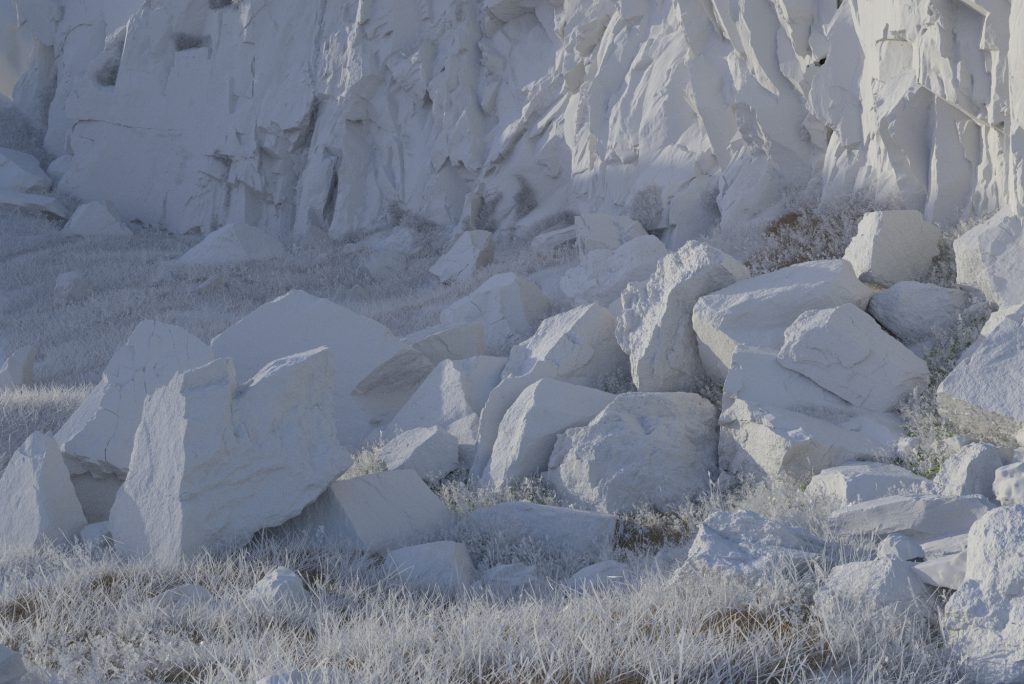
Gathering Reference
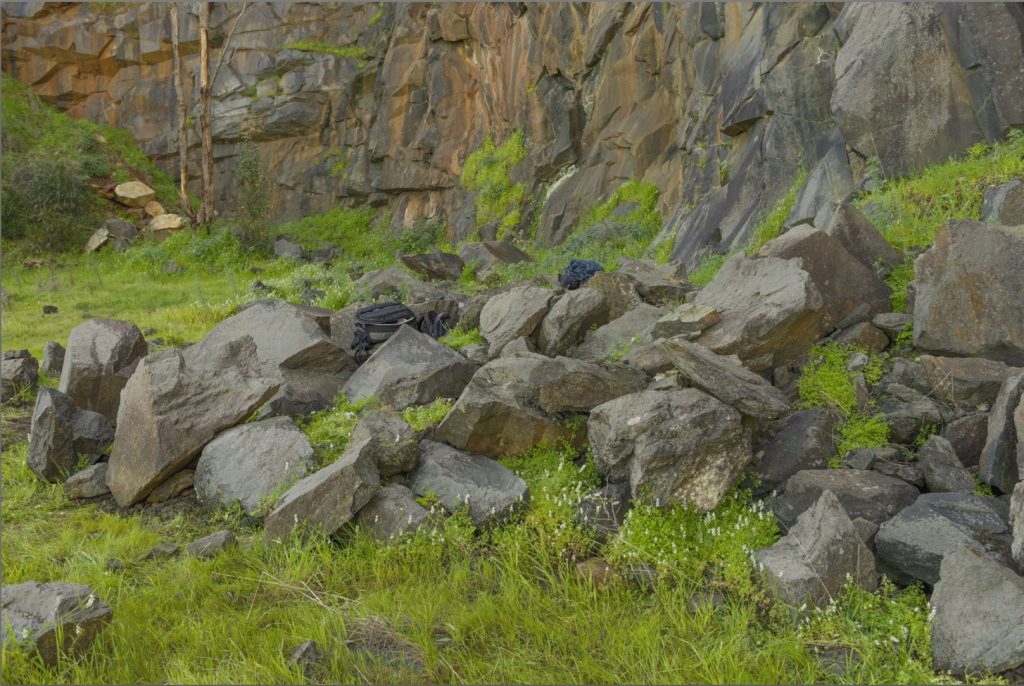
For this project, I gathered as much reference as I could, including the image that I wanted to match. I knew that with this project, the grass would be important and something I would really need to pay attention to. Finding different types of grass that I could incorporate into this project would be key to making this scene feel alive.
Setting up the Scene
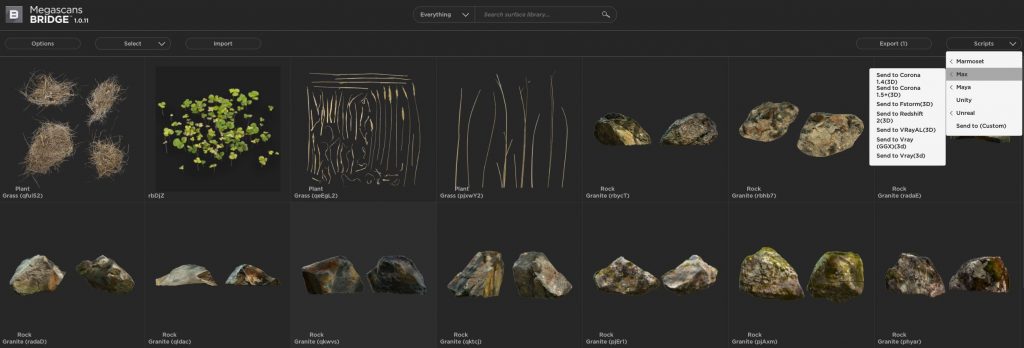
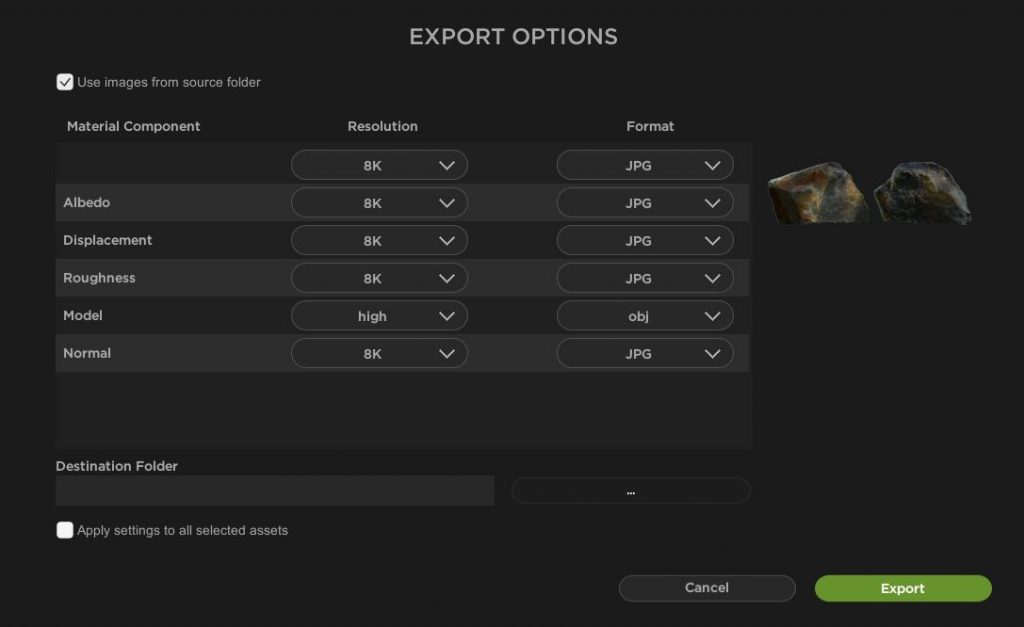
Setting up scenes in past projects was very tedious and time consuming. Megascans Bridge helps alleviate some of the grunt work, when creating scenes. I was able to start building my scene quickly because I didn’t have to create any assets or shaders. A few clicks and the assets were in my scene ready to render!
Naming was very crucial to organizing all my Megascans assets. Luckily Megascans already has a naming convention that I adopted. I like to use 3ds Max’s layer system because it makes organizing layers convenient and is critical to keeping a large scene like this under control.
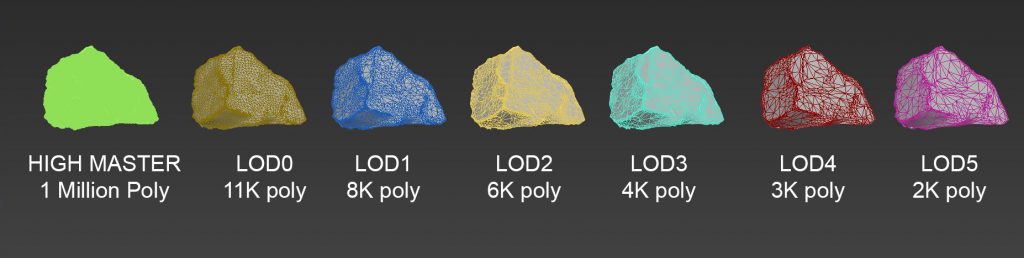
Megascans Bridge offers great options for choosing different LOD’s for the right situations. I only used low-poly LOD’s to block out my scene, to initially keep the scene easy to work with. Eventually, I swap them out with high poly assets.
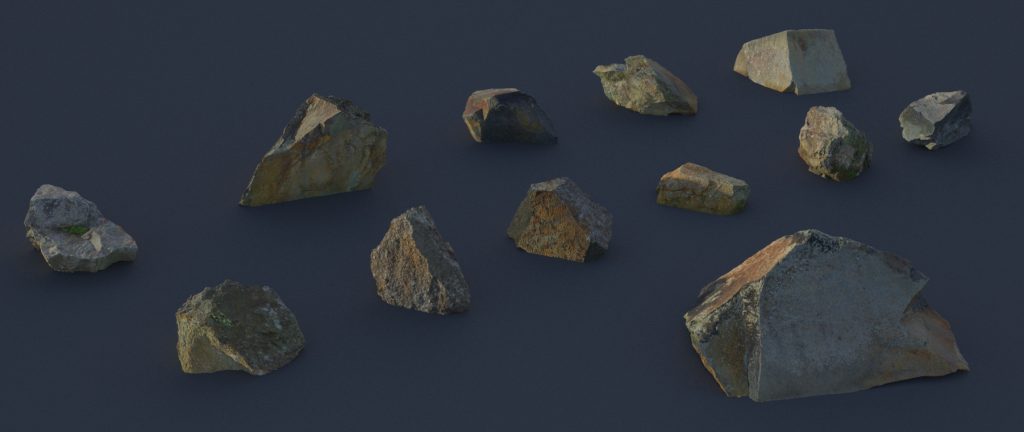
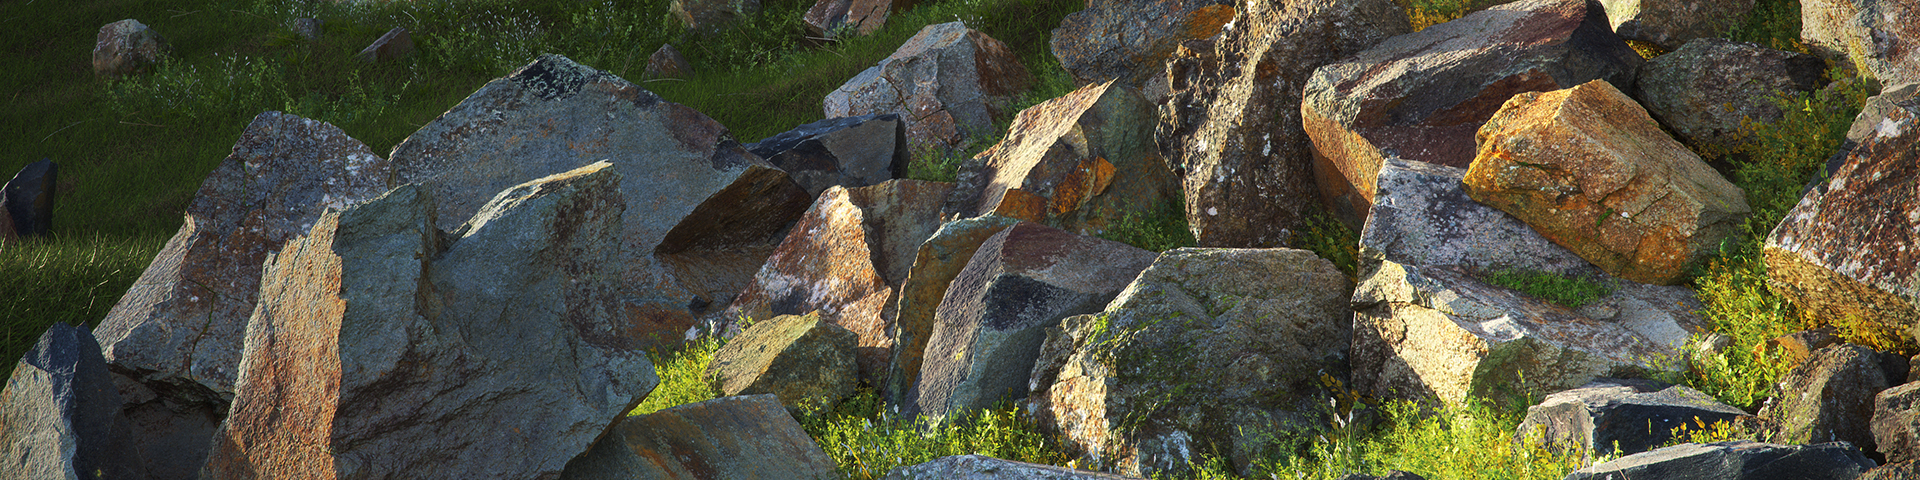
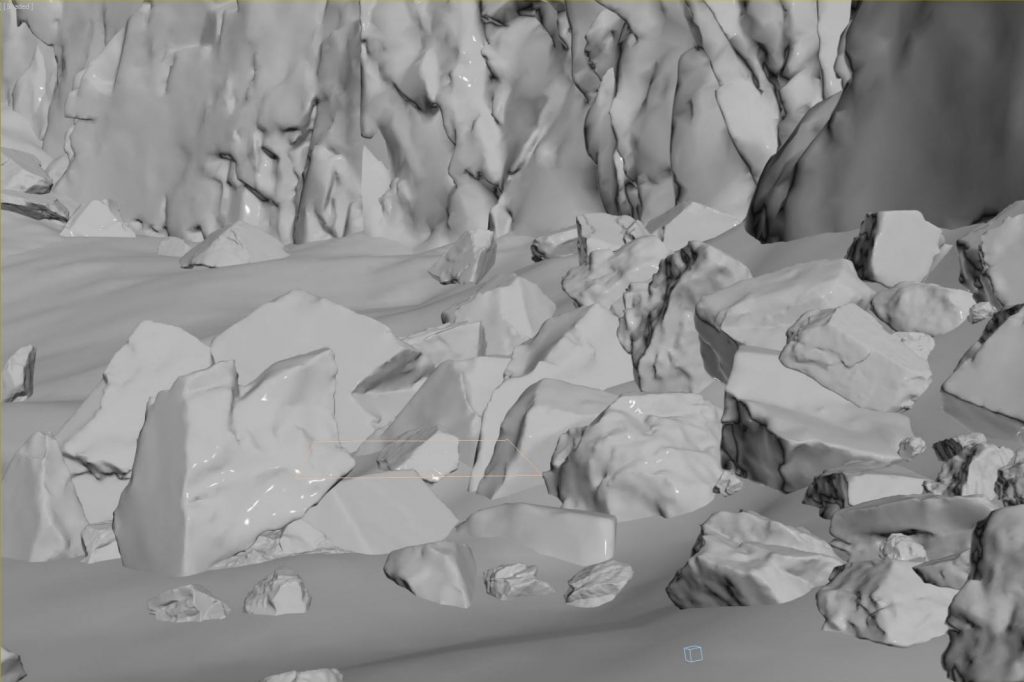
Blocking out the scene
I used Redshift, with a basic Redshift Sun setup and the default environment map. I recommend this to get an initial read on the lighting and textures, HDRI’s can be added later, if needed to change the lighting or mood of a scene. Using the reference photo for placement, I blocked out the position, scale, and rotation of the rock assets. Roughly matching the camera position to the reference also helped define the terrain and where to place the rocks. Since not all the rocks were scanned, I had a bit of artistic freedom to get the same look and feel as the photo.
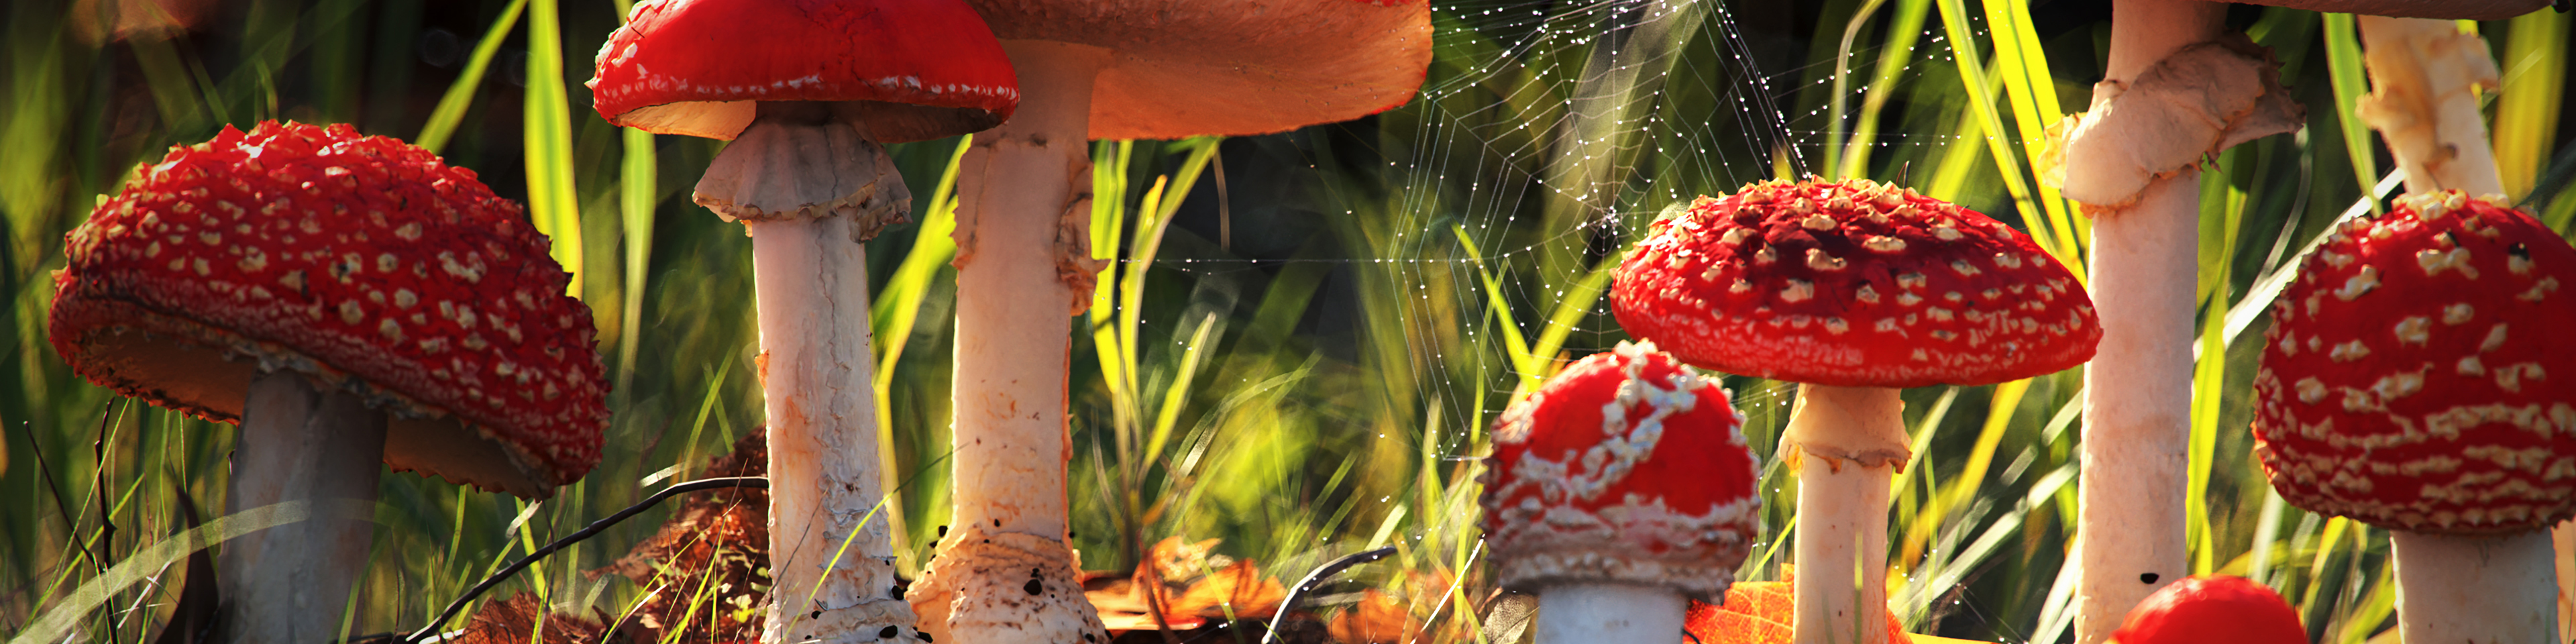
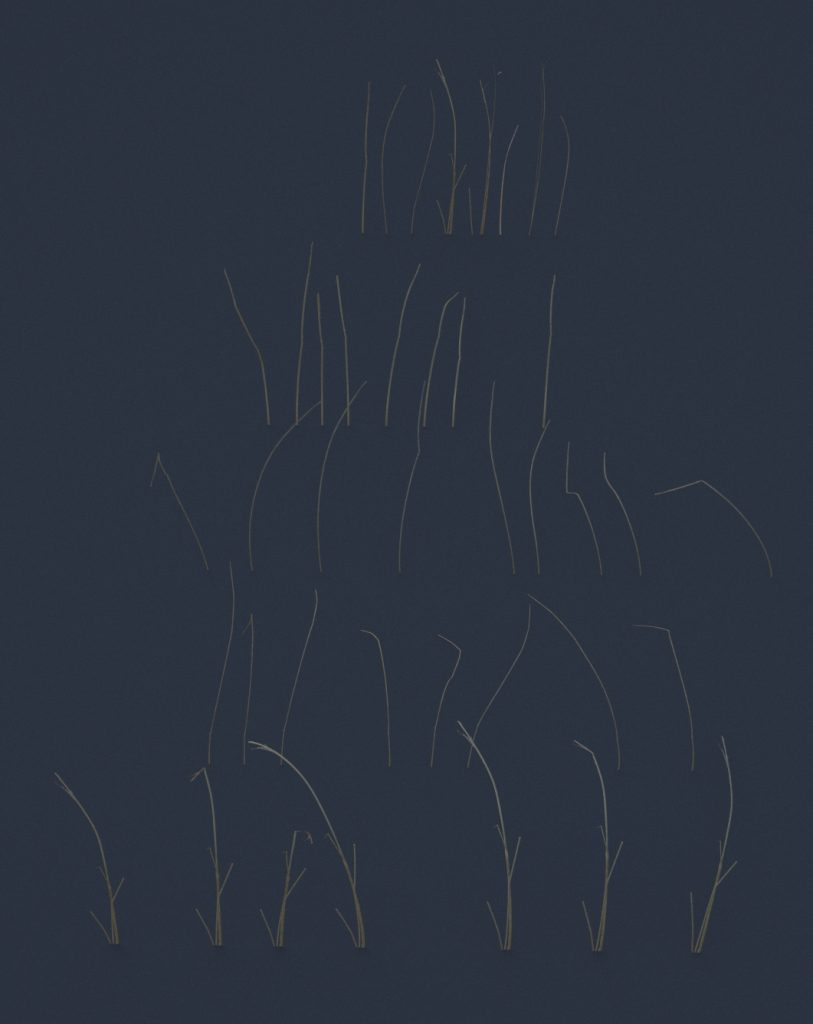
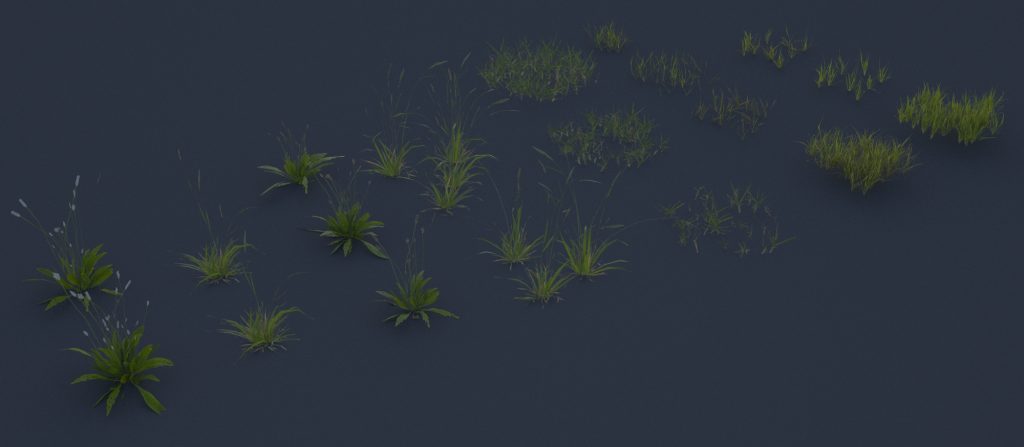
Preparing Foliage
Plants and grass require a bit more time due to how versatile the atlases are. Taking the time to get variations will extend the mileage of each atlas. First, I cut the atlases out of cards using the alpha as a guide. Once I had the cards, I made 3-5 variations of each one; so when it came time to scatter, using iToo’s Forest Pack, I could get a more unique look rather than having all my grasses looking uniform. I was able to achieve this with the simple use of the bend modifier and old fashion poly modeling.
Scattering using Forest Pack
Forest Pack is a powerful scattering tool with many applications. For this project, instead of using area splines to drive my Forest Pack, I used the paint tool to place where I wanted my grass and plants.
A common mistake that I see with scattering solutions is how densely the grass is placed. It begins to lose its believability quickly and looks fake when this happens. Another mistake is not enough variation within the system and between each system, as well. For a successful ecosystem of grass to be achieved, the items listed are critical to achieving a realistic render.
- Grass (thick and thin)
- Dead grass (old, grey, decaying, and dry grass)
- Bent grass (alive and dead)
- Plants (alive and dead)
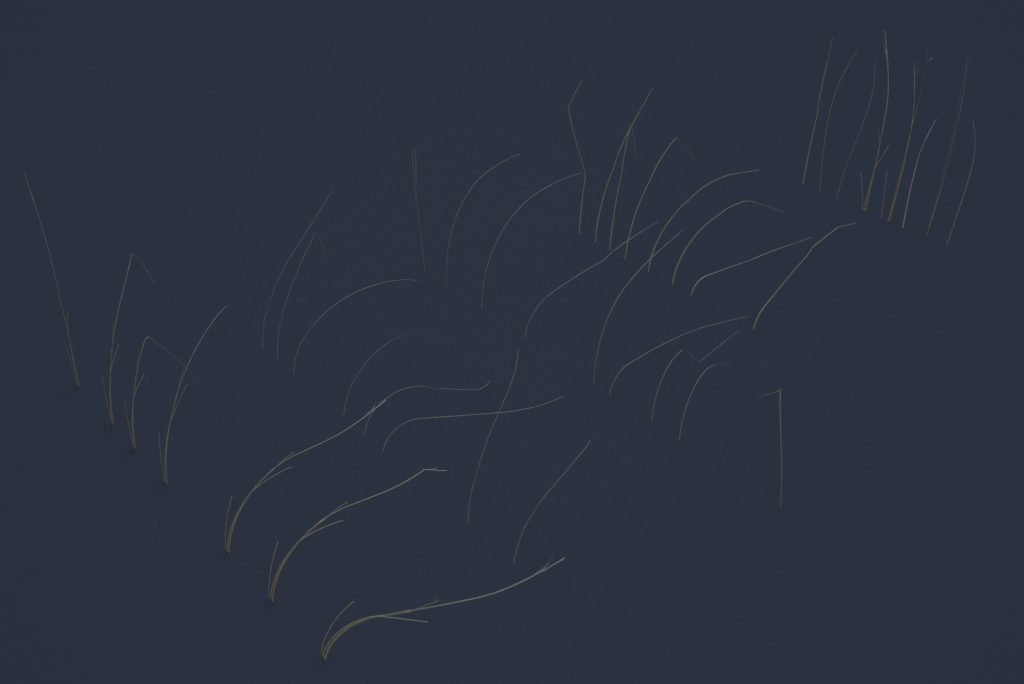
Variation in the direction of grass and foliage is very important, but be careful and make sure the grass isn’t a jumbled mess. Being observant and deliberate in my choices is something I have learned in the making of these grass-scatter systems.
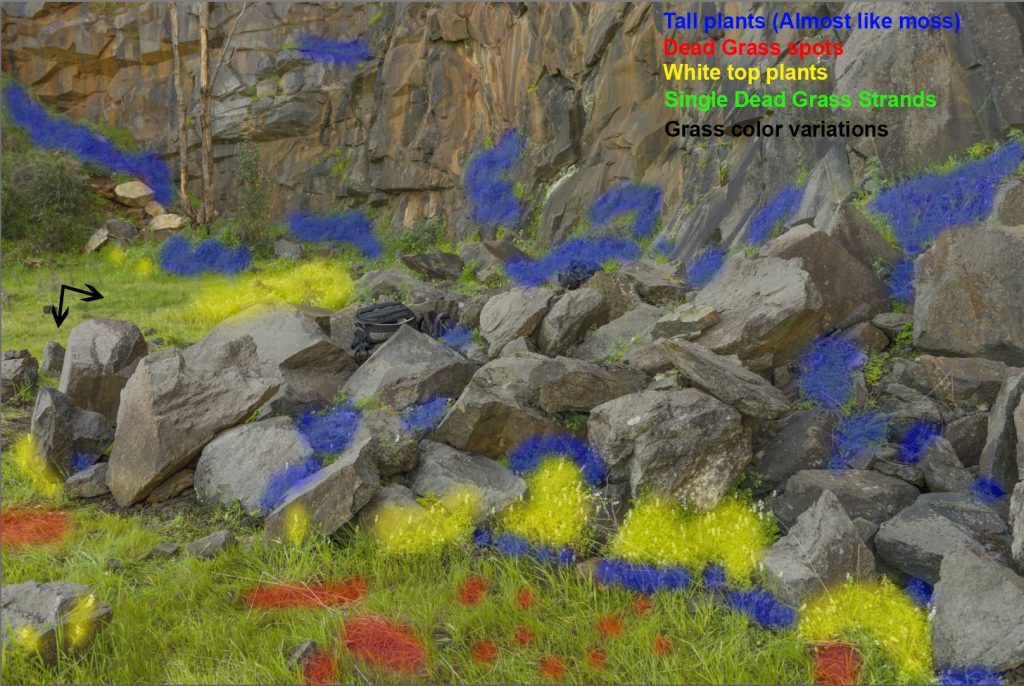
To start off, I laid down a thick layer of dead grass using these atlases. After that, I built up lush green grass and plants. In my first pass, I get a general feeling of how it’s looking and make it quite dense, then work my way back by adding variation and several different Forest Pack scatters. More specifically, I put some tall grass around the rocks, where animals may not have touched and some dead plants in areas between the rocks that may not get enough sun. These small details bring the scene to life.
Lighting the Scene
I used a regular Redshift sun and rotated it to a mid-morning position because direction determines time of day.
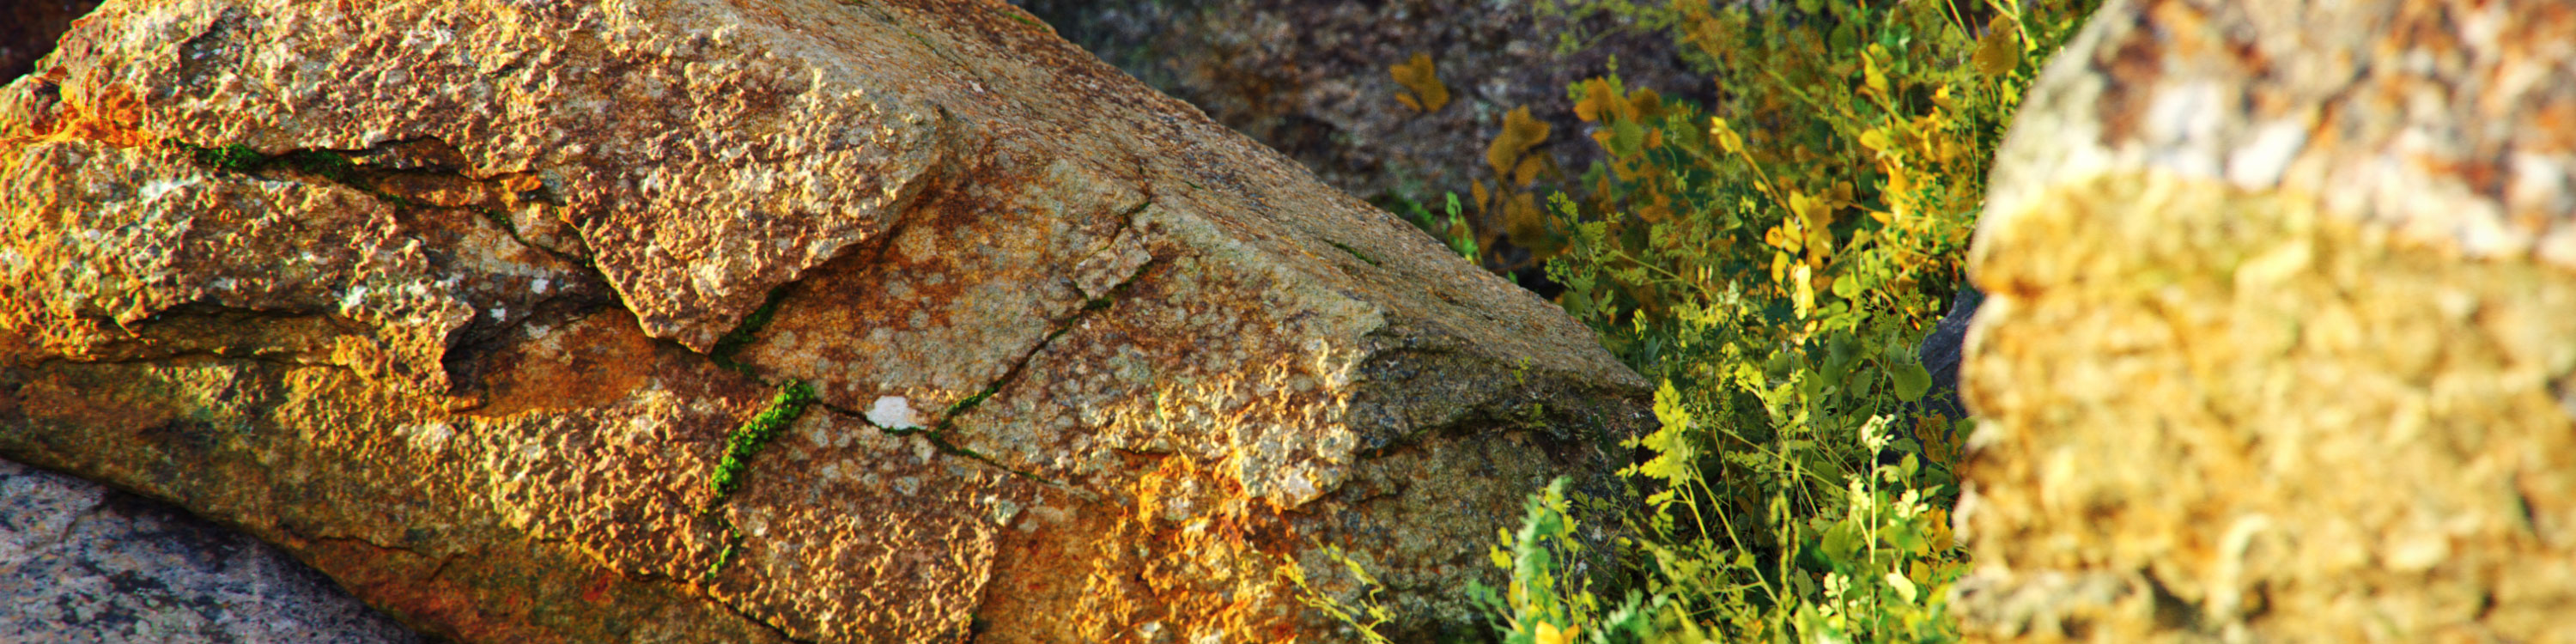
Making Final Jewellery Pass
After I feel like the scene is near completion, I take a step back and see where I can add very fine details. This consists of me hand placing small assets to make the scene less perfect and more chaotic, leading to a more photographic feel. For example, there are some dead blades of grass added to help break up, and add some natural aging of grass to the scene.
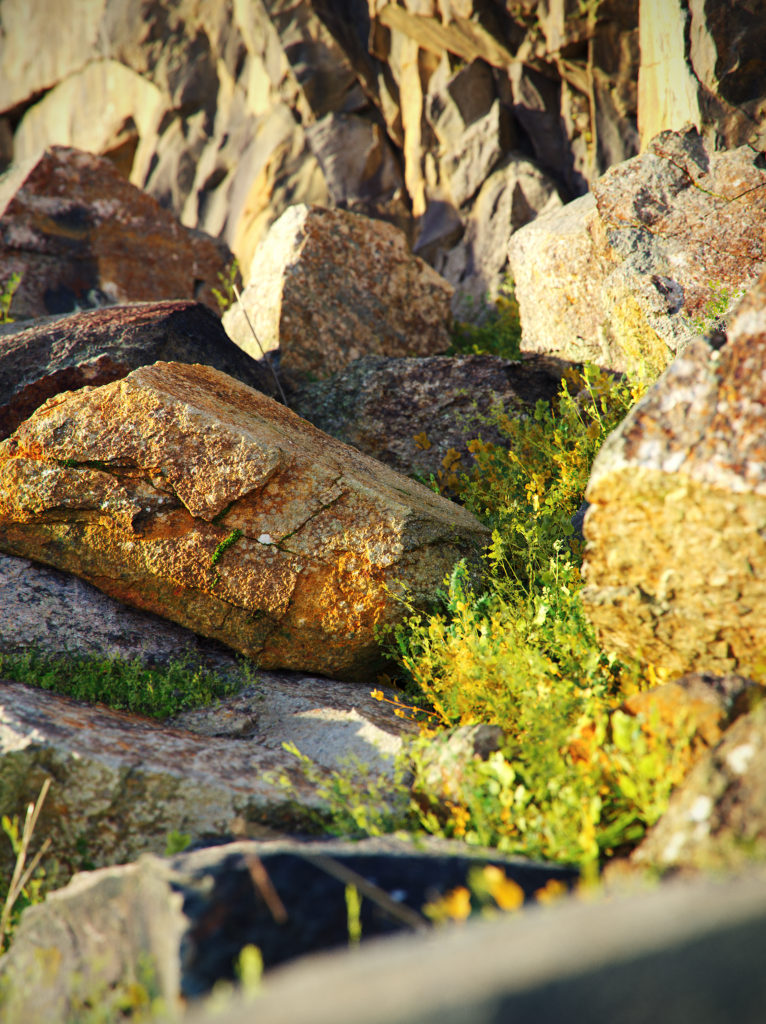
Rendering the Final Image
When it comes to rendering, I used Redshift, a GPU renderer that cuts down my render times by more than half. My 4K images with high samples and depth of field took around 30 minutes, with an Nvidia GTX 1080 ti.

The amount of time, I was able to save by using Megascans assets was amazing! Also, using Redshift to speed through these renders immensely helps with feedback. I hope you enjoyed this breakdown, and I am more than happy to answer any questions you have for this project; just shoot me an email at Darryl@quixel.se.